A St. Partick's Day Memory: Colcannon

IMG_7484.jpg

My first exposure to Irish food was in the late 1960s when I lived in London and Shepherd’s Pie has been a comfort food for me ever since. The second Irish dish I learned to love was Colcannon. The name alone sounded magical and was fun to say. Little did I know the magic was in its simplicity and humility. When I moved to Houston in the early 1970’s, no one had heard of Colcannon. Then came Darian Allen and her Balleymaloe Cookery School via the airwaves on PBS (our Public Broadcast Station). Her recipes were simple and made from fresh garden and local ingredients. Because I always seem to be short on time, this Colcannon recipe is a quick version of her method. I leave the skins on the red potatoes for color and nutrition. Also because it’s easier. If you have time to boil and steam the potatoes whole then peel them, look up Darina Allen’s recipe. It’s well worth the time.

Colcannon is velvety, luscious and satisfying. It is a minimalist dish, so each of the ingredients should be fresh and delicious. Luckily, beautiful cabbage and new potatoes are in season as spring blossoms being to show here.

I don’t know anyone who doesn’t like this. When I cooked this at my farmers market cooking demonstration in 2018 in honor of St. Patrick’s Day, all the children came by for a taste and asked for seconds. Many who swore they hated cabbage left with their minds changed. That should tell you something.

Potatoes are a rich source of vitamins C, B6 and magnesium. Cabbage is an excellent source of vitamins C, B6, K, fiber and potassium. It is also a good source of vitamins B1, B2, B3, B7, choline and selenium. This dish is healthy and delicious. Nutritionally speaking, it rocks!

Serve it with roasted salmon, lamb, corned beef, sausages, chicken…it’s a perfect accompaniment or great on its own.

RECIPE: COLCANNON

INGREDIENTS

  • 1 pound fresh red potatoes

  • 1 pound Savoy, spring cabbage, or kale, chopped

  • ½ stick salted Irish butter

  • 1 cup whole milk

  • 1 oz spring onion or scallions, finely sliced

  • Sea salt and freshly ground black pepper

PROCESS

  • Simmer scallions in milk.

  • Cut and boil the potatoes is salted water.

  • Boil the cabbage. 4. Drain the potatoes and mash with scallion milk and 1/4 stick of butter.

  • Stir in drained cabbage.

  • Salt to taste.

  • Serve with a knob of good Irish butter and freshly cracked pepper.

Serves 8 (recipe may be halved)

Simple Strawberry Sauce/Compote

lbf0Zg58SRaKJsu76mrXTg.jpg

For some reason, I can never eat the strawberries I buy before they start looking tired and worn.  My intentions are good, but my follow through isn’t.  In Houston, which has an amazingly long growing season, we are seeing the first ripe strawberries grown in greenhouses. They have great flavor, but are not as sweet as the summer crop. I bought a carton at the farmers market last week and they were lost in the back of the fridge. So this morning, I brought them out of the cold and tried a little TLC. That would stand for Truly Lovely Compote.  This is an easy way to use up the not so perfect fruit—as a topping for pancakes. Compotes are sauces made from cut up fruit and a sugar.  If you strain it, it becomes a coulis.  You can use it on pancakes, ice cream, any plain cake, or on toast.   

7QxvxL78SeiqGTMxGAzqnQ.jpg

Freshly picked fruit is an amazingly rich source of Vitamin C, which starts to degrade quickly and is lost in cold storage and flash freezing.  Strawberries are an excellent source of Vitamin C, folic acid, manganese and potassium.  

The compote can be made in the time you get the pancakes cooked. What could be better really than a warm fresh strawberry sauce on stack of hot pancakes. It’s a perfect way to start the day. It also works well when you want breakfast for dinner.  Everybody wins. Especially the poor, forlorn strawberries. 


RECIPE:  Simple Strawberry Compote

INGREDIENTS

  • 1 pound fresh hulled strawberries, cut into pieces

  • 3-4 teaspoons of cane sugar

PROCESS

  • Place strawberries in pan with sugar.   

  • Cook on medium-low heat, stirring occasionally, until the fruit breaks down into a sauce. 

  • Adjust the sweetness with additional sugar as desired. 

  • Makes about 2 cups. 


Pasta with Peas & Dill

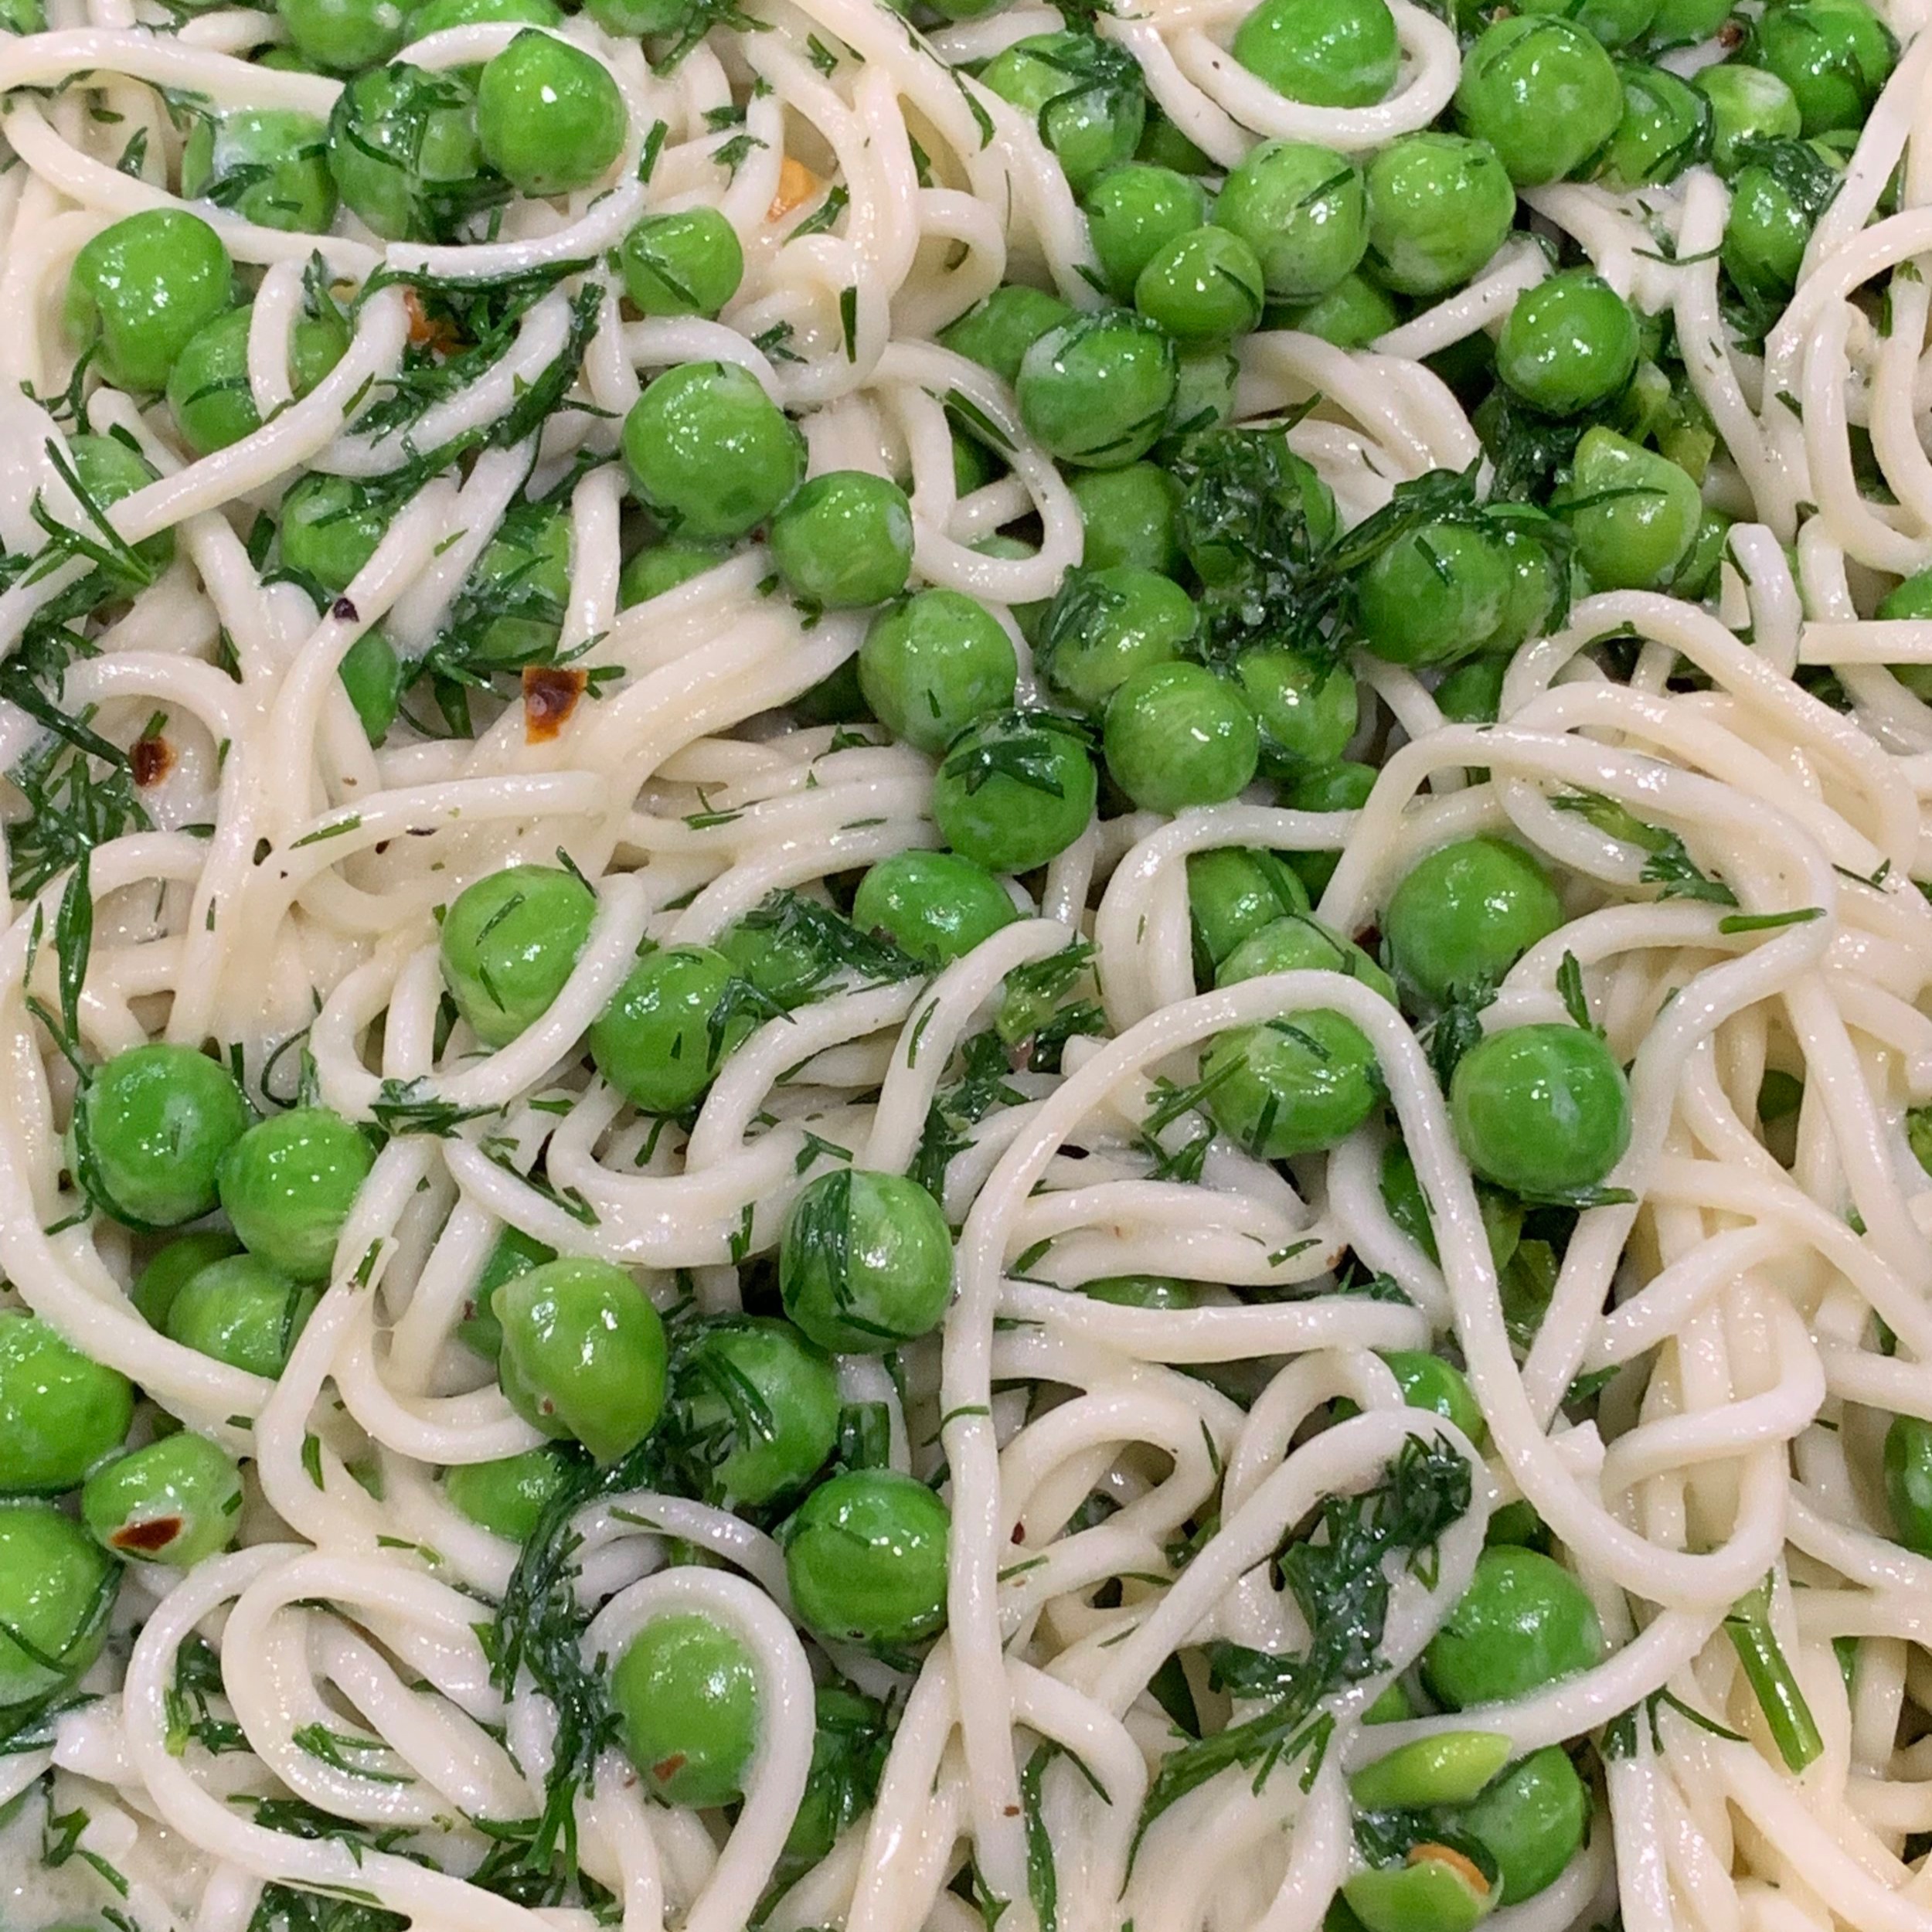
Simple pastas are the best. That’s what I learned in Italy. Get good pasta, hopefully fresh, but frozen will do and good quality dried is fine too. Don’t complicate the sauce. Use what you have. I get my pasta from Casetta, where they get their flour from Italy and the chef is Italian!

I got to this from my travels to Turin. I was there for a conference in the 1990s. I was attending a course that ended late and I missed dinner. On my way back to my hotel, I stopped in the little bar for a drink and asked if there was a place to get some food as the hotel restaurant was closed. The owner went into the back and came out with a lovely bowl of pasta with peas in a simple butter sauce. It was delicious. Heavenly. So I came back the next evening and he made another plate of pasta for me, this time with herbs he had on hand. The third night I asked if I could see how he created this magical pasta and he showed me.

This pasta dish is a homage to my teacher in Turin. Travel is remarkable in so many ways, but for me food and connection to place is the most meaningful.

The pasta and peas both provide protein, the butter and olive oil are good fats and the dill gives vitamins and mineral. You can eat this alone or with a small piece of fish or a few shrimp. It’s really delicious. If you don’t like dill, use parsley or a combination of other herbs instead. It’ll be just a good, only different.

RECIPE: Pasta with Peas & Dill

INGREDIENTS:

  • 3 Teaspoons good butter

  • 1 Tablespoon Extra Virgin Olive oil

  • 2 Tablespoon Meyer lemon juice (1 Table spoon regular lemon juice)

  • 1/4 Teaspoon crushed red chili

  • 1 Cup chopped fresh dill

  • 2 Cups frozen peas, rinsed in water

  • 2 Tablespoons creme fraiche

  • 1/2 teaspoon sea salt

  • 1/4 Teaspoon freshly ground pepper

  • 8oz fresh pasta

  • Grated parmesan for serving

PROCESS

  • Warm butter, olive oil in a pan on low heat.

  • Add lemon juice and chili flakes.

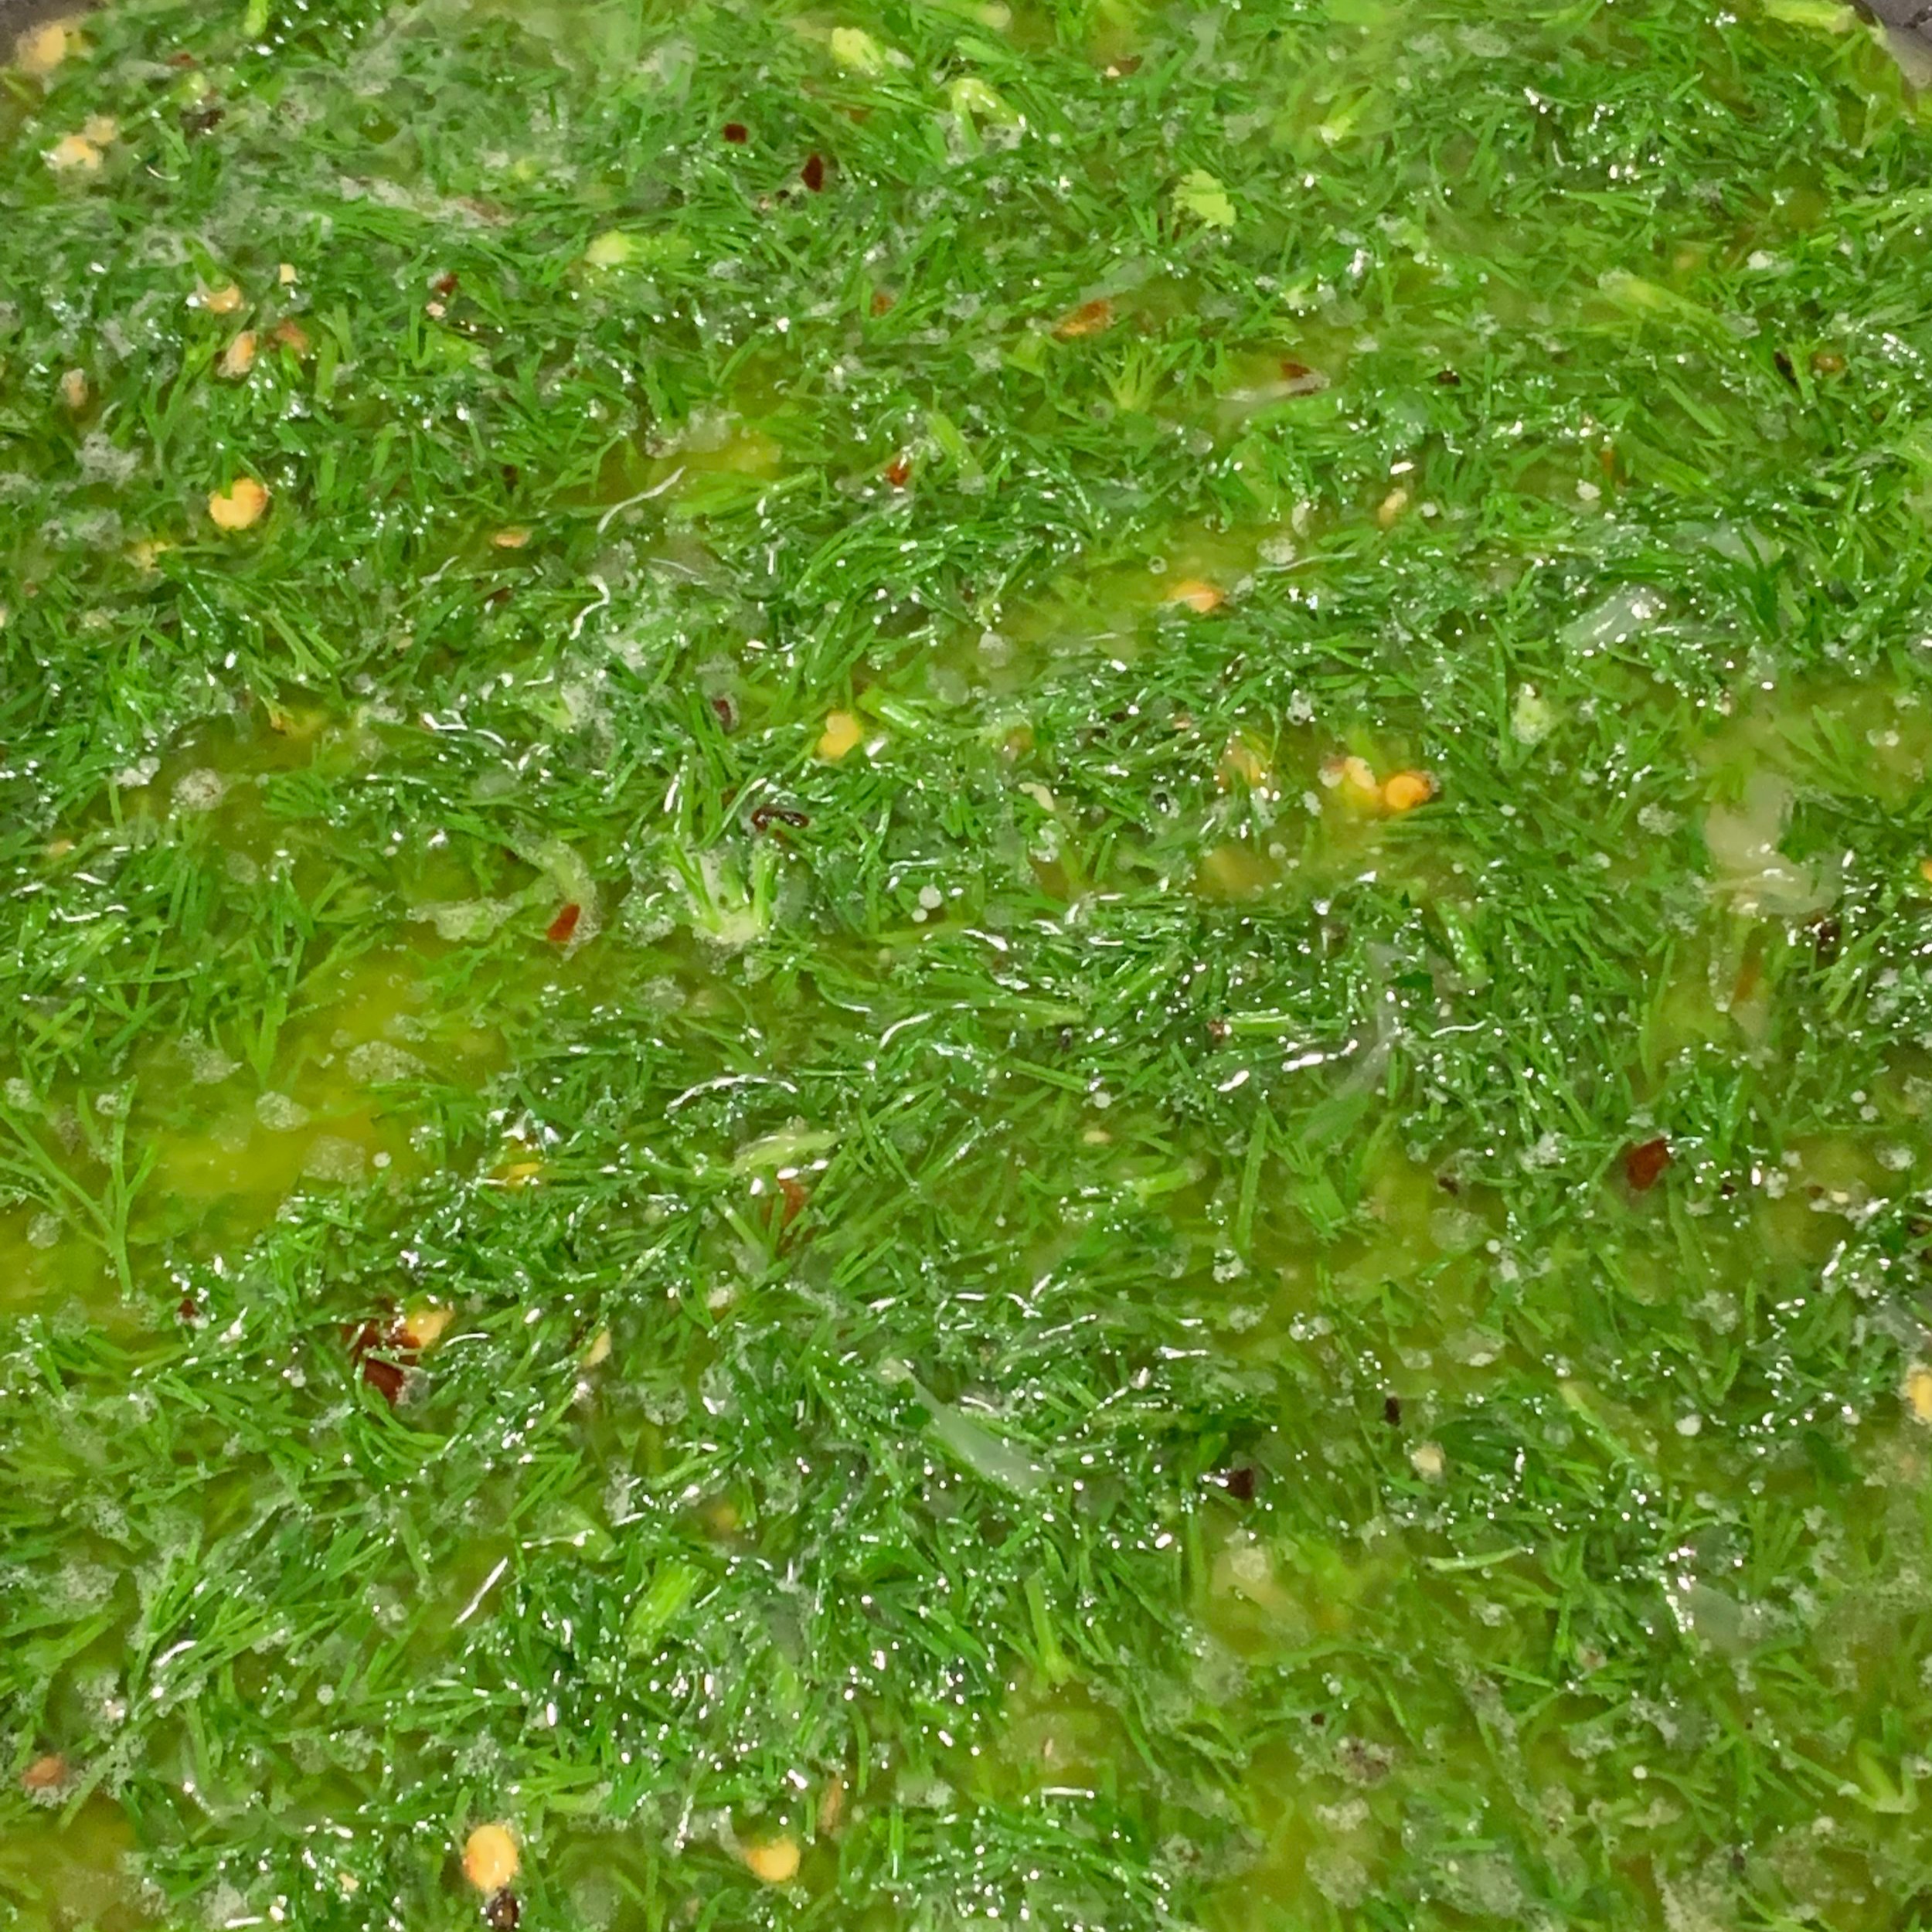
  • Add dill, salt and pepper and gently warm for 1-2 minutes.

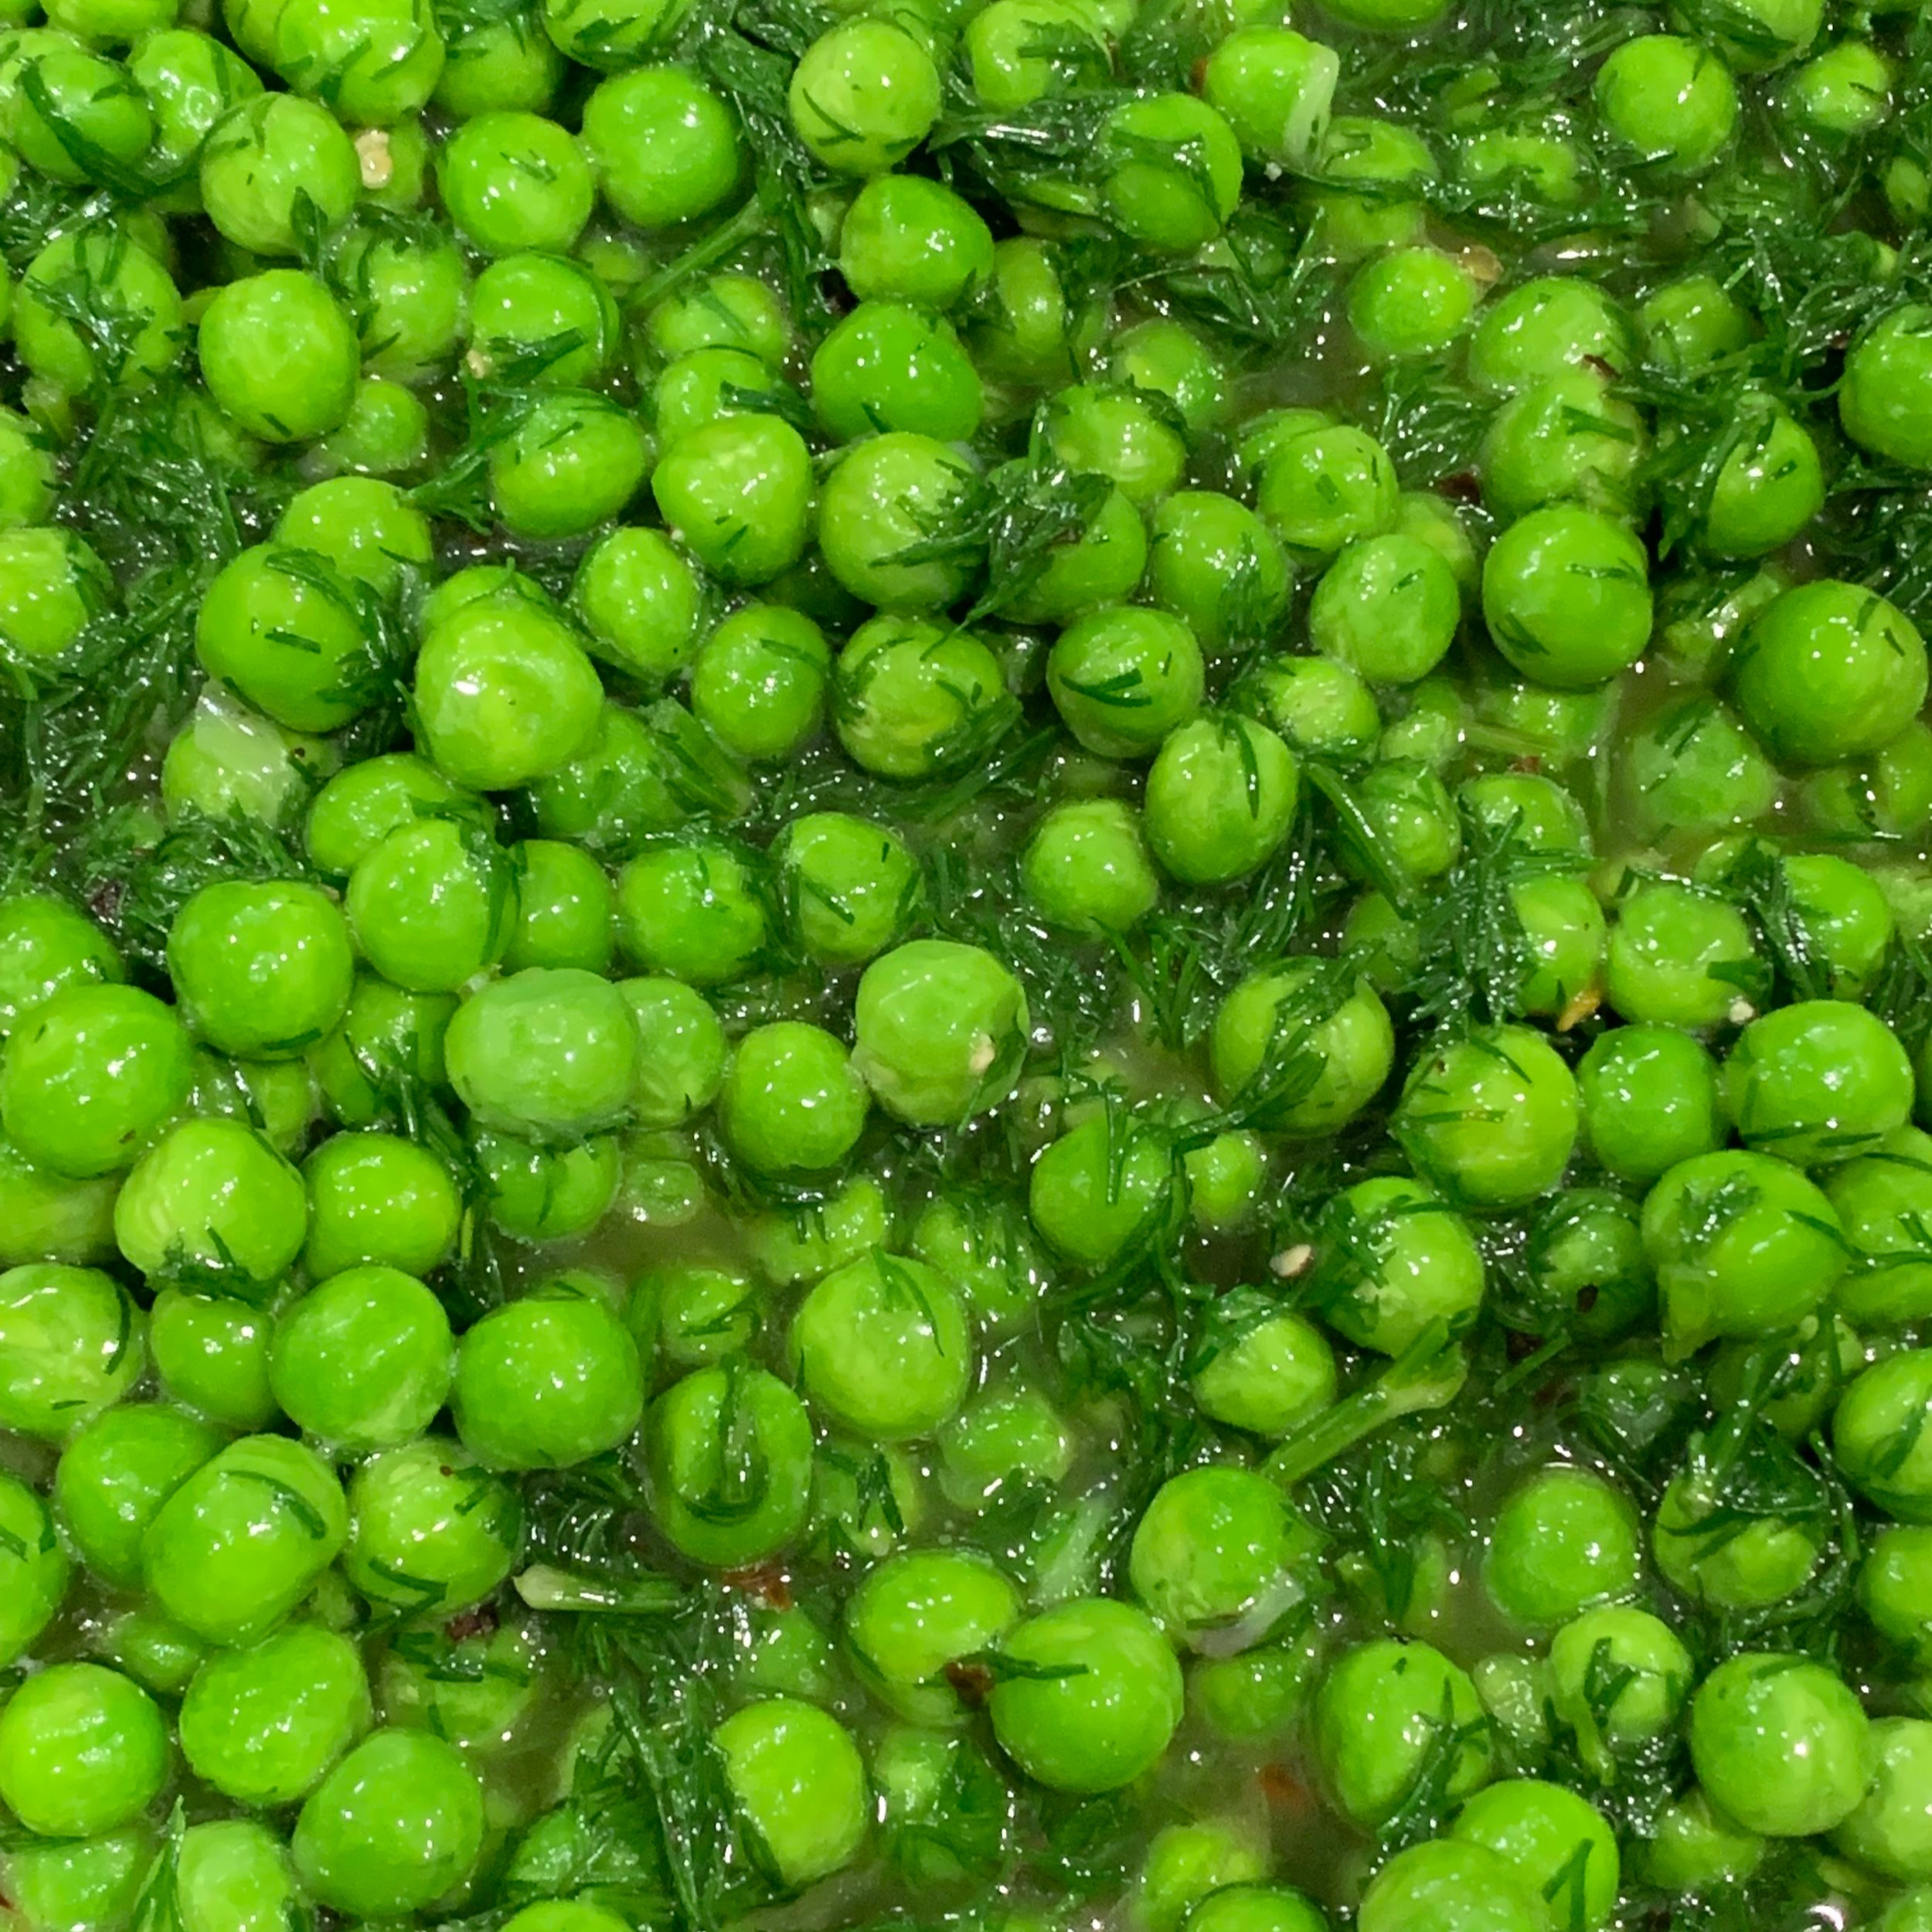
  • Add peas and warm for 2-3 minutes.

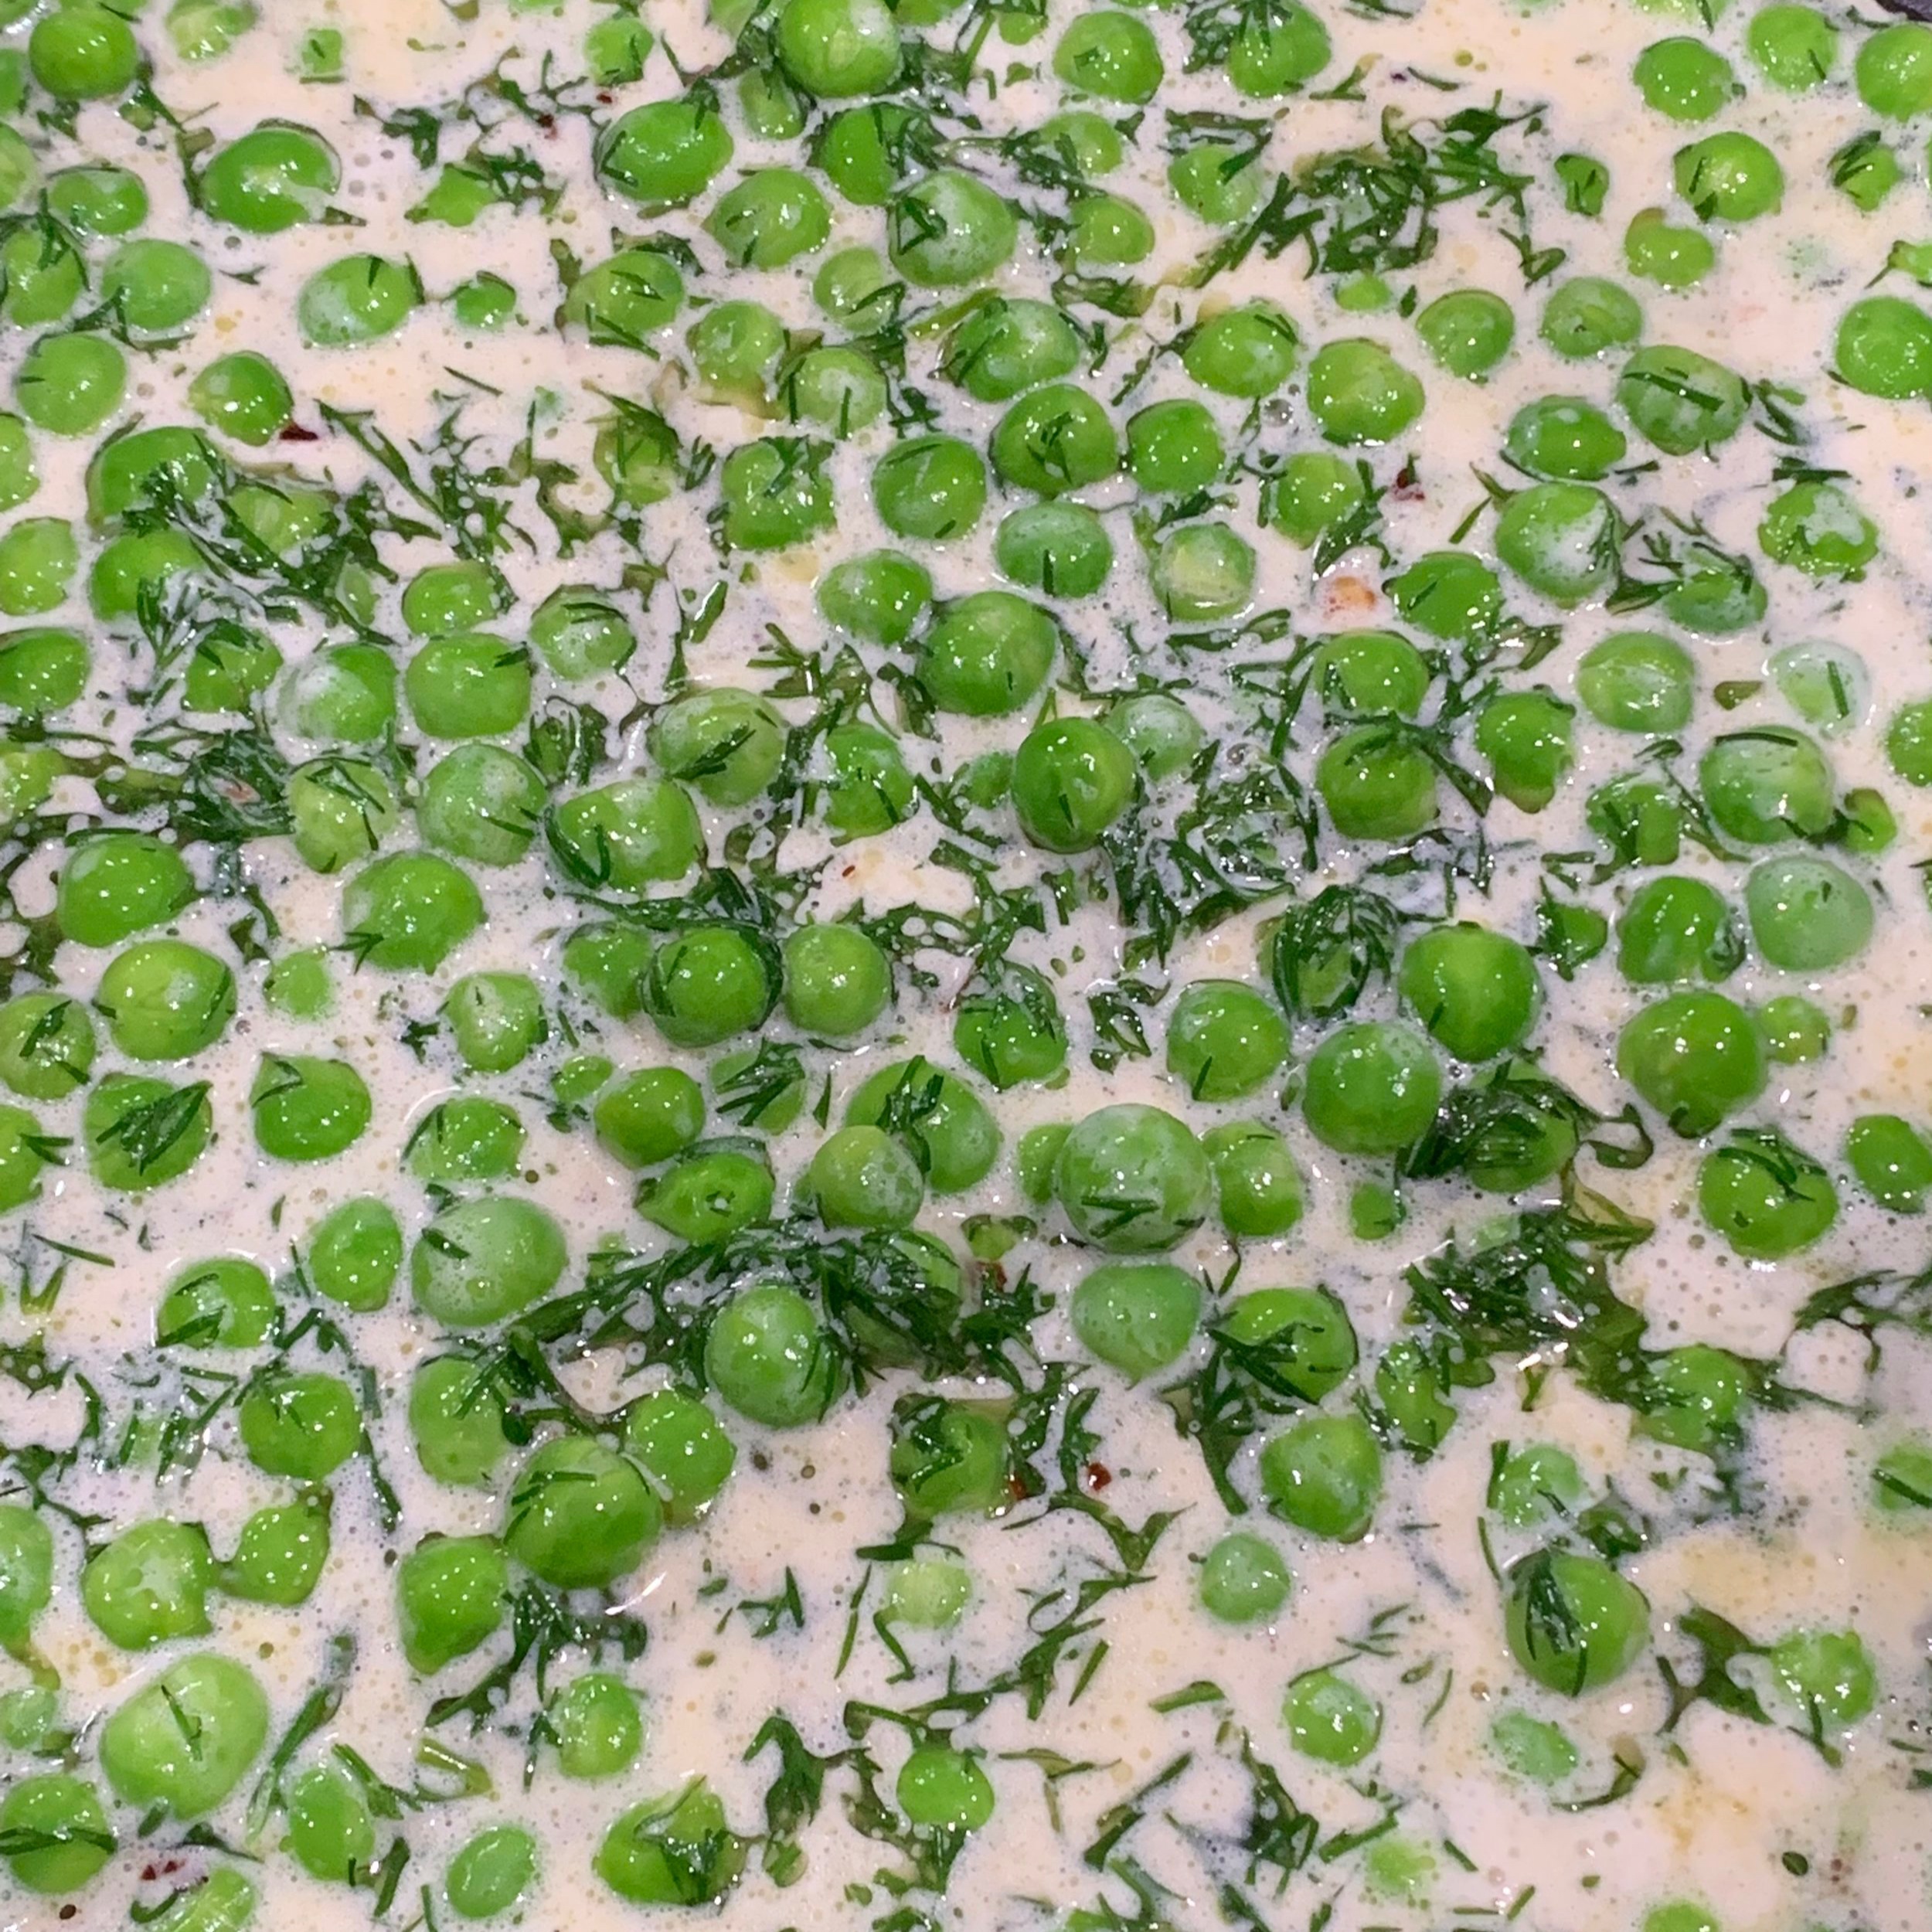
  • Add creme fraiche and mix to create sauce.

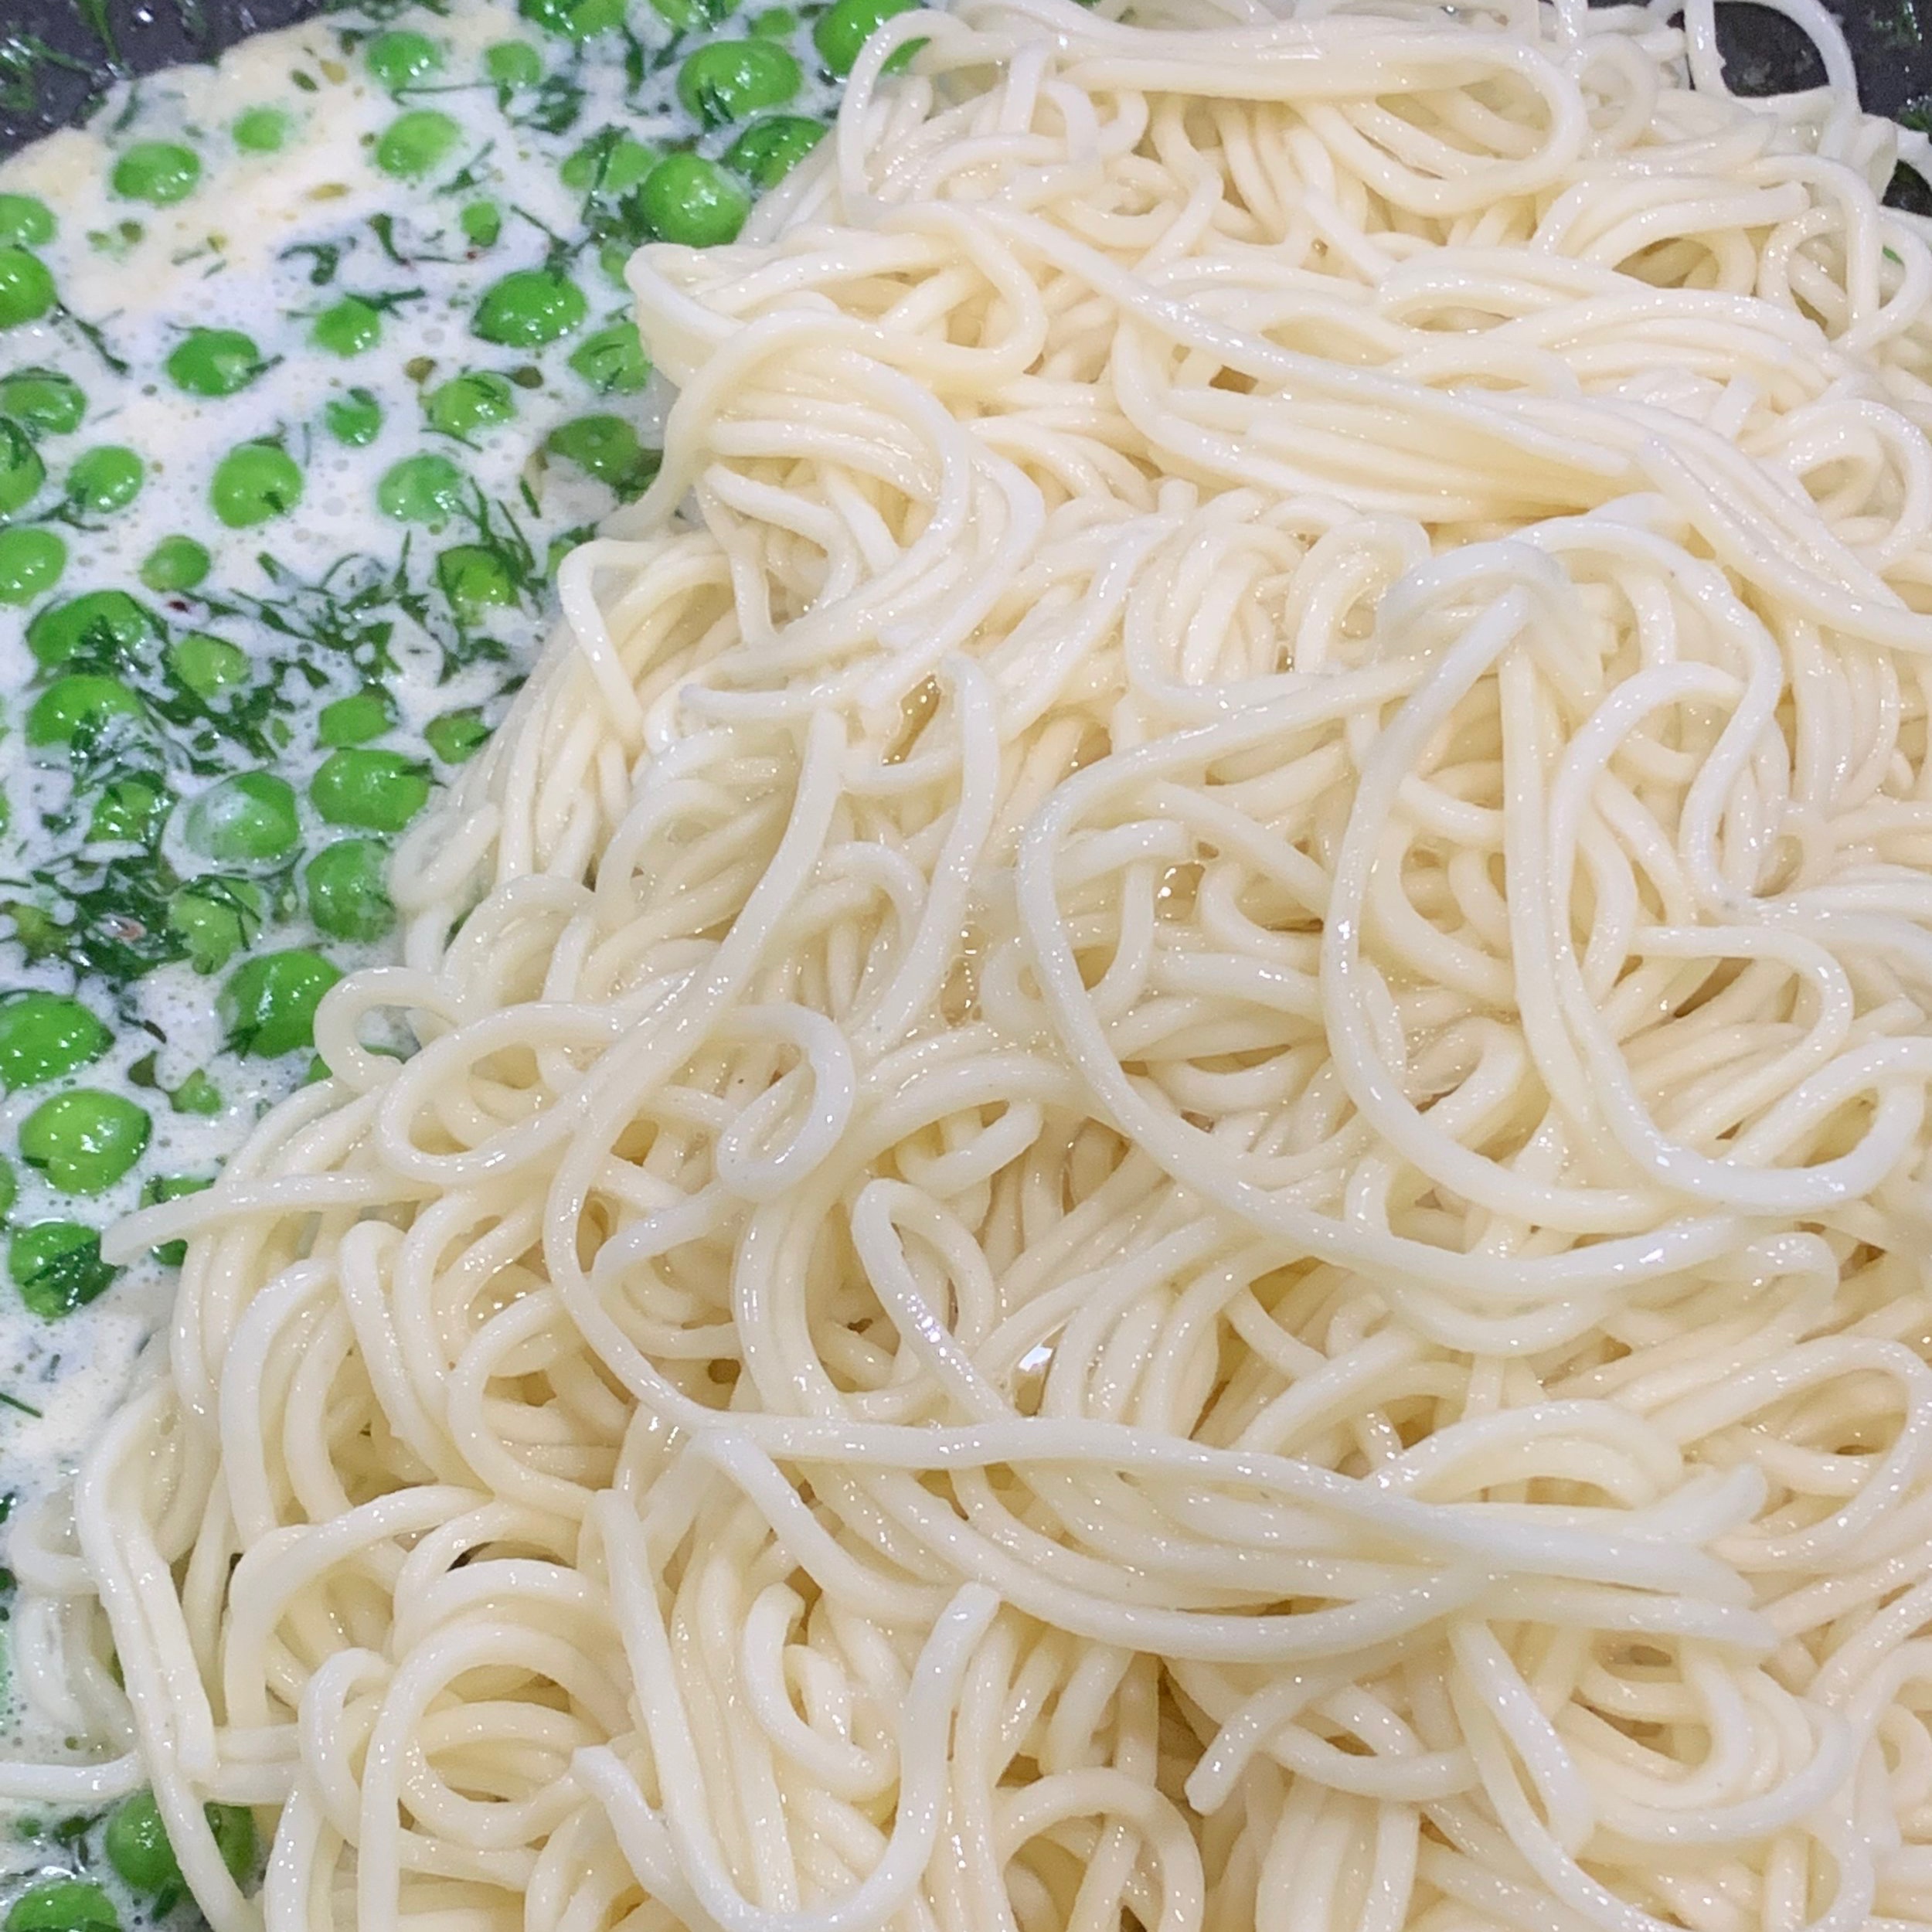
  • Add pasta, toss and cook with sauce for 1 minute.

  • Serve with a sprinkle of Parmesan cheese

Serves 2-3

SAWFdn6LT3Sgk4lXyvlEMQ.jpg


Summer Oatmeal-A Cool Idea

IMG_9936.JPG
IMG_9941.JPG

I love grains.  They are good and good for you in so many ways.  Humans have eaten them for thousands of years and many of the vitamins essential to good brain, heart and overall development come from grains.  That said, I despise processed cereals, which are a blight upon the earth; ok that may be a  little heavy but not inaccurate.  I can say this because I spent most of my medical school life eating frosted flakes for breakfast, lunch and dinner.  It was easy and delicious.  I just had no idea that it wasn't really food but sugar with a false label telling me I was getting nutrients in a bowl.  After researching processed cereals several years ago, I came home and threw out all my husband's Cheerios, including the chocolate.  This was an unpleasant surprise for him.  We got through it.  

But here's something more pleasant-a cool (literally) way go prepare oatmeal in the fridge.  It can be personalized based on what dry fruit one prefers.  There's no cooking and it can live in the fridge up to a week making it perfect for school day breakfasts as well.  Make them in smaller mason jars and you can take them to go.

I'm using Mcann's Irish Rolled Oats here.  I like currents and have recently discovered dried mulberries.  These have no sugar added.  You can enhance the oatmeal with additional chopped nuts (pecans, walnuts, pistachios) and fresh fruits, berries or yogurt. The combinations are only limited by your imagination,  As always, I encourage you to eat seasonally.

You can use a larger jar and increase the amounts--just leave some room for the oatmeal to expand a little.  Your can mix all the ingredients in a bowl and divide into smaller jars for individual and to go servings

RECIPE:  Summer Cold Oatmeal

In a Pint canning jar, place:

  • 1 cup rolled oats
  • 1/8 cup dried currants
  • 1/8 cup dried mulberries
  • Add 1 and 1/2 cups of whole milk.
  • Cover and place in the refrigerator overnight (about 12 hours)
  • Spoon out about 1/3 into a bowl and enjoy as is or with the toppings of you choice.

Makes 2-3 servings

Suggestions for toppings:

Peaches, pecans and honey

Berries, almonds, yogurt and honey

Blueberries, walnuts, cinnamon and maple syrup

Bananas and brown sugar

Fried Squash Blossoms Bengali Style

IMG_9377.JPG

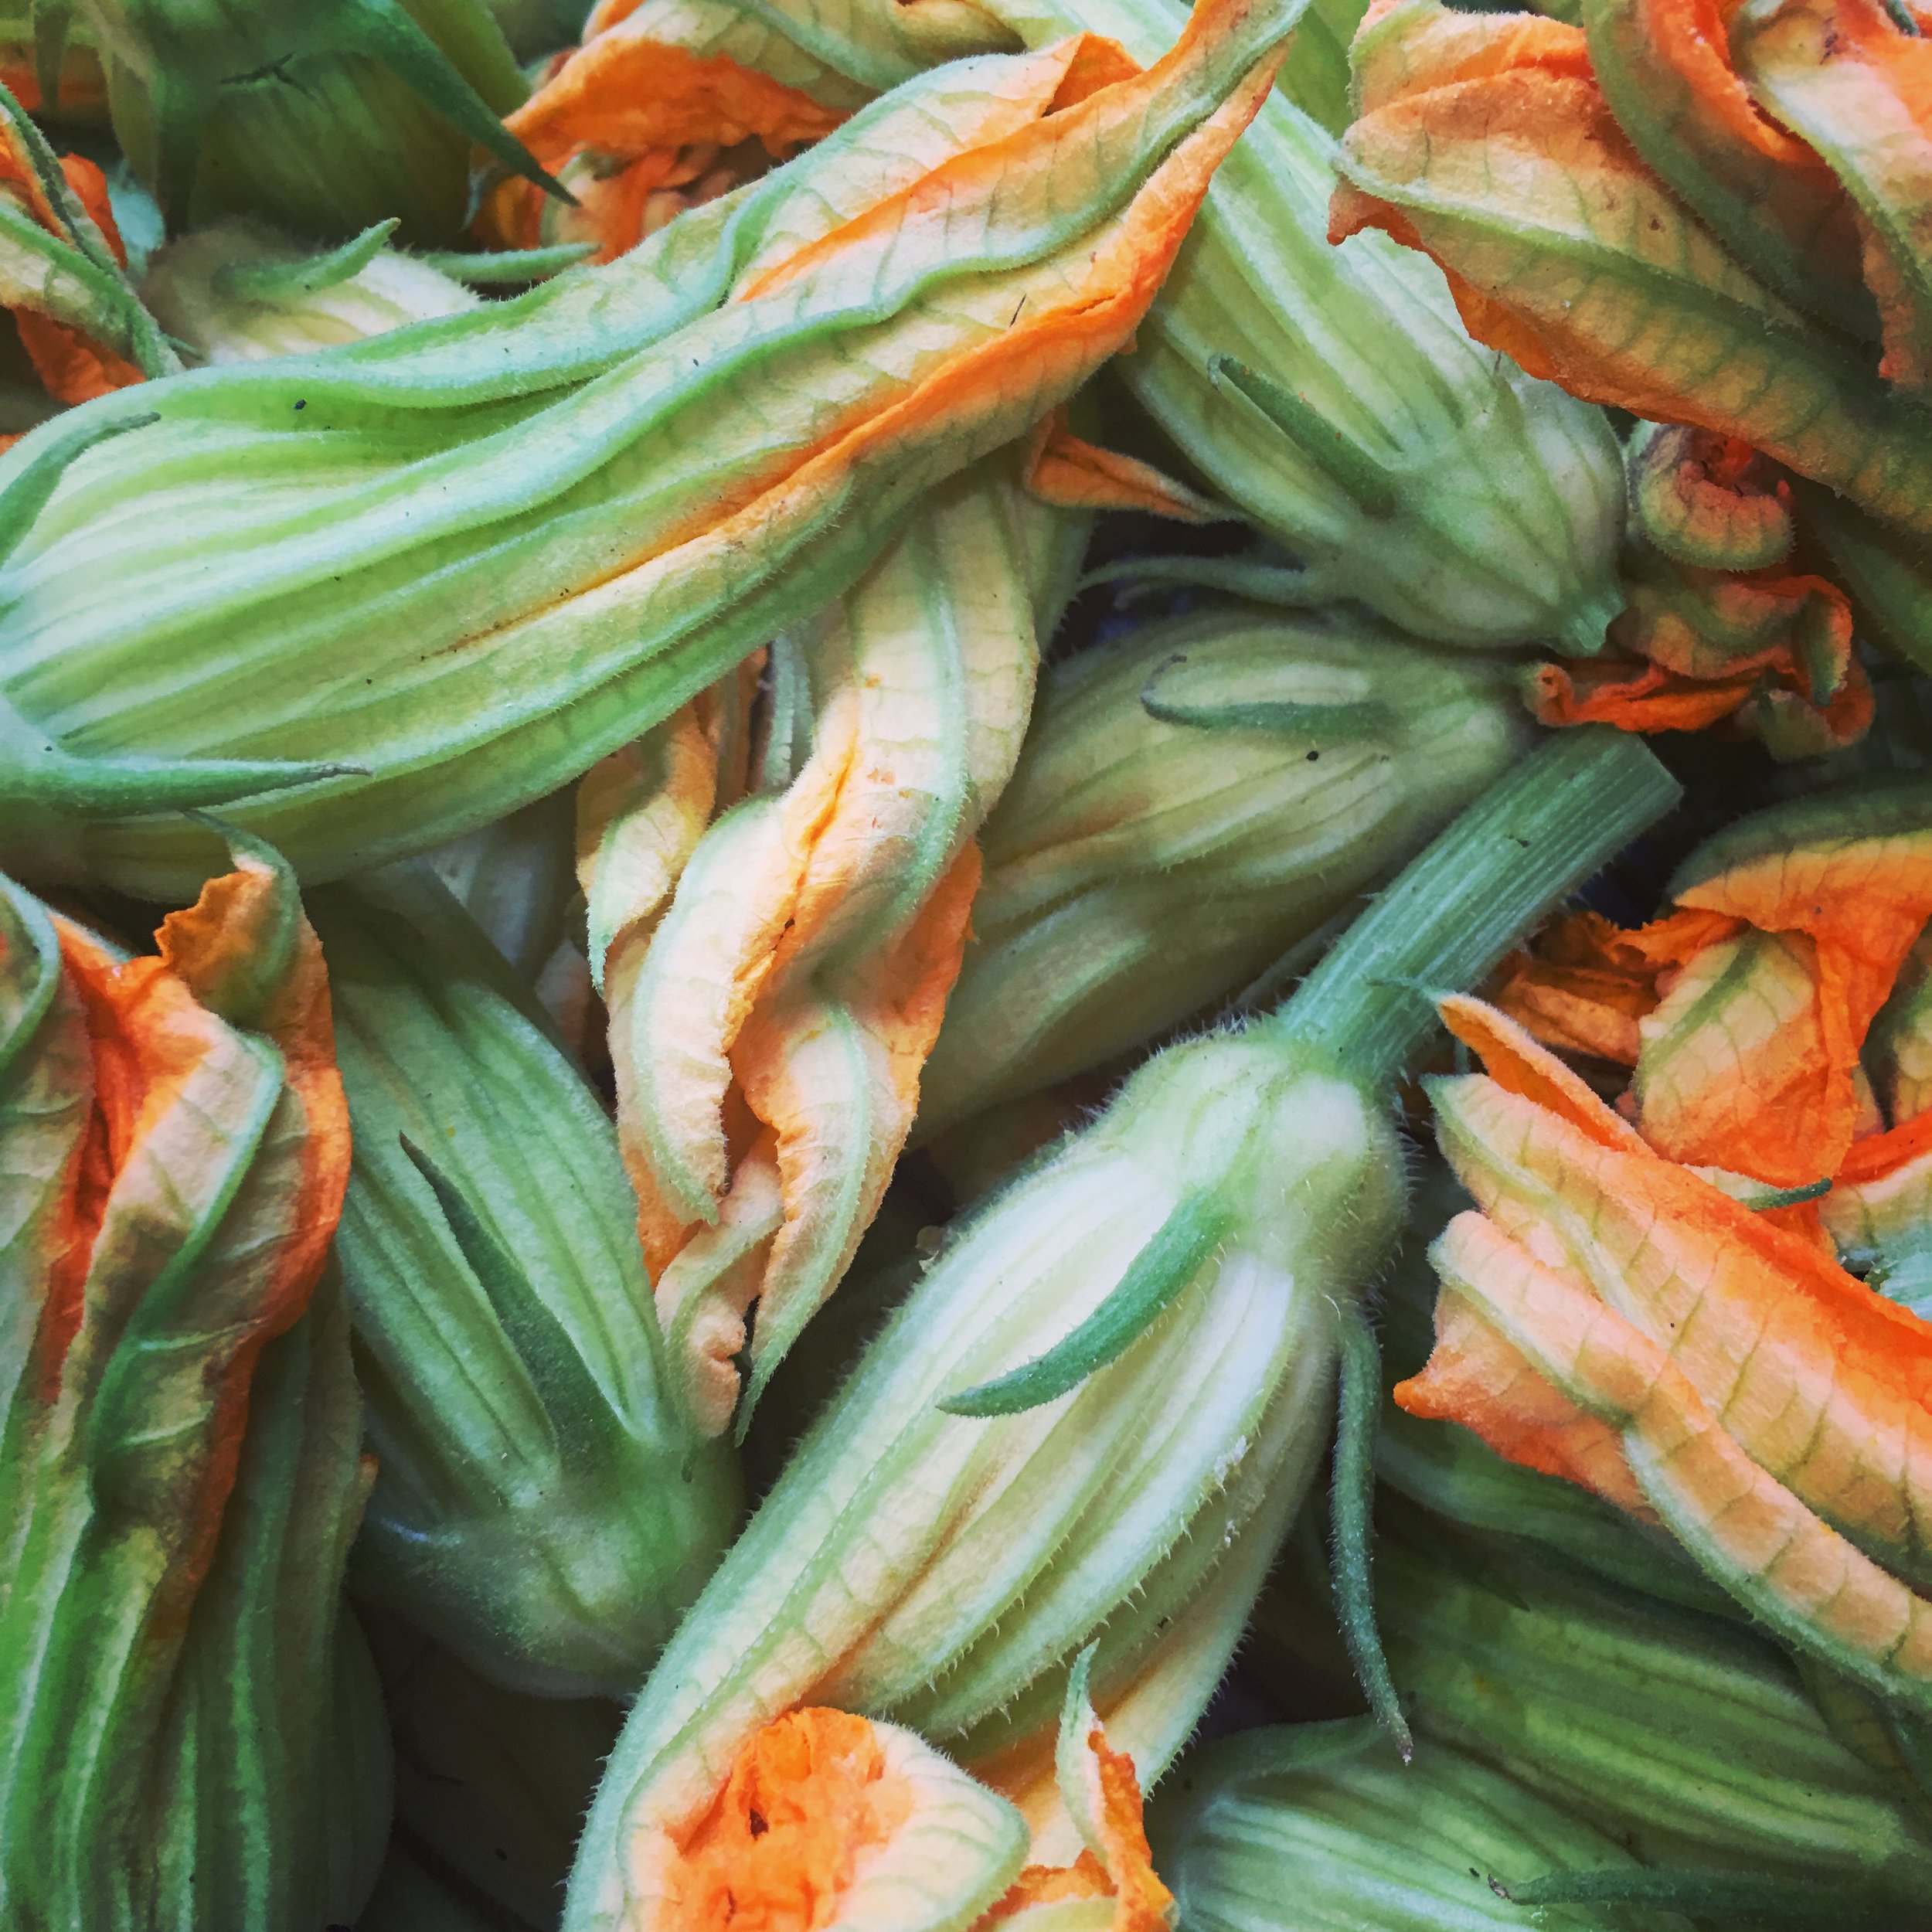
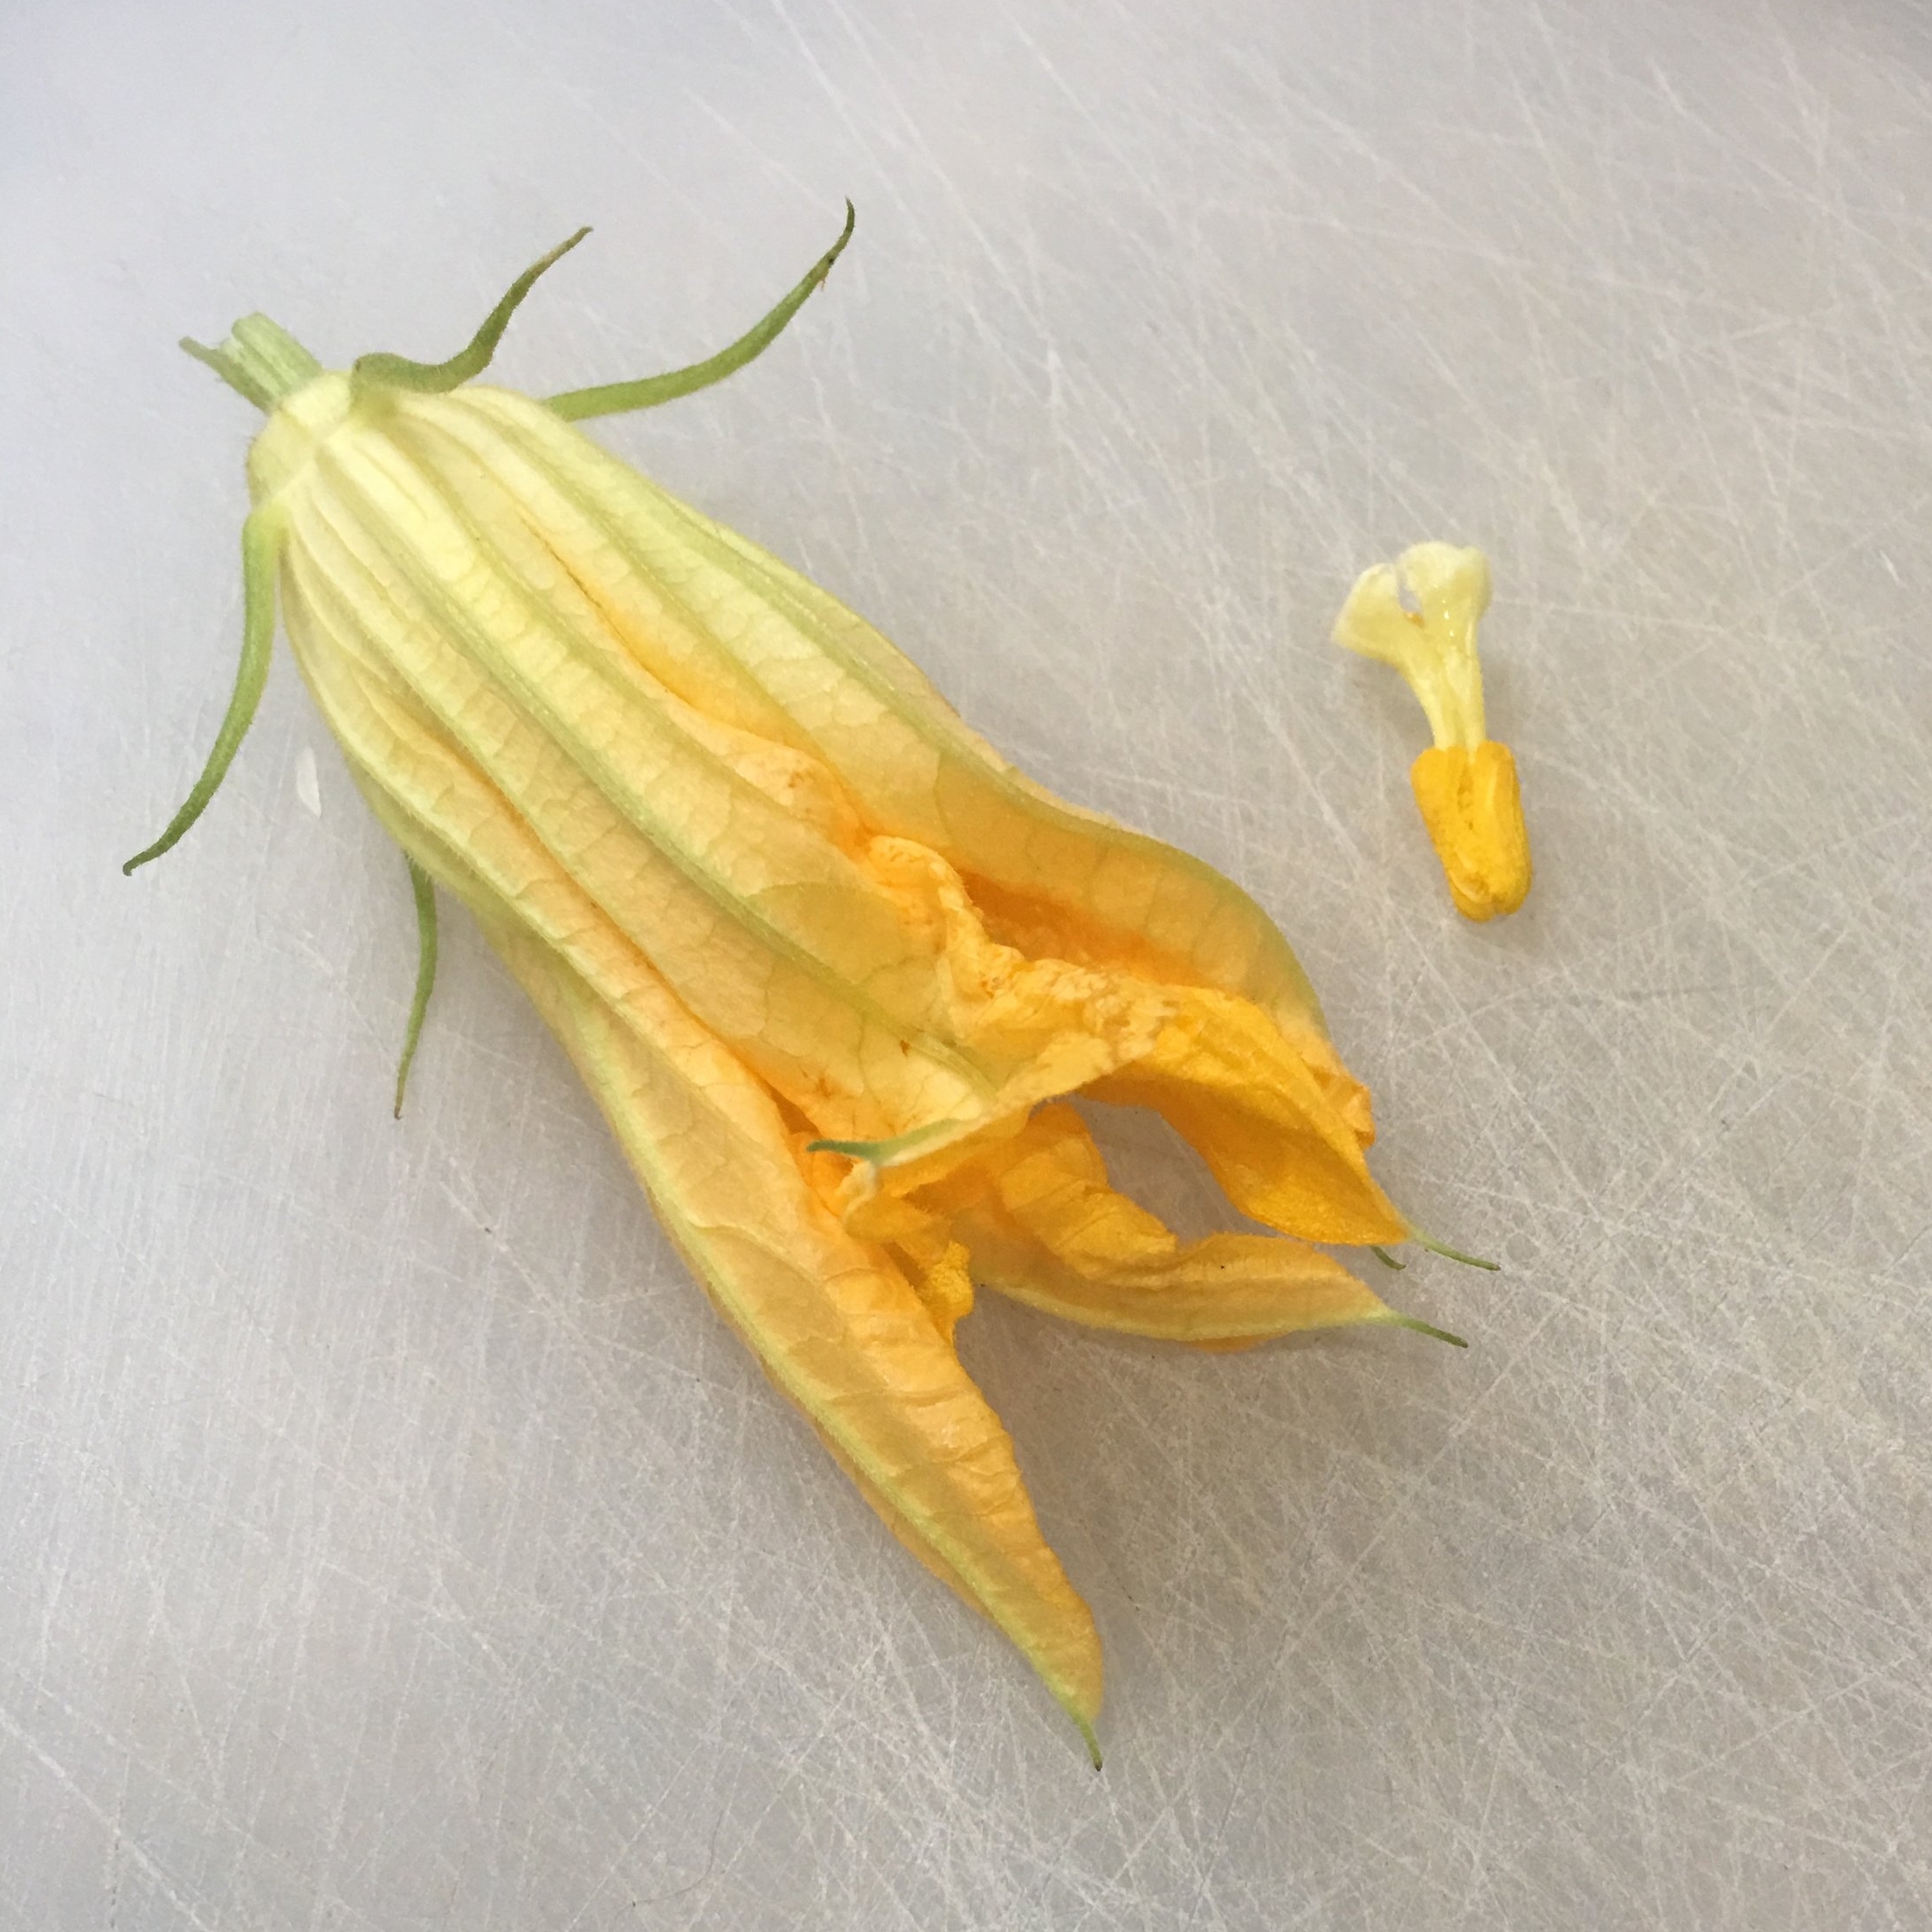
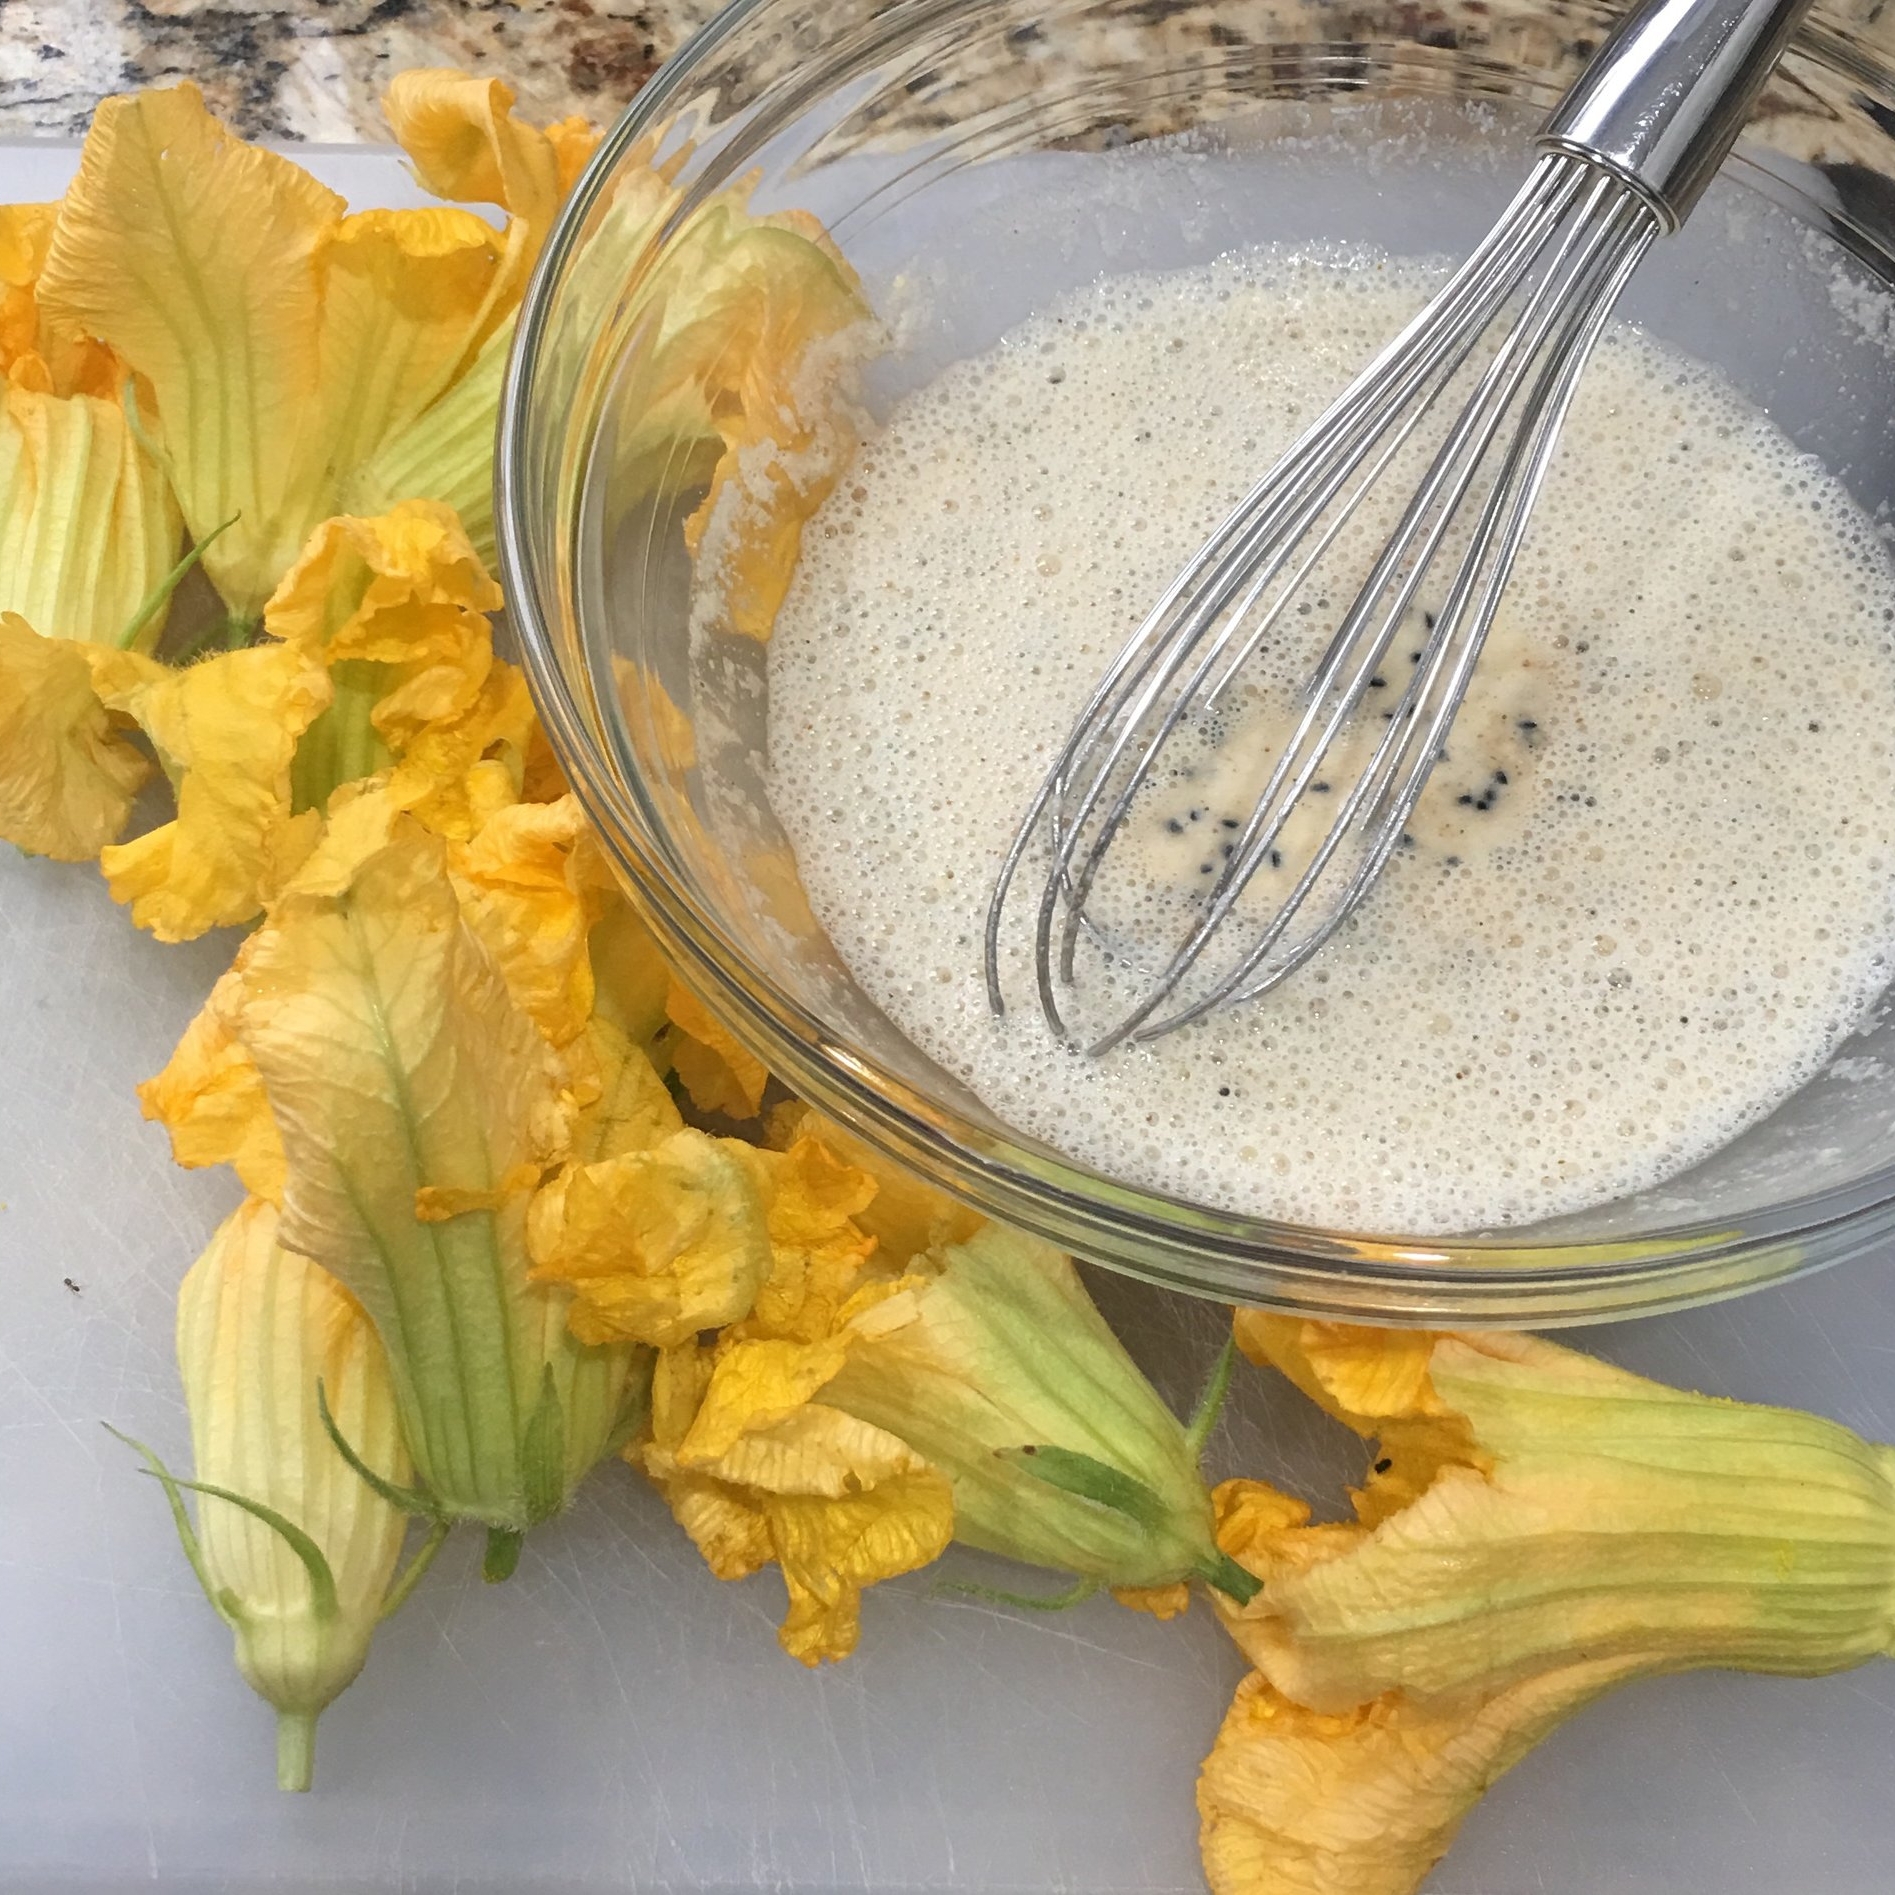
I love squash blossoms! Did you know that the entire squash plant is edible?  Many cultures prepare the leaves and peel the stems to use in soups, sautés and curries. So if you don't get the squash when you plant it , it's not a total failure.  The most laborious part of preparing squash blossoms is removing the stamens from the base inside the blossom. Since I'm frying these, and not stuffing them, it doesn't matter if the the flower tears a bit--it'll be dipped in a delicious, savory, crunchy batter soon enough, covering any flaws. 

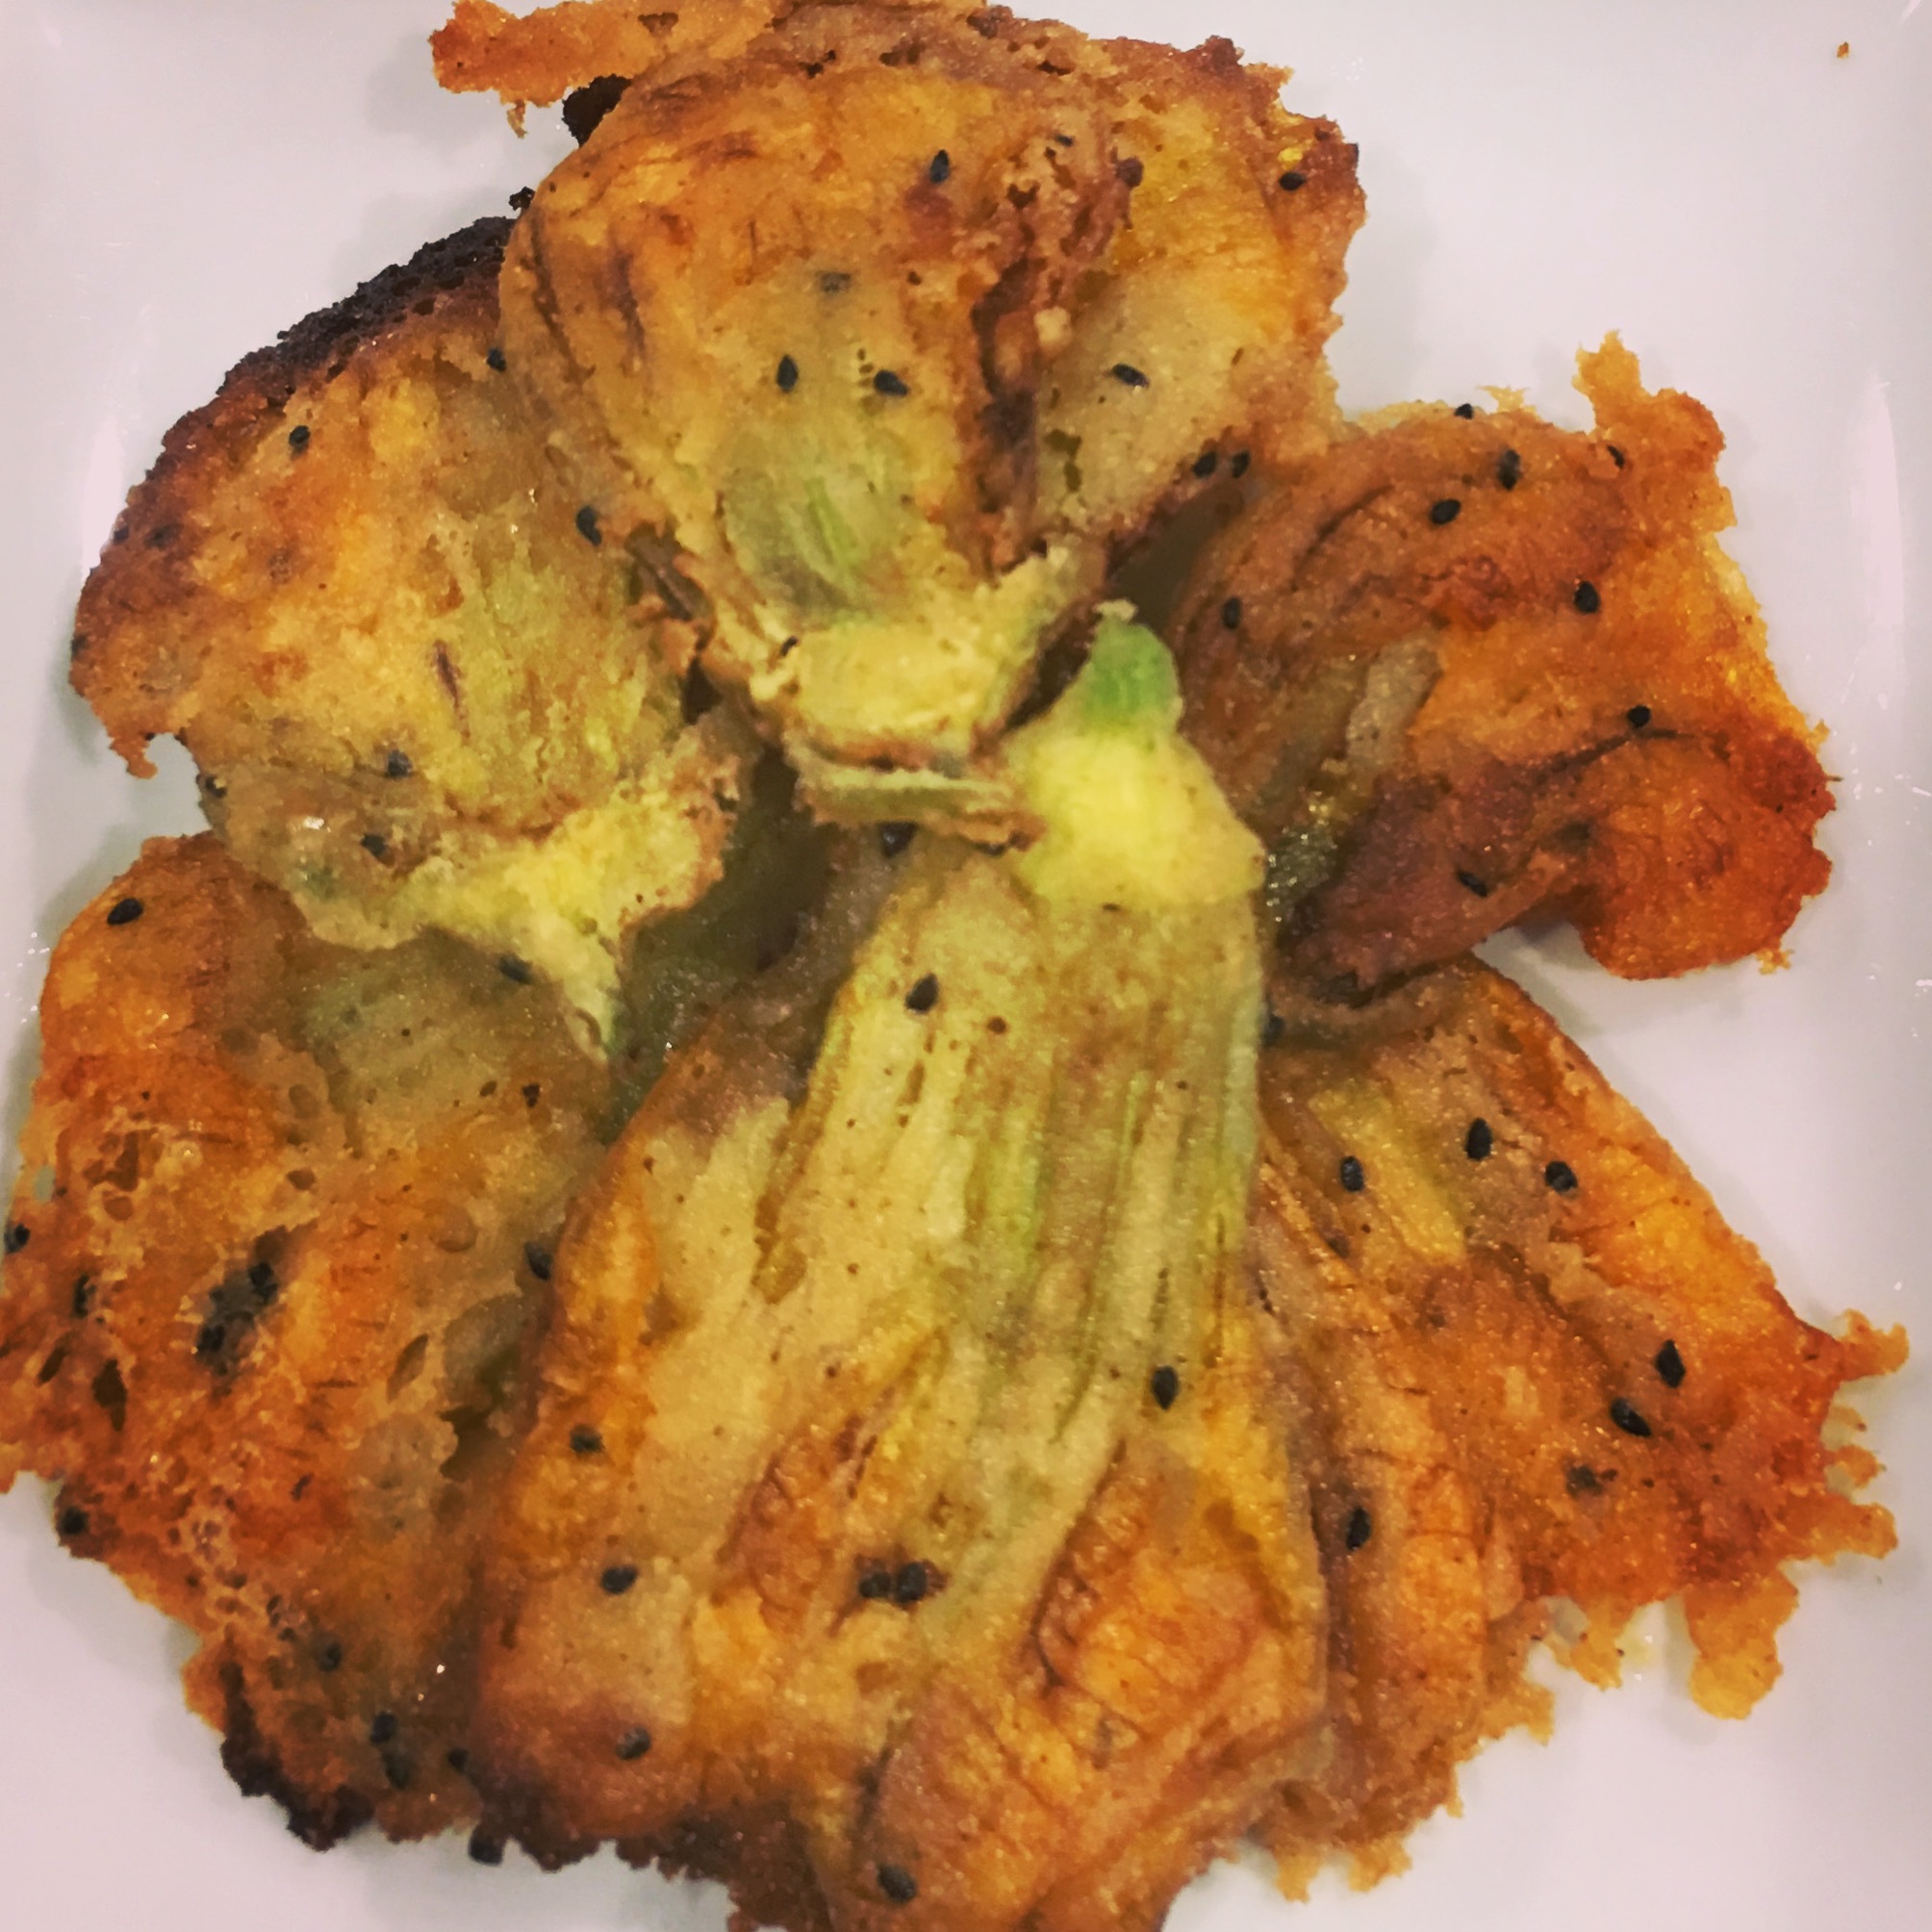
This is one of the simplest recipes from the State of Bengal in India and one that has been made in my family for generations.  I have adapted the recipe using soda water to create a lighter batter. 

IMG_9320.JPG

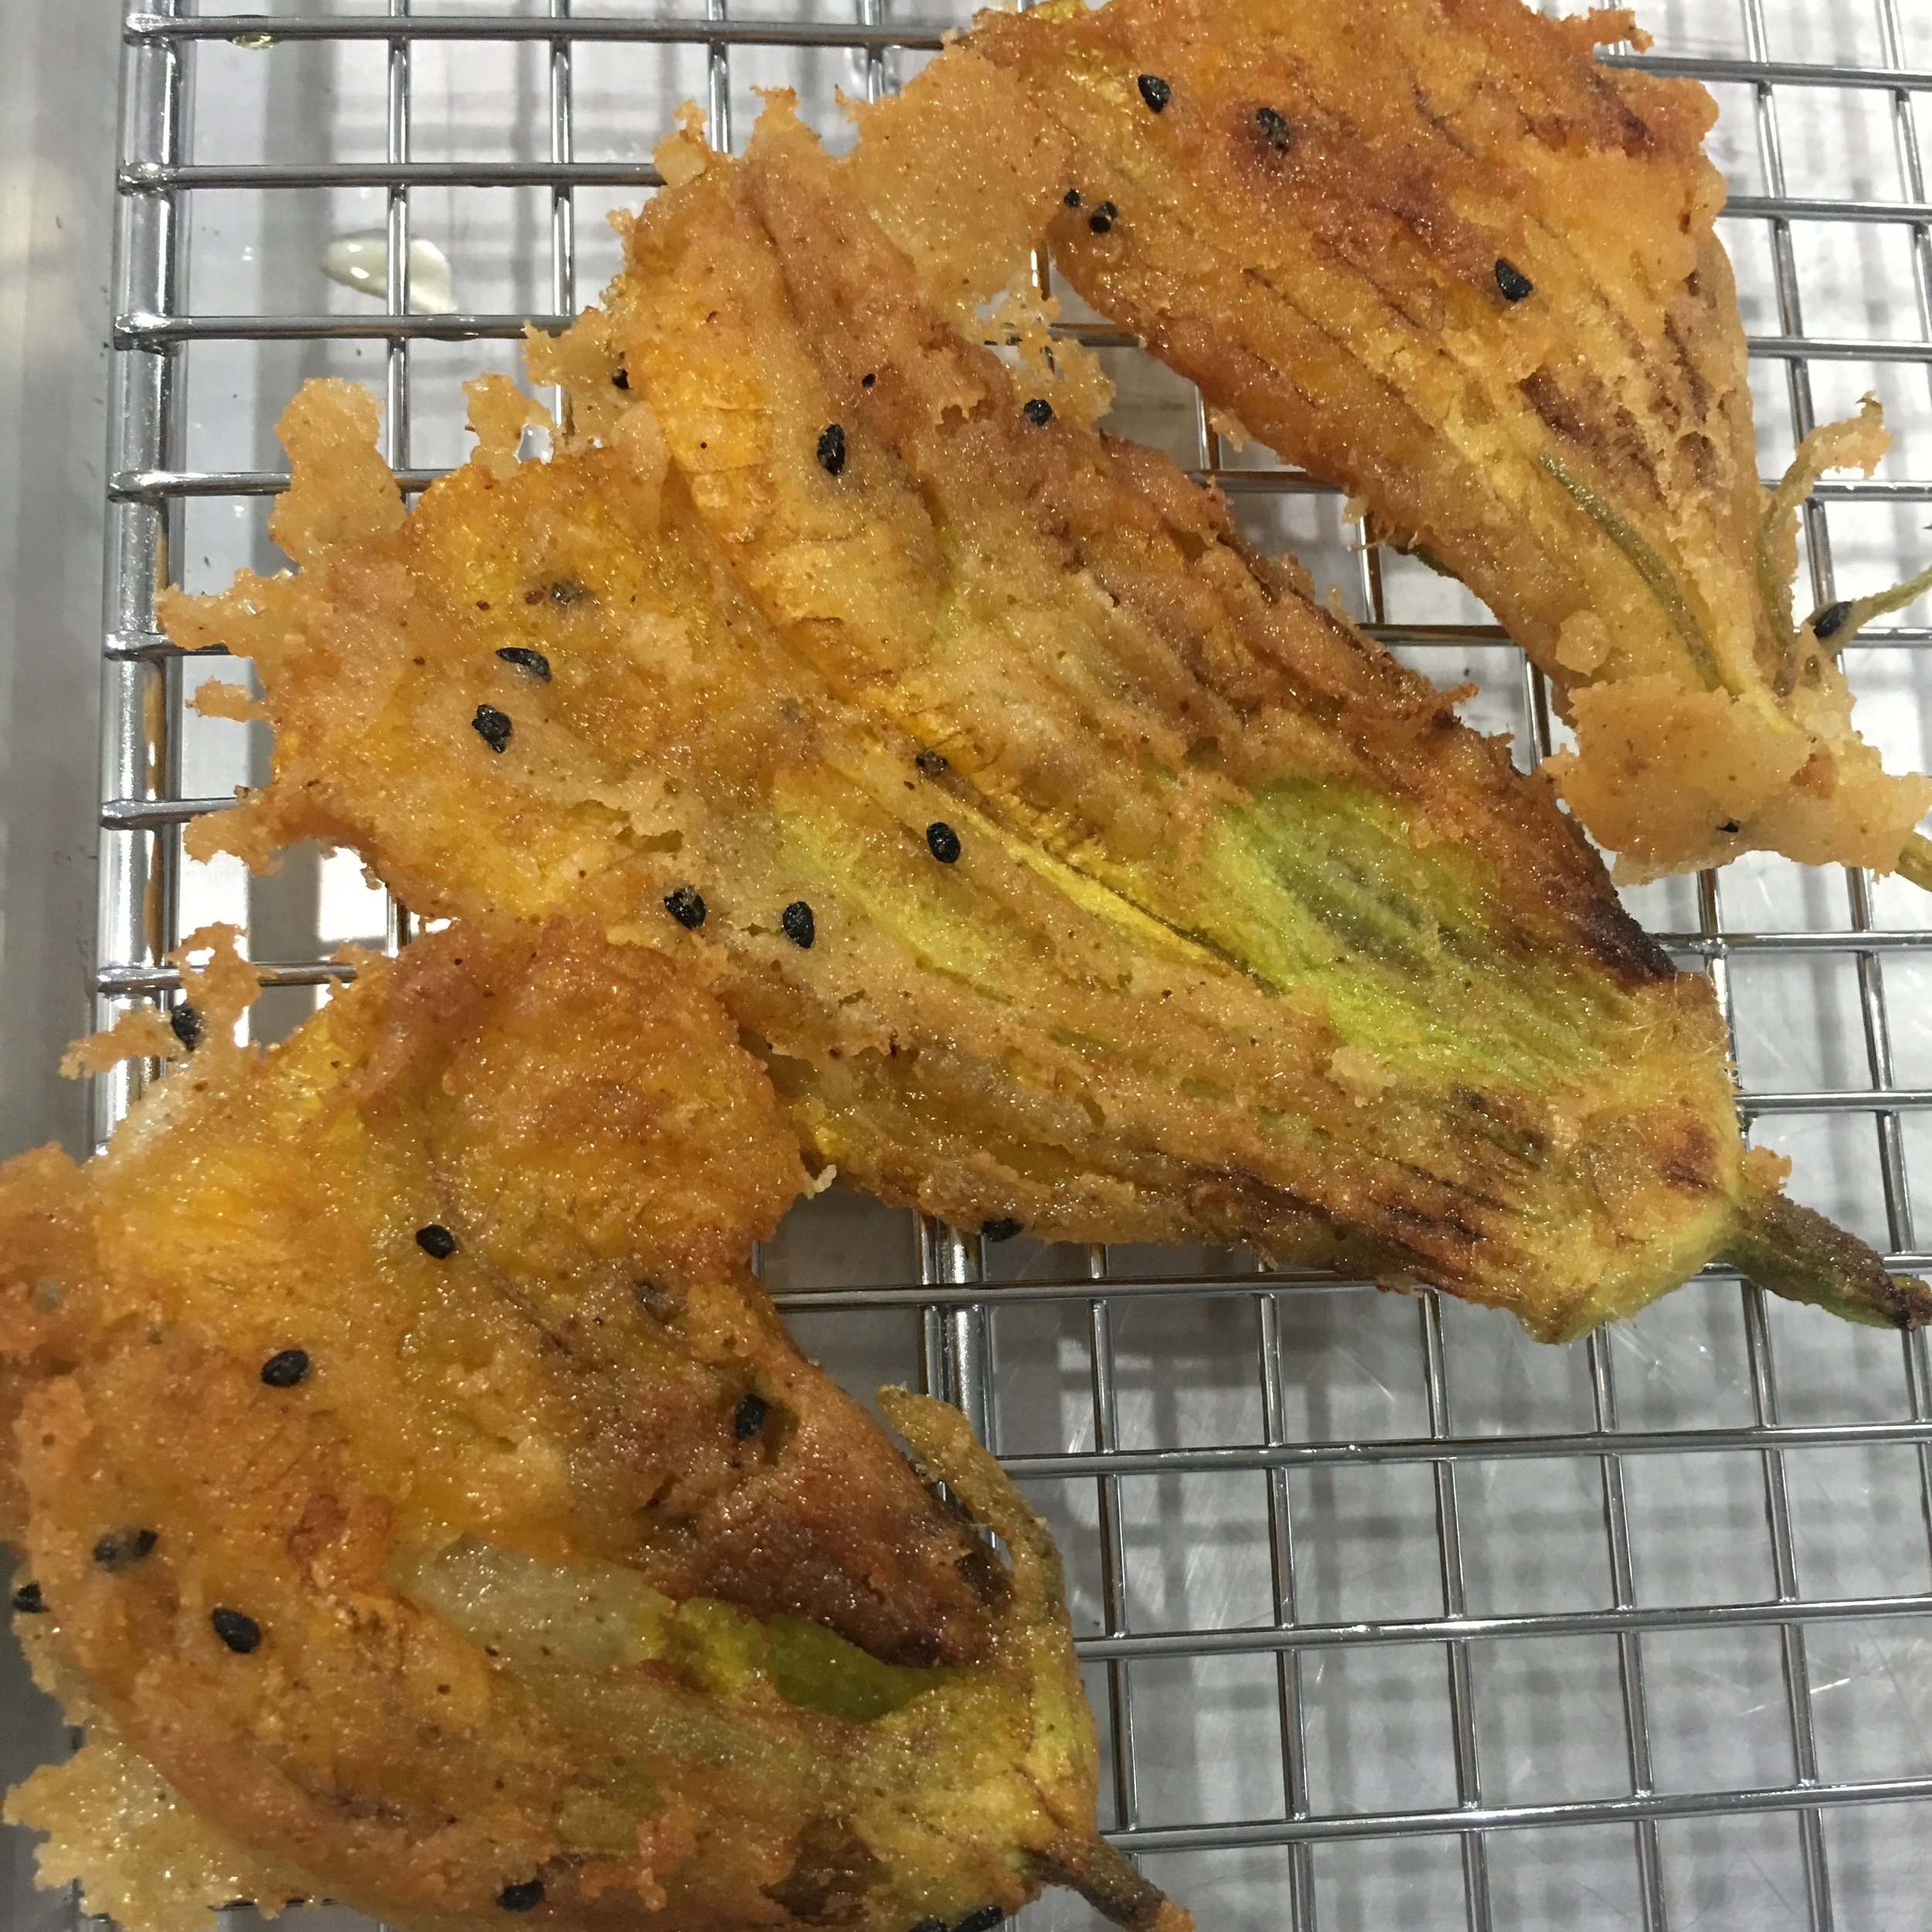
These blossoms have a delicate flavor and this light batter works well. The nigella seed adds a nice mild oniony flavor. The low temperature frying is done in olive oil, a good for you mono-unsaturated fat.  I eat these free of any guilt as they are really good and good for me--all things in moderation of course.

Squash blossoms are an excellent source of vitamins A and C. They offer a good source of iron, potassium, calcium and beta-carotene and are high in fiber.

RECIPE: Fried Squash Blossoms Bengali Style

INGREDIENTS

  • 14-16 blossoms, stamens removed

Batter:

  • 1/4 cup rice flour 
  • 1/8 cup chick pea flour
  • 1 teaspoon nigella seeds
  • 1/2 teaspoon sea salt
  • 1/4 teaspoon cayenne 
  • 1/2 cup soda water
  • Extra virgin olive oil for shallow frying

PROCESS

  1. Prepare blossoms by gently shaking off any debris and carefully removing the stamen.
  2. Set a pan on medium heat with 1/4 inch of oil to cover the bottom.
  3. Prepare batter by whisking all ingredients in a bowl.
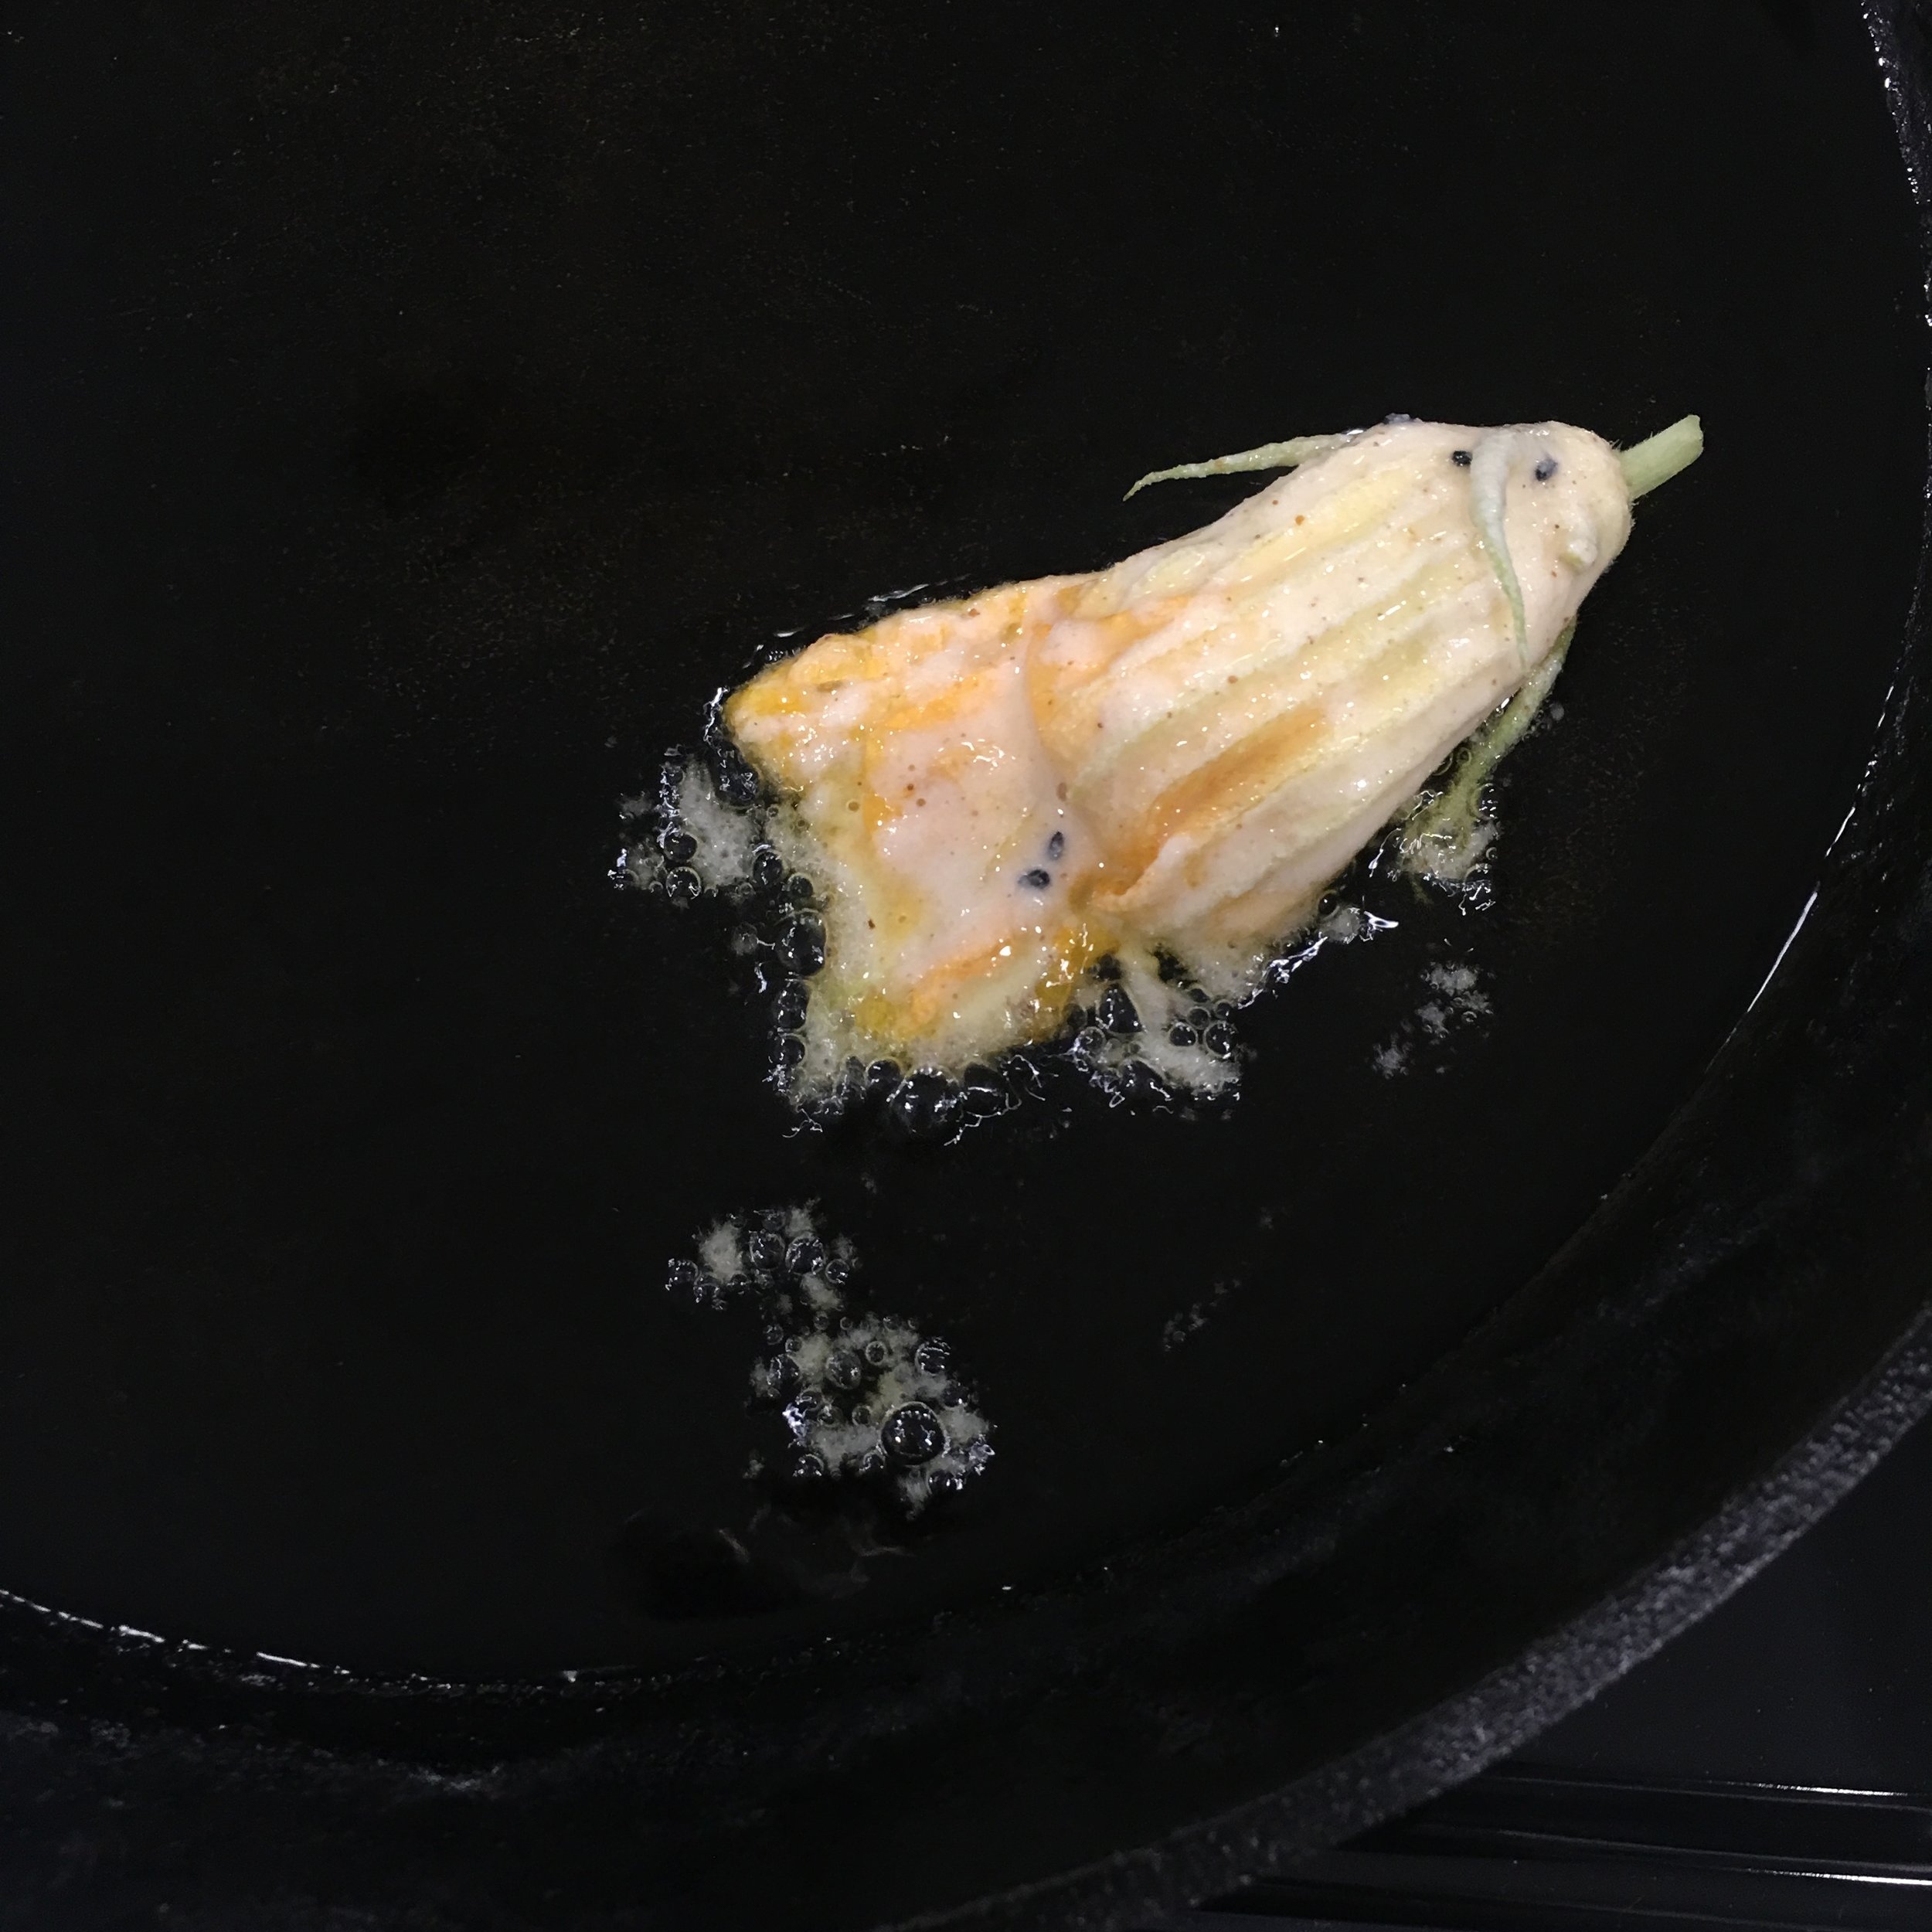
  4. When the surface of the oil begins to move, hold the blossoms by the base, gently coat with batter and lay into oil with a movement away from you.
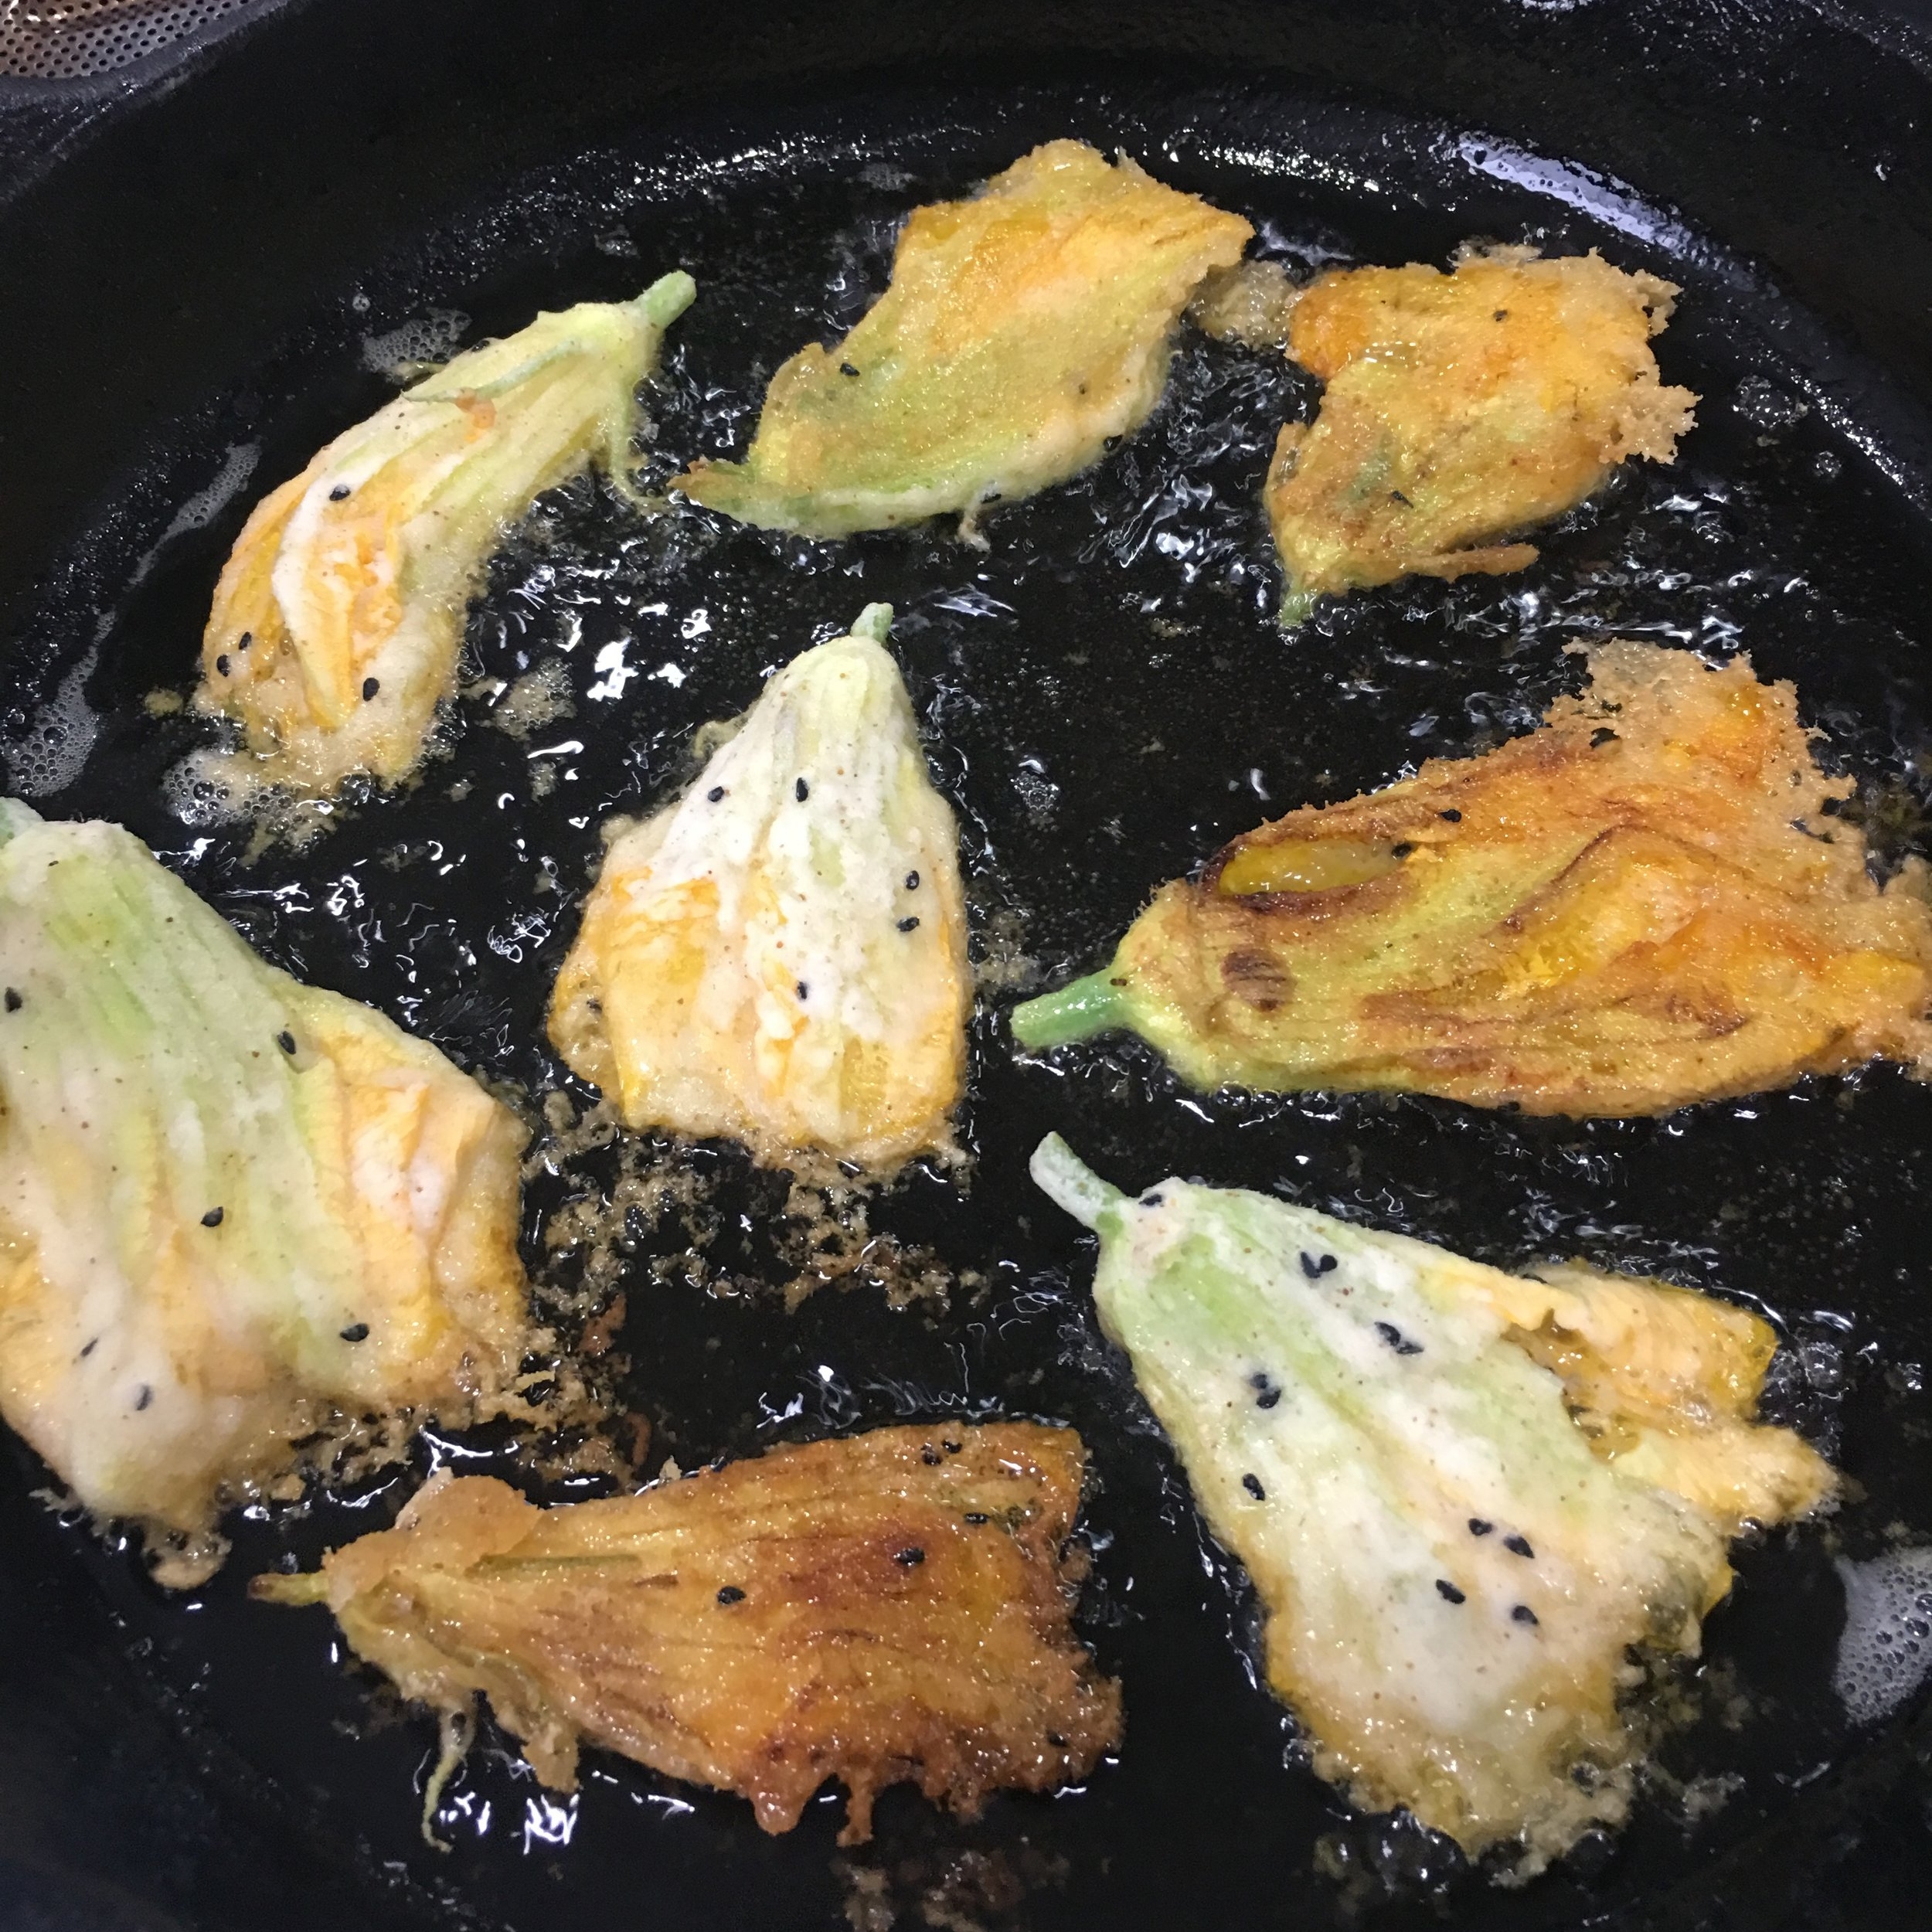
  5.  Fry until golden on both sides. Place on rack or brown paper to drain.

Enjoy at once! They are also delicious at room temperature. 

Can be enjoyed on their own, as a crispy element to a meal, with a cool herbed yogurt or green goddess dip. I love them with a glass of champagne or sparkling rosé.

Quintessentially Summer!


Hurricane Harvey Fallout: Bread Is Good Food

IMG_6190.JPG

Hurricane Harvey may have devastated Houston, but it did not destroy us. Even if you didn’t directly experience the flooding and loss, we are still all touched by it through our friends, families and communities. For almost a year people have been displaced from their homes and the routines of daily living where we find sanctuary. Kitchens are slowly being redesigned and remodeled. Instant Pots, induction cook tops and microwaves are playing a role feeding us. We’re getting back to some basics in the kitchen. I’m back to the basics of bread.

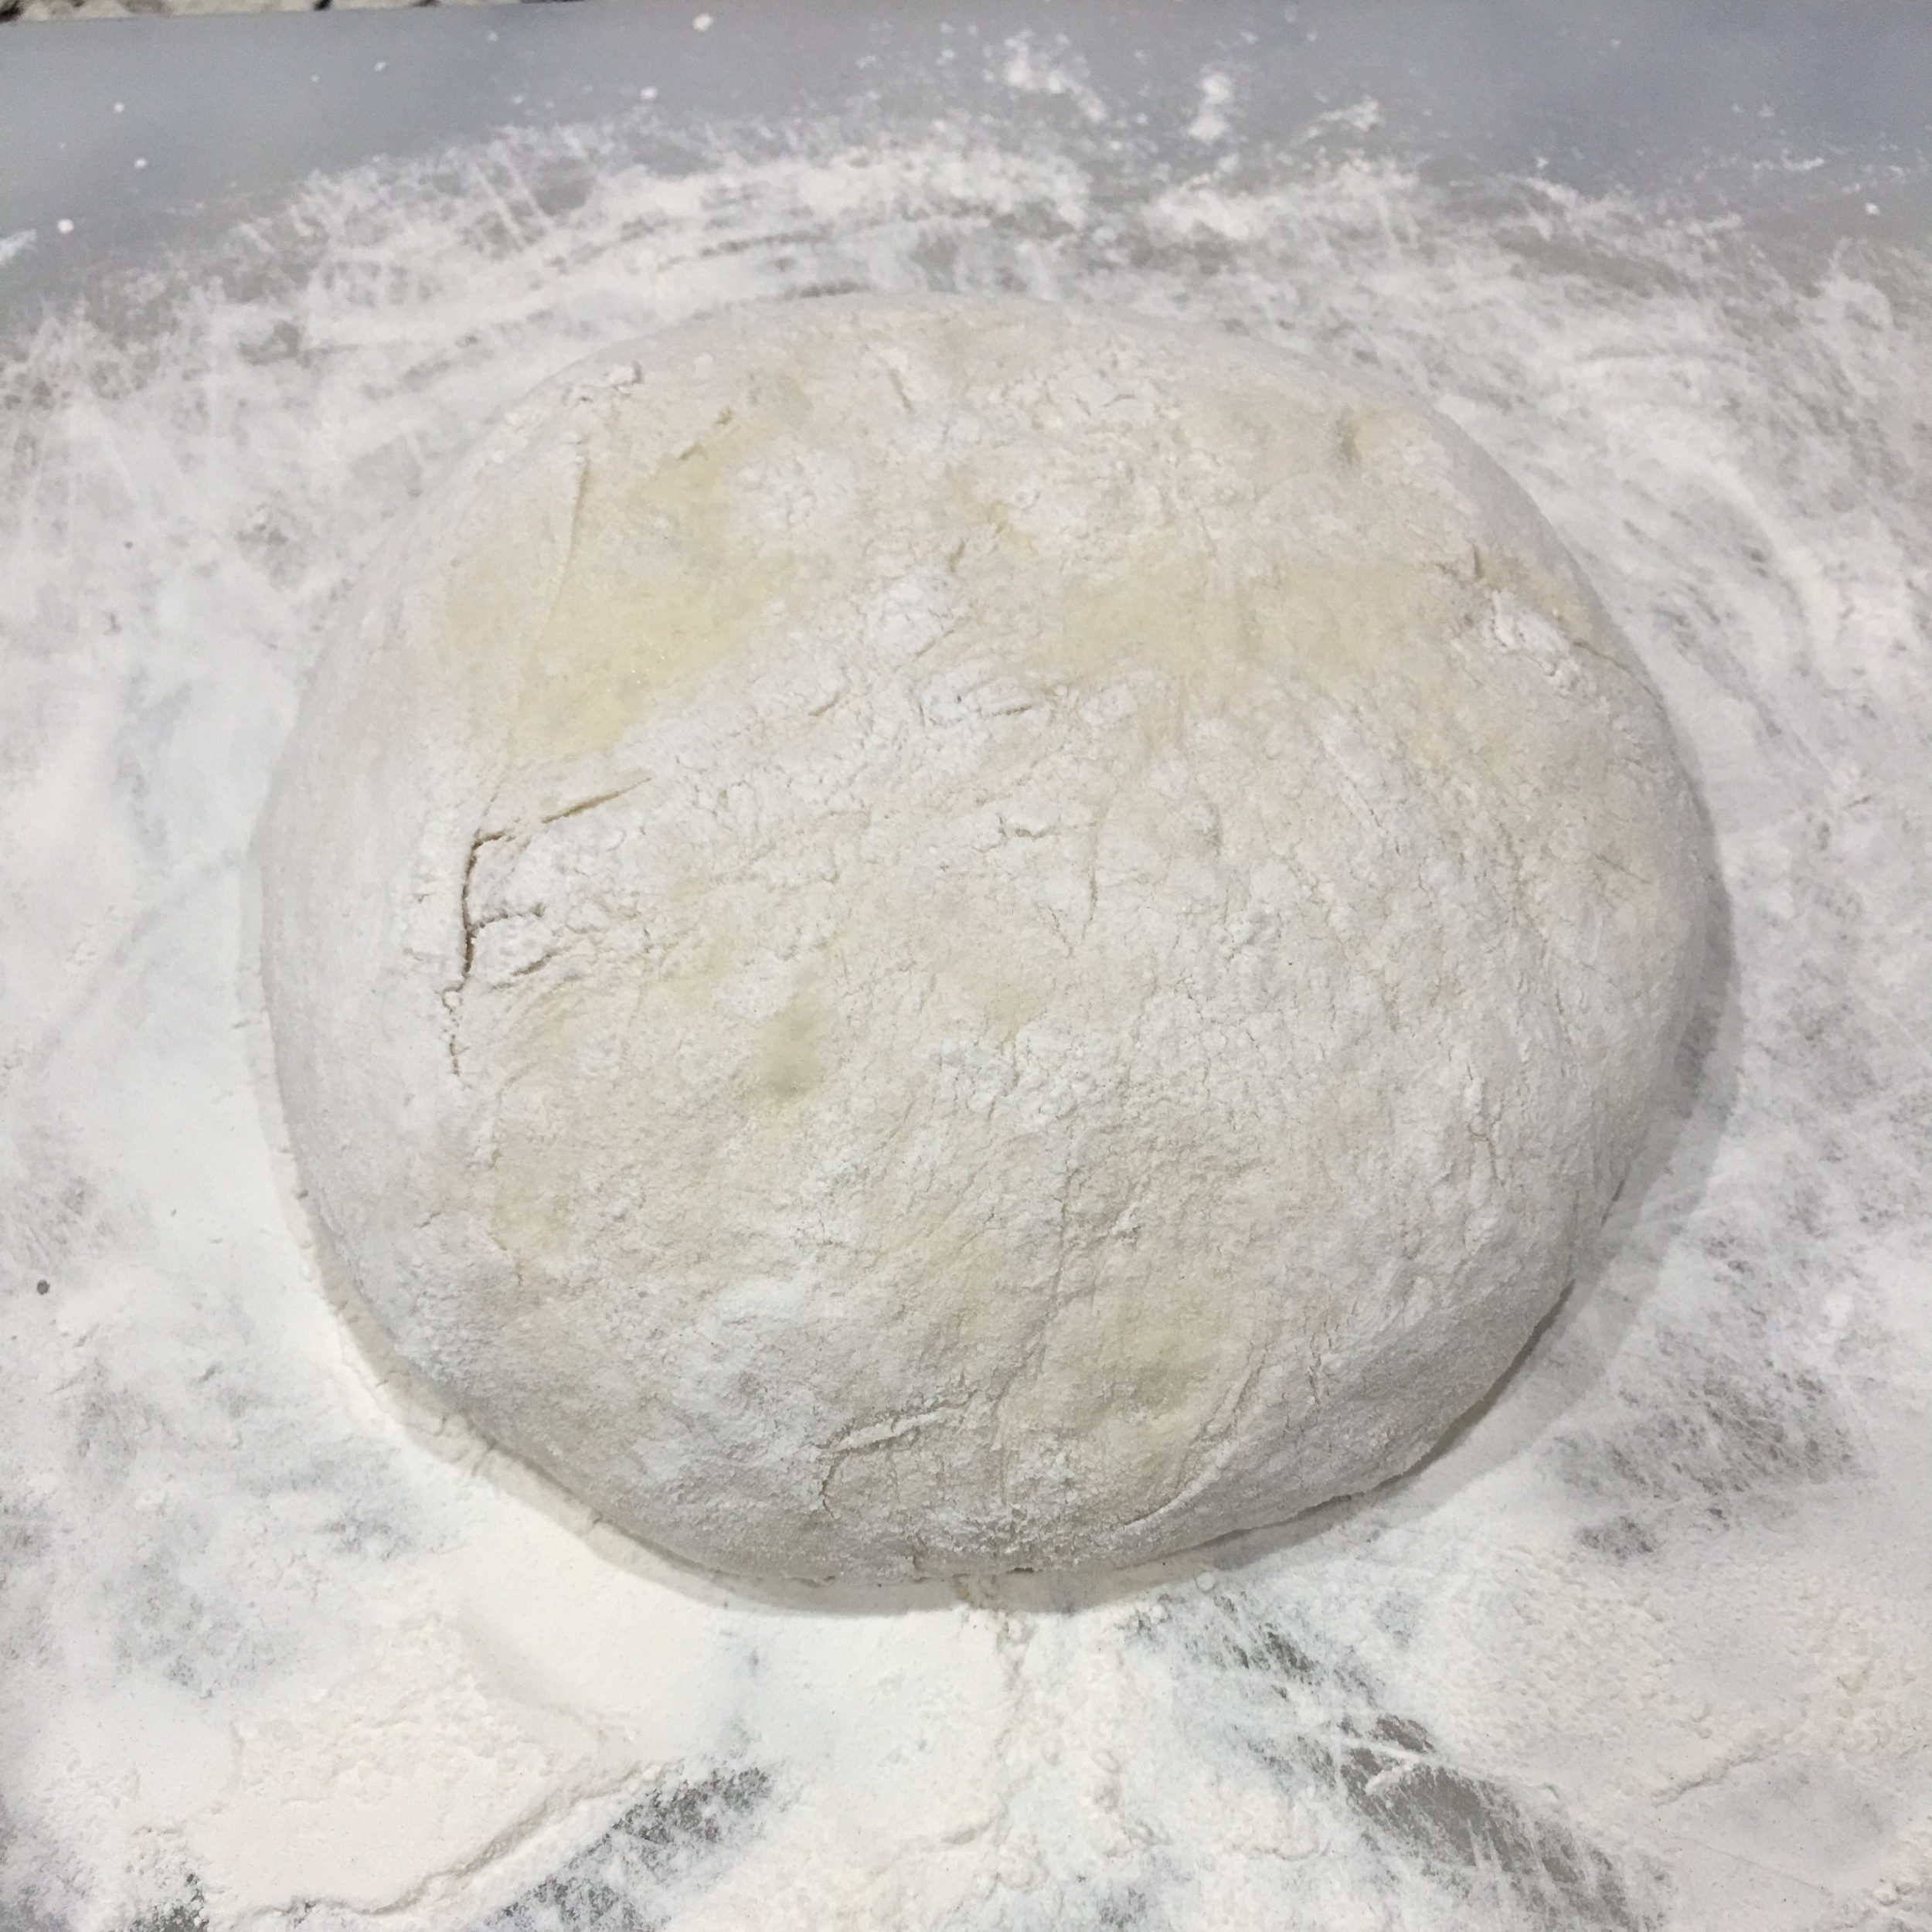
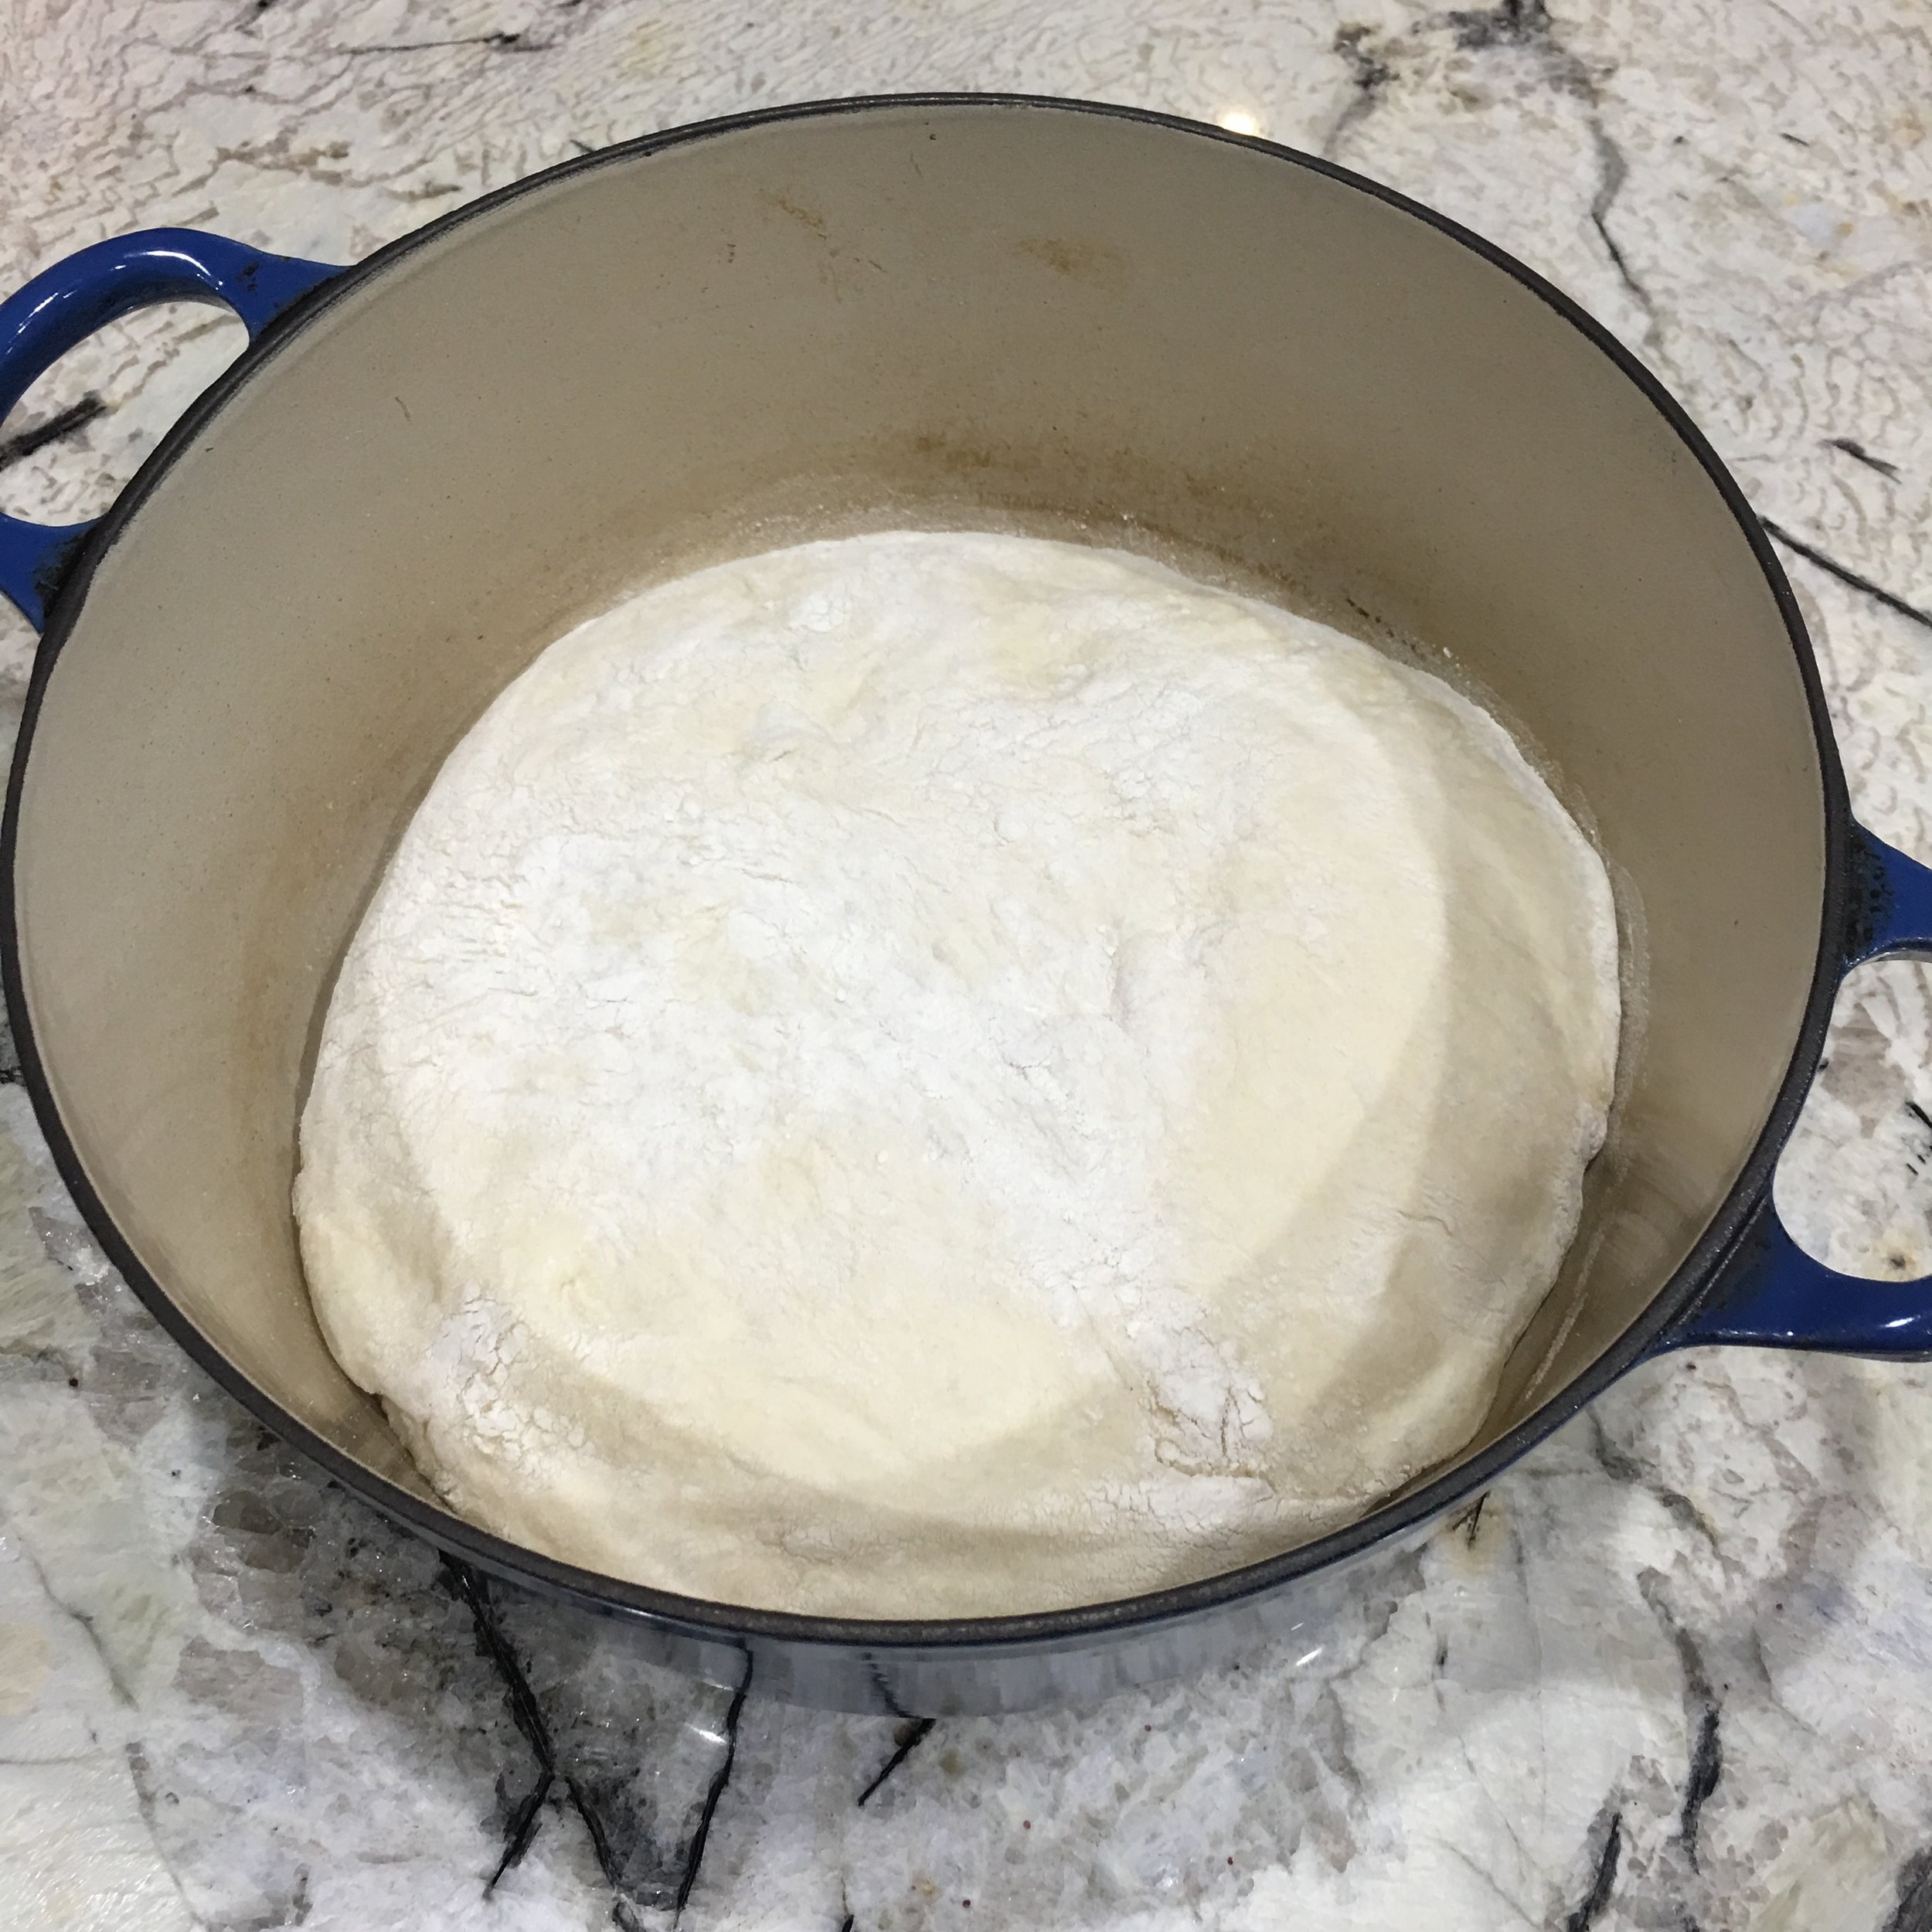
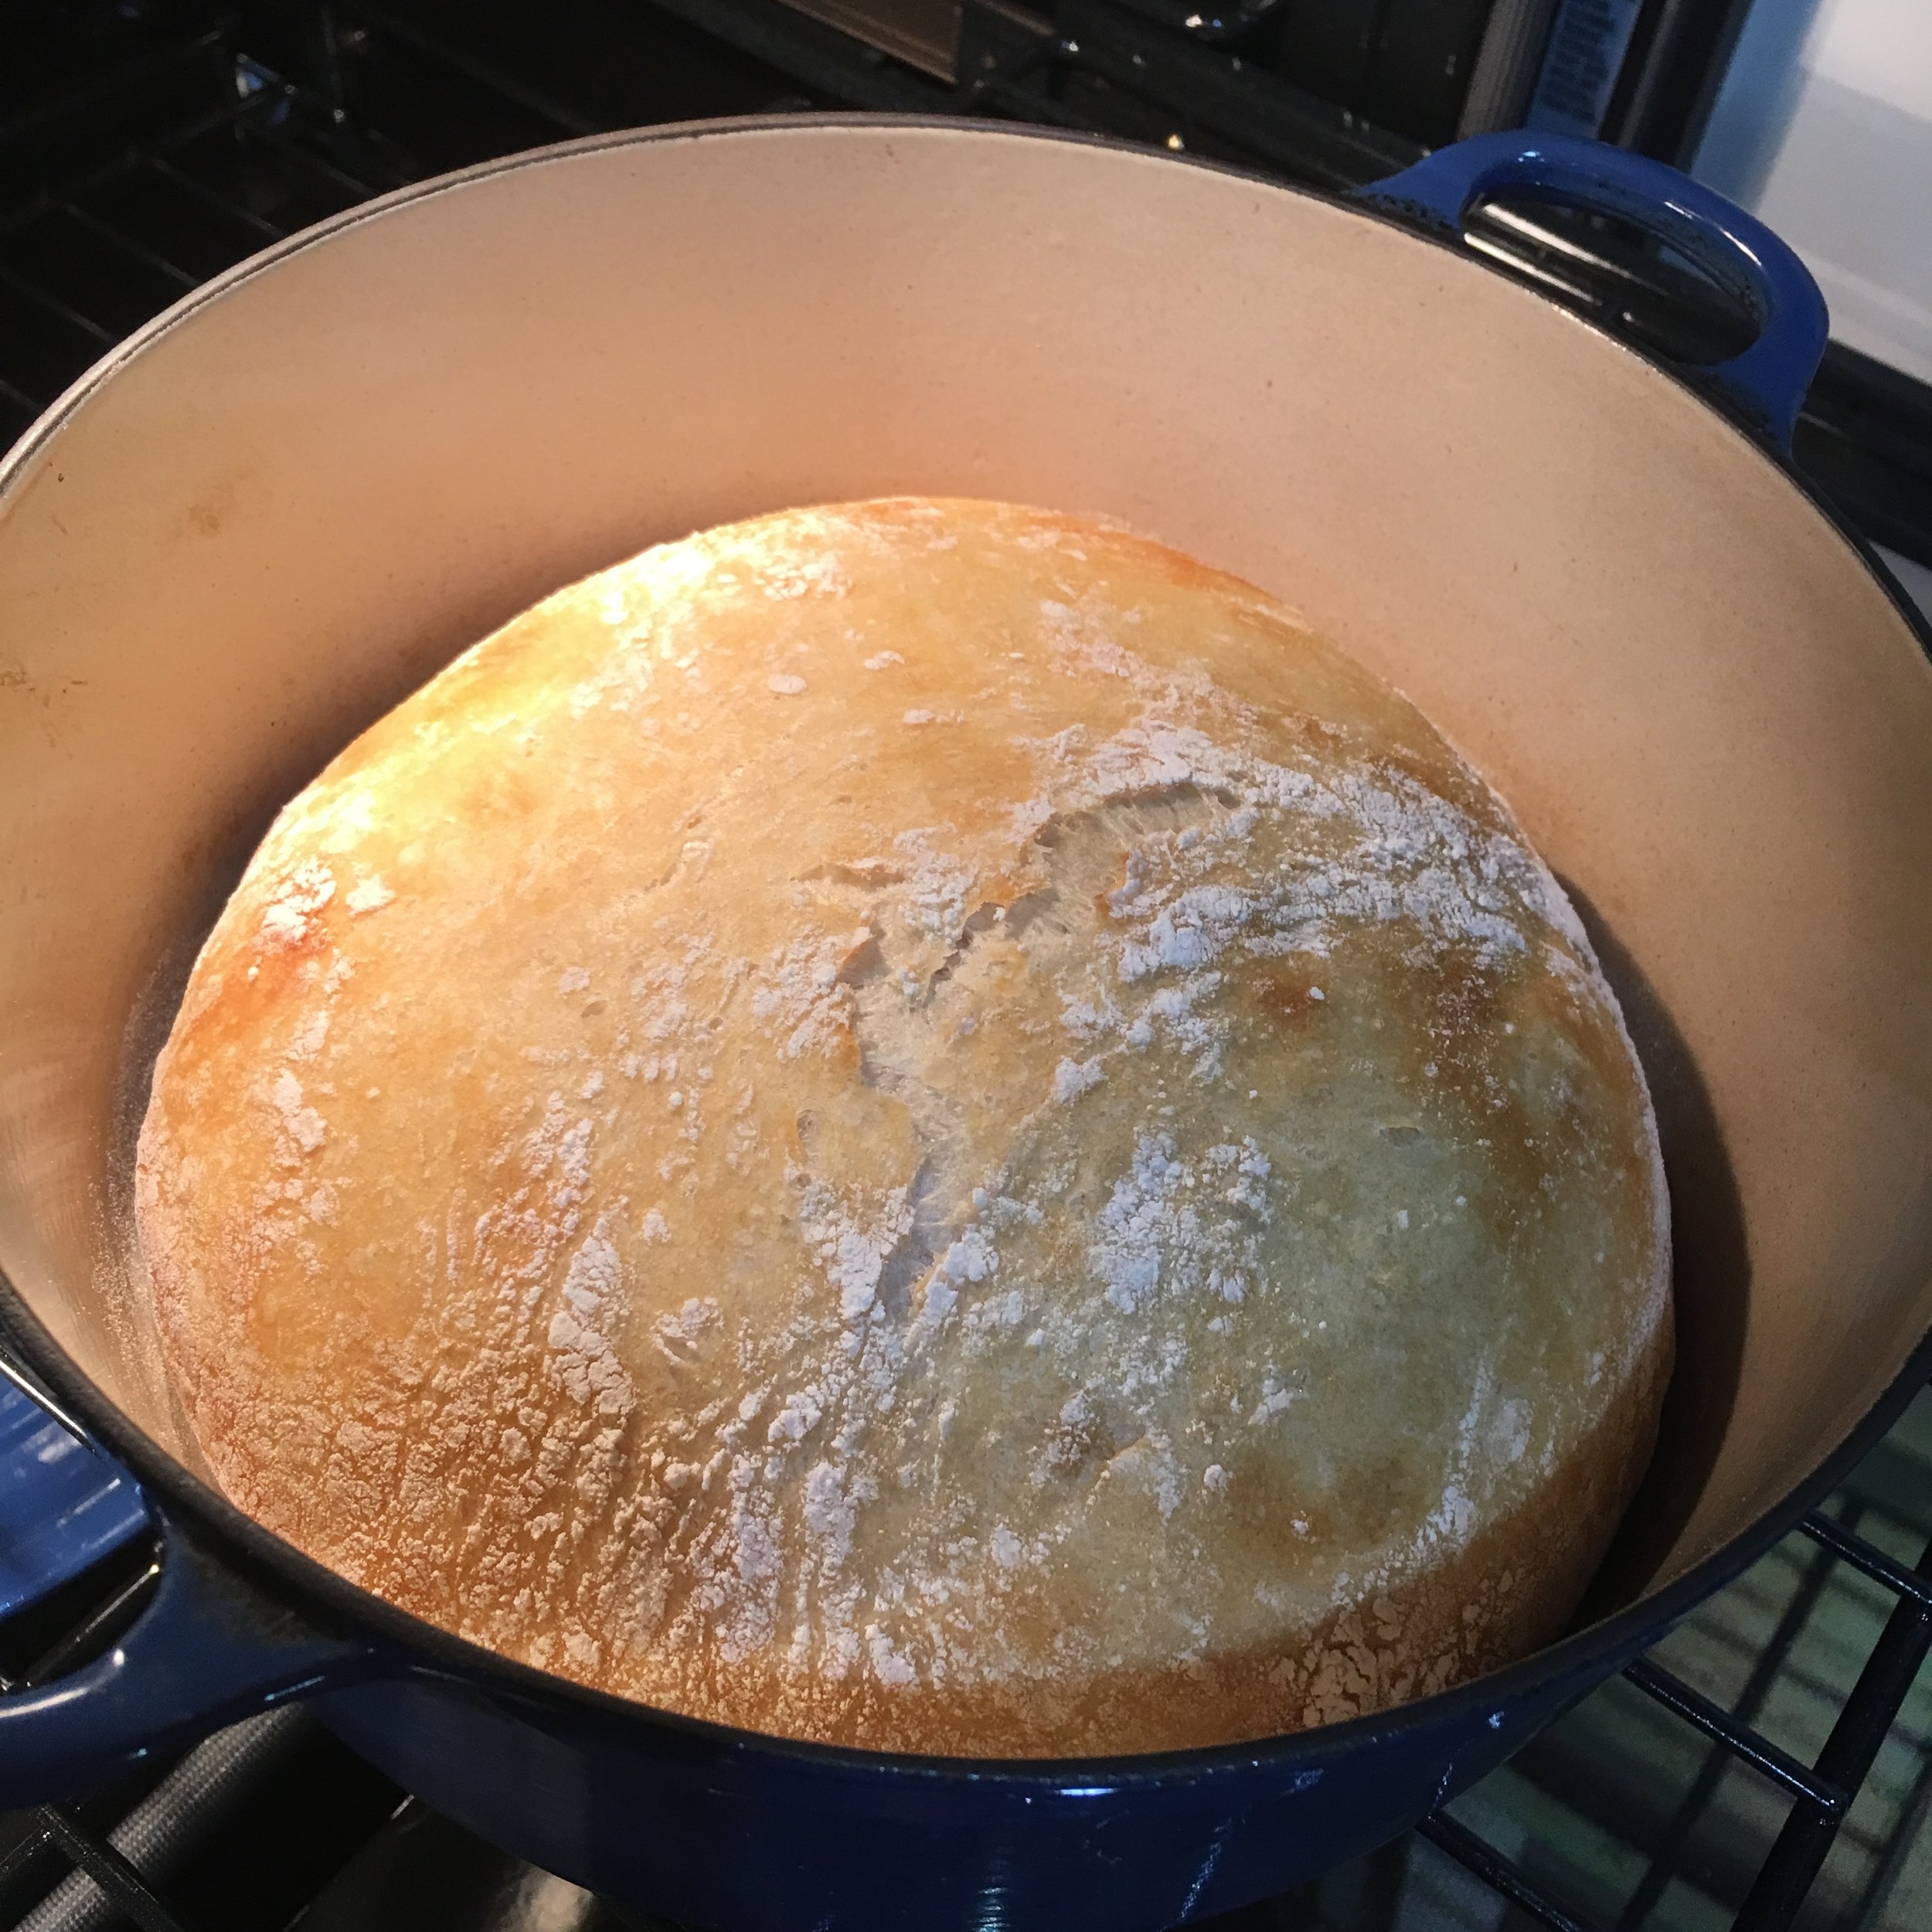
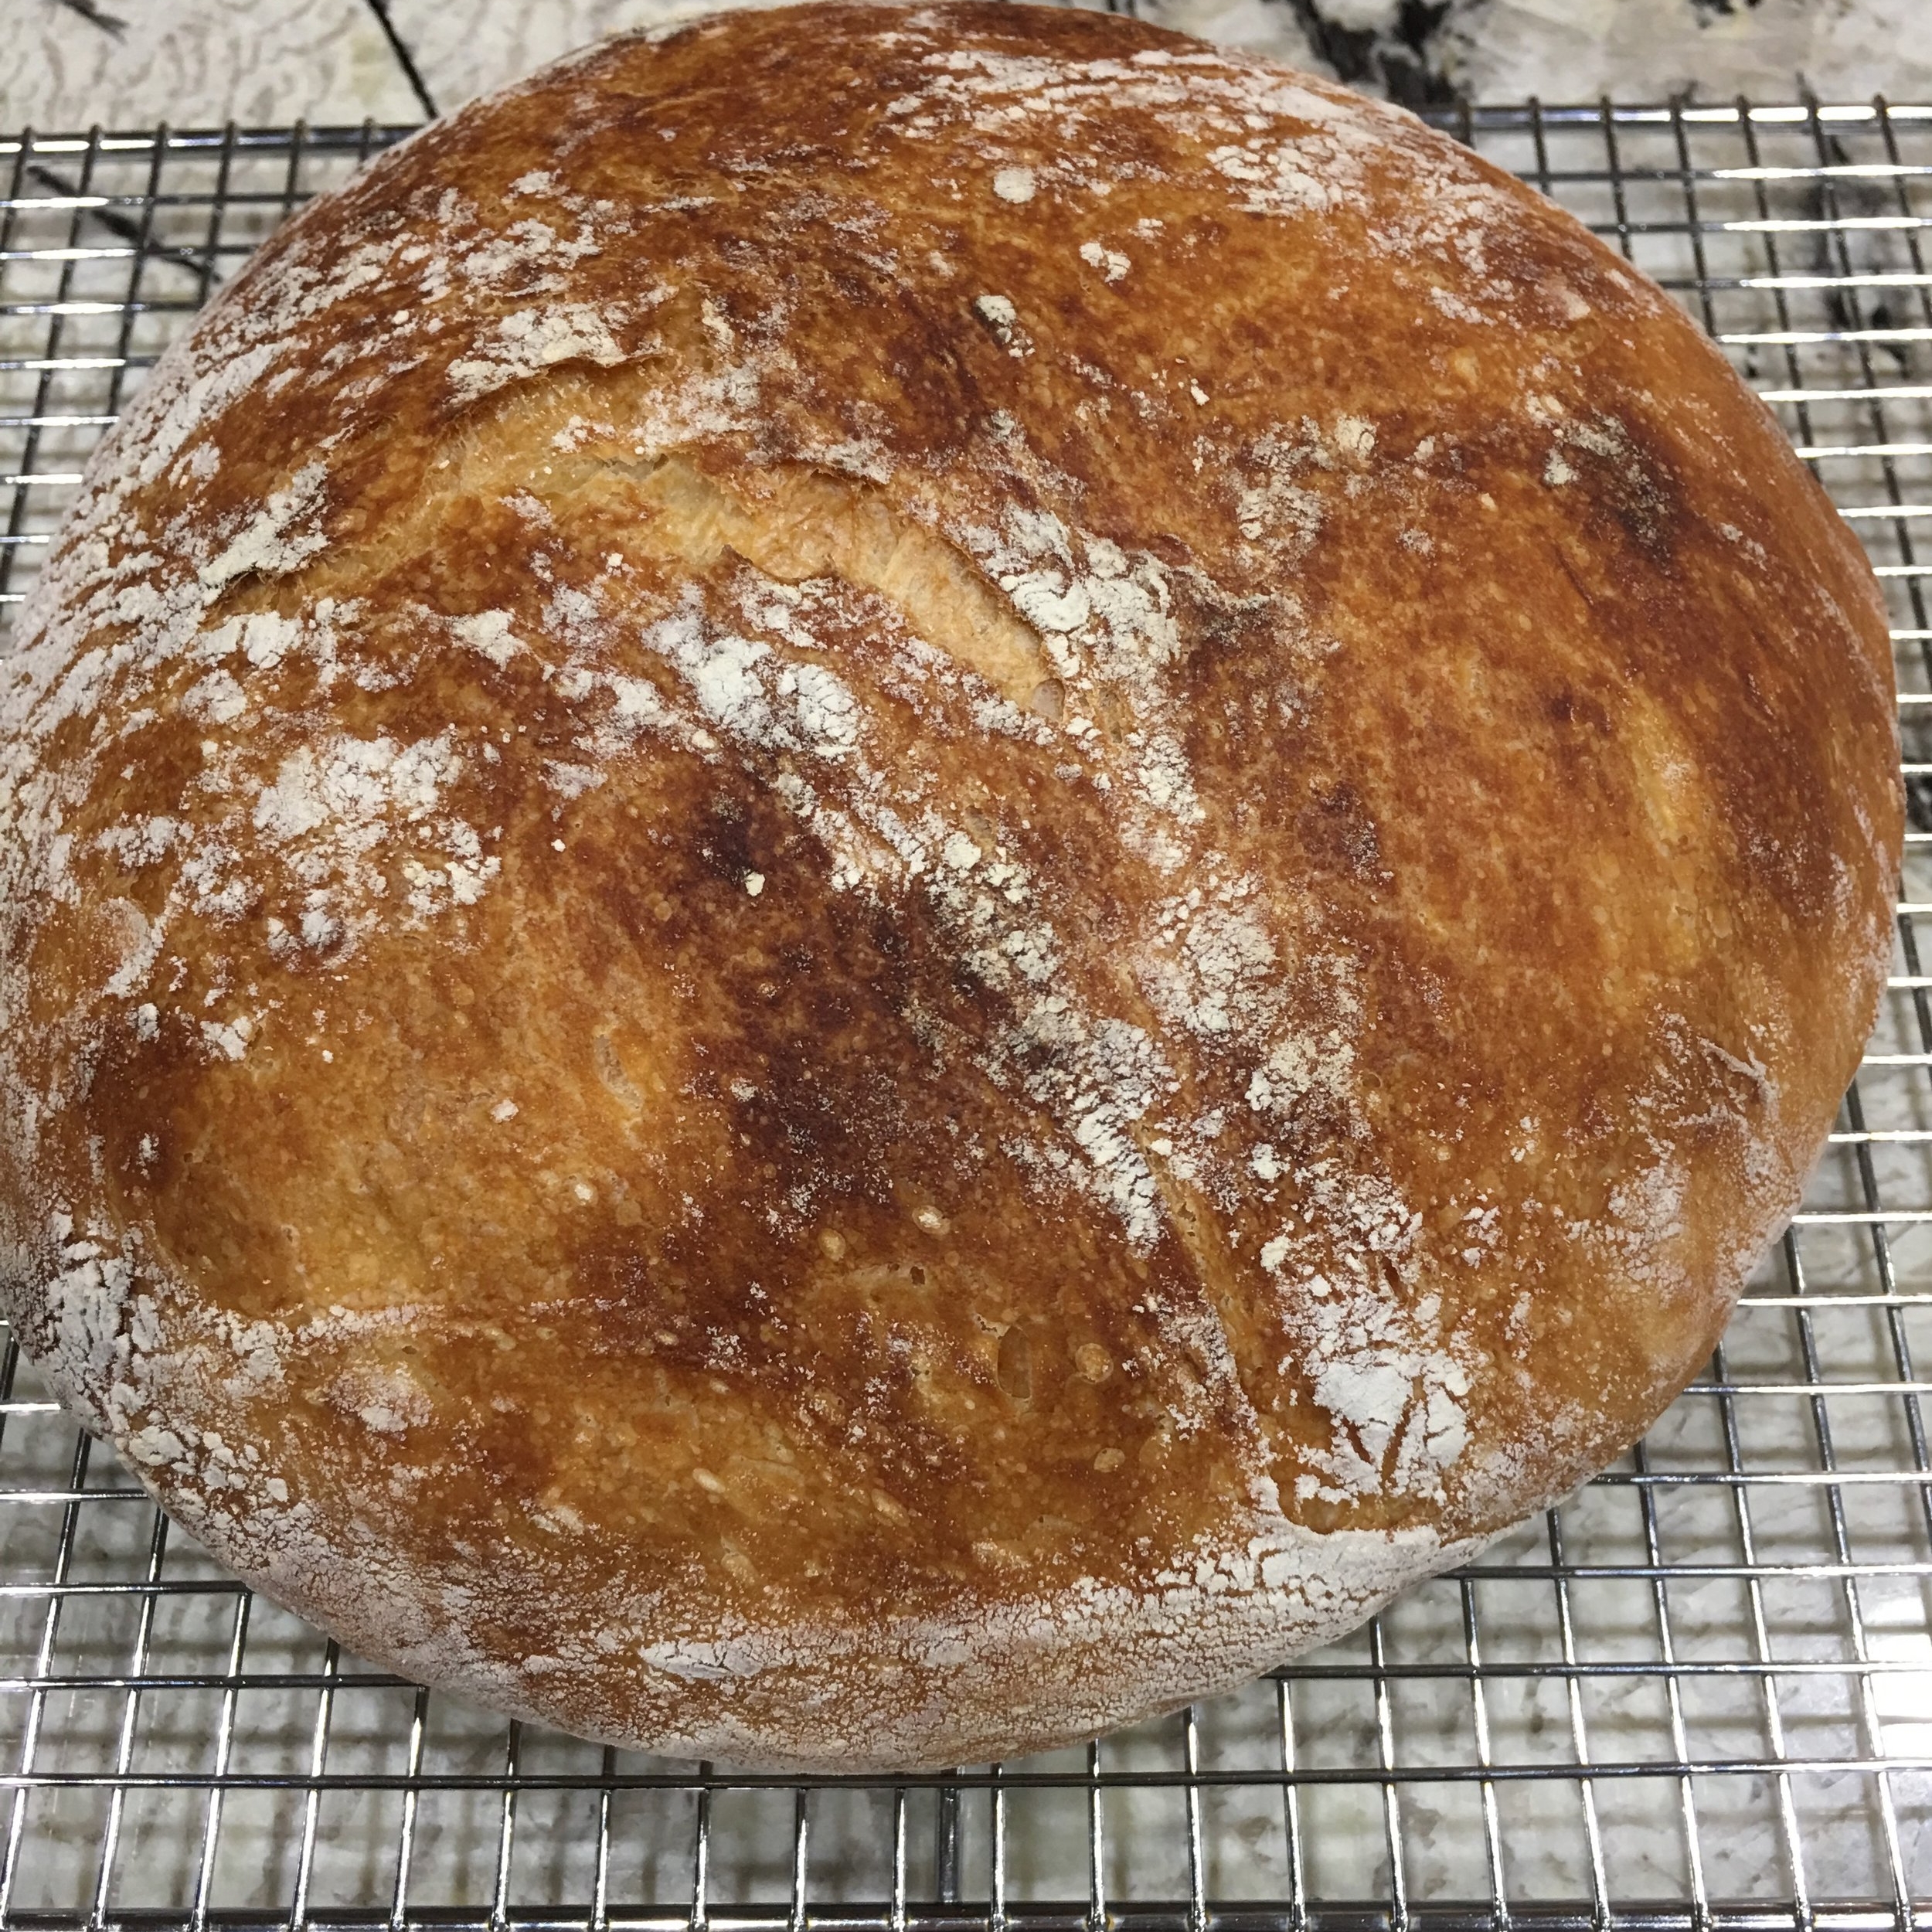
Our Harvey preparations were a last minute affair, so no bread was to be found on grocery shelves. No matter, we had flour, yeast, salt and time.  The baking began. I must give credit to my husband for bringing home a bag of Bob's Redmill Artisan Bread Flour when he couldn't locate bread.  He made a loaf of pan de mie.  I found an easier recipe right on the back of the bag.  I’m partial to this very easy, no-knead bread. The crust is not too hard, but has body and the crumb is soft and tender. Great for sandwiches, toast or dipping into soups. I hope you’ll try this. It takes a little planning, but it’s so worth it. 

A word on bread and gluten.  Unless you have Celiac Disease (I have plenty of patients who do) or have a true wheat allergy (which is rare), you do not need to be gluten free.  Our bodies have evolved over tens of thousands of years to digest and process wheat.  Wheat is a main source of many B vitamins which are essential for good health, with thiamin and riboflavin being essential for memory and brain function.  That said, I do not support the consumption of grocery store and commercial breads which have large amounts of gluten added for longer shelf life and that strangely soft texture; they do indeed cause bloating, digestion, rashes and a whole host of other problems.  This is the reason why eating store bought bread in the United States makes you feel sick but you are able to eat bread in Europe without any problems.  In most places in Europe the bread is made daily the old fashioned way.  Bread should have good flour, preferably unbleached, water, yeast and salt if you like (Tuscan bread is made without salt and is delicious). The gluten that is developed in the dough undergoes a conformational change when baked making it more difficult for the human gut to absorb.  Evolution has already done this for us.  We just messed things up by adding gluten to everything and turning it from food, which should be fresh, into a commodity to sit on shelves for convenience. So, EAT REAL BREAD.  I'm sure there are bakers where you live who are following this noble tradition which has fed the world for ages.   Or try the recipe below and become a fresh bread baker yourself.

No Knead Bread-a Hurricane Harvey Recipe

EQUIPMENT
Dutch oven with lid
Large mixing bowl
Patience

INGREDIENTS
3 C artisan bread flour
2 tsp kosher salt
1/2 tsp active dry yeast
1-1/2 C warm water

PROCESS
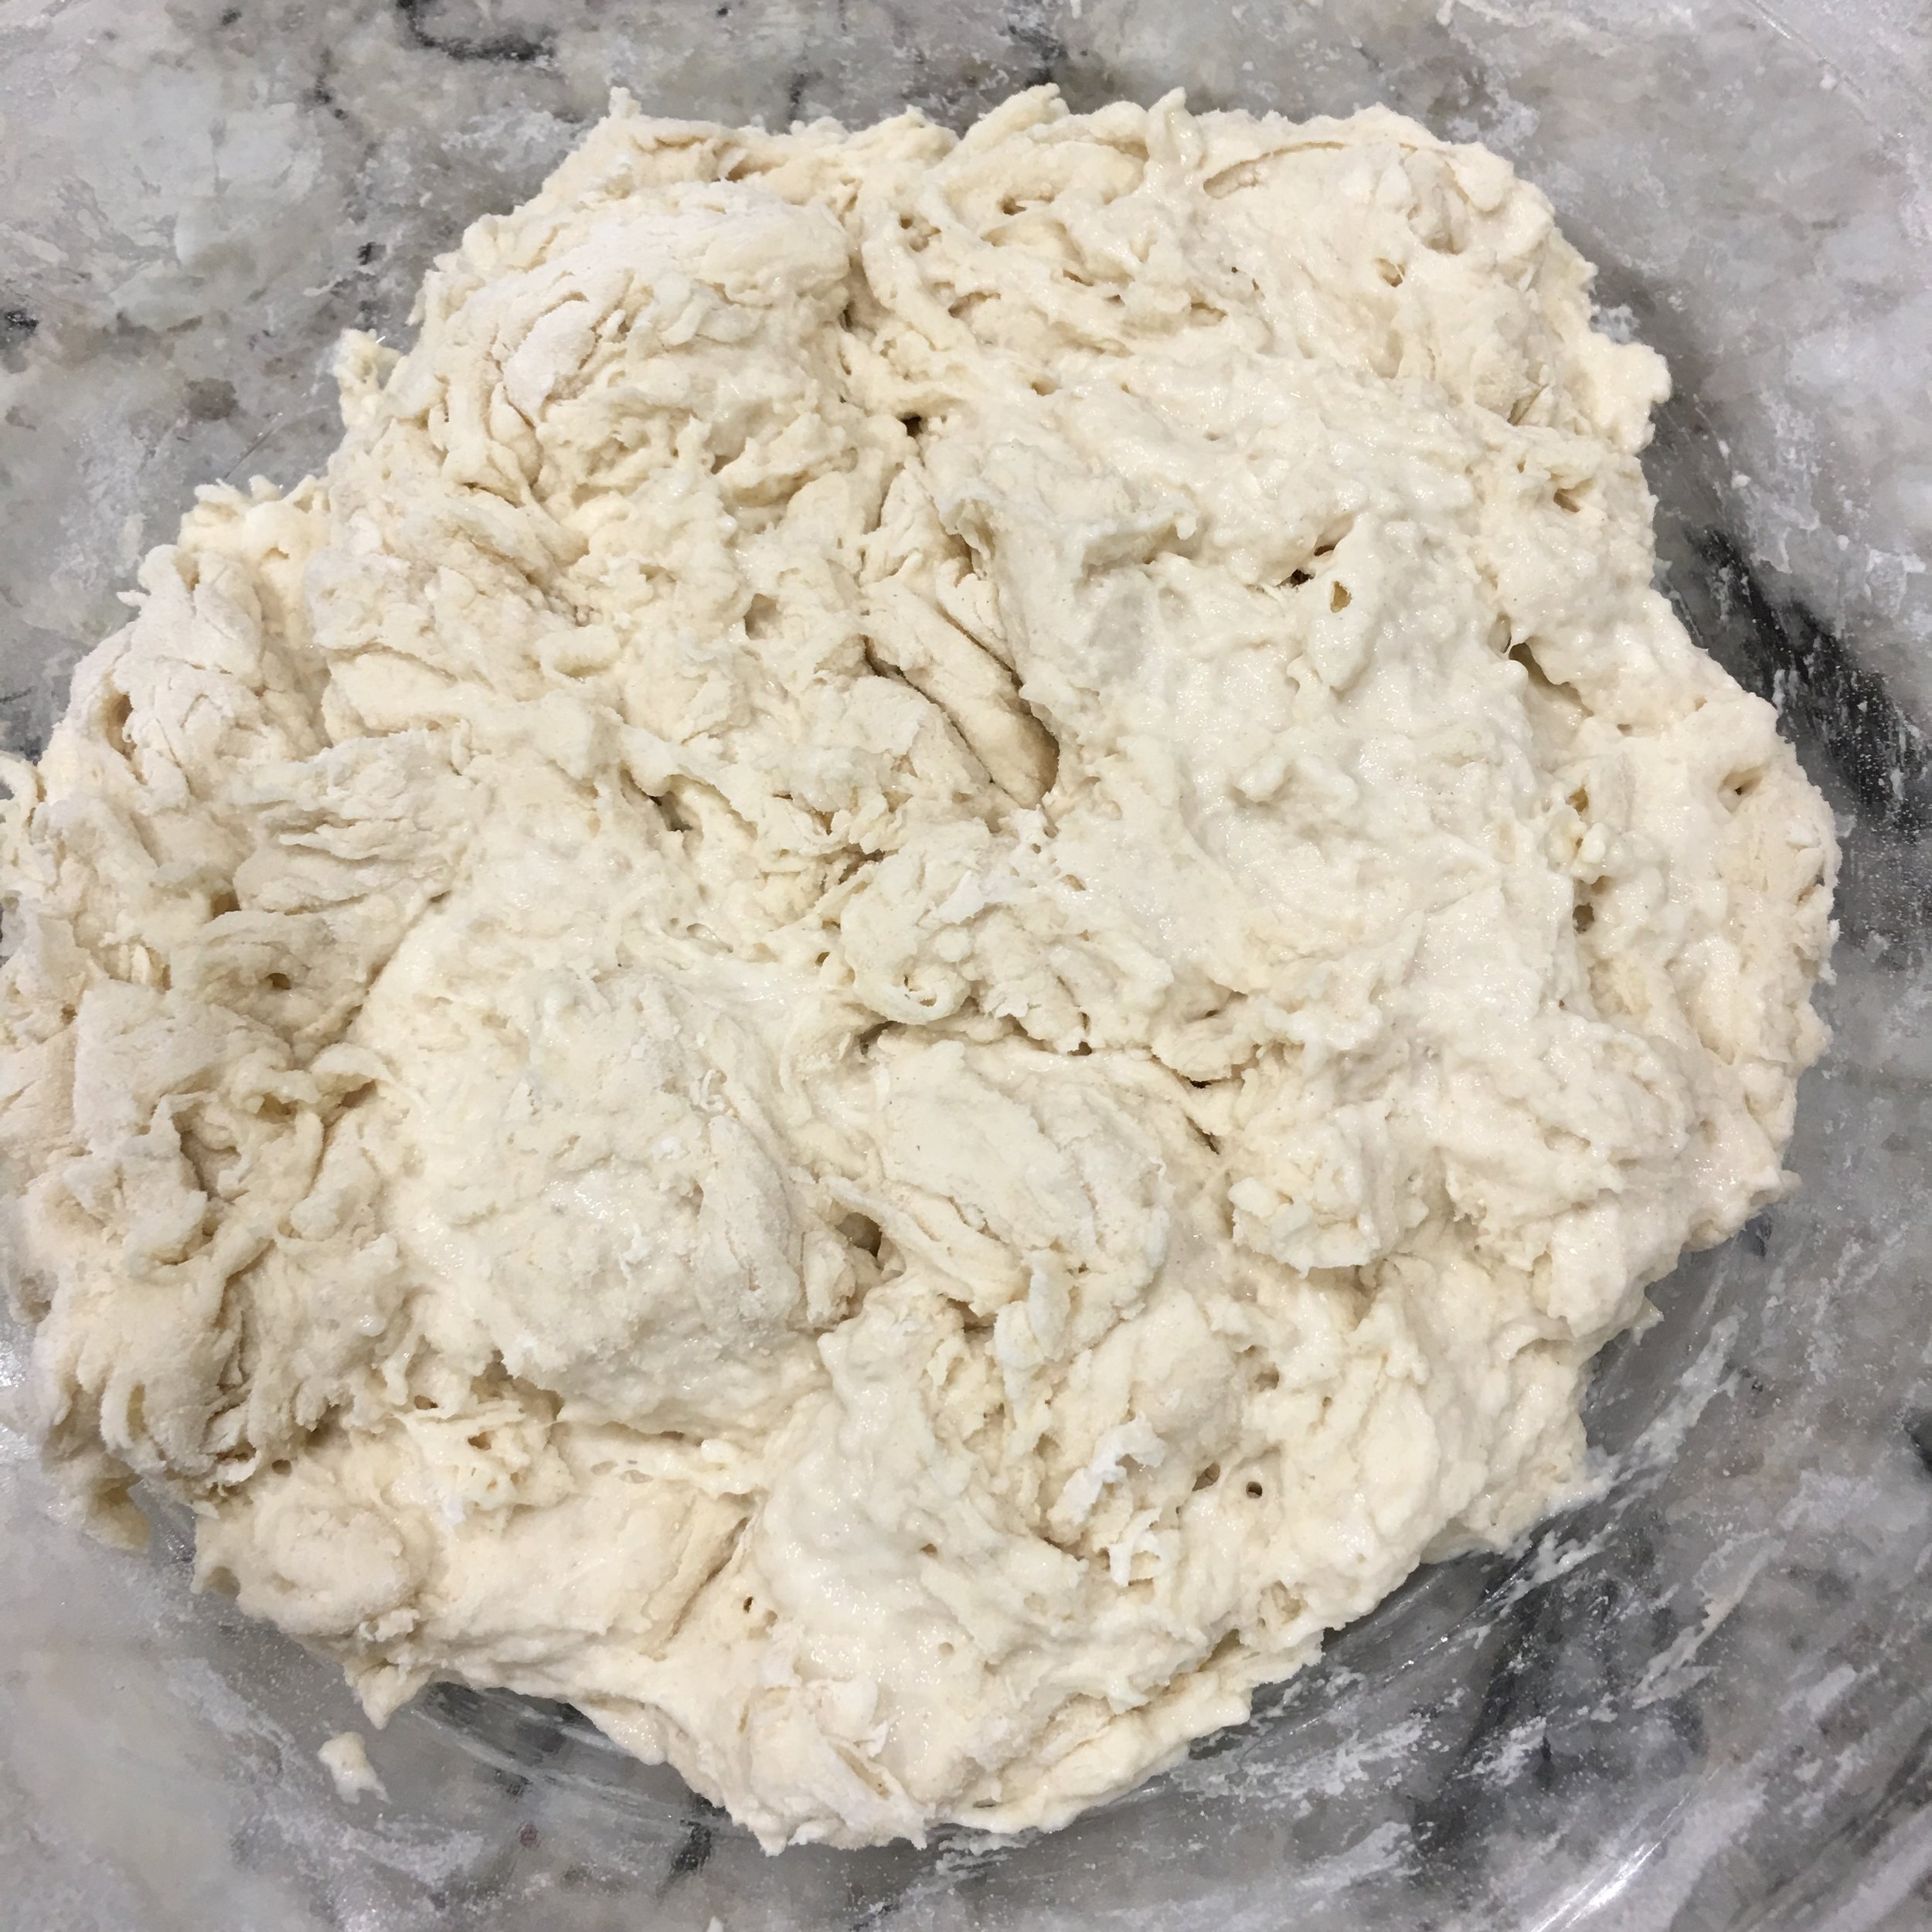
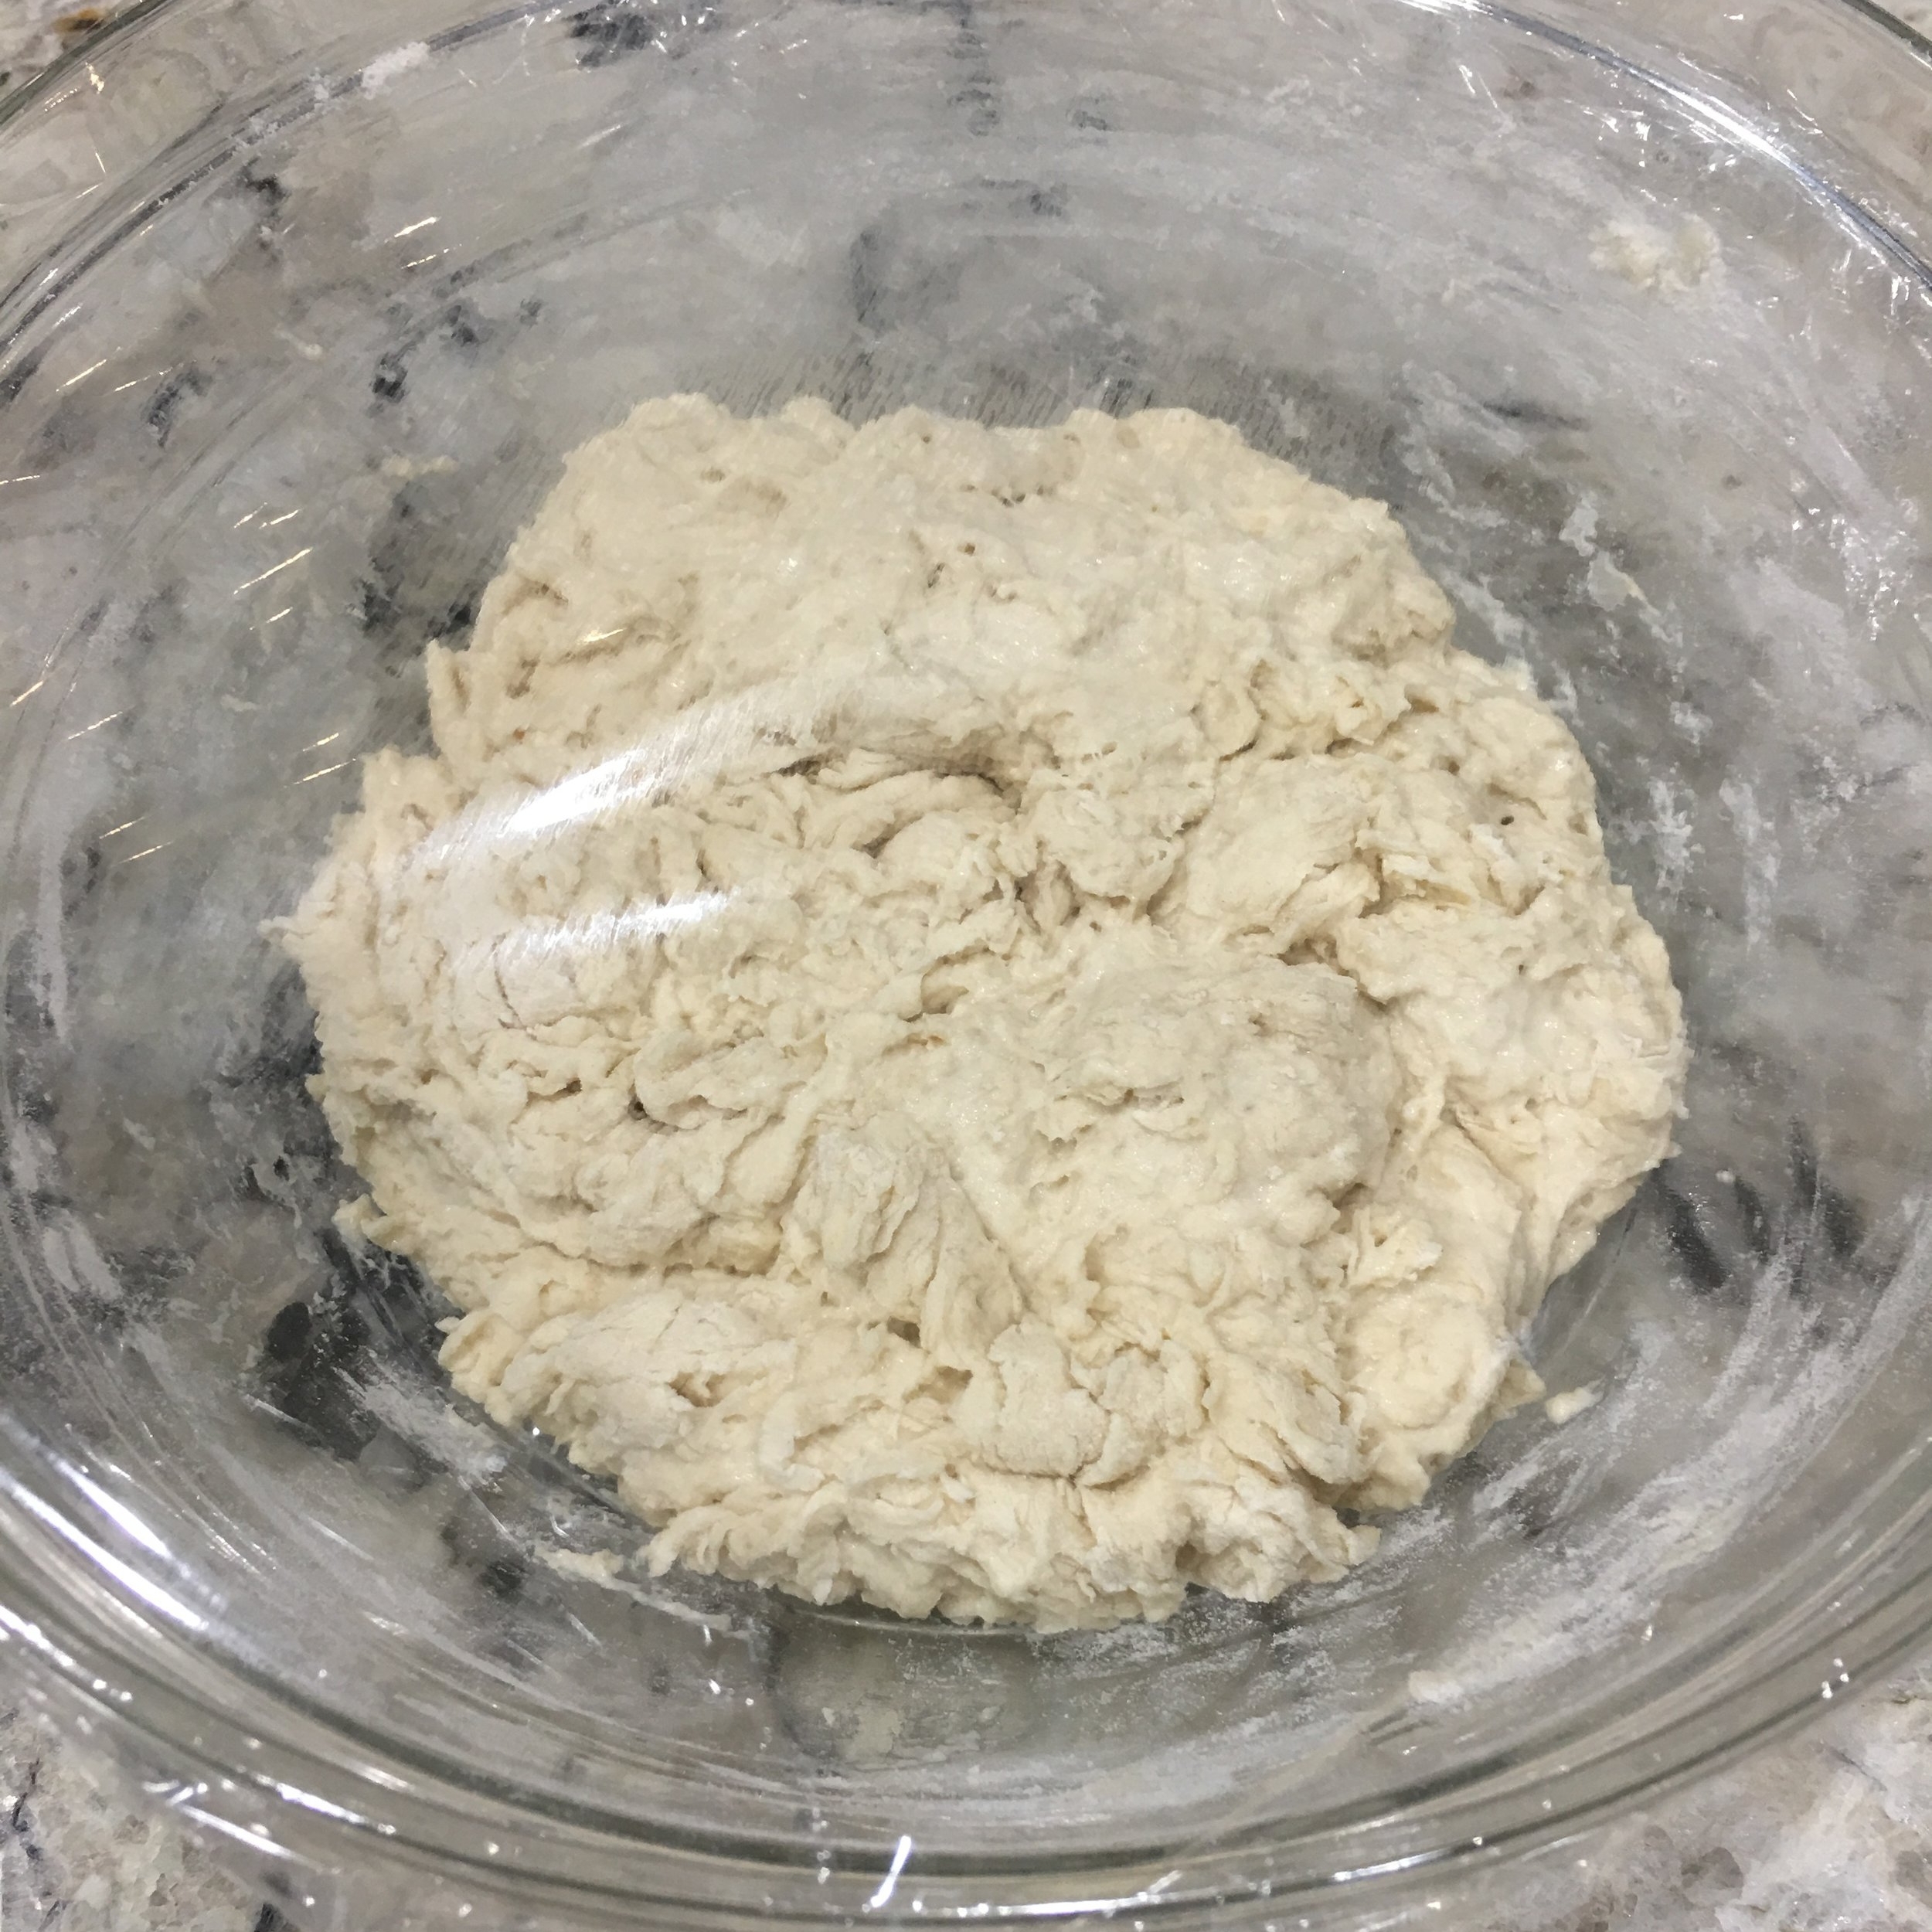
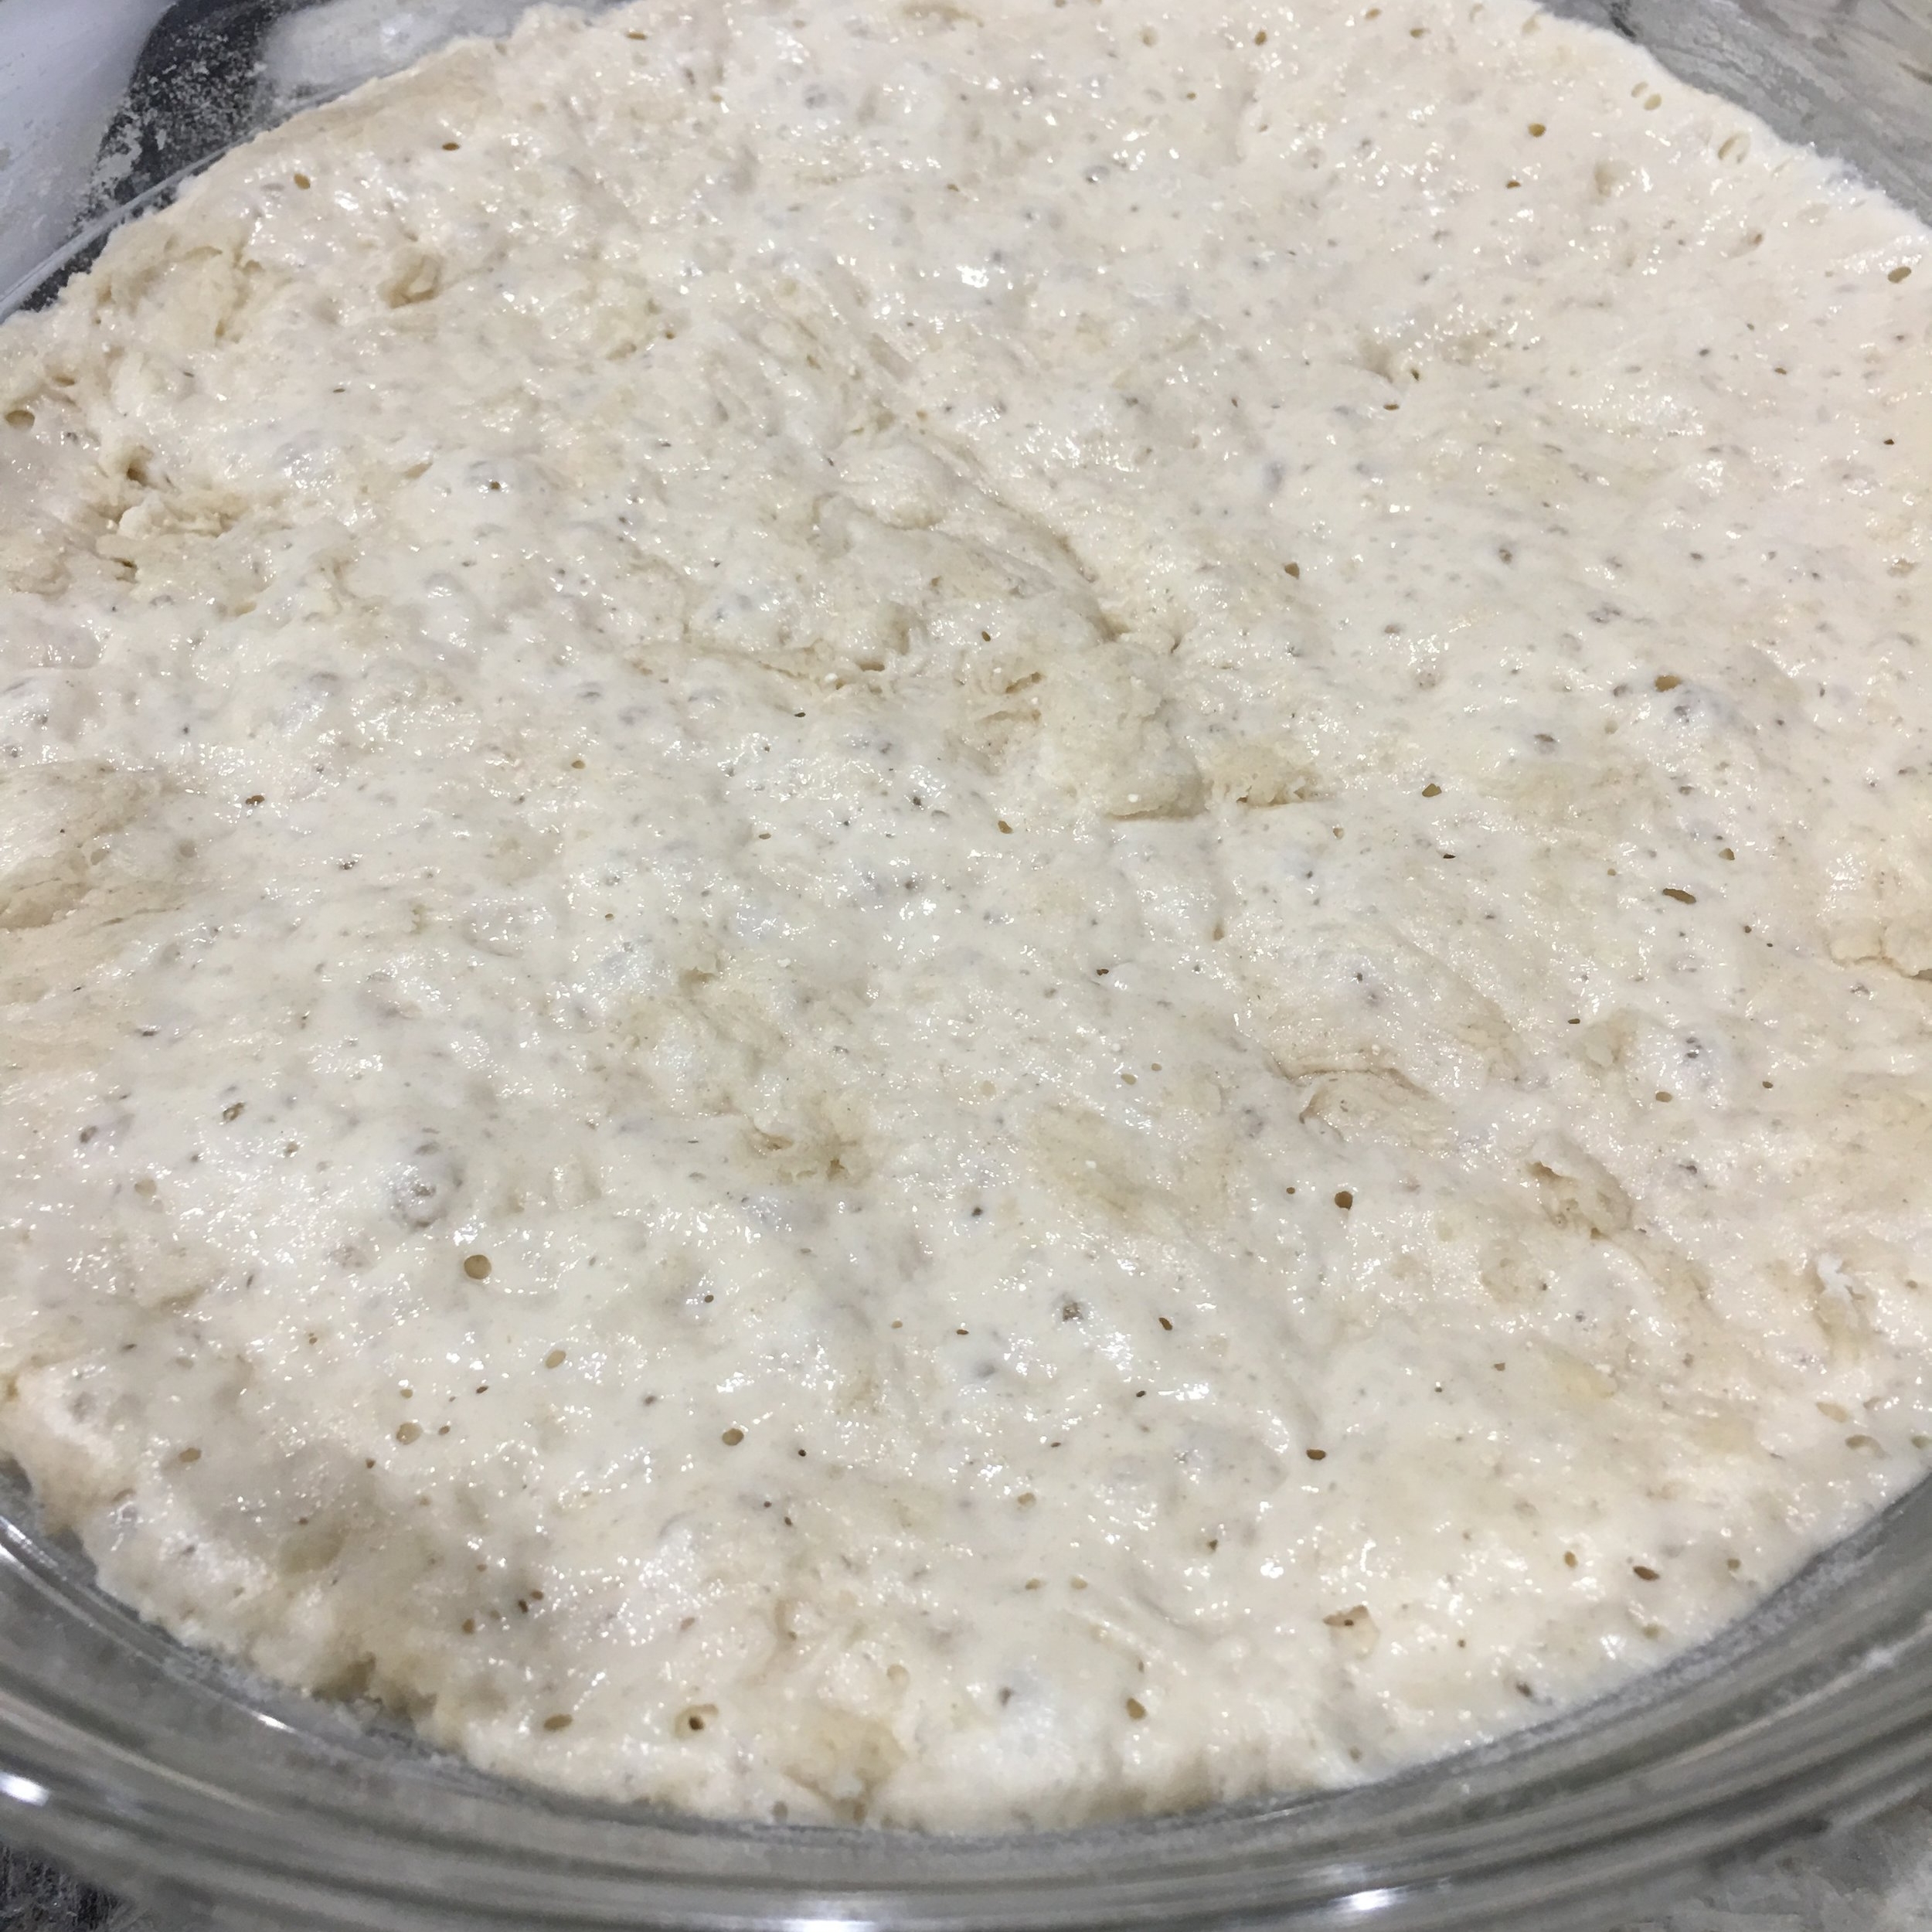
1. In a large bowl combine dry ingredients. Add water and mix completely to form a shaggy dough. Cover with plastic wrap and set at room temperature or proof setting in oven for 10 hours.
2. Preheat oven with uncovered Dutch oven inside to 450 degrees for 30 minutes.
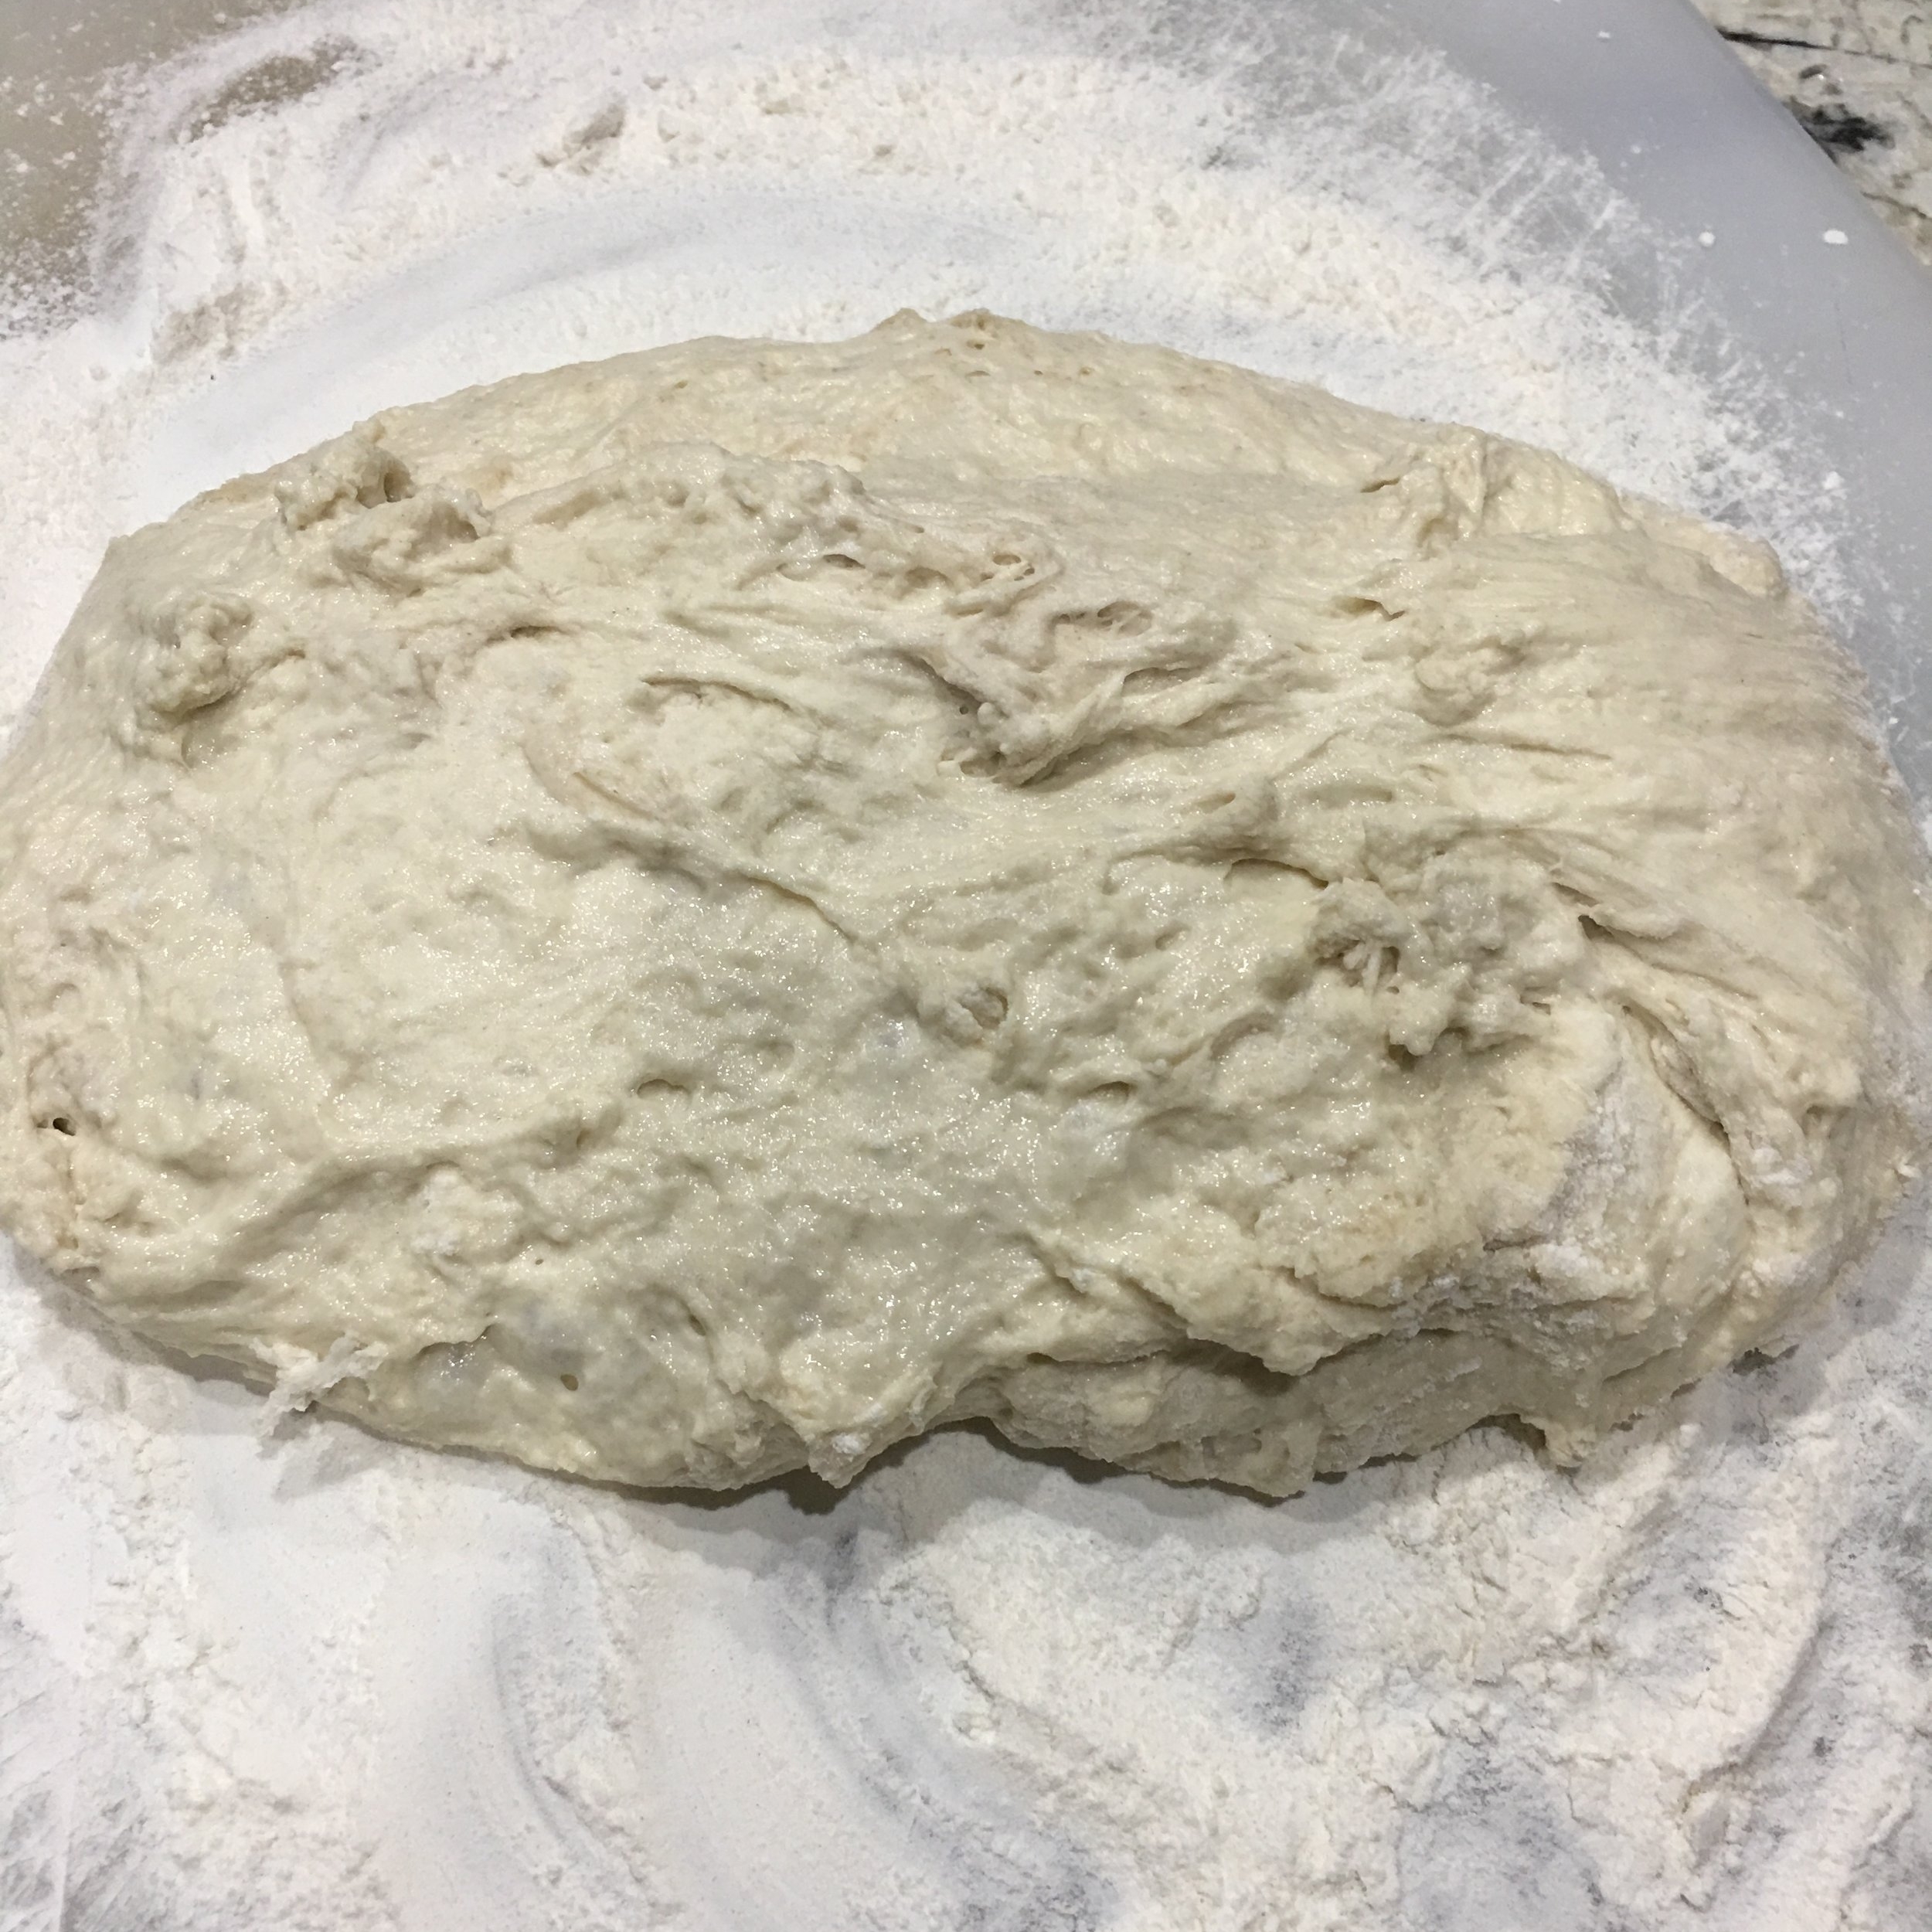
3. While the oven is preheating, place dough on floured surface and form into a round and allow to rest for 30 minutes covered with plastic wrap.
4. Carefully place dough into hot Dutch oven, cover with lid and bake 20 minutes.
5. Remove Dutch oven lid and continue to bake another 12-18 minutes until crust is a golden brown.
6. Remove loaf from oven and cool.
7. Enjoy!


Strawberry Cardamom Lassi

Lassi1.jpg

Yogurt is the original probiotic.  Yogurt based drinks have been popular for thousands of years in places like China, Turkey, the Eastern European and Caucuss regions, and the Middle East. Each part of the world have their own versions, both savory and sweet.  The fermentation of the milk allows helpful lactobacilli bacteria to populate our guts and aid in digestion.  This balance of bacteria in our guts, known as the microbiome,  is being studied intensely in medical circles right now as they are linked to many processes in the body, including mood and memory.  Disturbance of this microbiome is thought to cause problems with our health.

Yogurt is a good way to repopulate and nourish a healthy microbiome.  I feel strongly that the key to getting benefit from yogurt is choosing one that is free of preservatives, thickeners. (guar gum, carrageenan, methylcellulose, etc) and sweeteners. These ingredients may be causing an inflammatory reaction in the gut, which is the second largest immune organ next to our skin, preventing the absorption of the nutrients and changing the lactobacilli.    

This is a delicious recipe for lassi, the Indian version of yogurt drink.  I get my goat milk from the remarkable family at Swede Farm.  You can always alter the fruit, but I find the cardamom works best with strawberries.  This simple and delicious drink is more of a food, which is how I think about all dairy.  You’re getting protein, fiber, Vitamin C, Folic Acid, acanthocyanins (plant based compounds thought to be beneficial is heart health and cancer prevention), and the minerals manganese and potassium. A little local honey for sweetness keeps the glycemic index lower than using refined sugars, stevia or agave.

Lassi2.jpg

This is a recycled recipe from my Facebook page published on 4/22/17

RECIPE: Strawberry Lassi

INGREDIENTS

  • 1 lb strawberries, cut up
  • 1 qt natural goat milk yogurt (if using thick goat or cow milk yogurt use 1-1/2 cups yogurt and 1/2 cup water)
  • 2-3Tsp honey (optional and to taste depending on how sweet your strawberries are)
  • 1/2 tsp Penzey's ground cardamom

PROCESS

  1. Blend.
  2. Adjust sweetness.
  3. Enjoy!

Makes 4 cups.

Sorrel-A Green that’s a Lemony Delight

fullsizeoutput_326c.jpeg

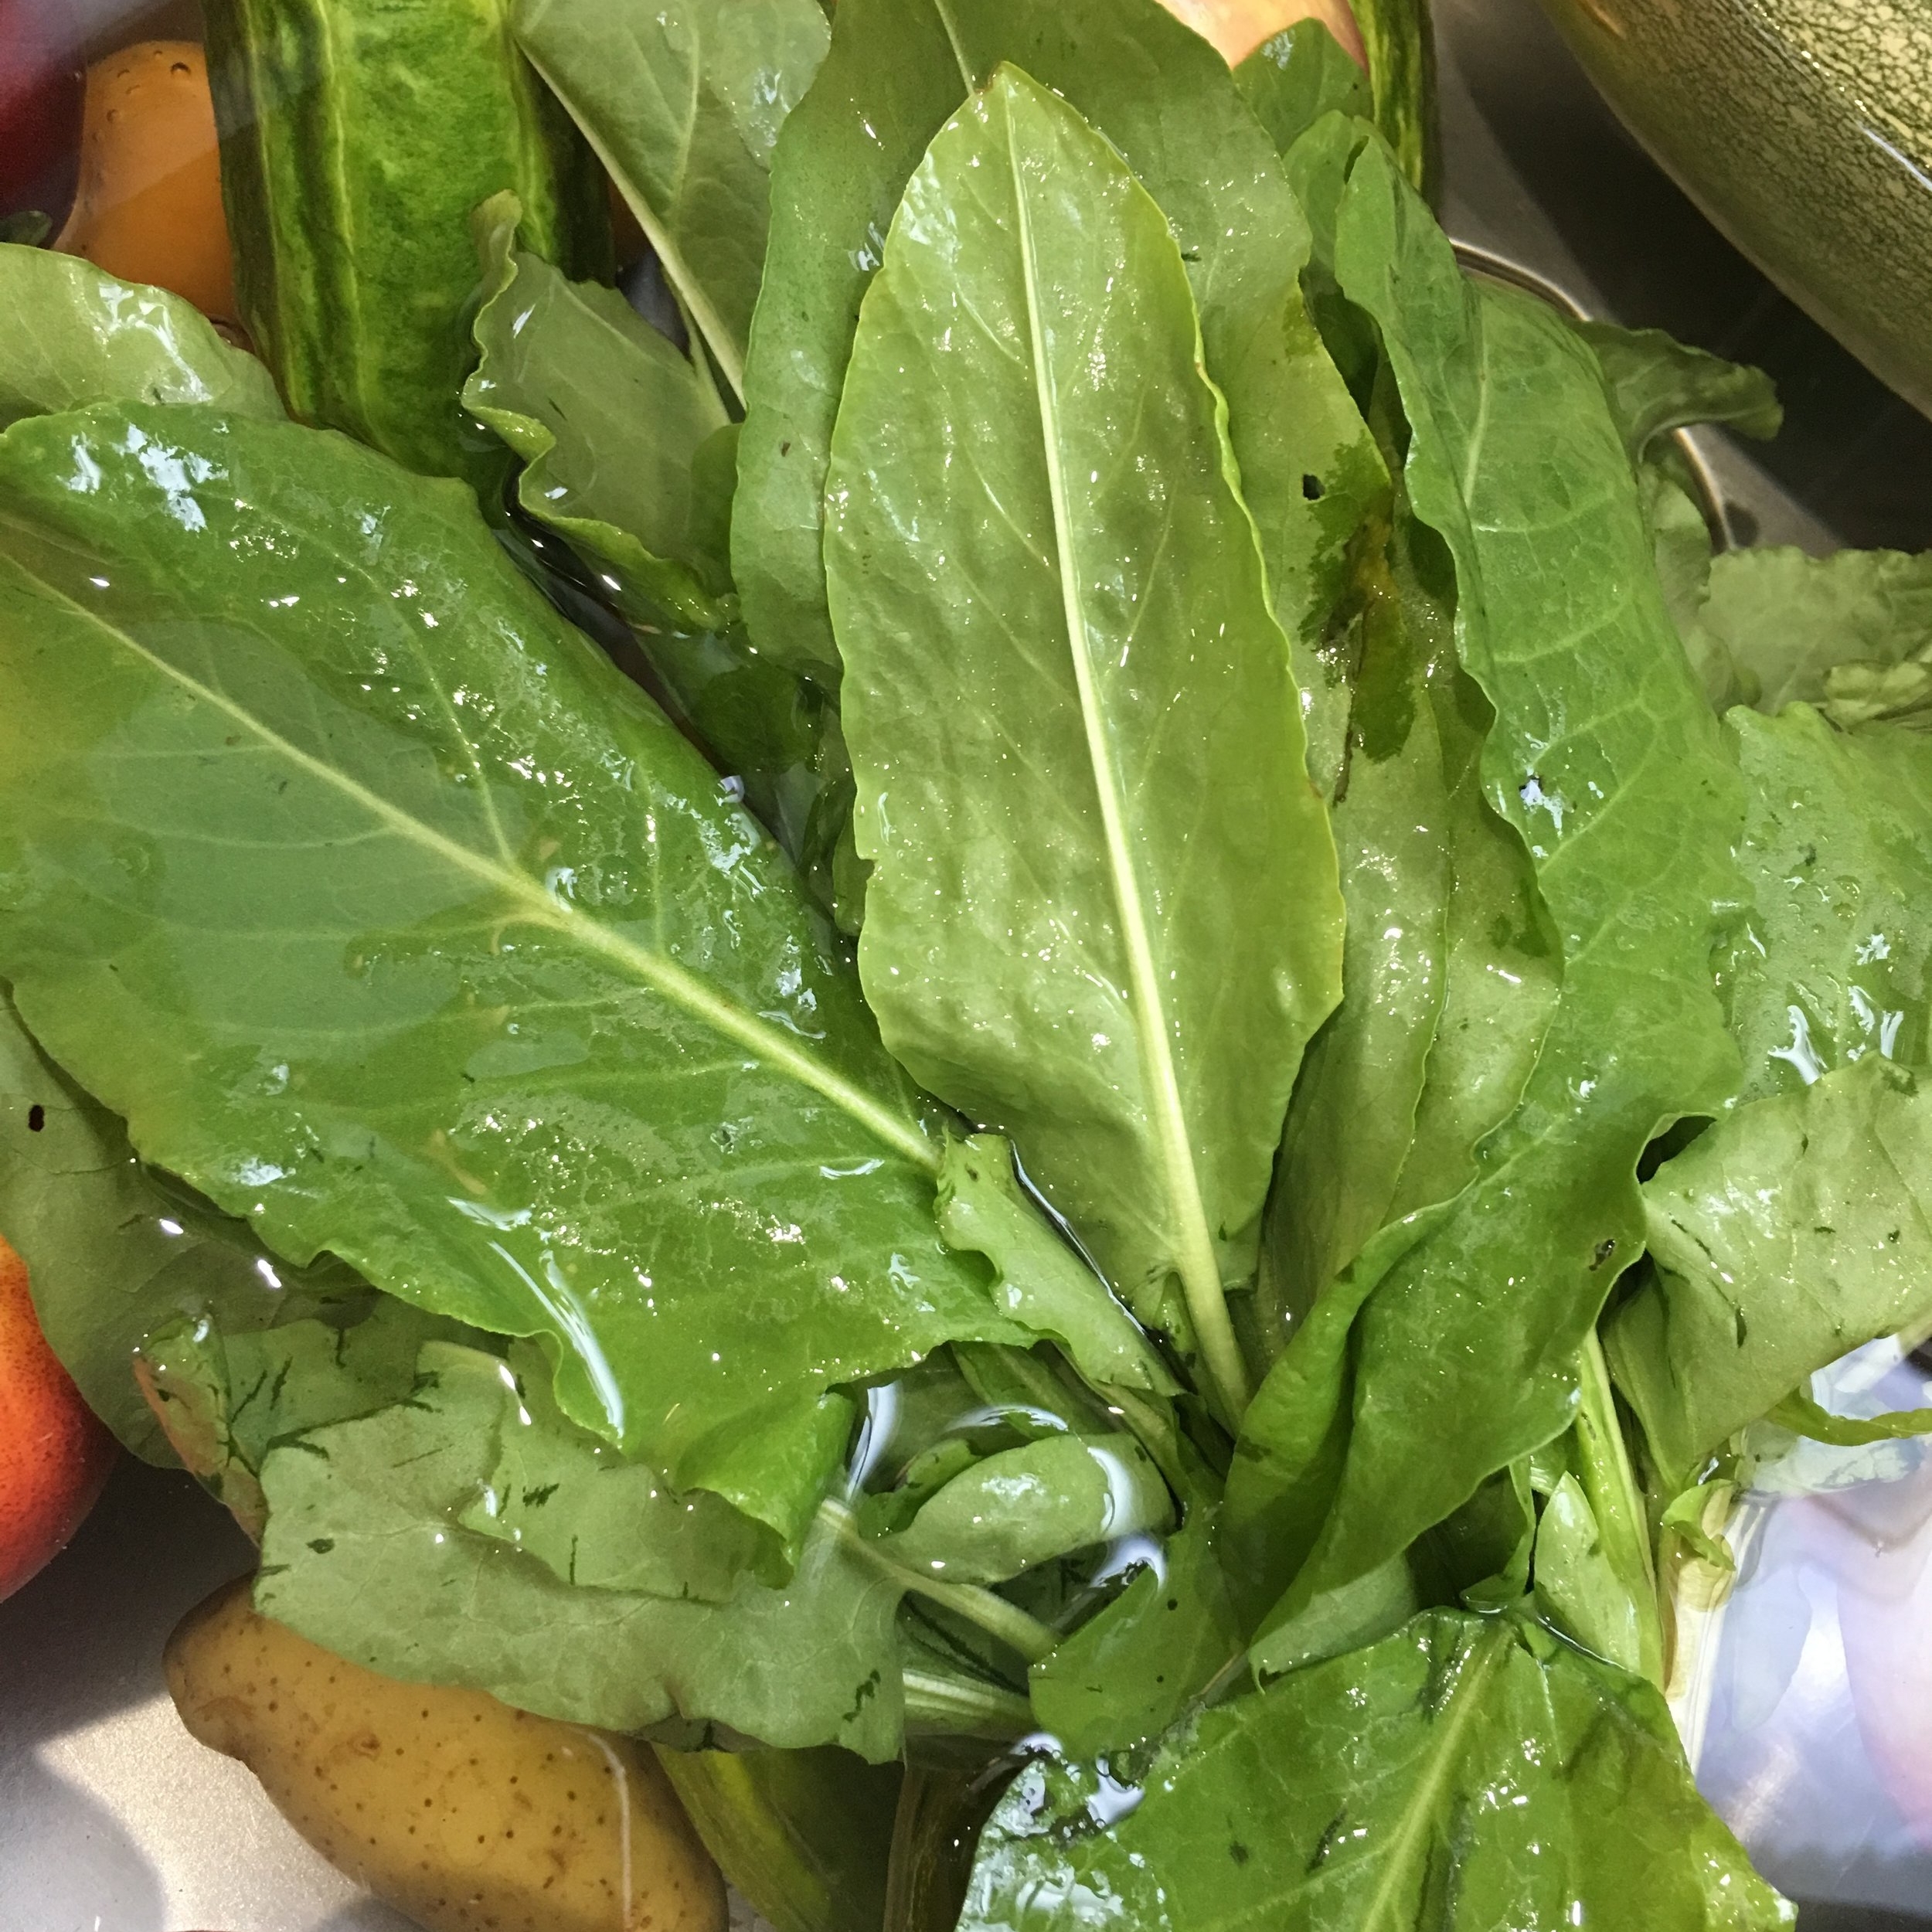
Sorrel is a nutrition packed summer green that’s deliciously tart, and can be added to salads, pesto and so much more. It’s not always readily found, but if you can get your hands on it, you should try it.  It’s lemony tartness is fragrant, without the sweetness of lemon. There are multiple different varieties; some are all green, some have beautiful red and pink variegated leaves.  I have made sorrel/chard and ricotta soup in the past. I love sorrel and parsley pesto with pecans taking the place of pine nuts to add a little sweetness, and balance the tartness from the sorrel.

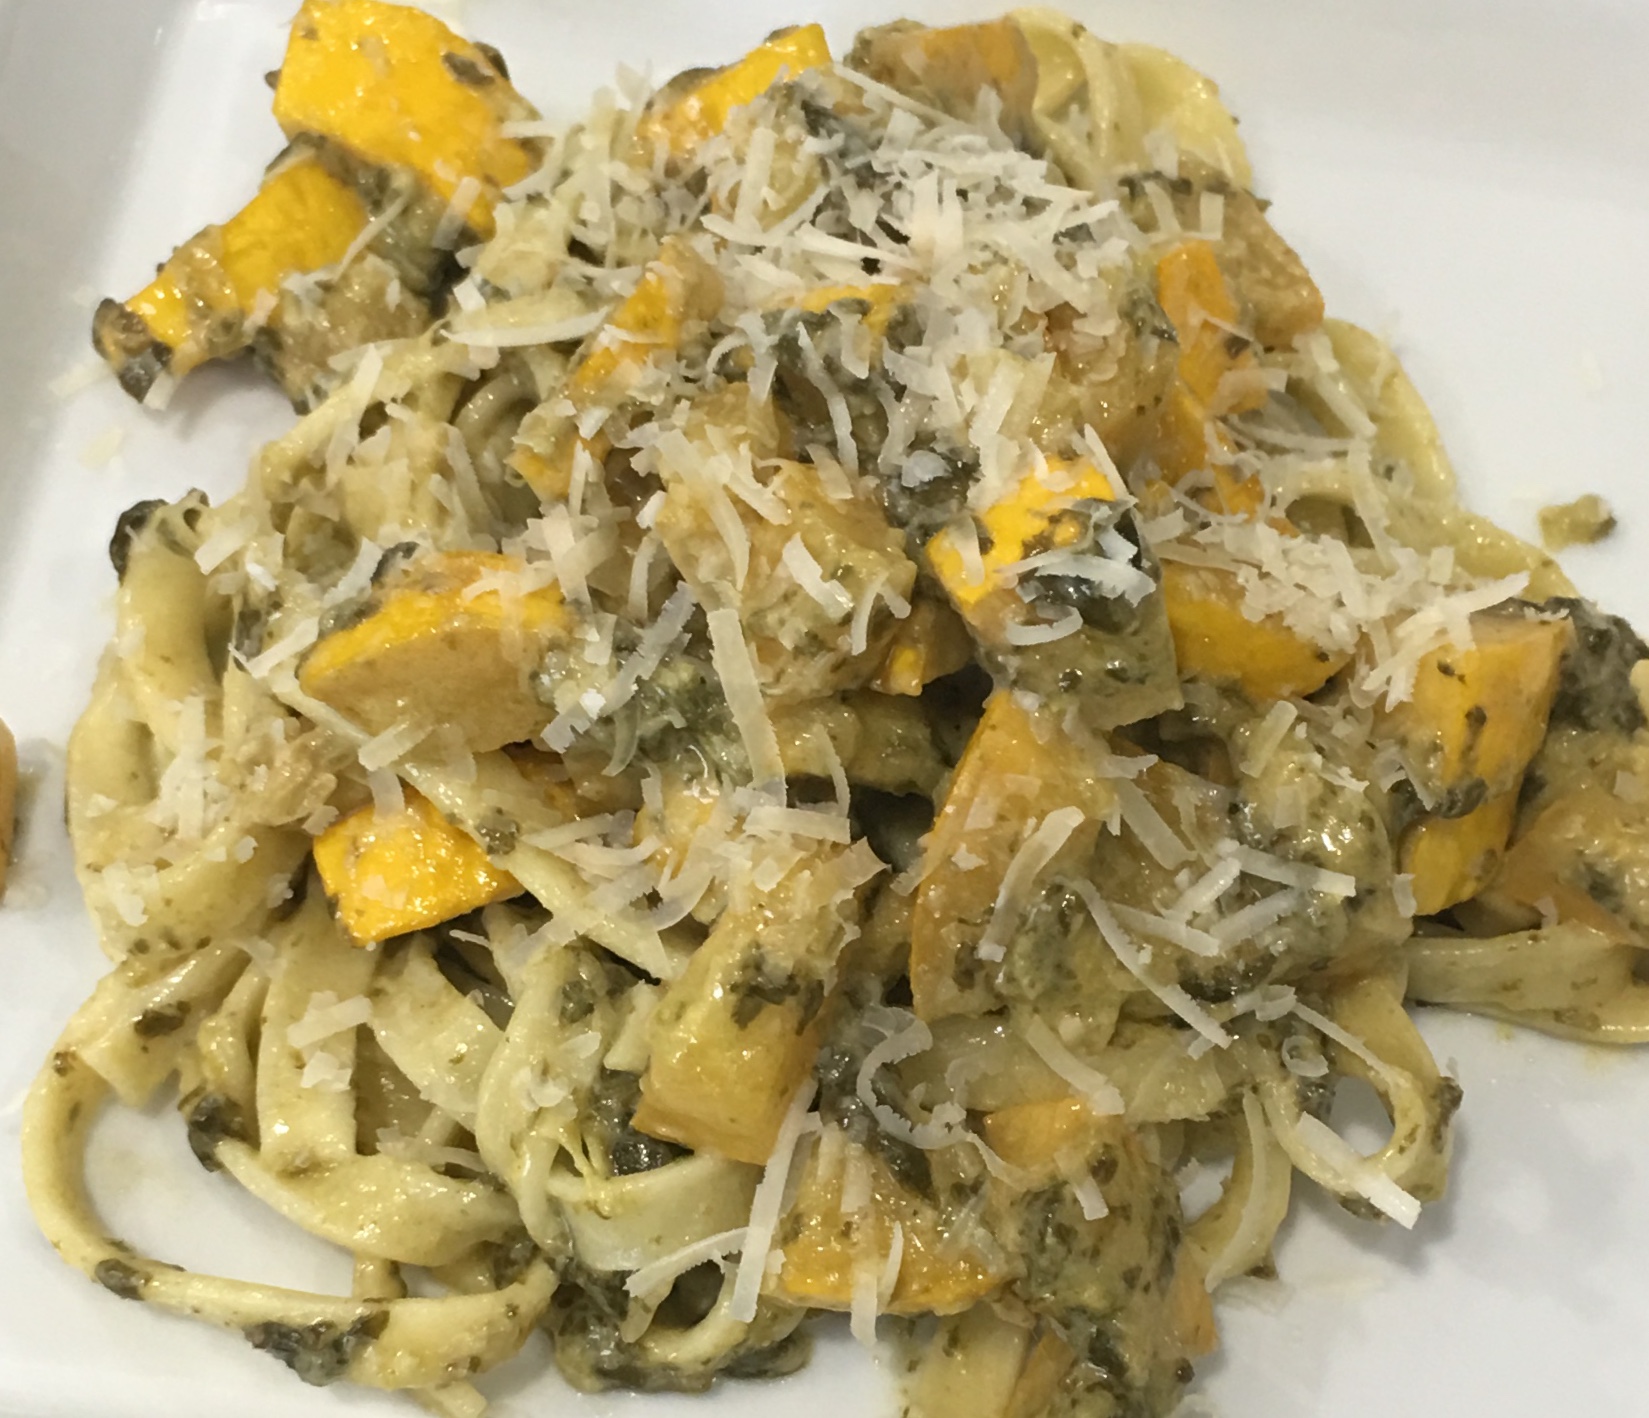
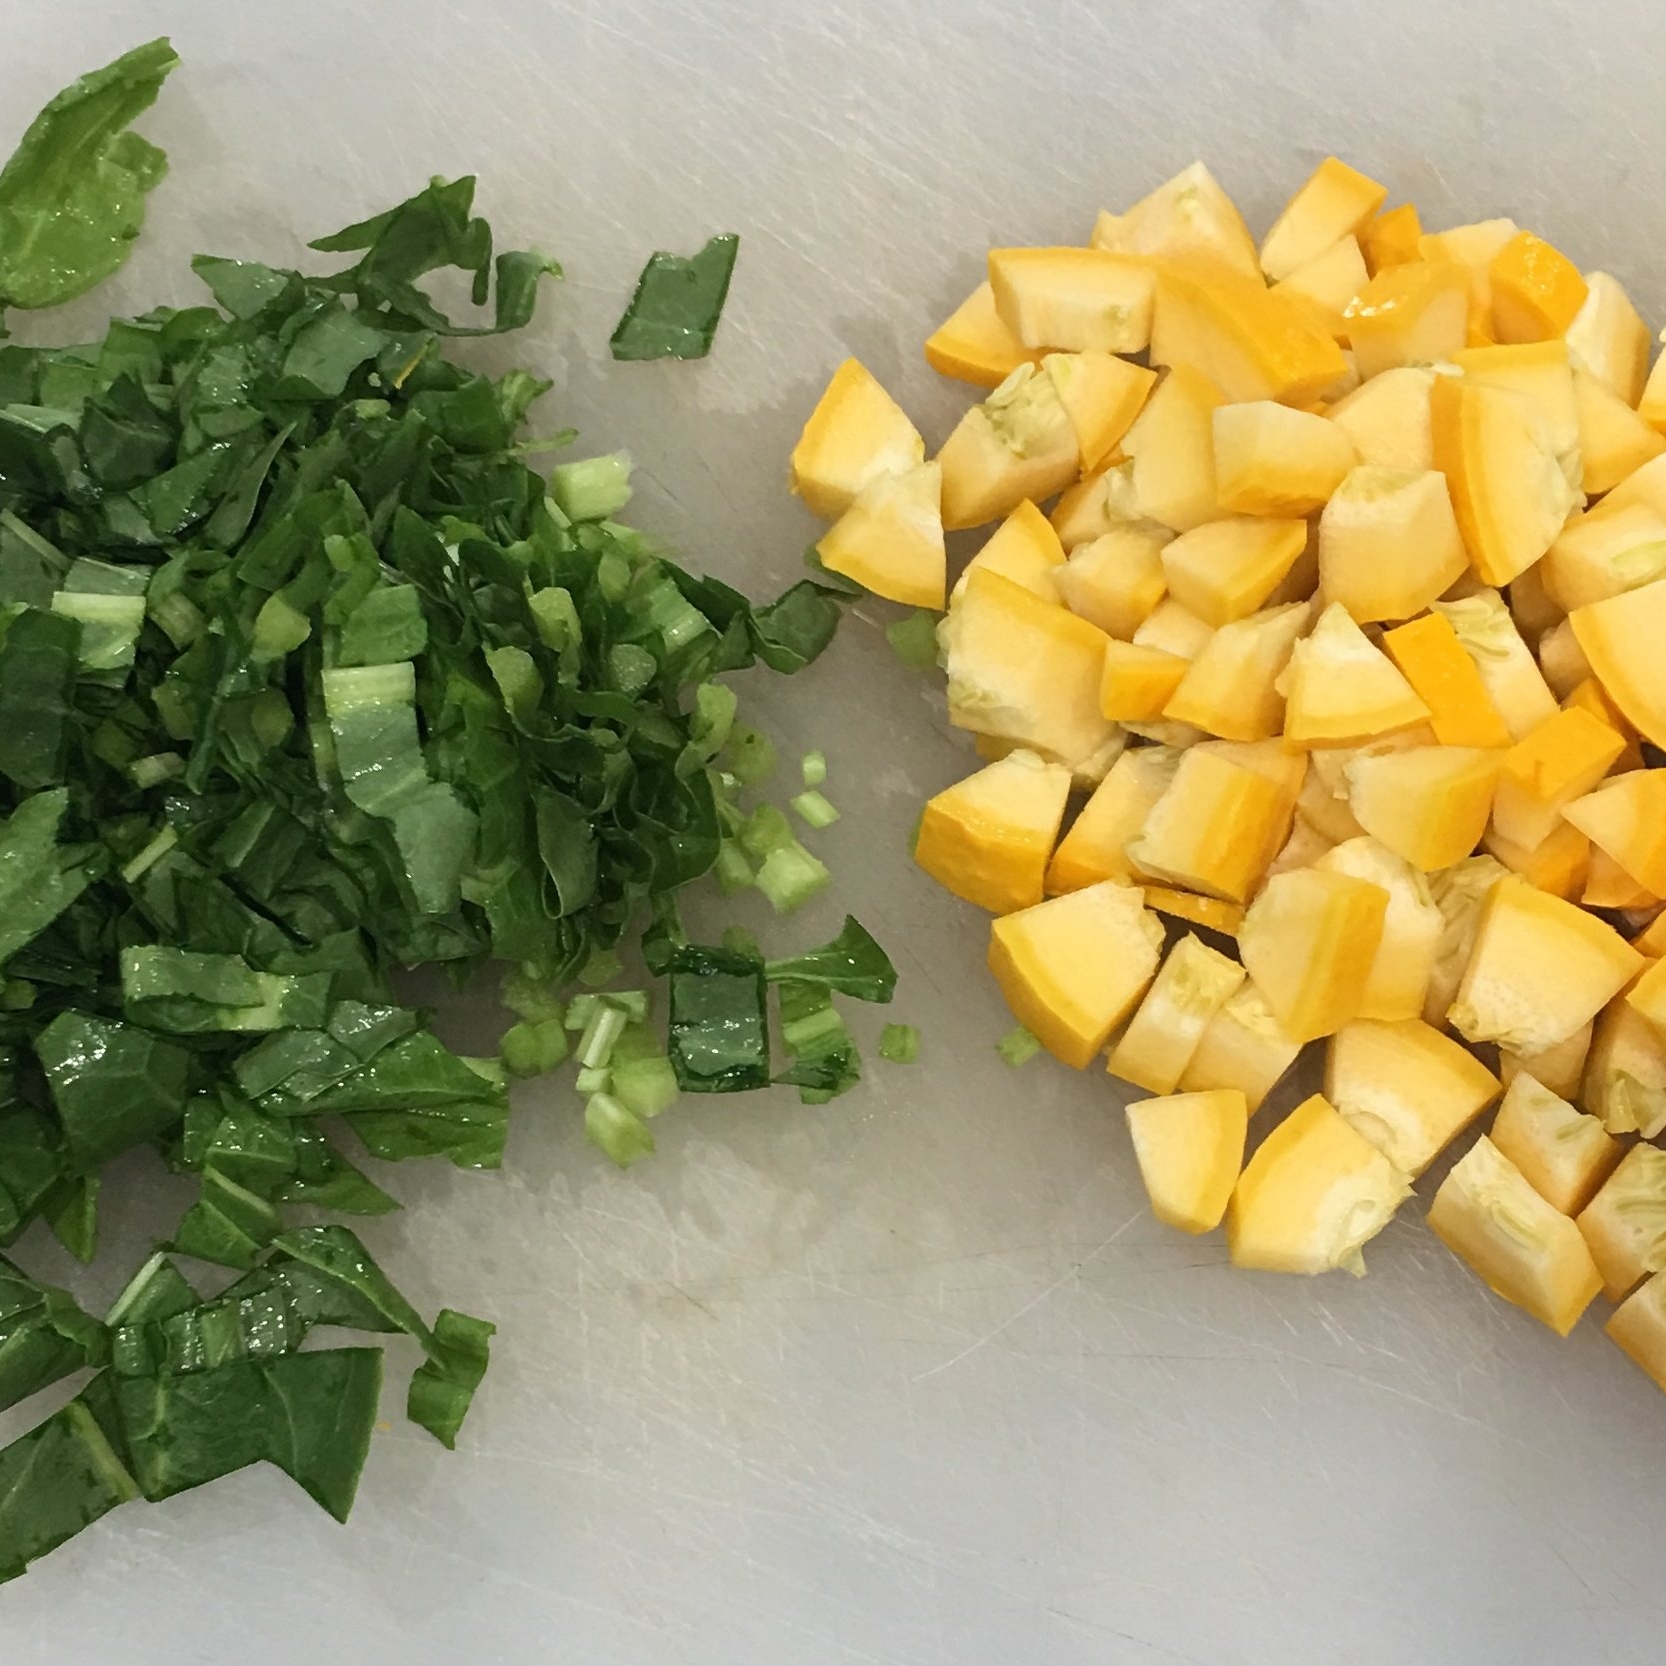
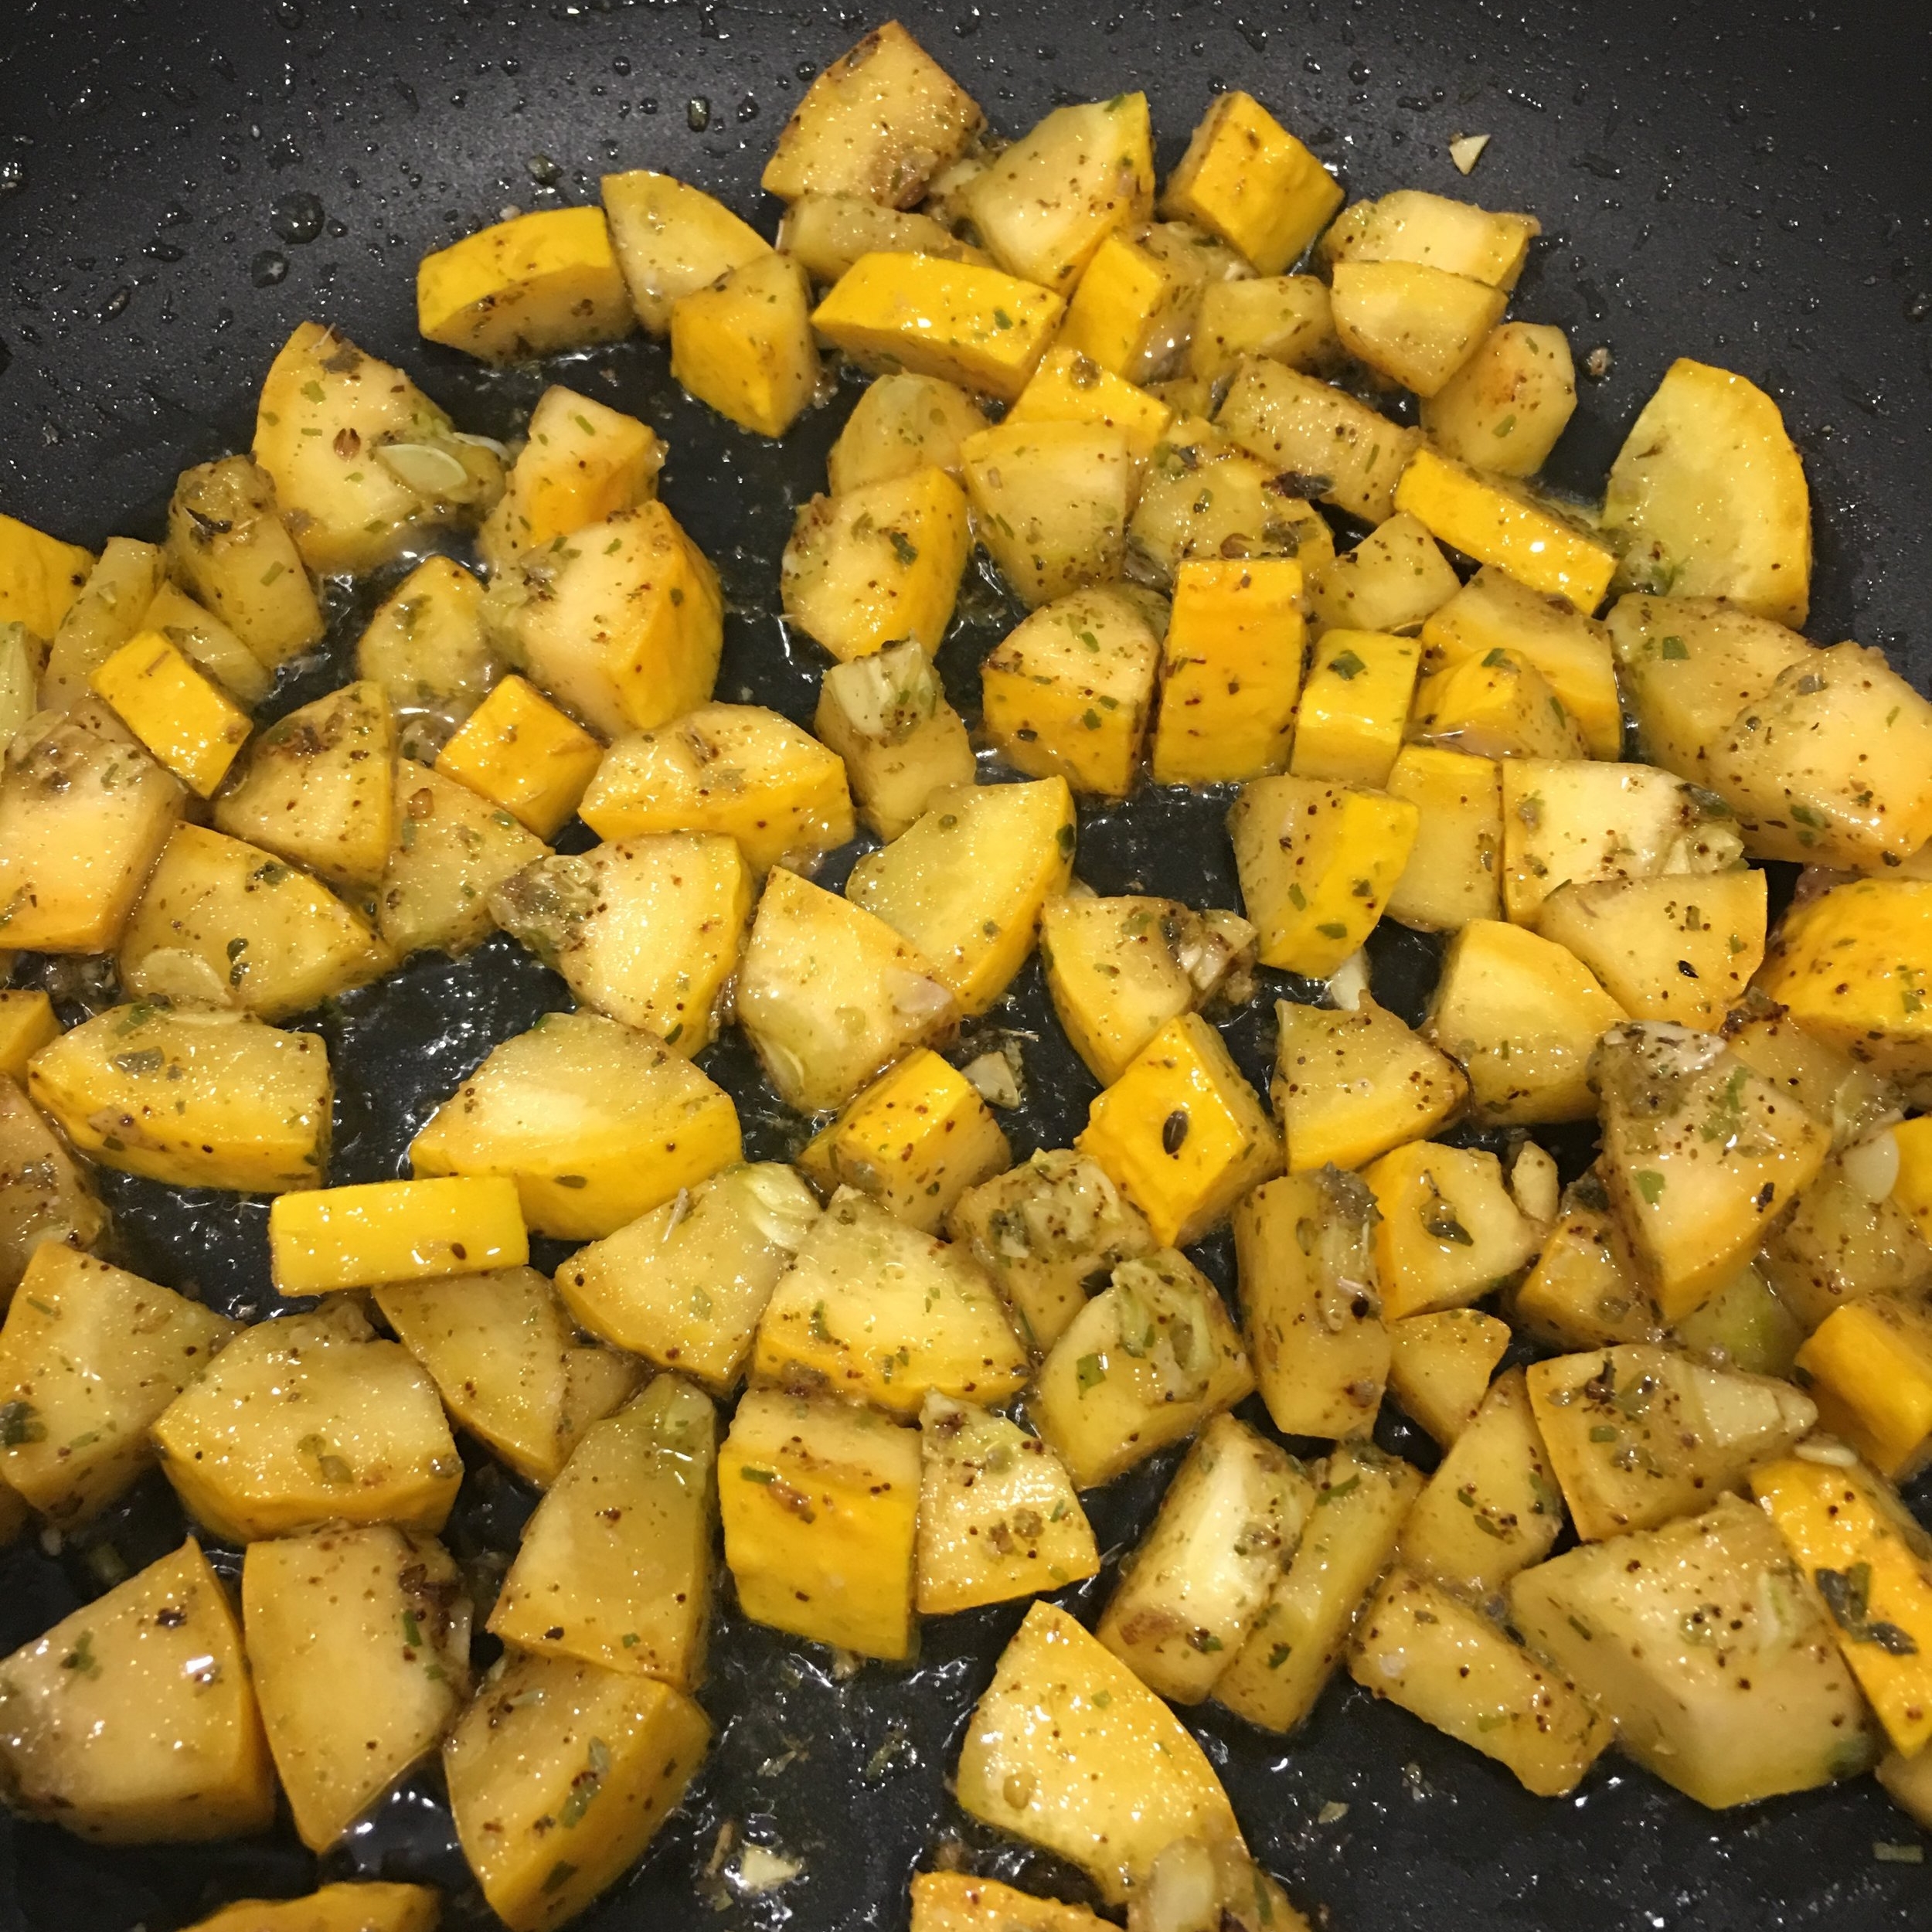
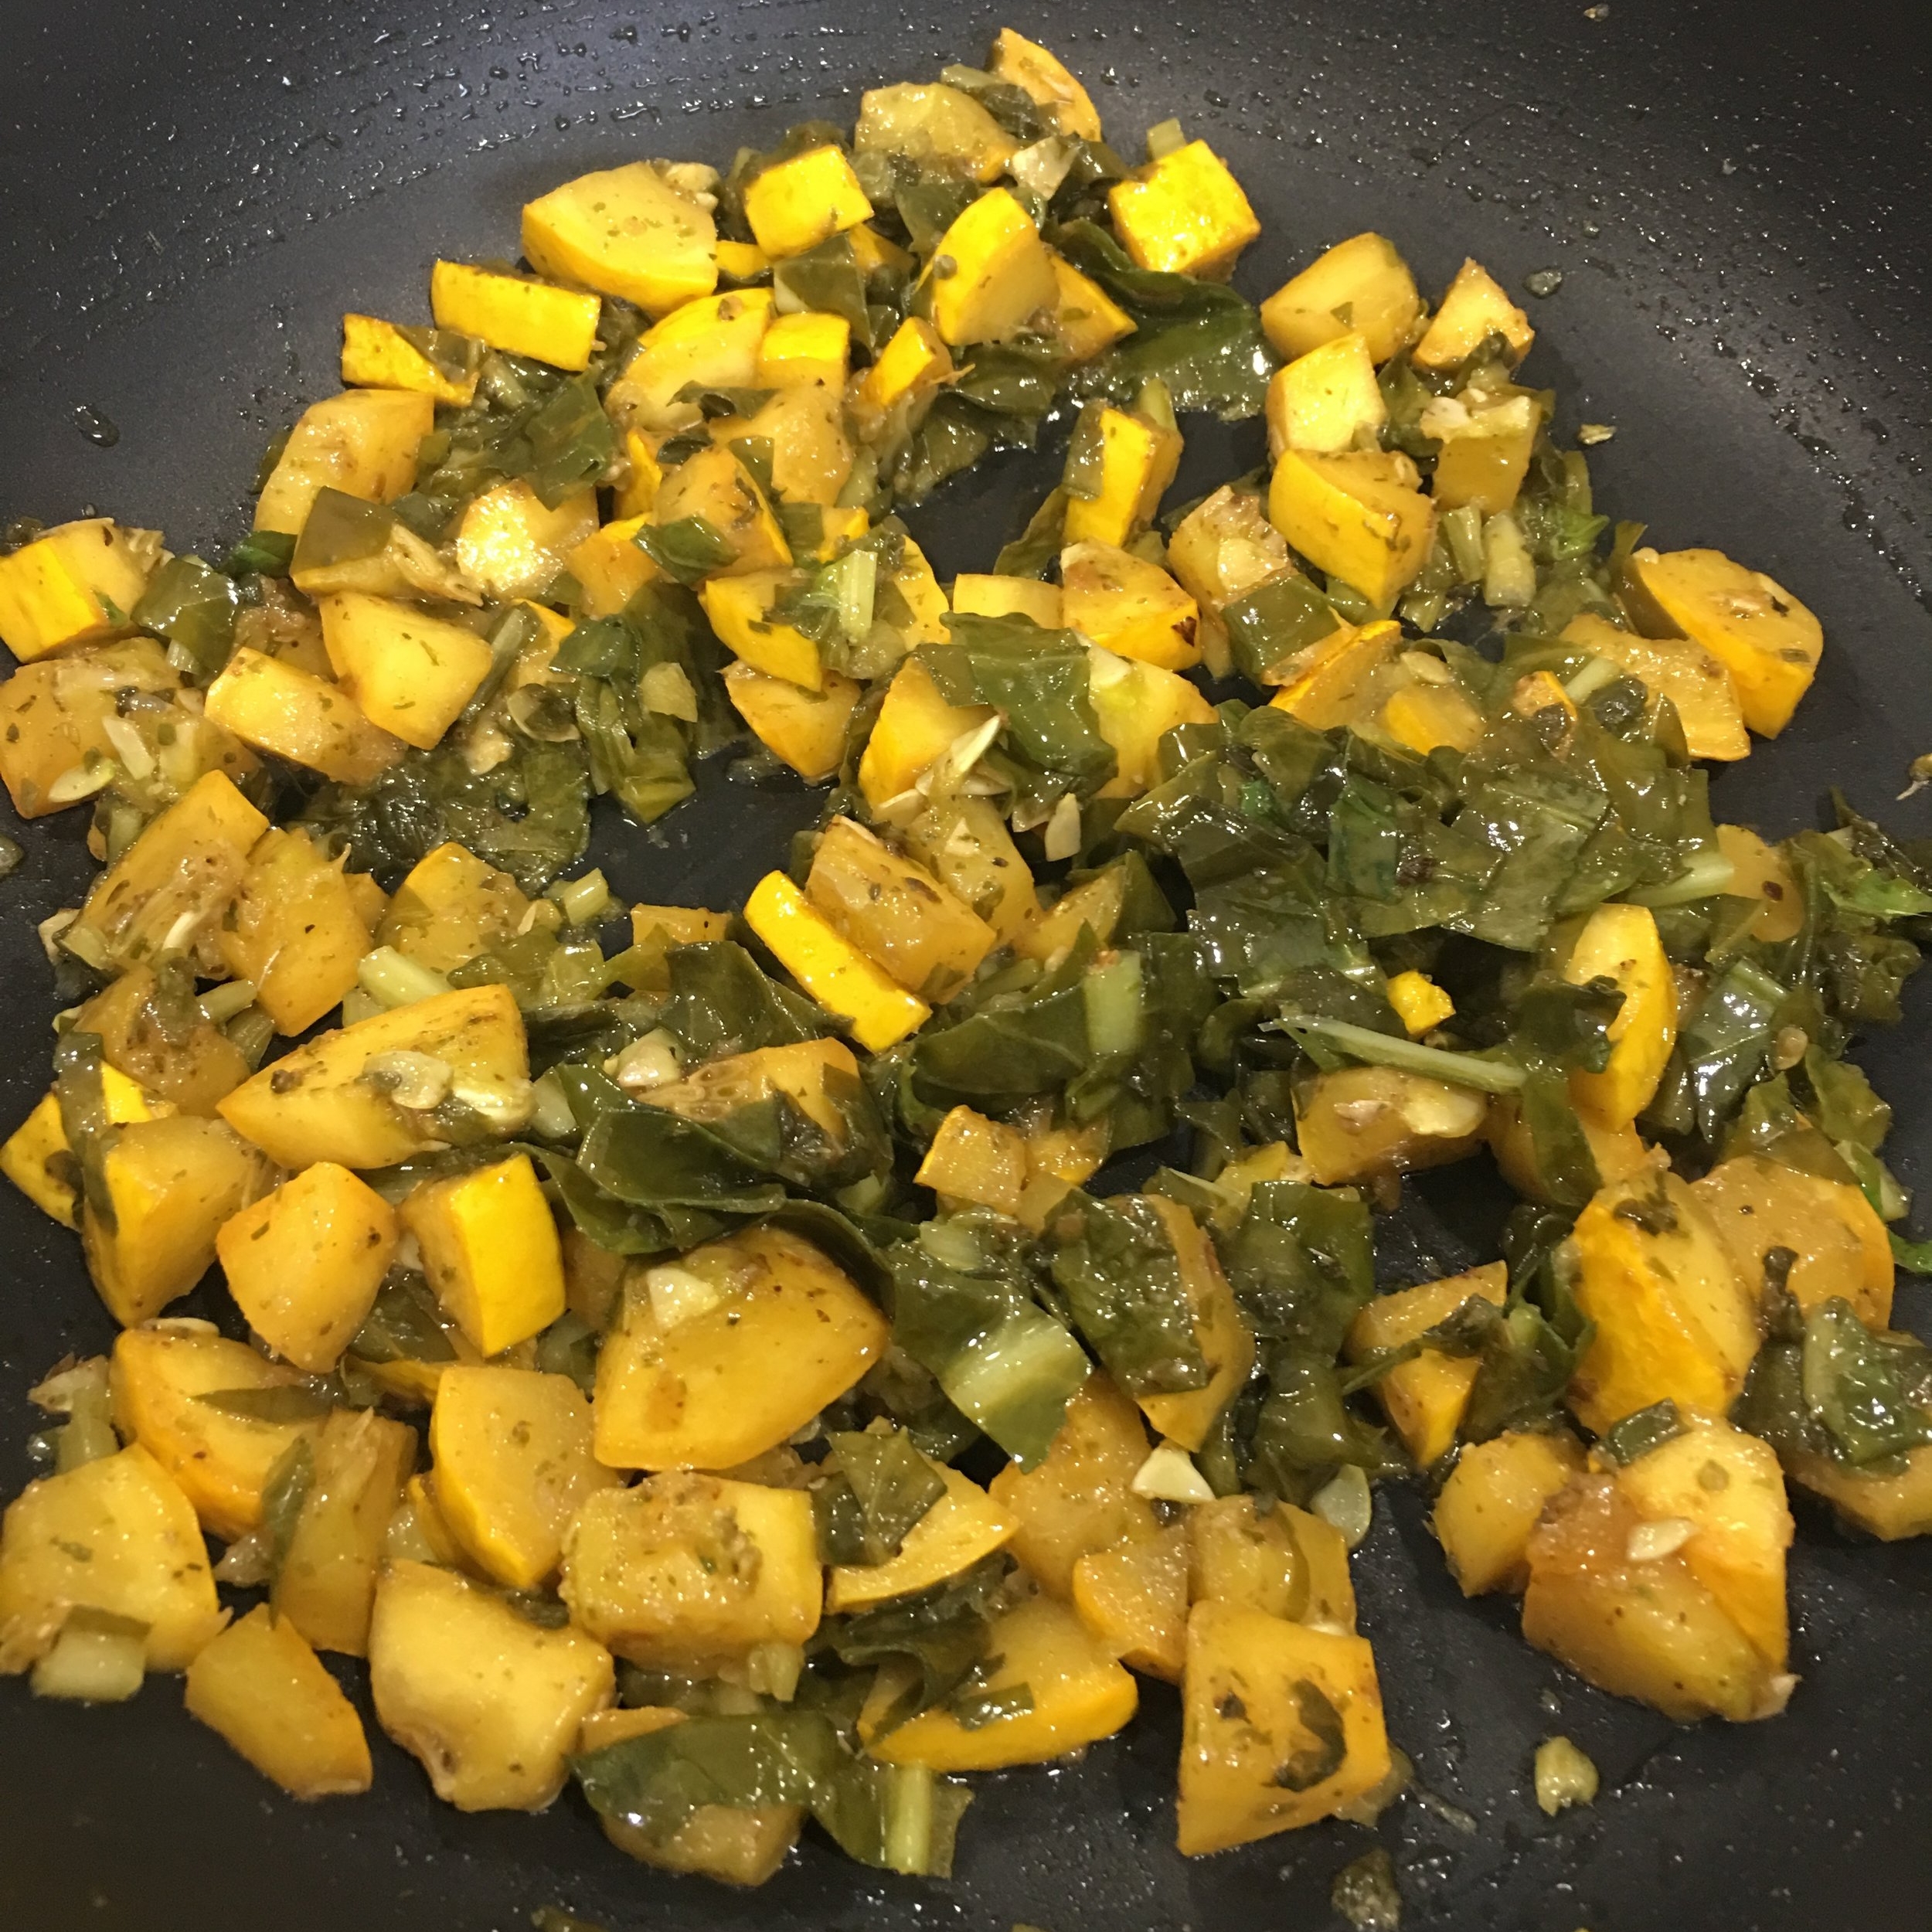
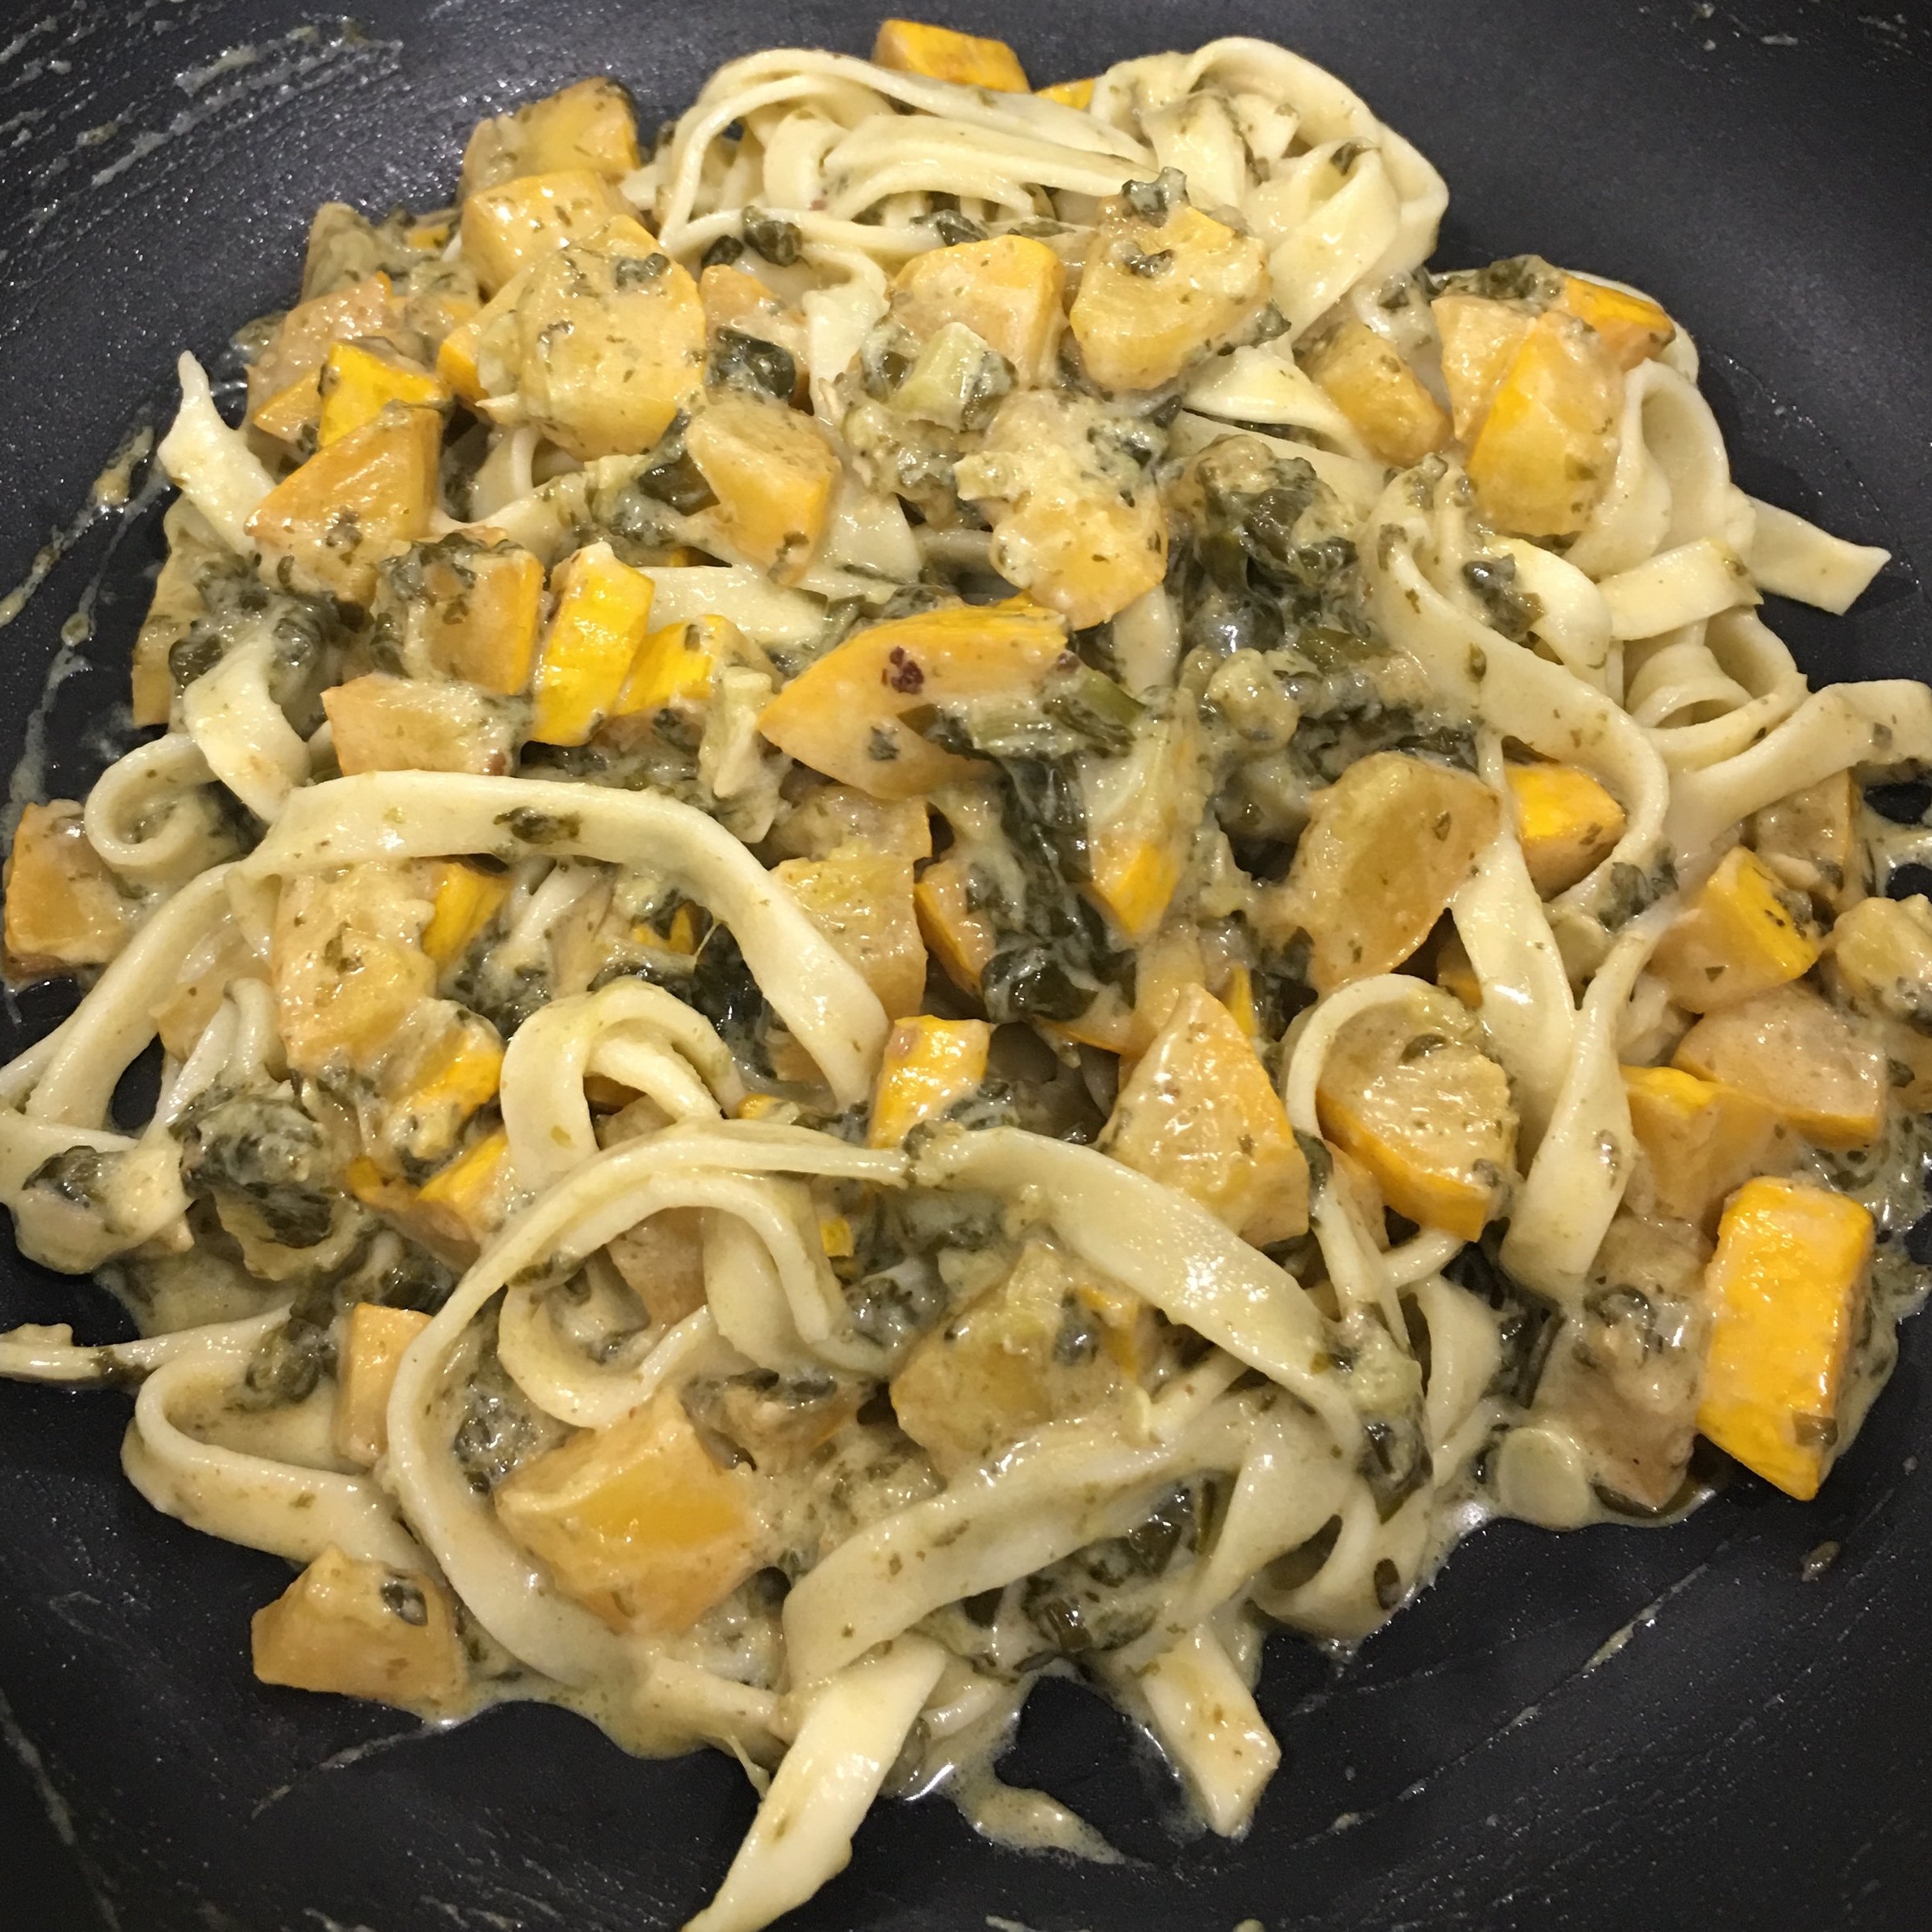
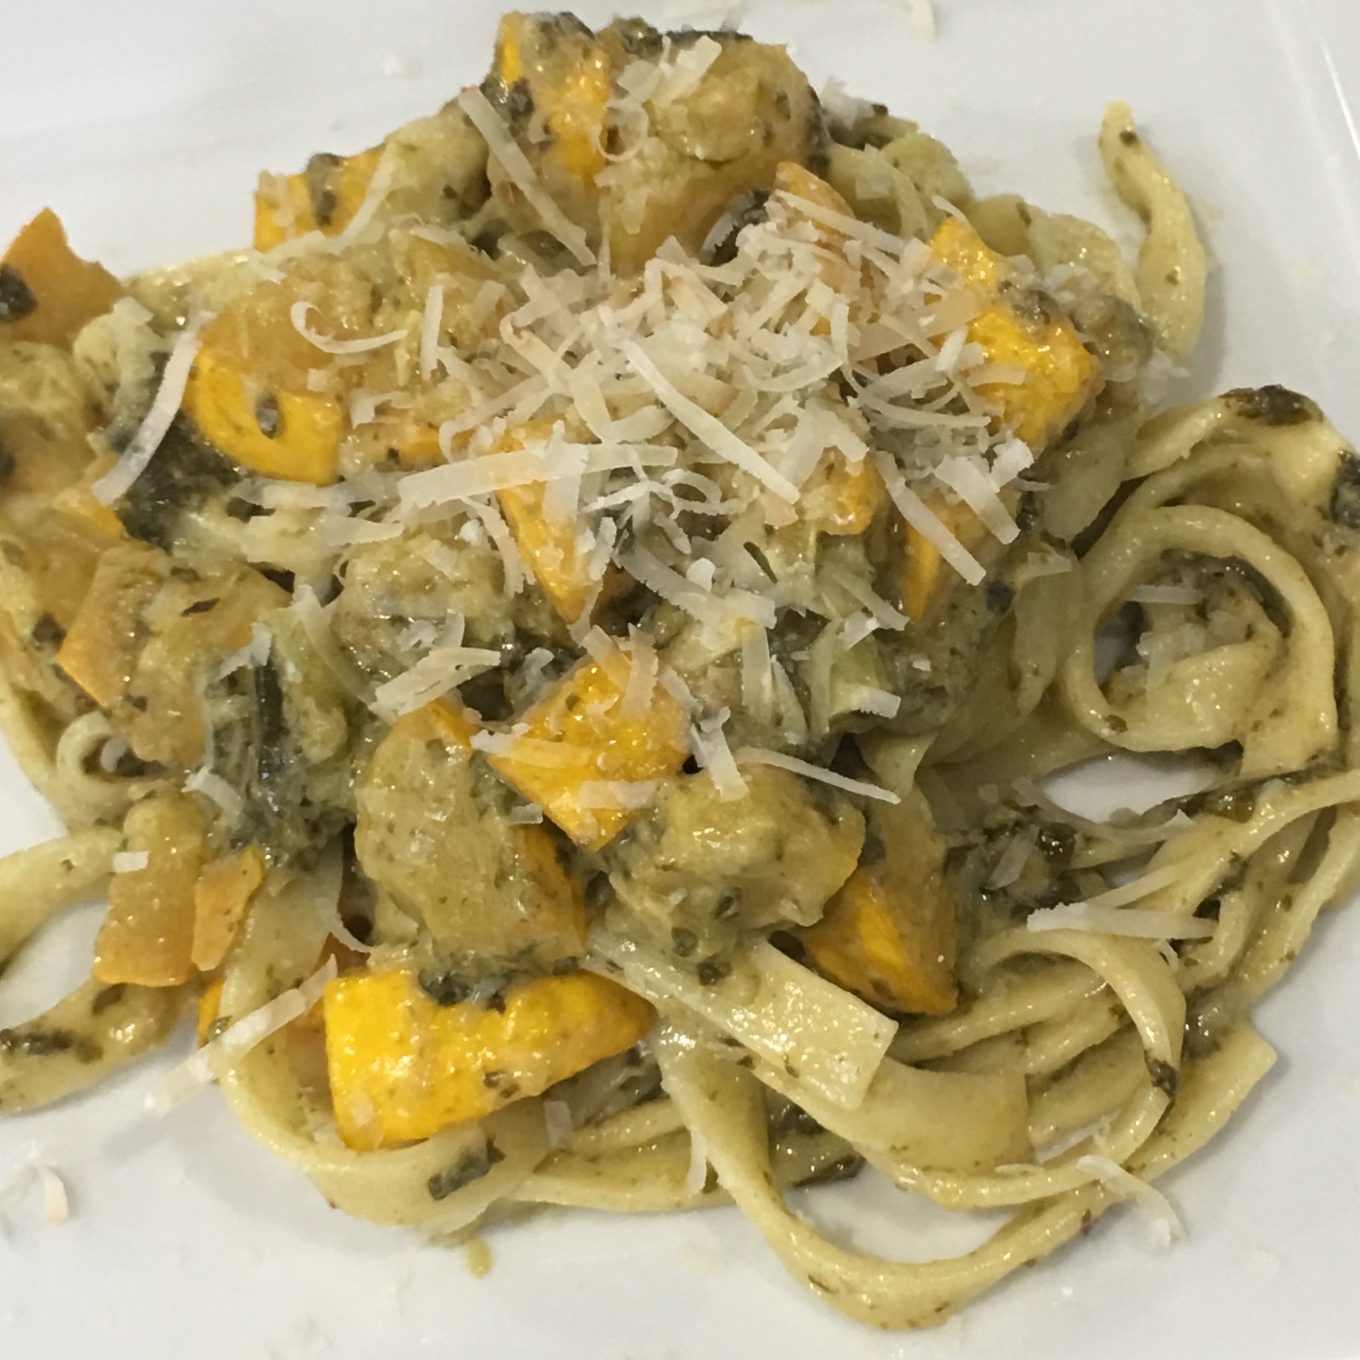
Today, the bunch of sorrel in my farmers’ market basket paired with summer yellow squash, some dried herbs from the pantry and a fresh pasta from my freezer to make a light, easy and healthy lunch.   The vegetables are clearly the stars here, fresh from the farm.  

Sorrel is nutritious and a good source of fiber.  It’s rich in vitamins A and C, B6, magnesium and iron. As always, a little added fat will help your body absorb the vitamin A.  You can certainly skip the cream and pasta and eat the sautéed vegetables on their own.  This recipe can be easily scaled up with more vegetables and pasta.  

So easy, delicious, nutritious and pretty.  My husband said he would eat it everyday. I hope you like it. 

RECIPE: Sorrel & Summer Squash Pasta

INGREDIENTS

  • 4 to 6 oz fresh pasta (you can use 2-3 oz 0f your favorite dried as well) 
  • 2 teaspoons extra virgin olive oil  
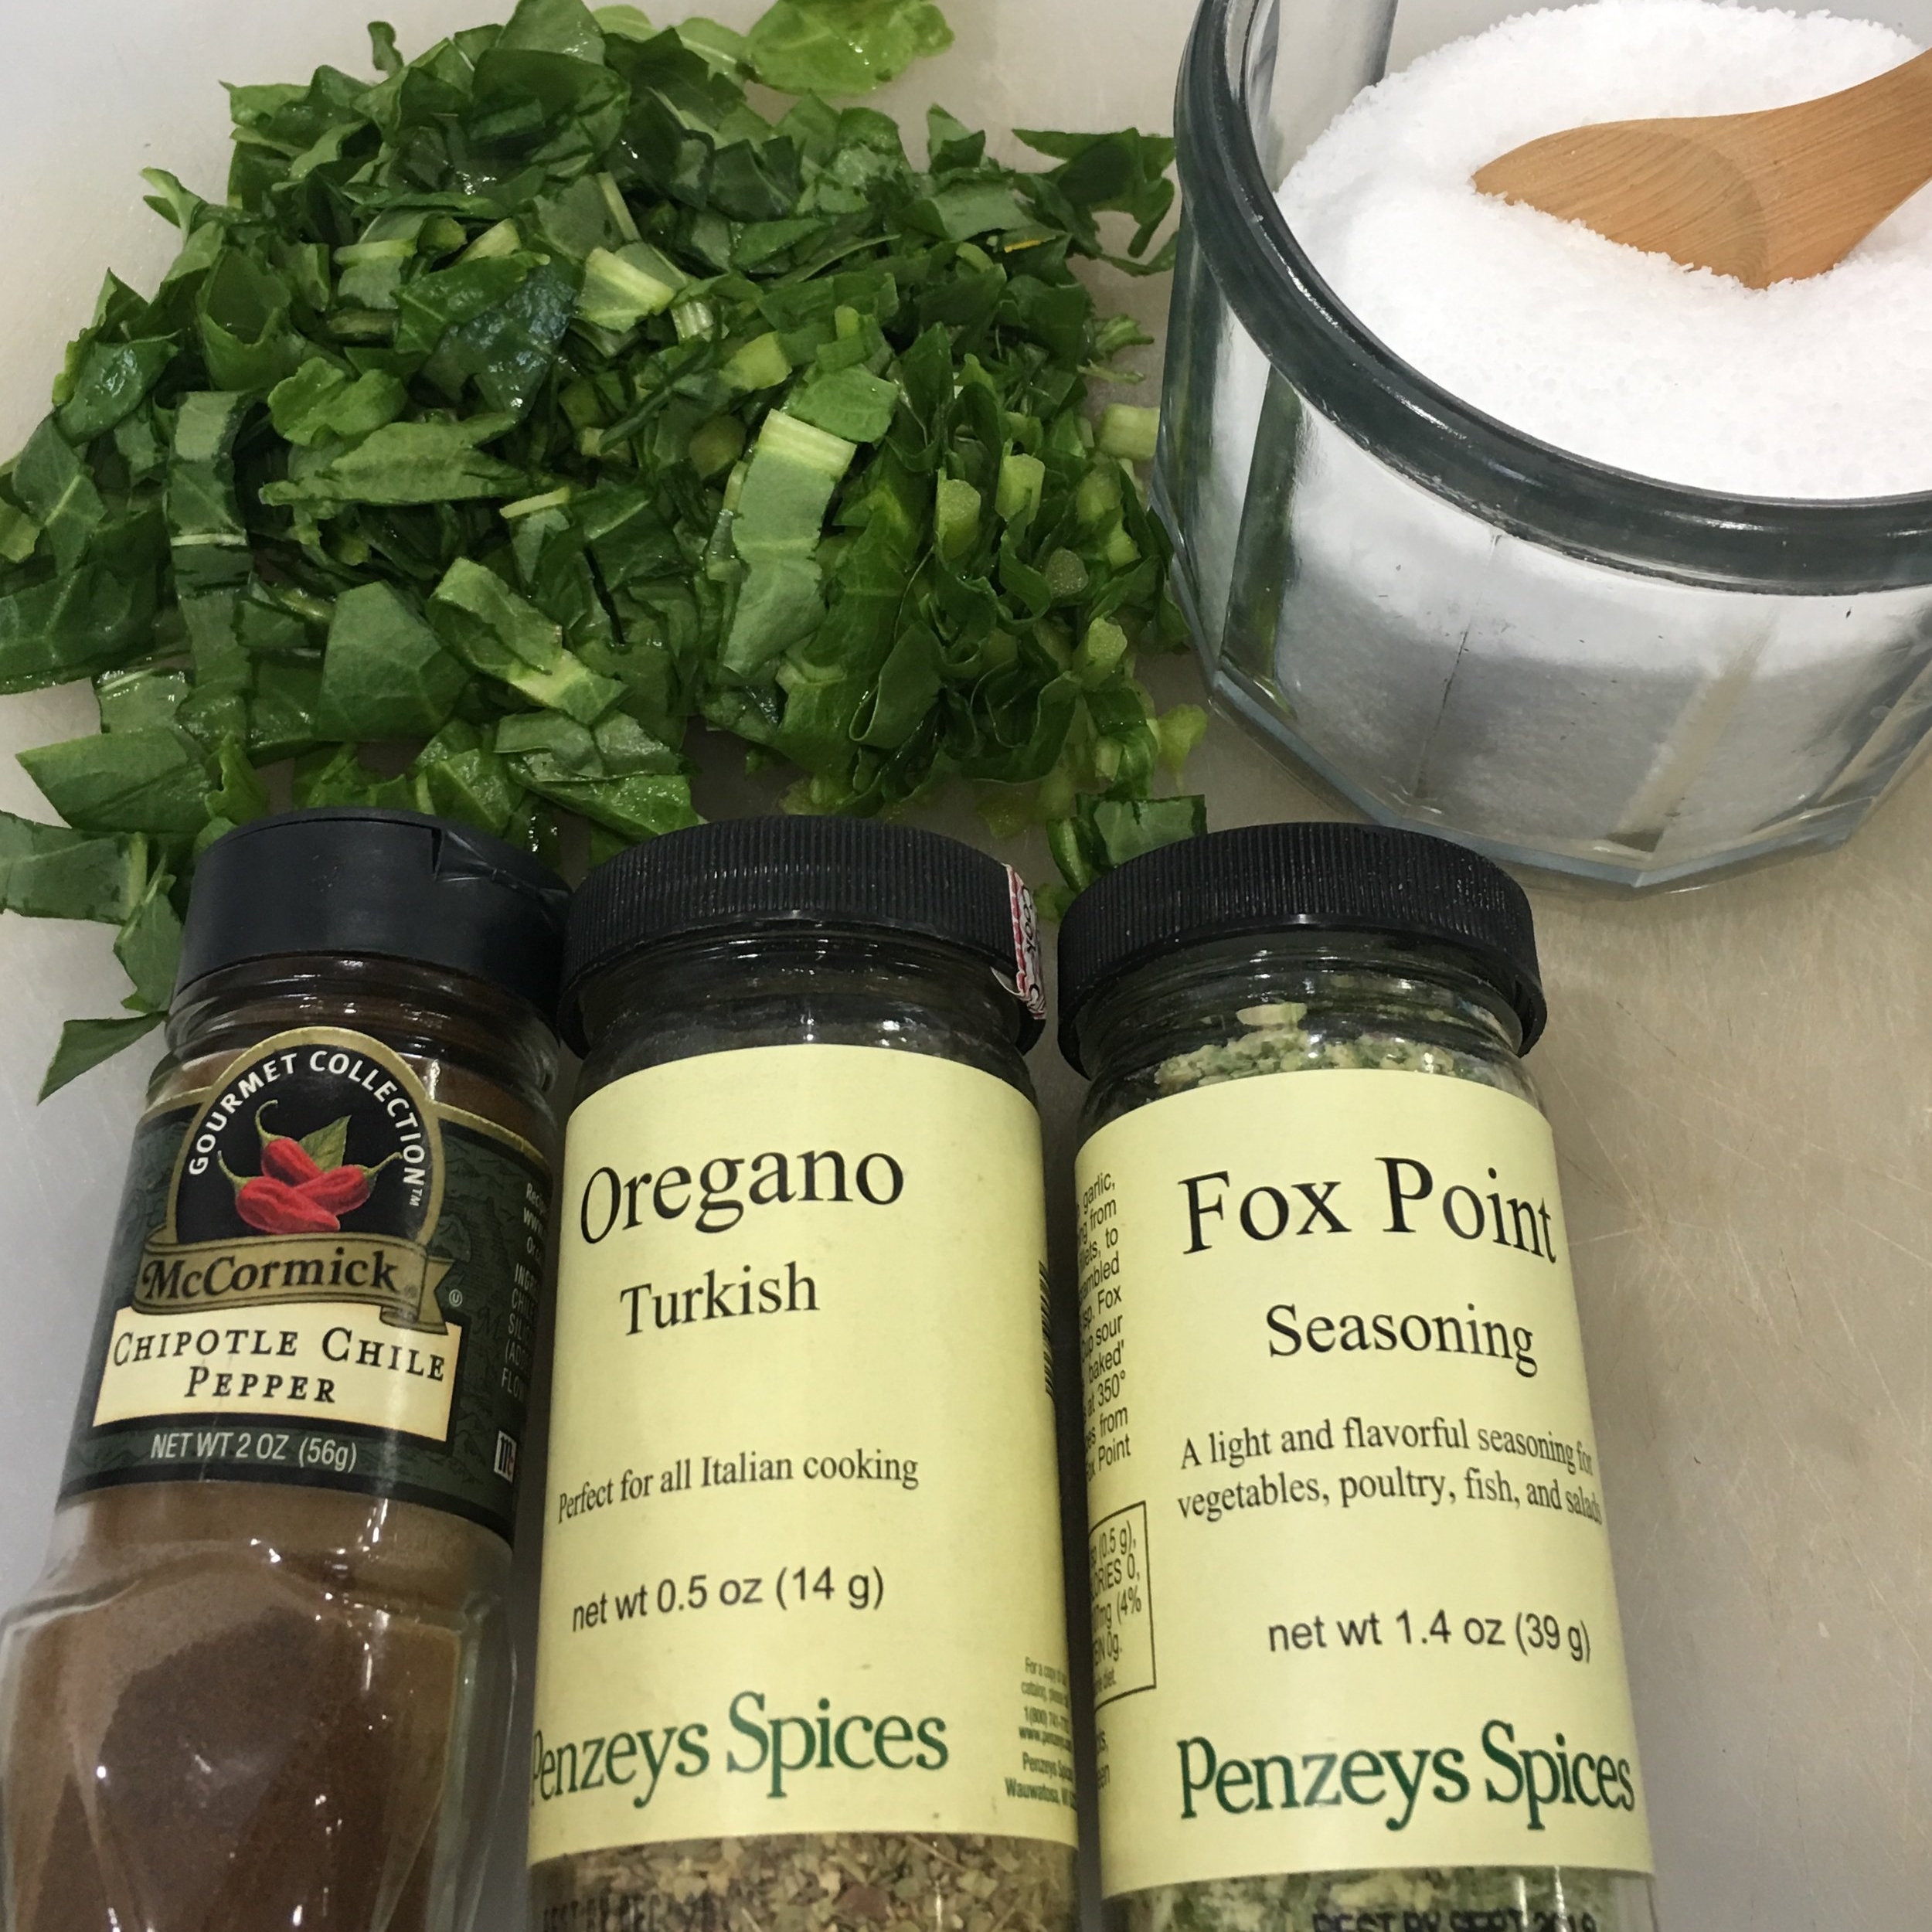
  • 1 teaspoon dried oragano
  • 1 teaspoon Penzey’s Foxpoint Herb Mix
  • 1/4 teaspoon chipotle powder
  • 1/3 teaspoon sea salt
  • 2 cups diced summer squash
  • 2 cups chopped sorrell
  • 1/4 cup heavy cream
  • grated parmesan

PROCESS

  1. Sautee squash in olive oil with salt and spices until tender. 
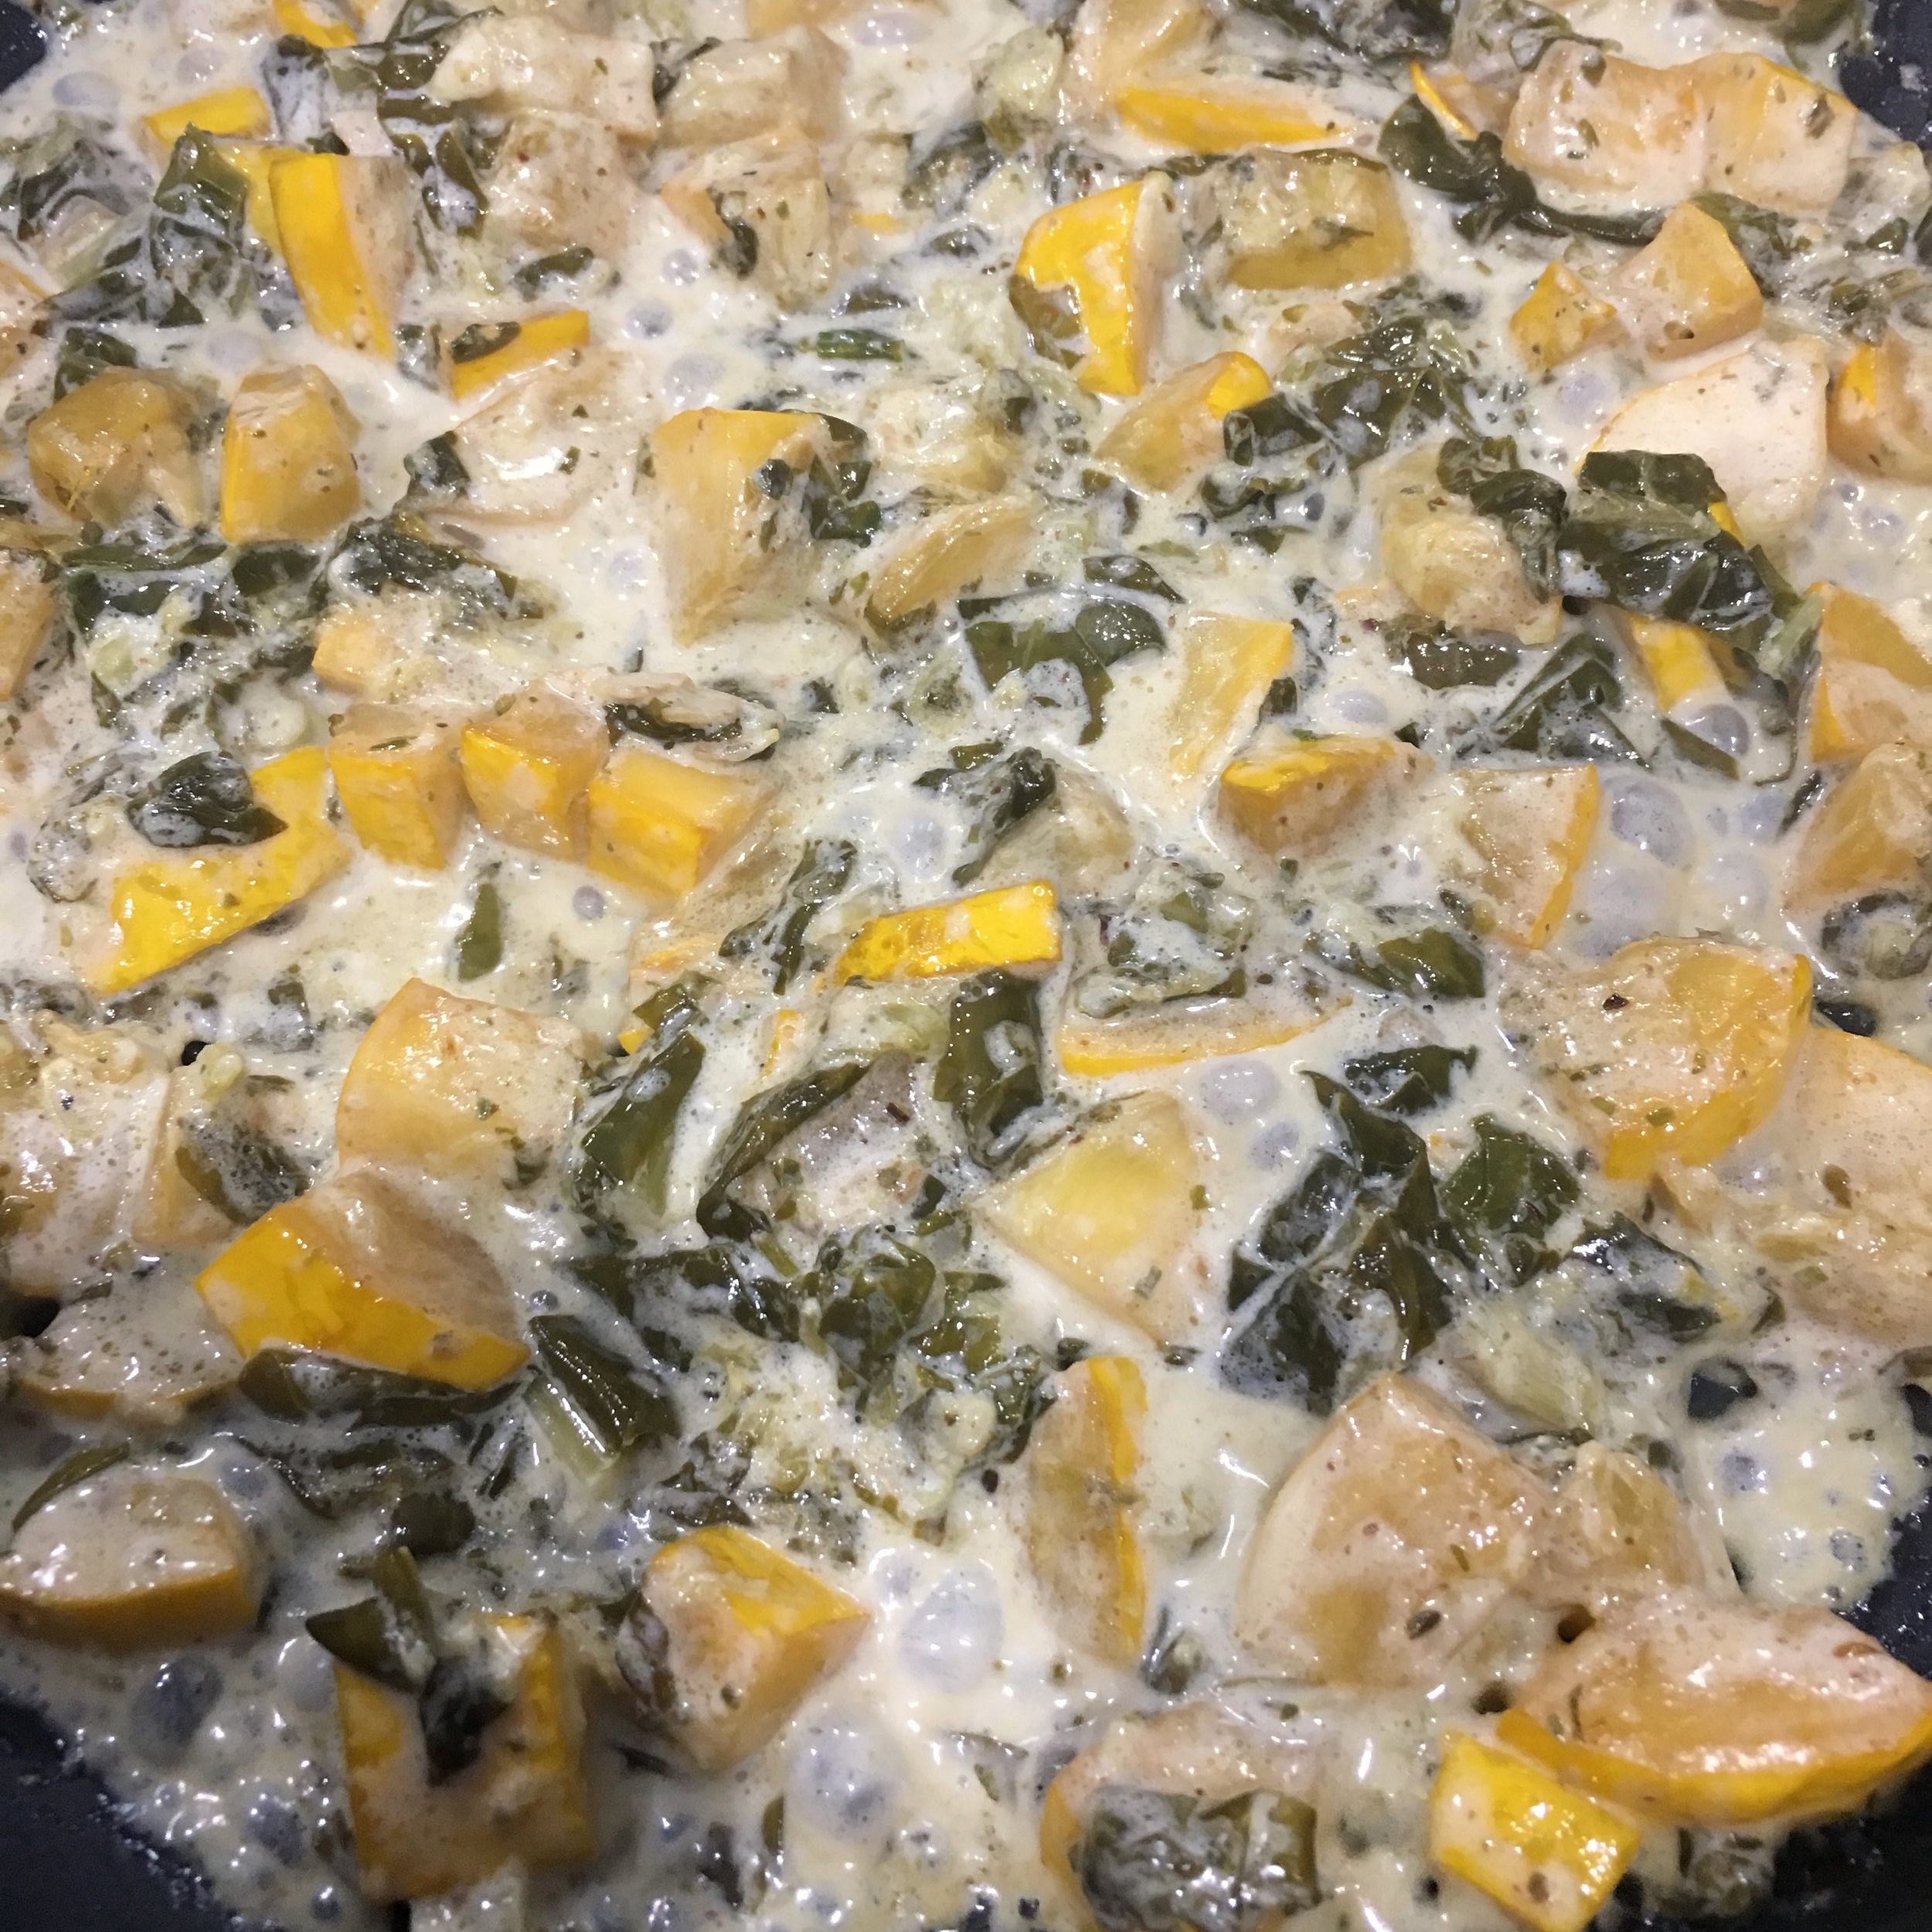
  2. Add sorrel and cream, and toss. Turn off the heat.
  3. Add cooked pasta and toss.
  4. Serve with a sprinkle of grated Parmesan. 

Serves 2