A St. Partick's Day Memory: Colcannon

IMG_7484.jpg

My first exposure to Irish food was in the late 1960s when I lived in London and Shepherd’s Pie has been a comfort food for me ever since. The second Irish dish I learned to love was Colcannon. The name alone sounded magical and was fun to say. Little did I know the magic was in its simplicity and humility. When I moved to Houston in the early 1970’s, no one had heard of Colcannon. Then came Darian Allen and her Balleymaloe Cookery School via the airwaves on PBS (our Public Broadcast Station). Her recipes were simple and made from fresh garden and local ingredients. Because I always seem to be short on time, this Colcannon recipe is a quick version of her method. I leave the skins on the red potatoes for color and nutrition. Also because it’s easier. If you have time to boil and steam the potatoes whole then peel them, look up Darina Allen’s recipe. It’s well worth the time.

Colcannon is velvety, luscious and satisfying. It is a minimalist dish, so each of the ingredients should be fresh and delicious. Luckily, beautiful cabbage and new potatoes are in season as spring blossoms being to show here.

I don’t know anyone who doesn’t like this. When I cooked this at my farmers market cooking demonstration in 2018 in honor of St. Patrick’s Day, all the children came by for a taste and asked for seconds. Many who swore they hated cabbage left with their minds changed. That should tell you something.

Potatoes are a rich source of vitamins C, B6 and magnesium. Cabbage is an excellent source of vitamins C, B6, K, fiber and potassium. It is also a good source of vitamins B1, B2, B3, B7, choline and selenium. This dish is healthy and delicious. Nutritionally speaking, it rocks!

Serve it with roasted salmon, lamb, corned beef, sausages, chicken…it’s a perfect accompaniment or great on its own.

RECIPE: COLCANNON

INGREDIENTS

  • 1 pound fresh red potatoes

  • 1 pound Savoy, spring cabbage, or kale, chopped

  • ½ stick salted Irish butter

  • 1 cup whole milk

  • 1 oz spring onion or scallions, finely sliced

  • Sea salt and freshly ground black pepper

PROCESS

  • Simmer scallions in milk.

  • Cut and boil the potatoes is salted water.

  • Boil the cabbage. 4. Drain the potatoes and mash with scallion milk and 1/4 stick of butter.

  • Stir in drained cabbage.

  • Salt to taste.

  • Serve with a knob of good Irish butter and freshly cracked pepper.

Serves 8 (recipe may be halved)

Roasted Butternut Squash Soup with Warm Spices (garam masala)

qnQIUkJWT%+FiyL6rlGRww.jpg

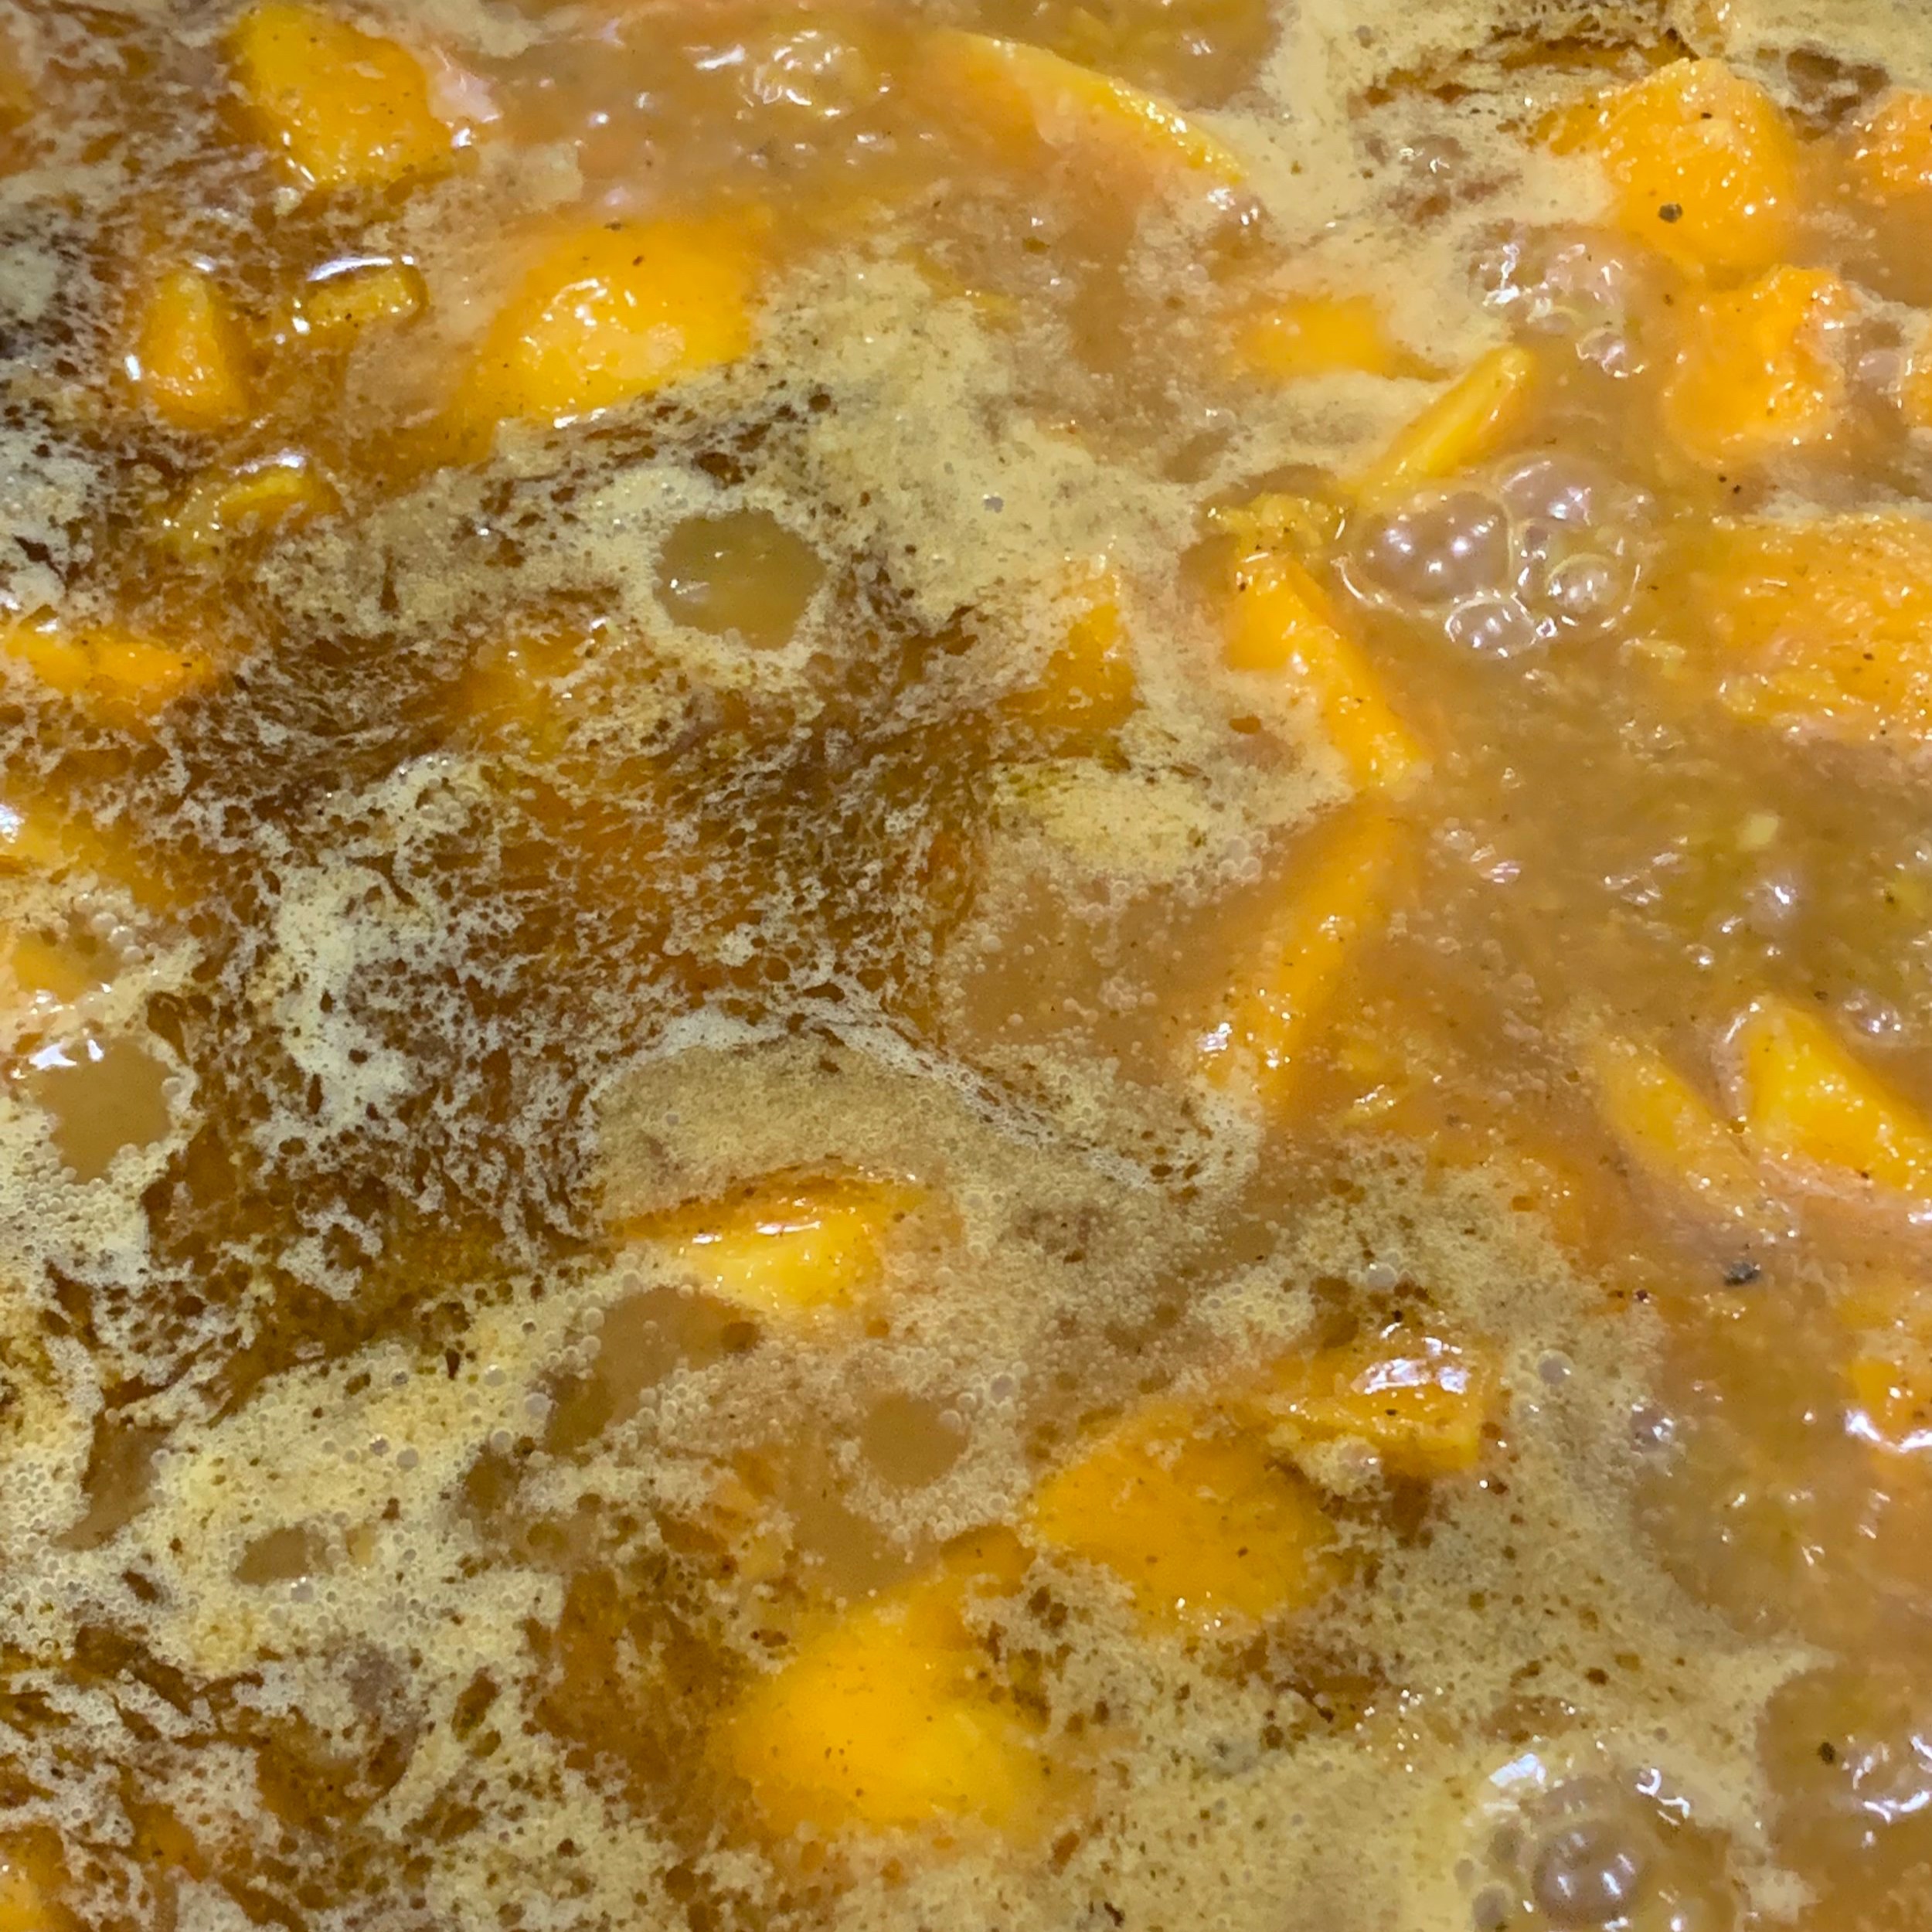
Hearty, flavorful soups are perfect in the winter. Butternut squash is an ingredient many people like. Here’s a version with a slight variation using Indian warm spices known as ‘garam masala’. This spice mix, like many, is slightly different from family to family and cook to cook when made from scratch. I take the convenient way out and buy mine from Penzey’s these days. Butternut squash is plentiful at my market, so I usually buy them on Saturday and roast them on Sunday. I try to use all of the parts of the squash, so I roast the seeds separately and use the roasted seed membrane, finely chopped in a tamarind, red chili and yogurt sauce (I’ll post this later)

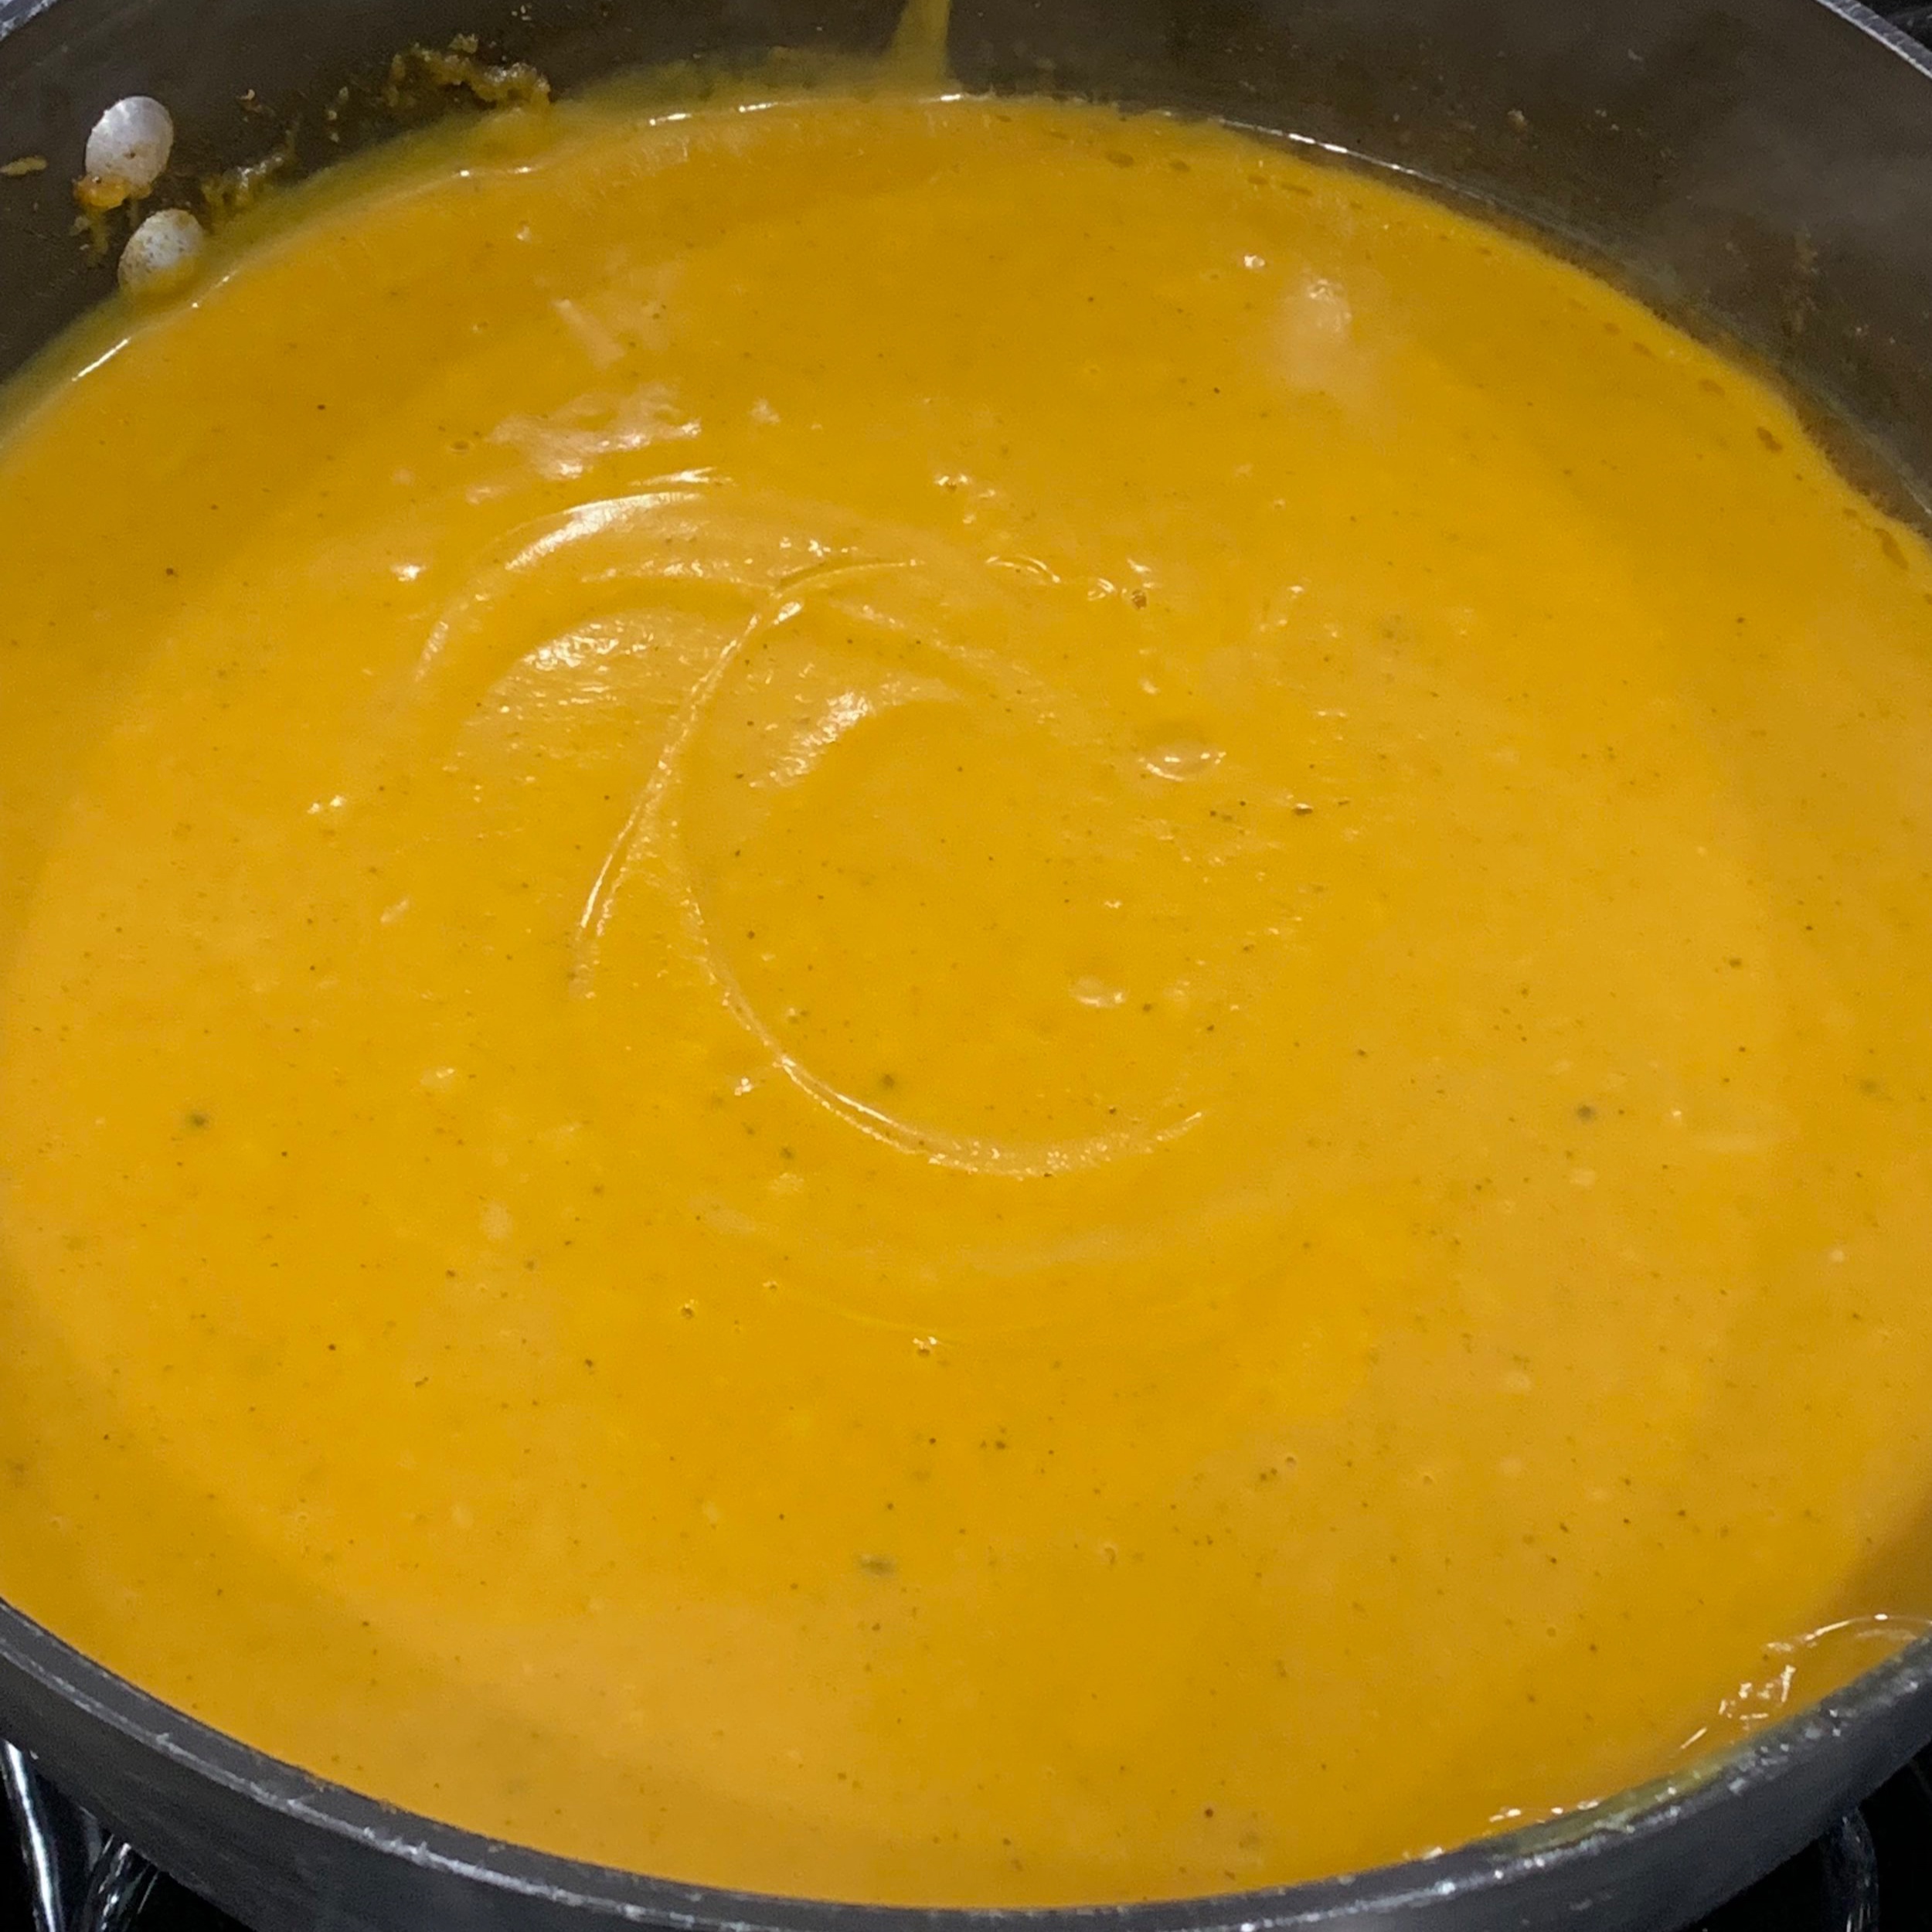
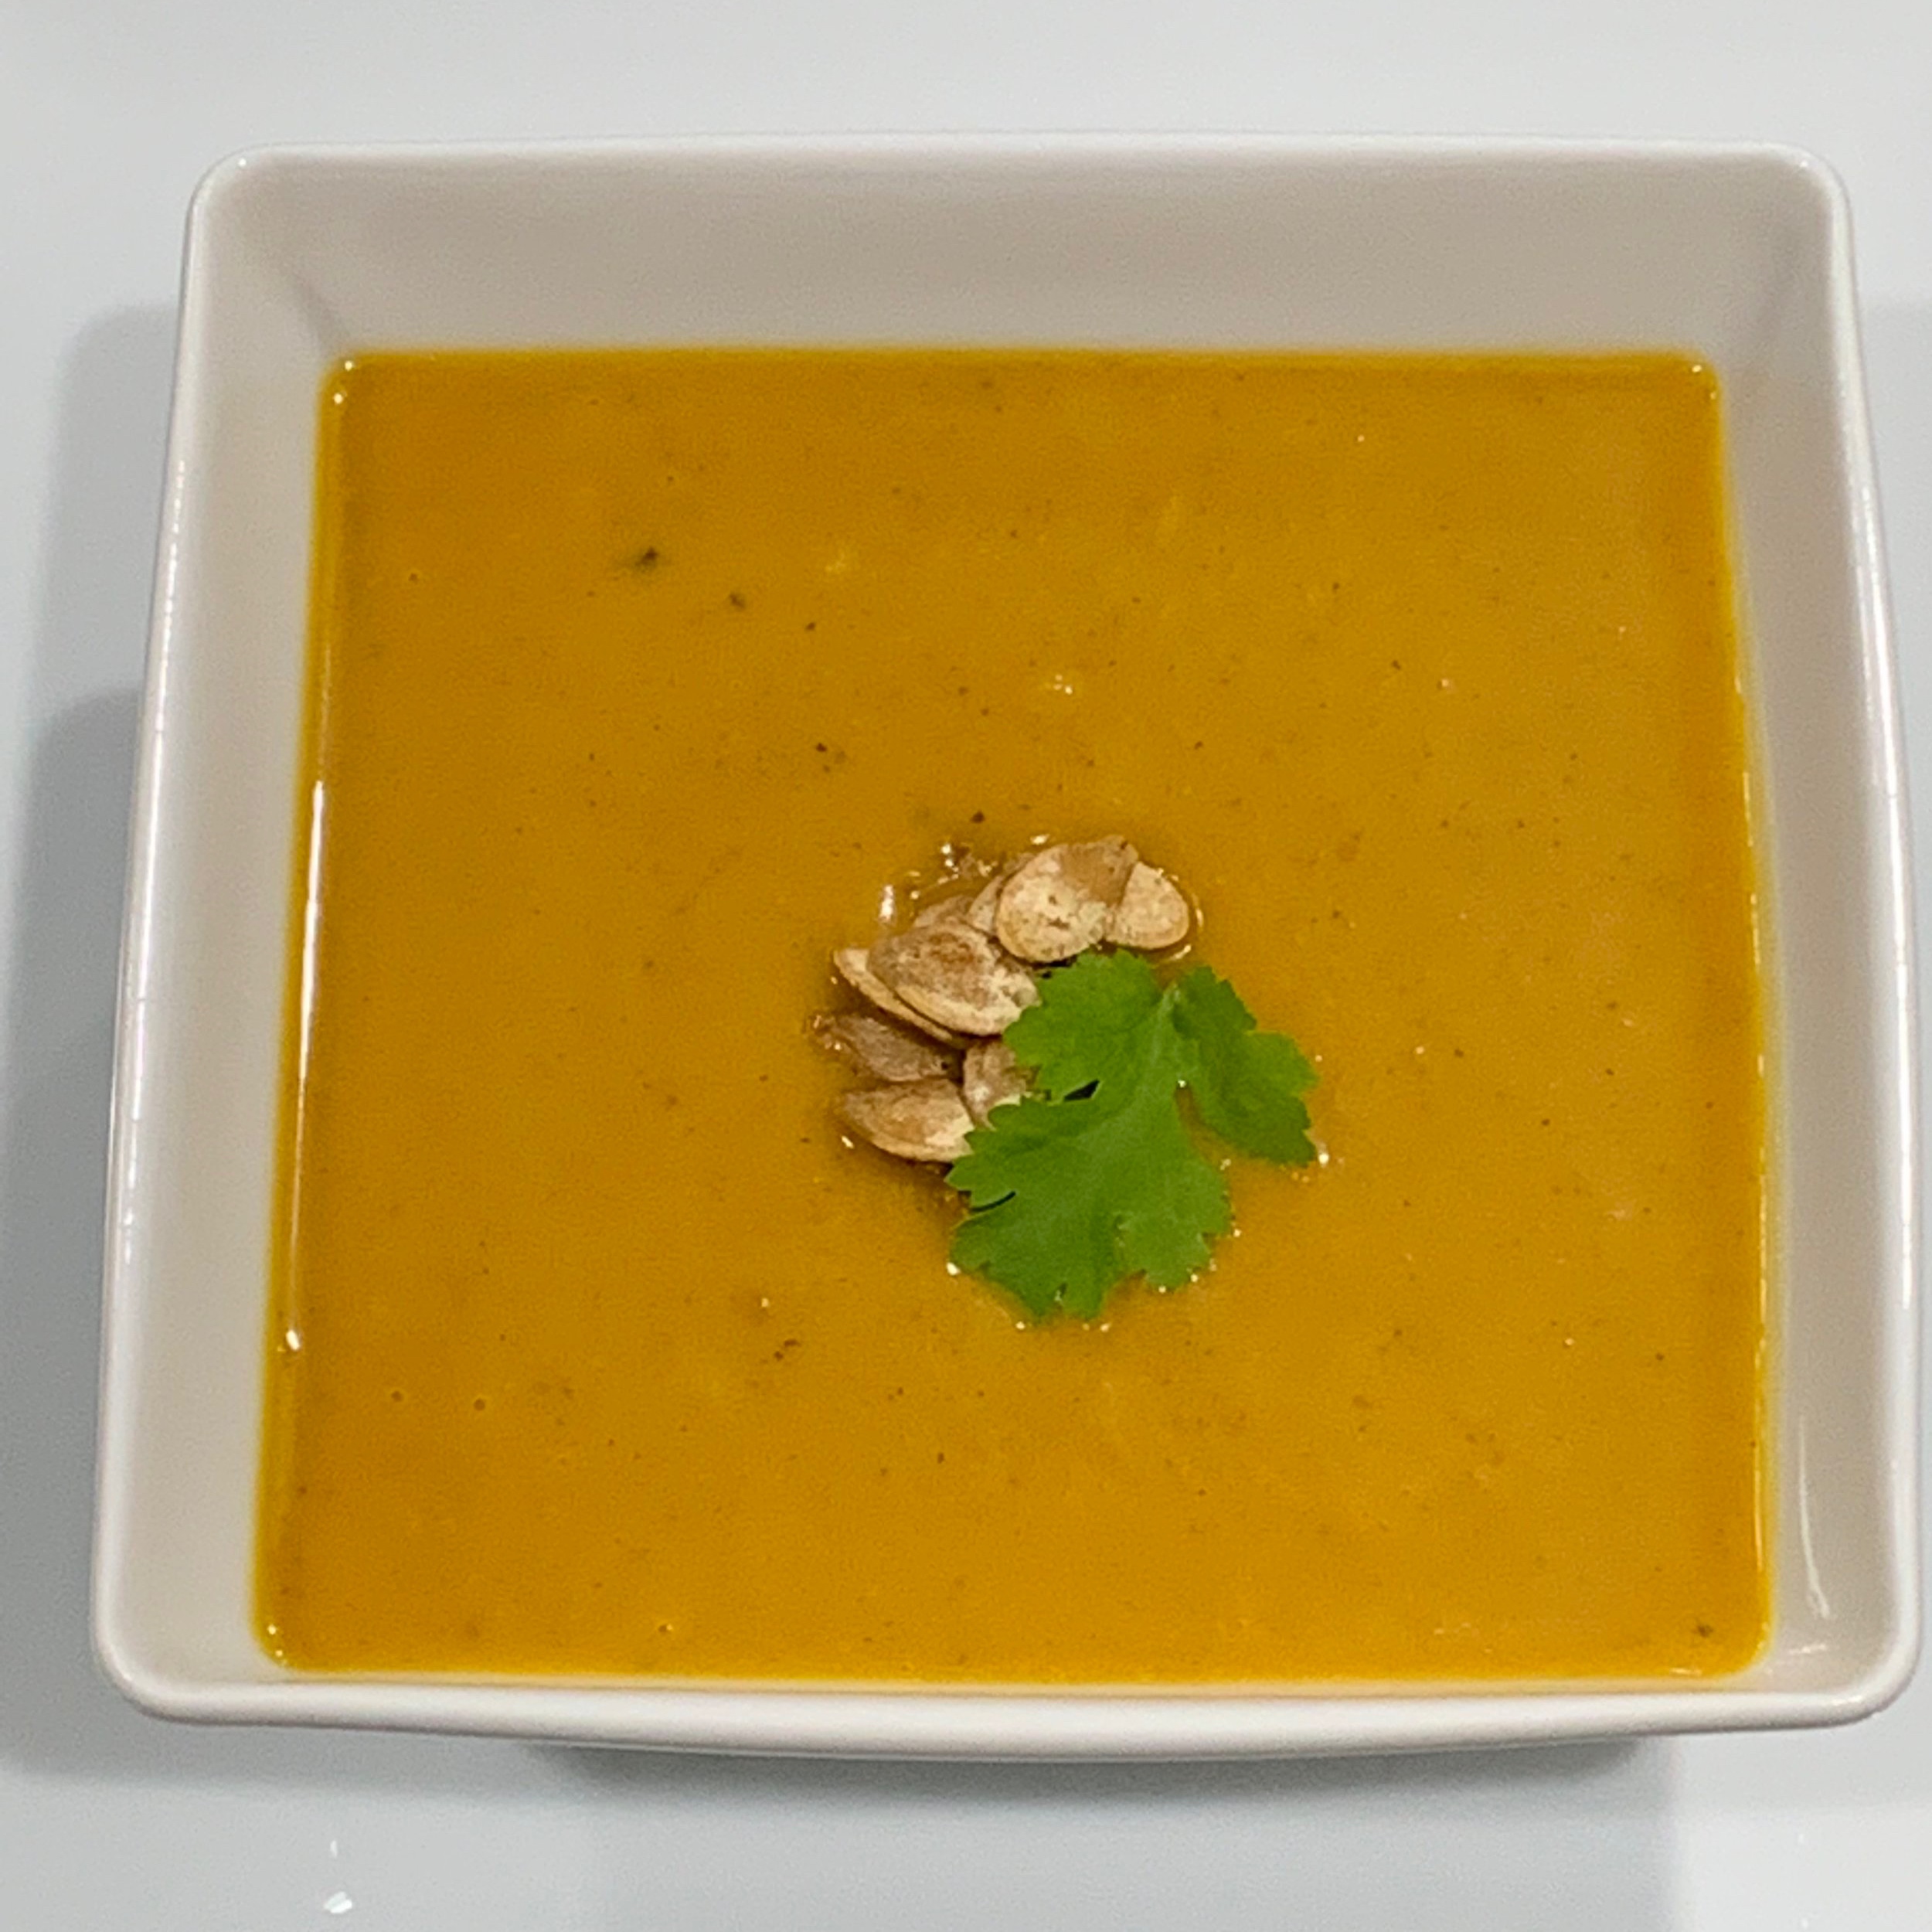
Once the squash is roasted, the rest of the soup preparation is fairly quick. You could use an immersion blender for a more textured soup. I like to blend the soup for a velvety smooth texture, adding the roast seeds for crunch and flavor.

Butternut squashes a rich source of vitamin A, and also vitamins, C, B6, magnesium and calcium. Per cup, butternut squash is about 60 calories and contains 1.5grams of protein. It has dietary fiber, which keeps you feeling full and satisfied.

Interestingly, you need to eat some fat to absorb all that vitamin A, which is a fat soluble vitamin. The extra virgin olive oil is a monosaturated fat, which is relatively healthy, but should be eaten in moderation like al fats.

RECIPE : ROASTED BUTTERNUT SQUASH SOUP WITH WARM SPICES (GARAM MASALA)

INGREDIENTS

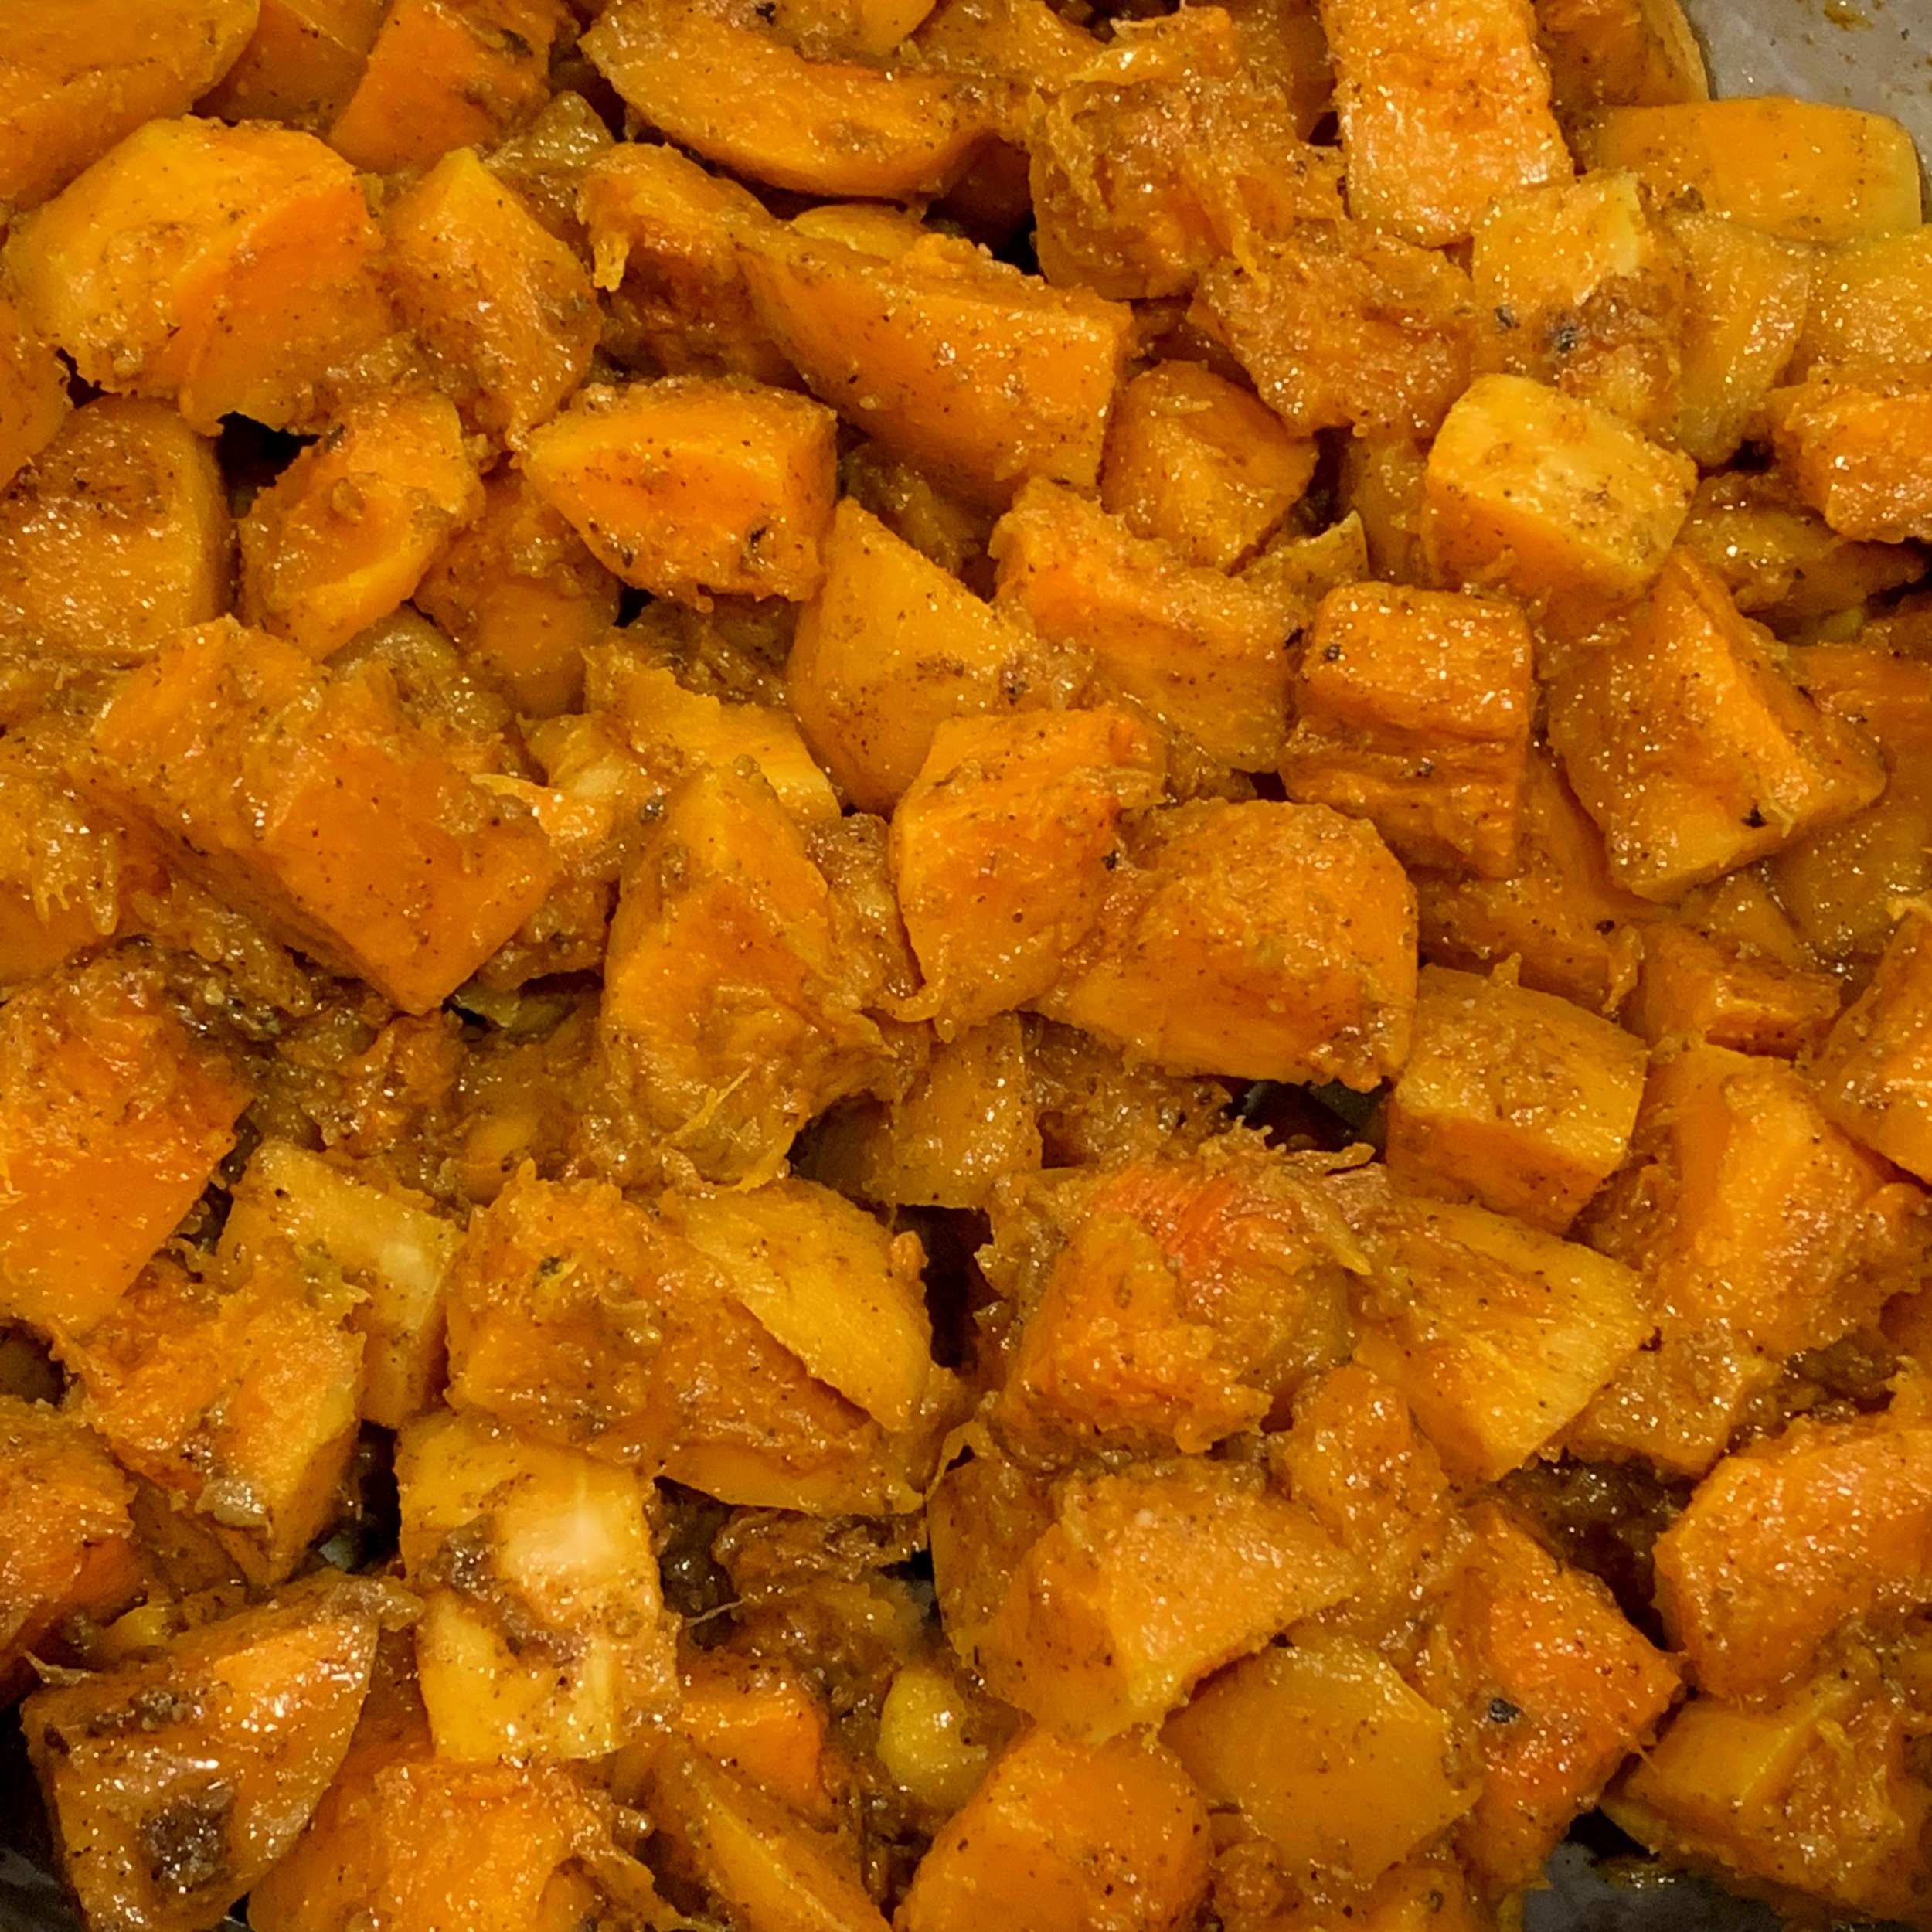
  • 8 cups cubed, roasted butternut squash (2 medium sized squash, peeled, tossed with a little olive oil, salt and petter and roasted at 400 degrees for 40 minutes til soft) 

  • 1 tablespoon extra virgin olive oil

  • 1 teaspoon garam masala  

  • 1/8 teaspoon ground chipotle  

  • 1/2 teaspoon sea salt

  • 1 quart/32 oz chicken or vegetable stock

  • Roasted pumpkin seeds and cilantro for serving  

PROCESS

  • Heat olive oil and garam masala in a deep pot over medium heat for 1-2 minutes until the oil is just bubbling. Don’t burn the spices.

  • Add the squash, chipotle pepper and slat and toss in the garam masala for 1-2 minutes.

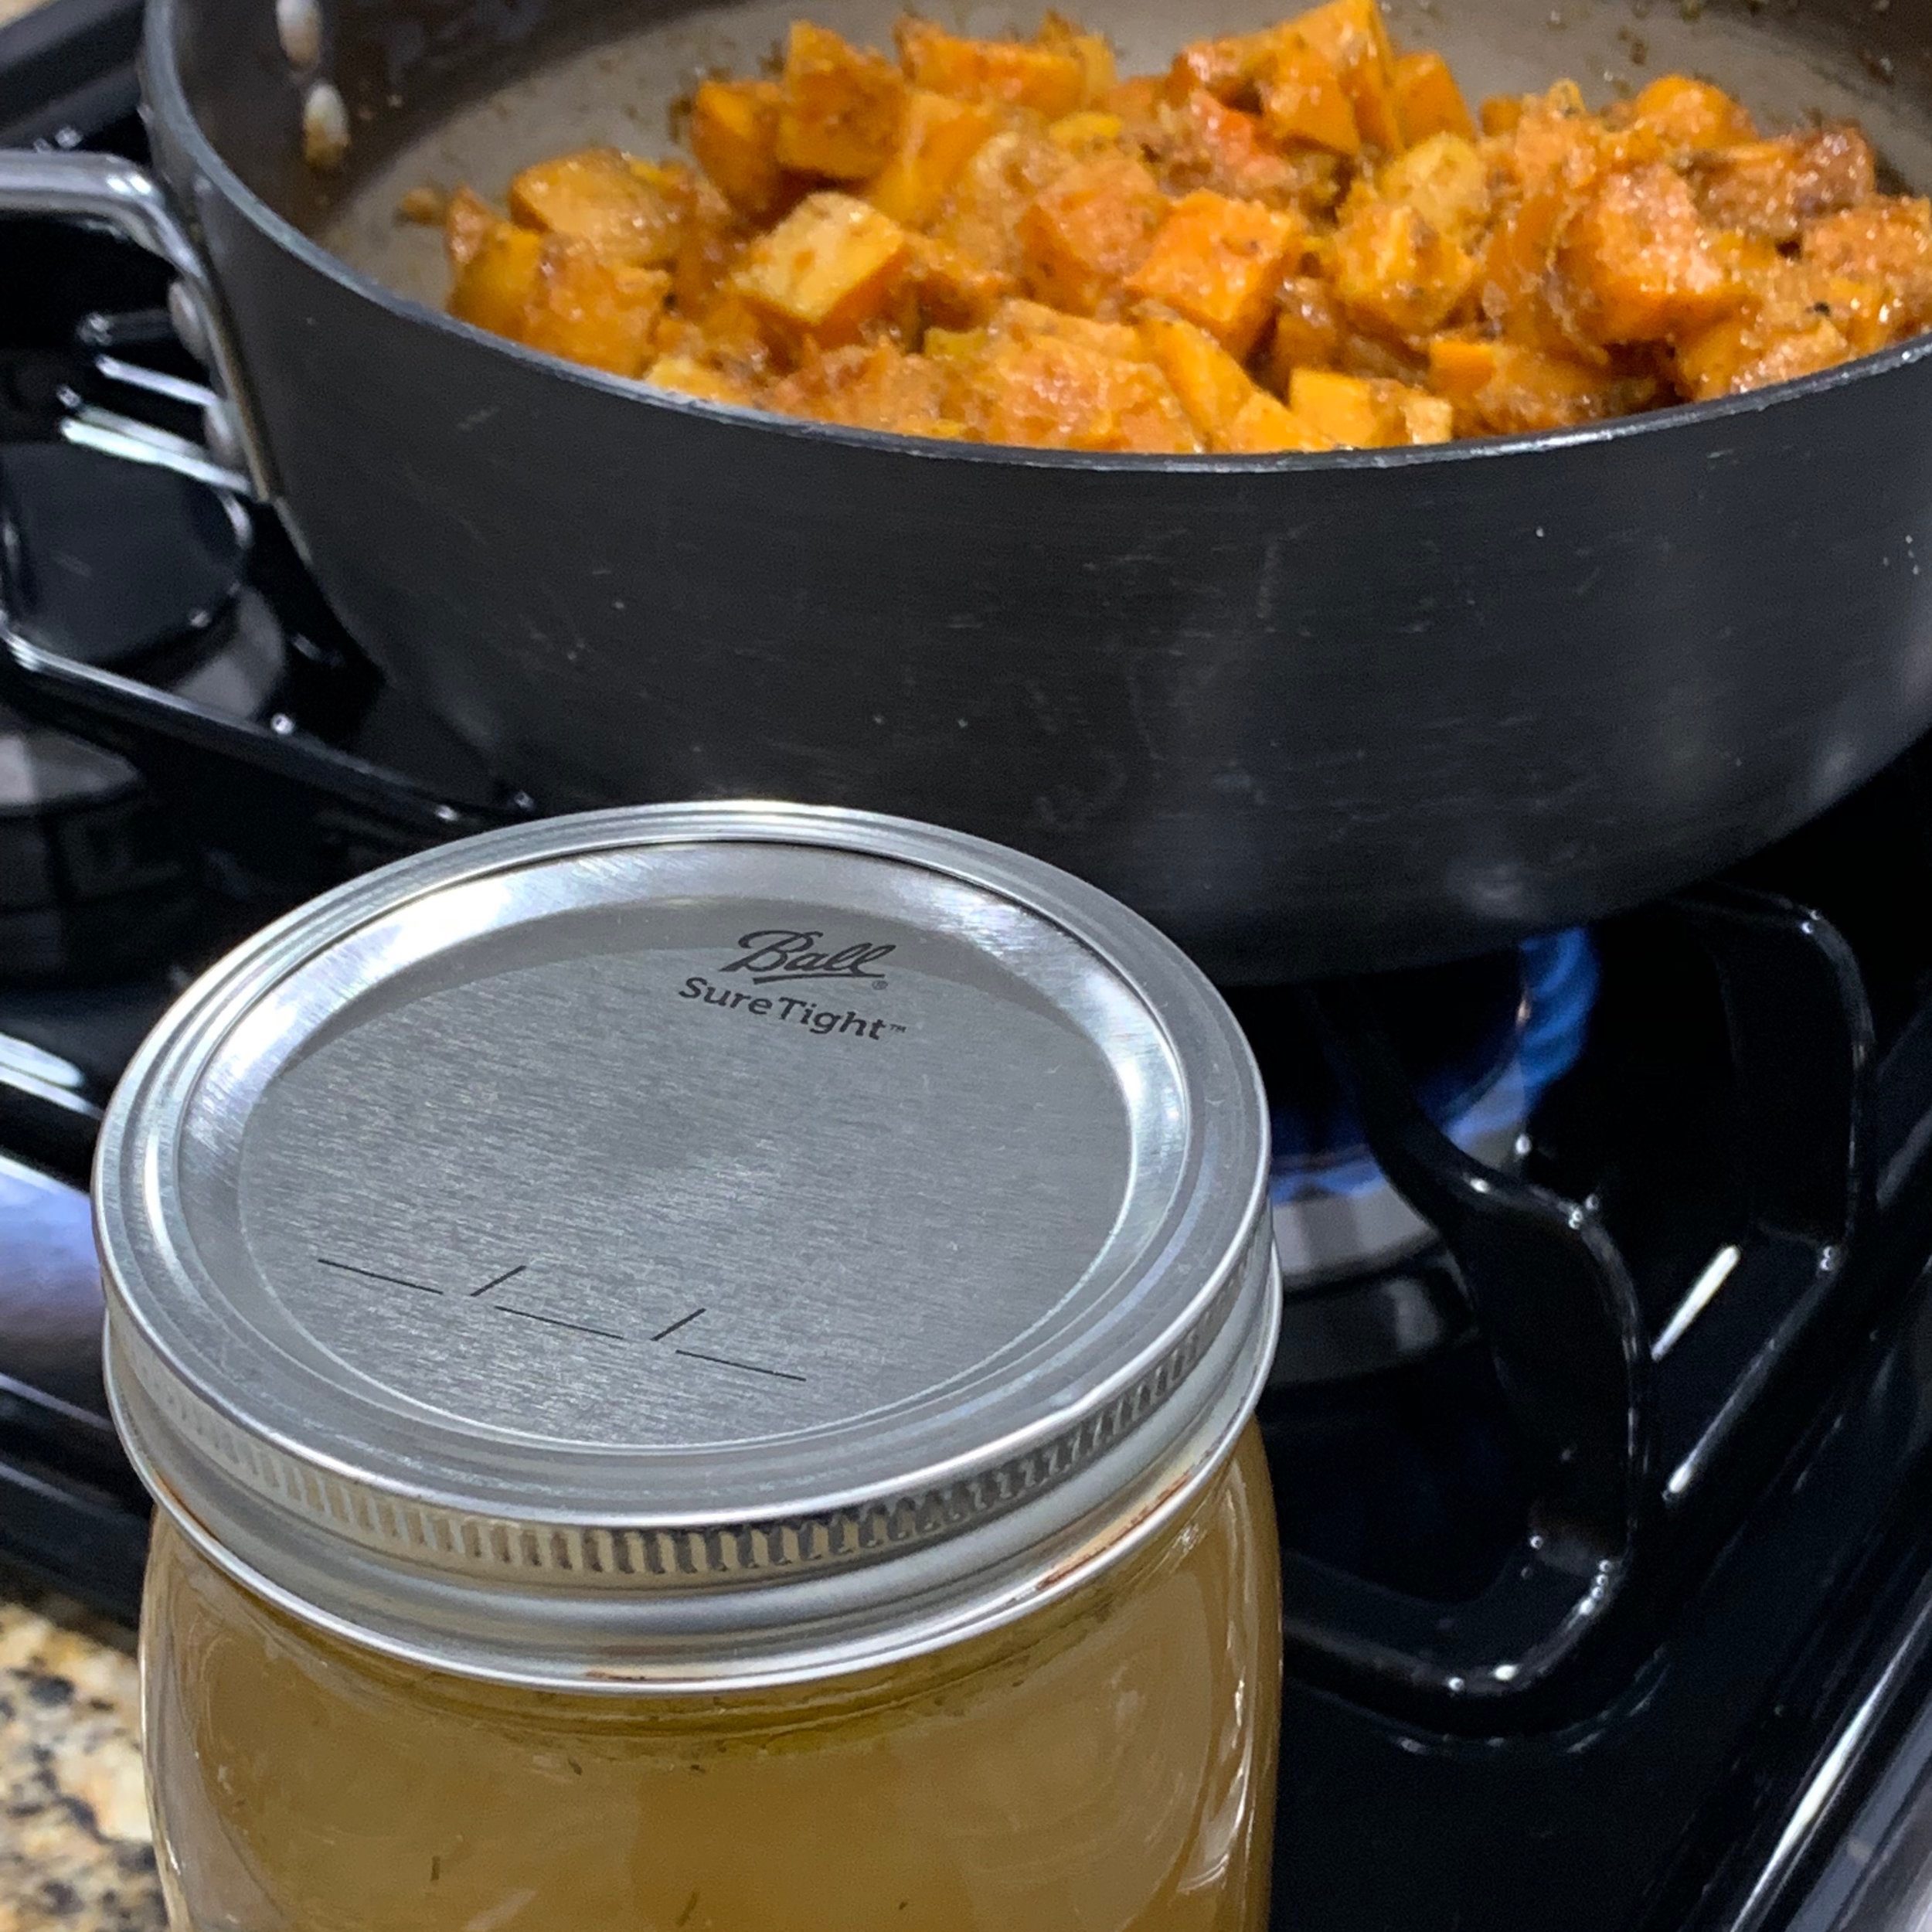
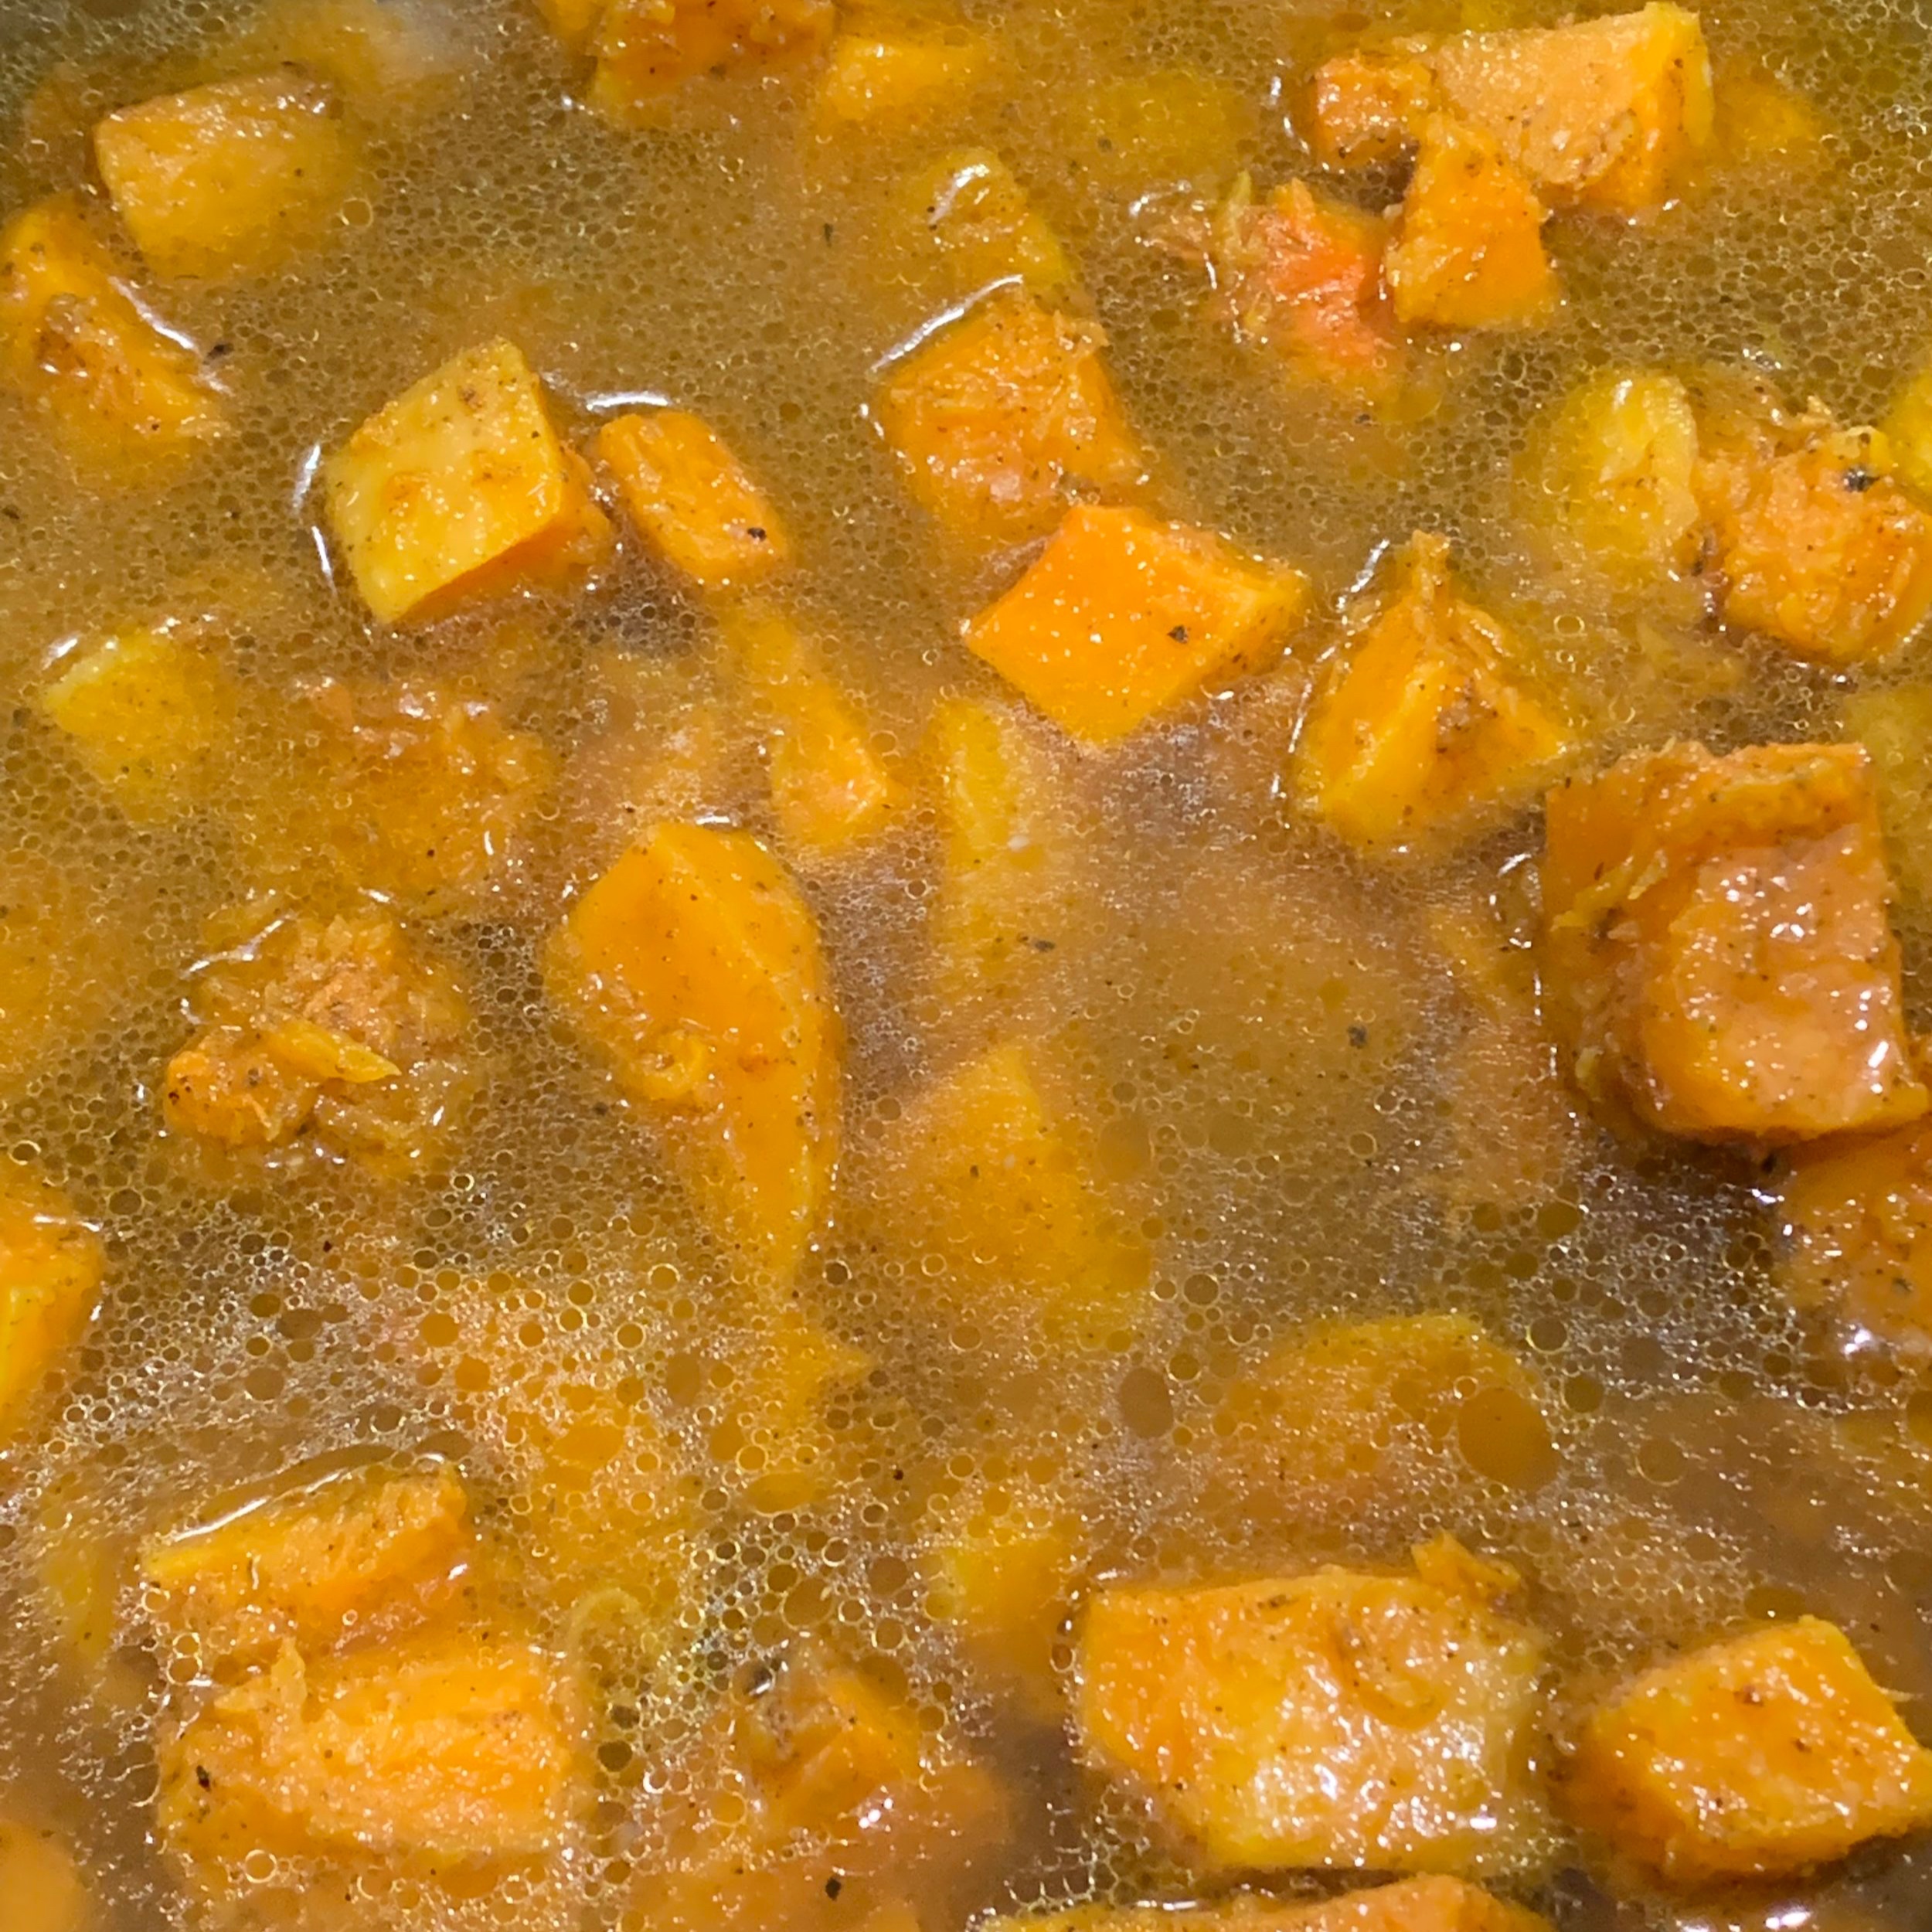
  • Add the stock and simmer for 10 minutes.

  • Puree. If you’re using a blender be cautious with the hot liquid. Do not over fill, cover the blender lid with a towel and hold closed. Gently open the lid. Return the soup the the pan, thin with a little hot water if desired and adjust salt and pepper. If you’re using the immersion blender, go slowly and avoid splattering.

Makes 8 cups (6 servings)

a


Simple Strawberry Sauce/Compote

lbf0Zg58SRaKJsu76mrXTg.jpg

For some reason, I can never eat the strawberries I buy before they start looking tired and worn.  My intentions are good, but my follow through isn’t.  In Houston, which has an amazingly long growing season, we are seeing the first ripe strawberries grown in greenhouses. They have great flavor, but are not as sweet as the summer crop. I bought a carton at the farmers market last week and they were lost in the back of the fridge. So this morning, I brought them out of the cold and tried a little TLC. That would stand for Truly Lovely Compote.  This is an easy way to use up the not so perfect fruit—as a topping for pancakes. Compotes are sauces made from cut up fruit and a sugar.  If you strain it, it becomes a coulis.  You can use it on pancakes, ice cream, any plain cake, or on toast.   

7QxvxL78SeiqGTMxGAzqnQ.jpg

Freshly picked fruit is an amazingly rich source of Vitamin C, which starts to degrade quickly and is lost in cold storage and flash freezing.  Strawberries are an excellent source of Vitamin C, folic acid, manganese and potassium.  

The compote can be made in the time you get the pancakes cooked. What could be better really than a warm fresh strawberry sauce on stack of hot pancakes. It’s a perfect way to start the day. It also works well when you want breakfast for dinner.  Everybody wins. Especially the poor, forlorn strawberries. 


RECIPE:  Simple Strawberry Compote

INGREDIENTS

  • 1 pound fresh hulled strawberries, cut into pieces

  • 3-4 teaspoons of cane sugar

PROCESS

  • Place strawberries in pan with sugar.   

  • Cook on medium-low heat, stirring occasionally, until the fruit breaks down into a sauce. 

  • Adjust the sweetness with additional sugar as desired. 

  • Makes about 2 cups. 


Cast Iron Fish: The Easiest Way to Cook Fish

Wild caught fish is healthy and nutritious. It’s an excellent source of protein and healthy fats. Studies have shown that eating fish at least once a week may reduce the risk of Alzheimer’s disease and also helps lower your risk of heart disease and stroke. But, many people find cooking fish intimidating and messy. The fear of having our kitchens smell fishy is another deterrent to cooking fish at home.

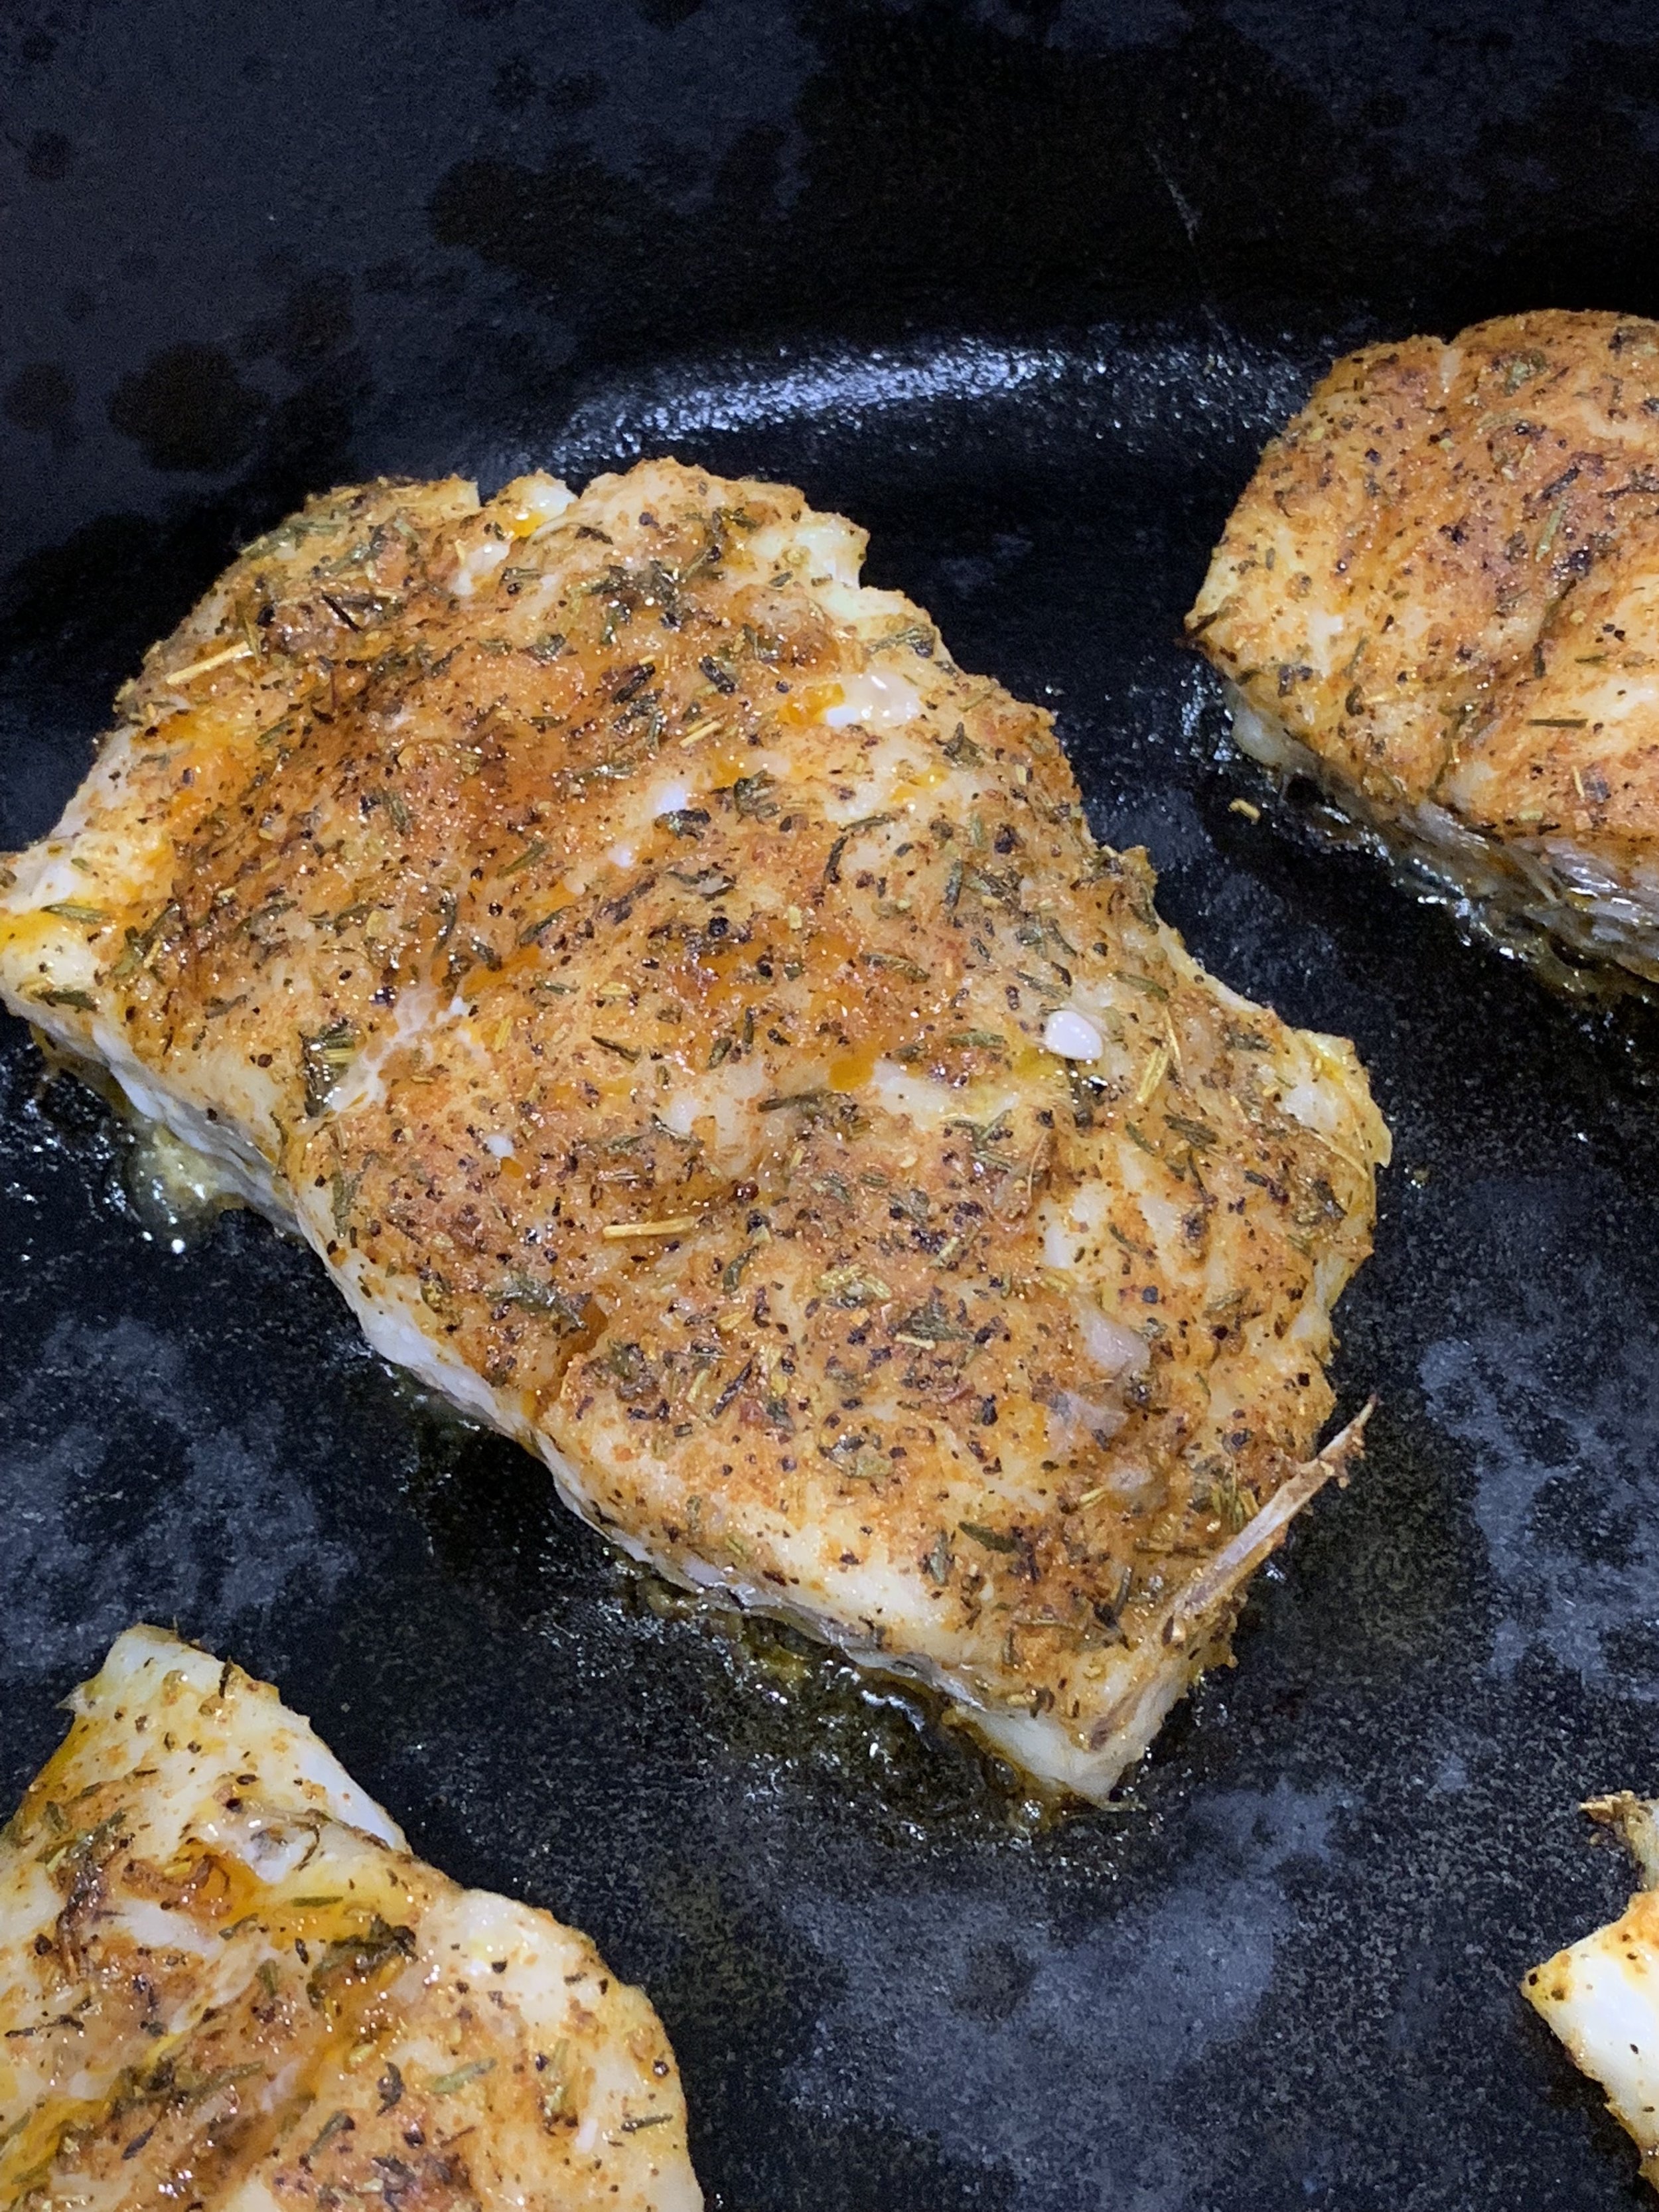
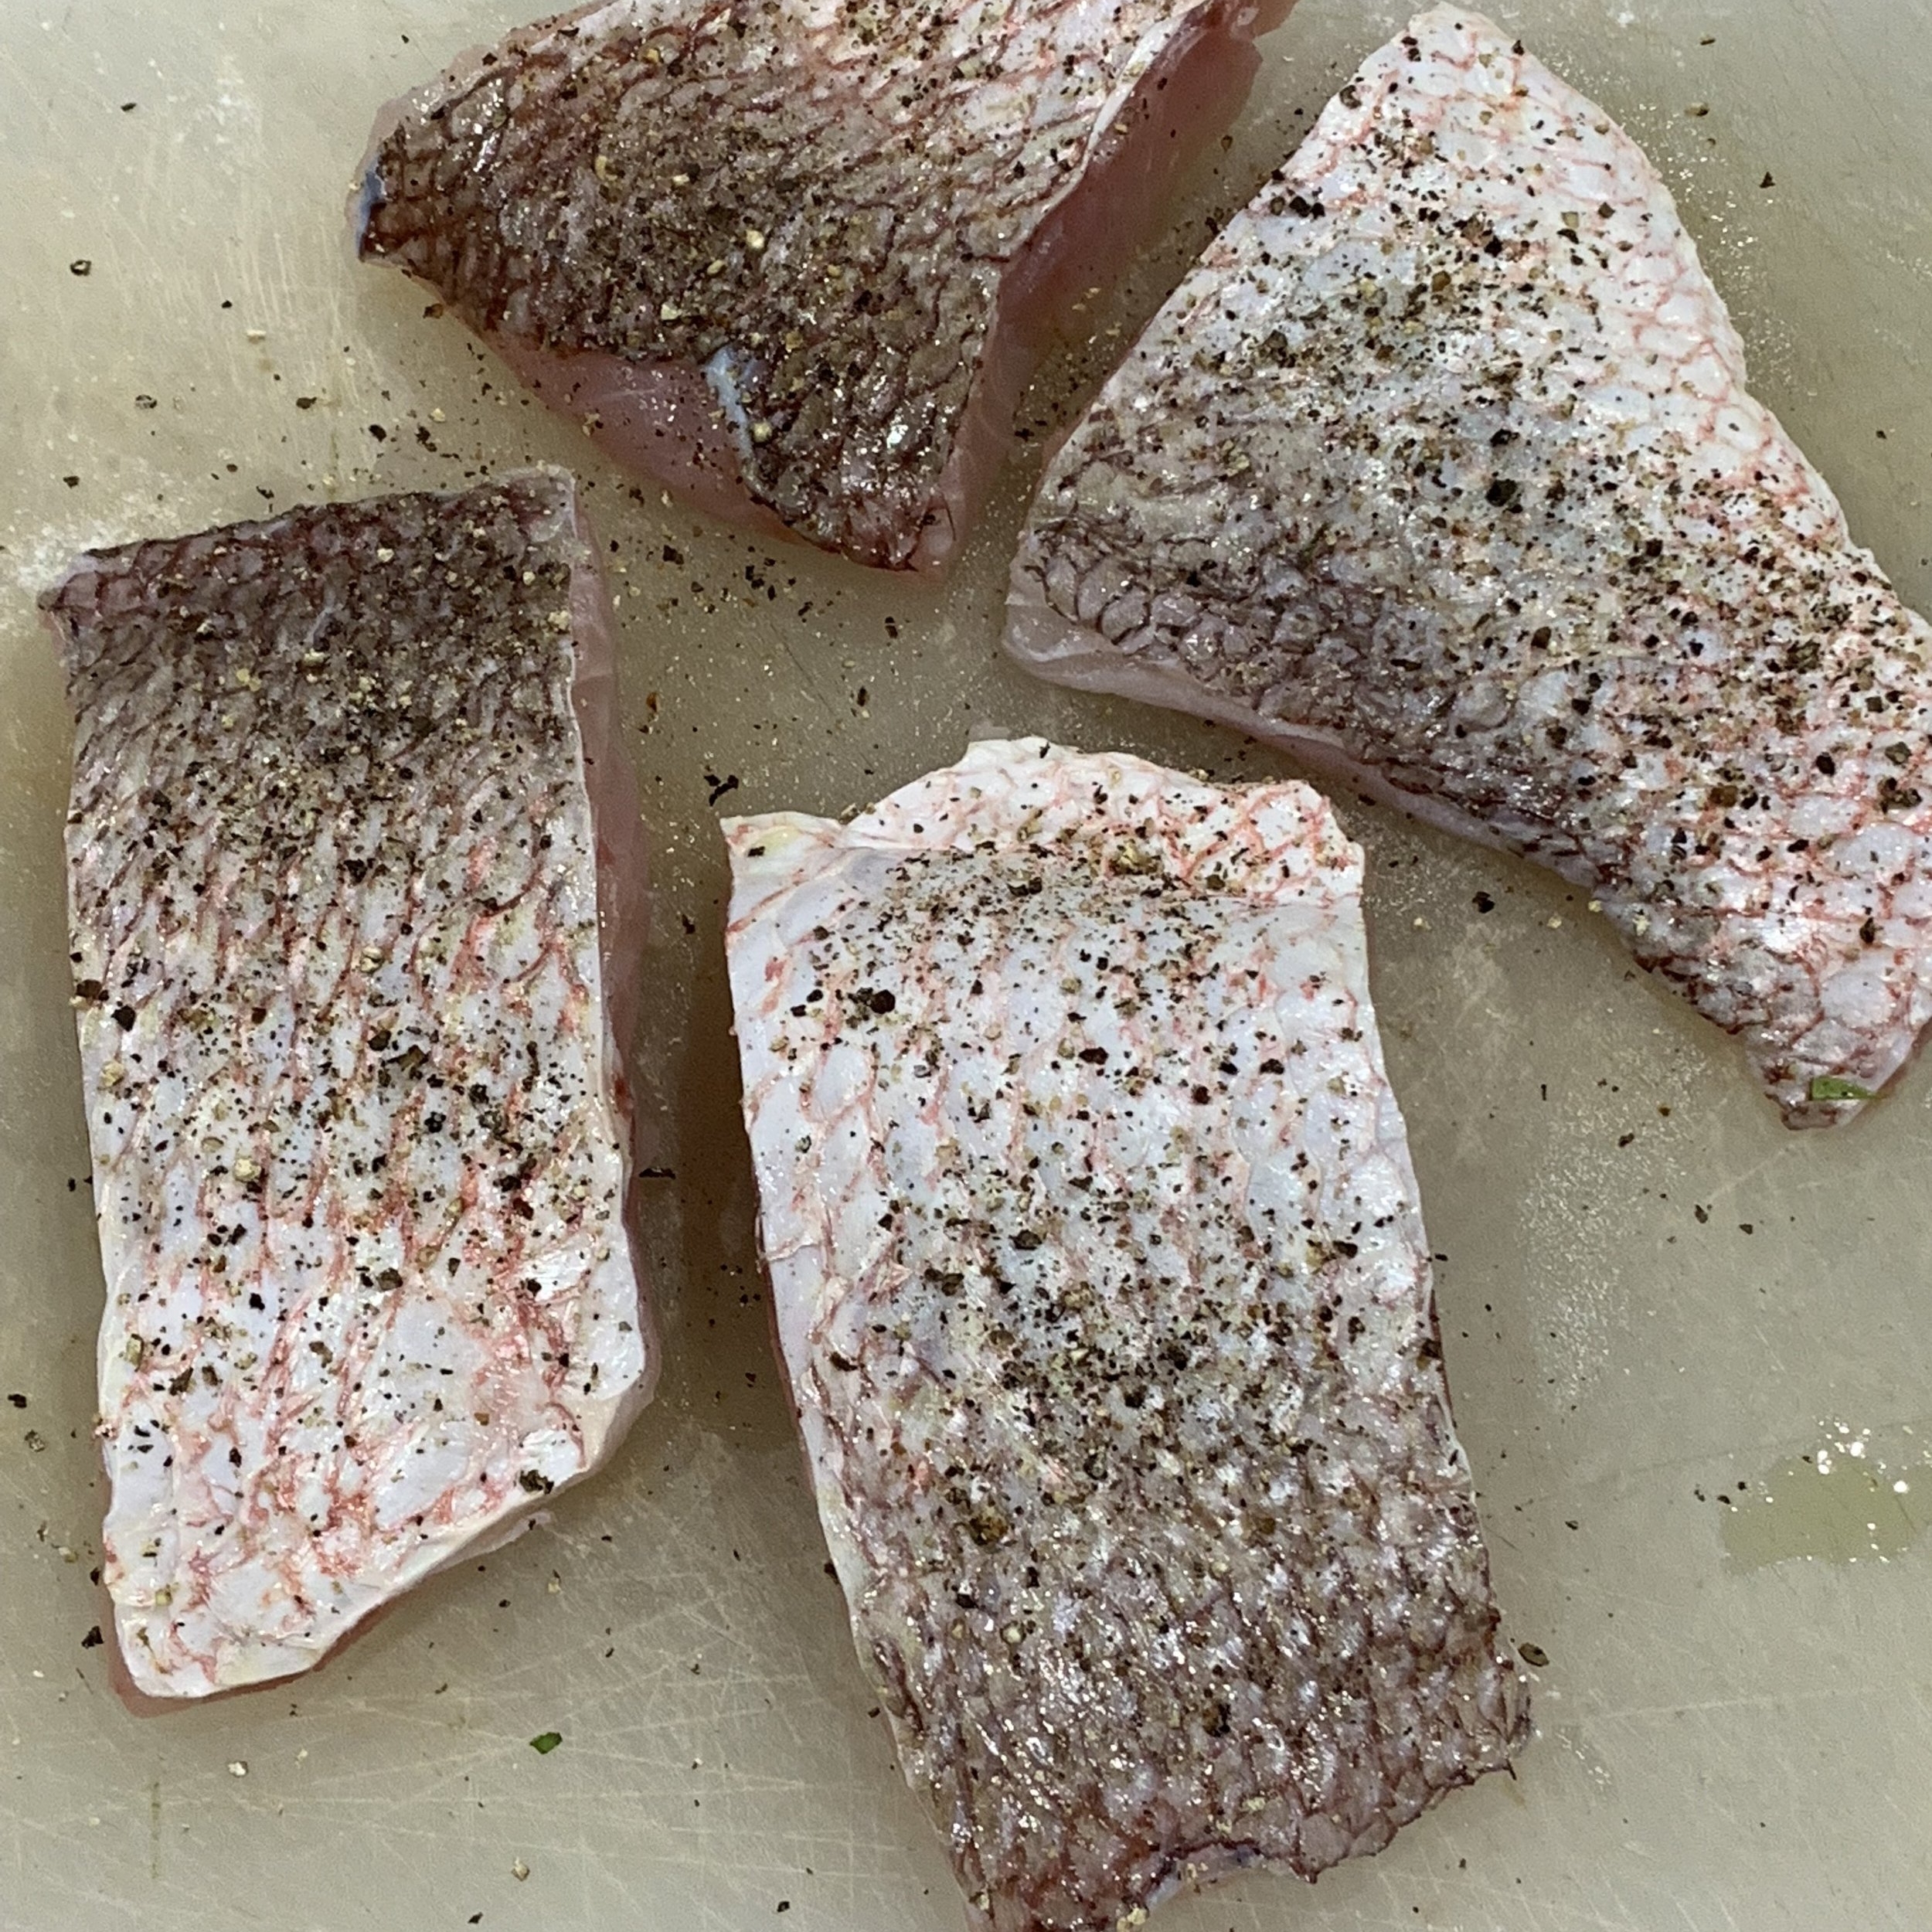
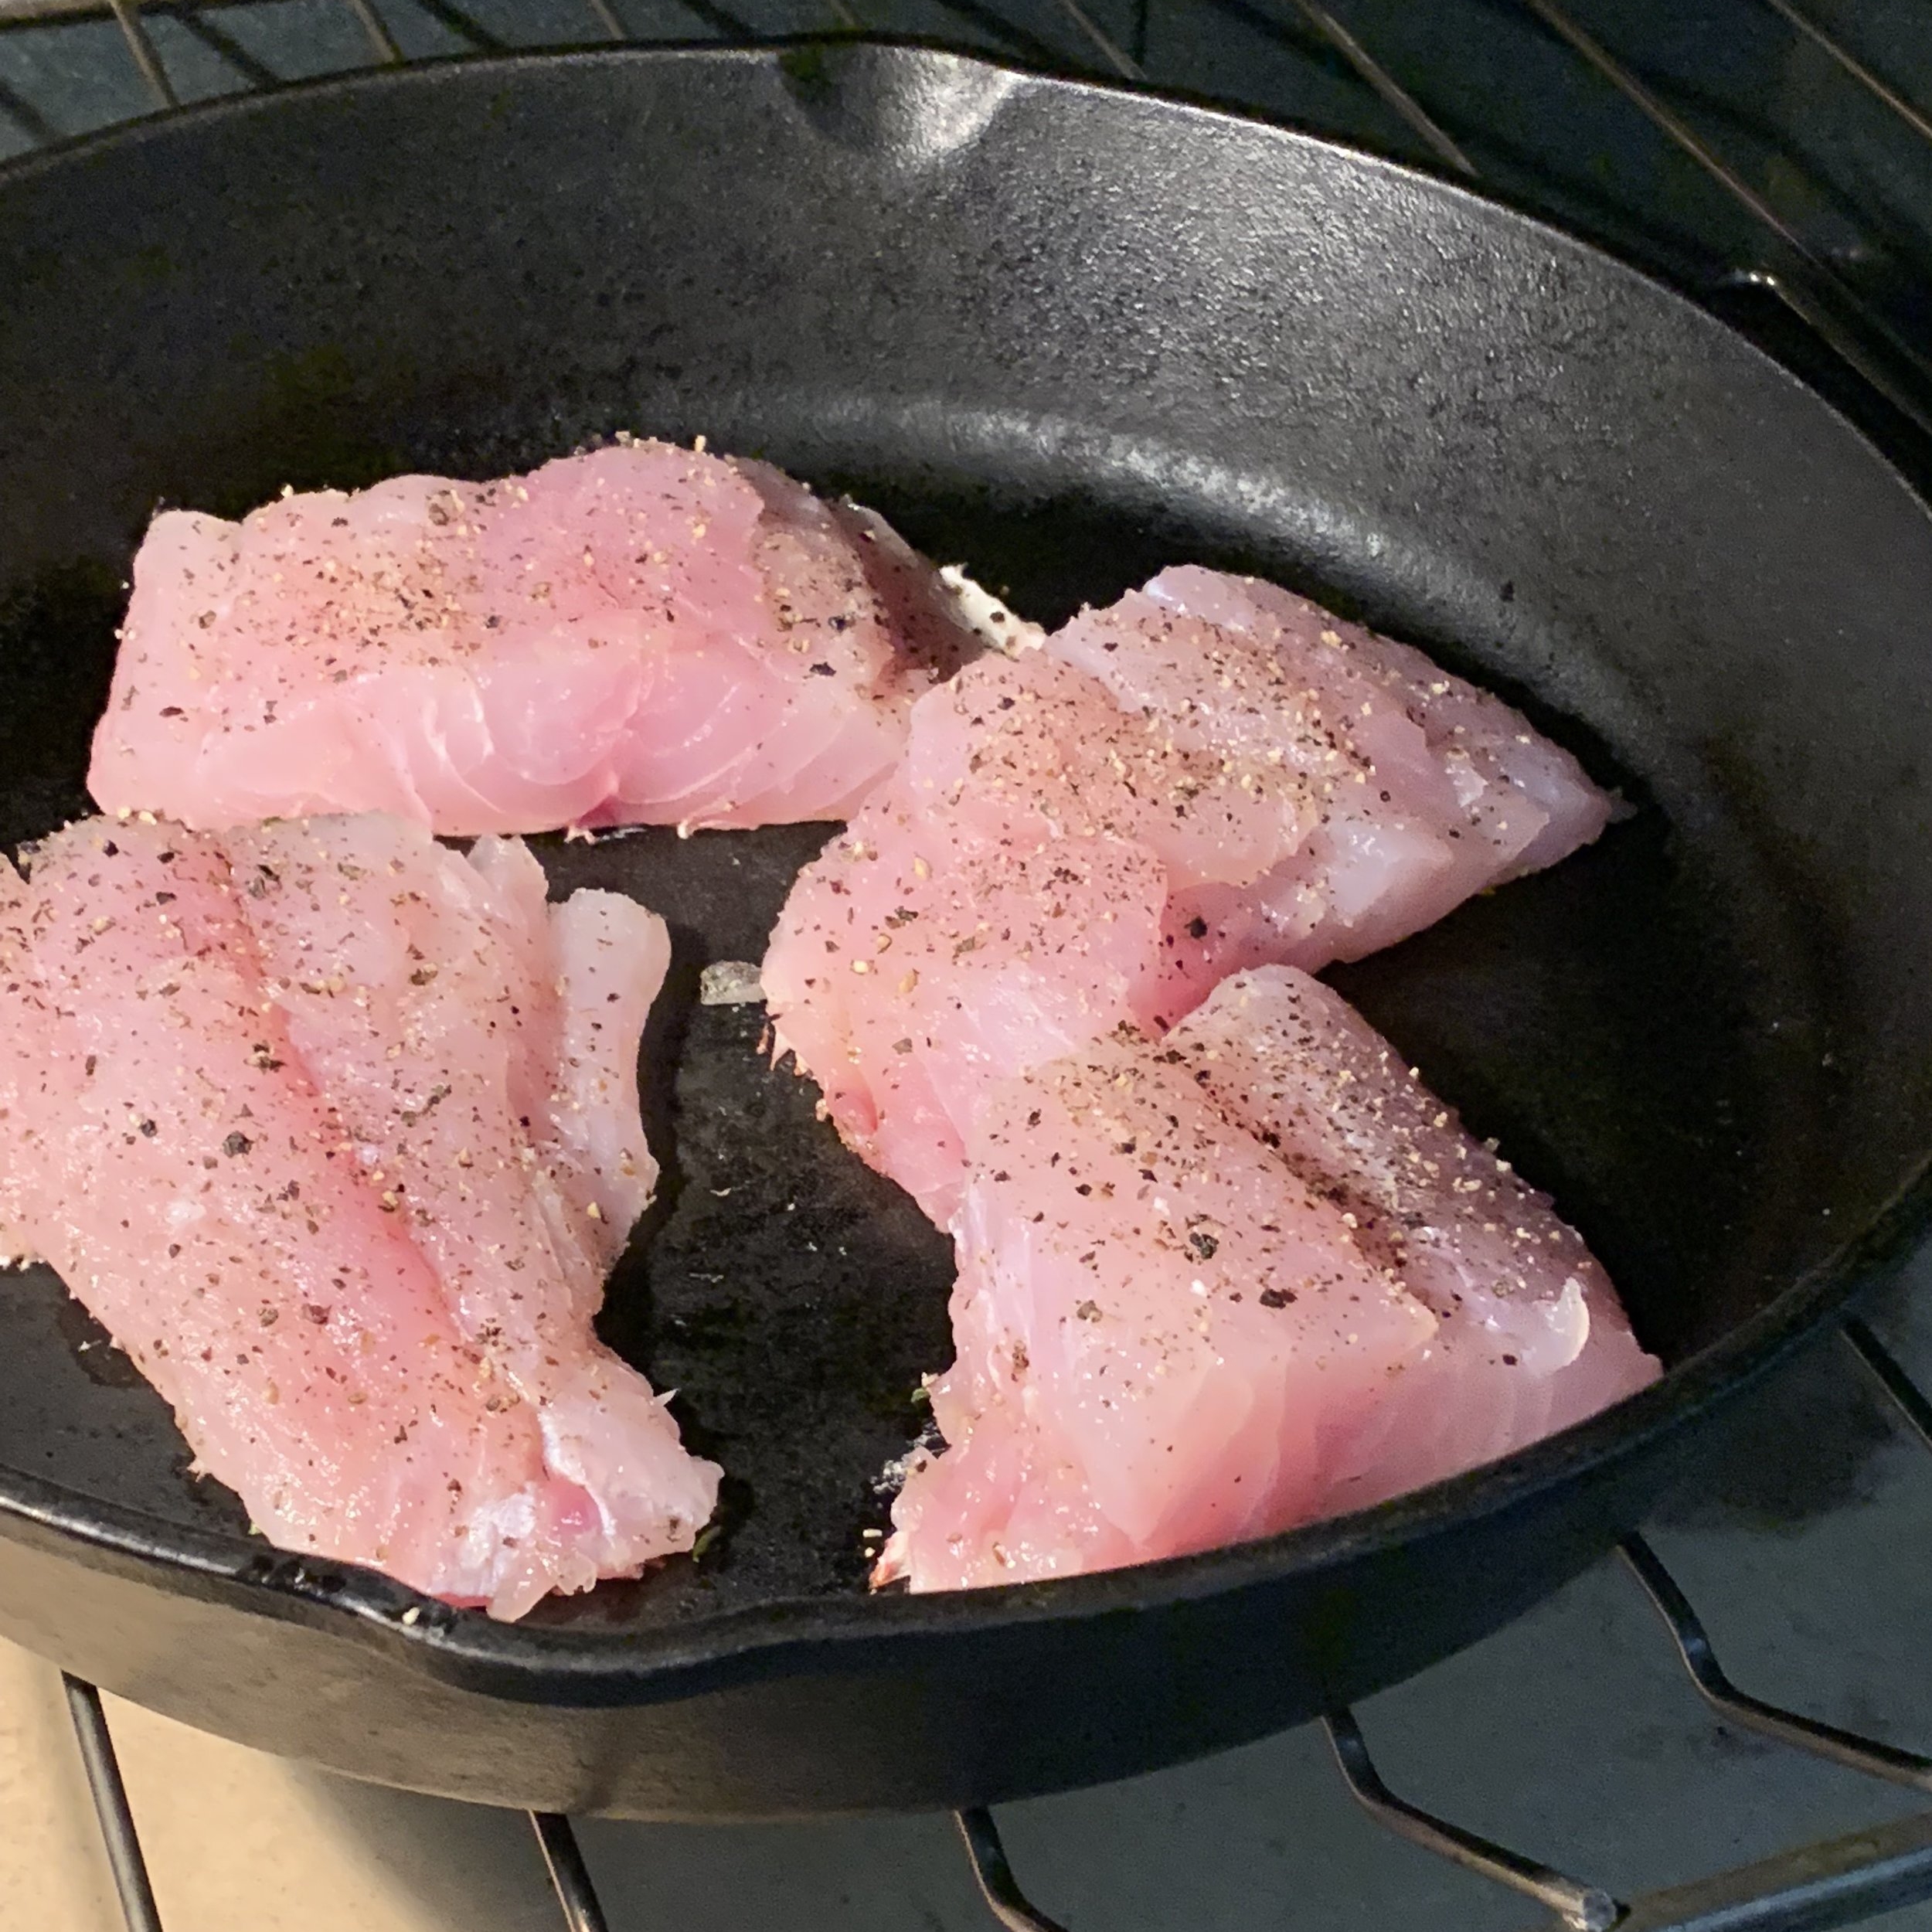
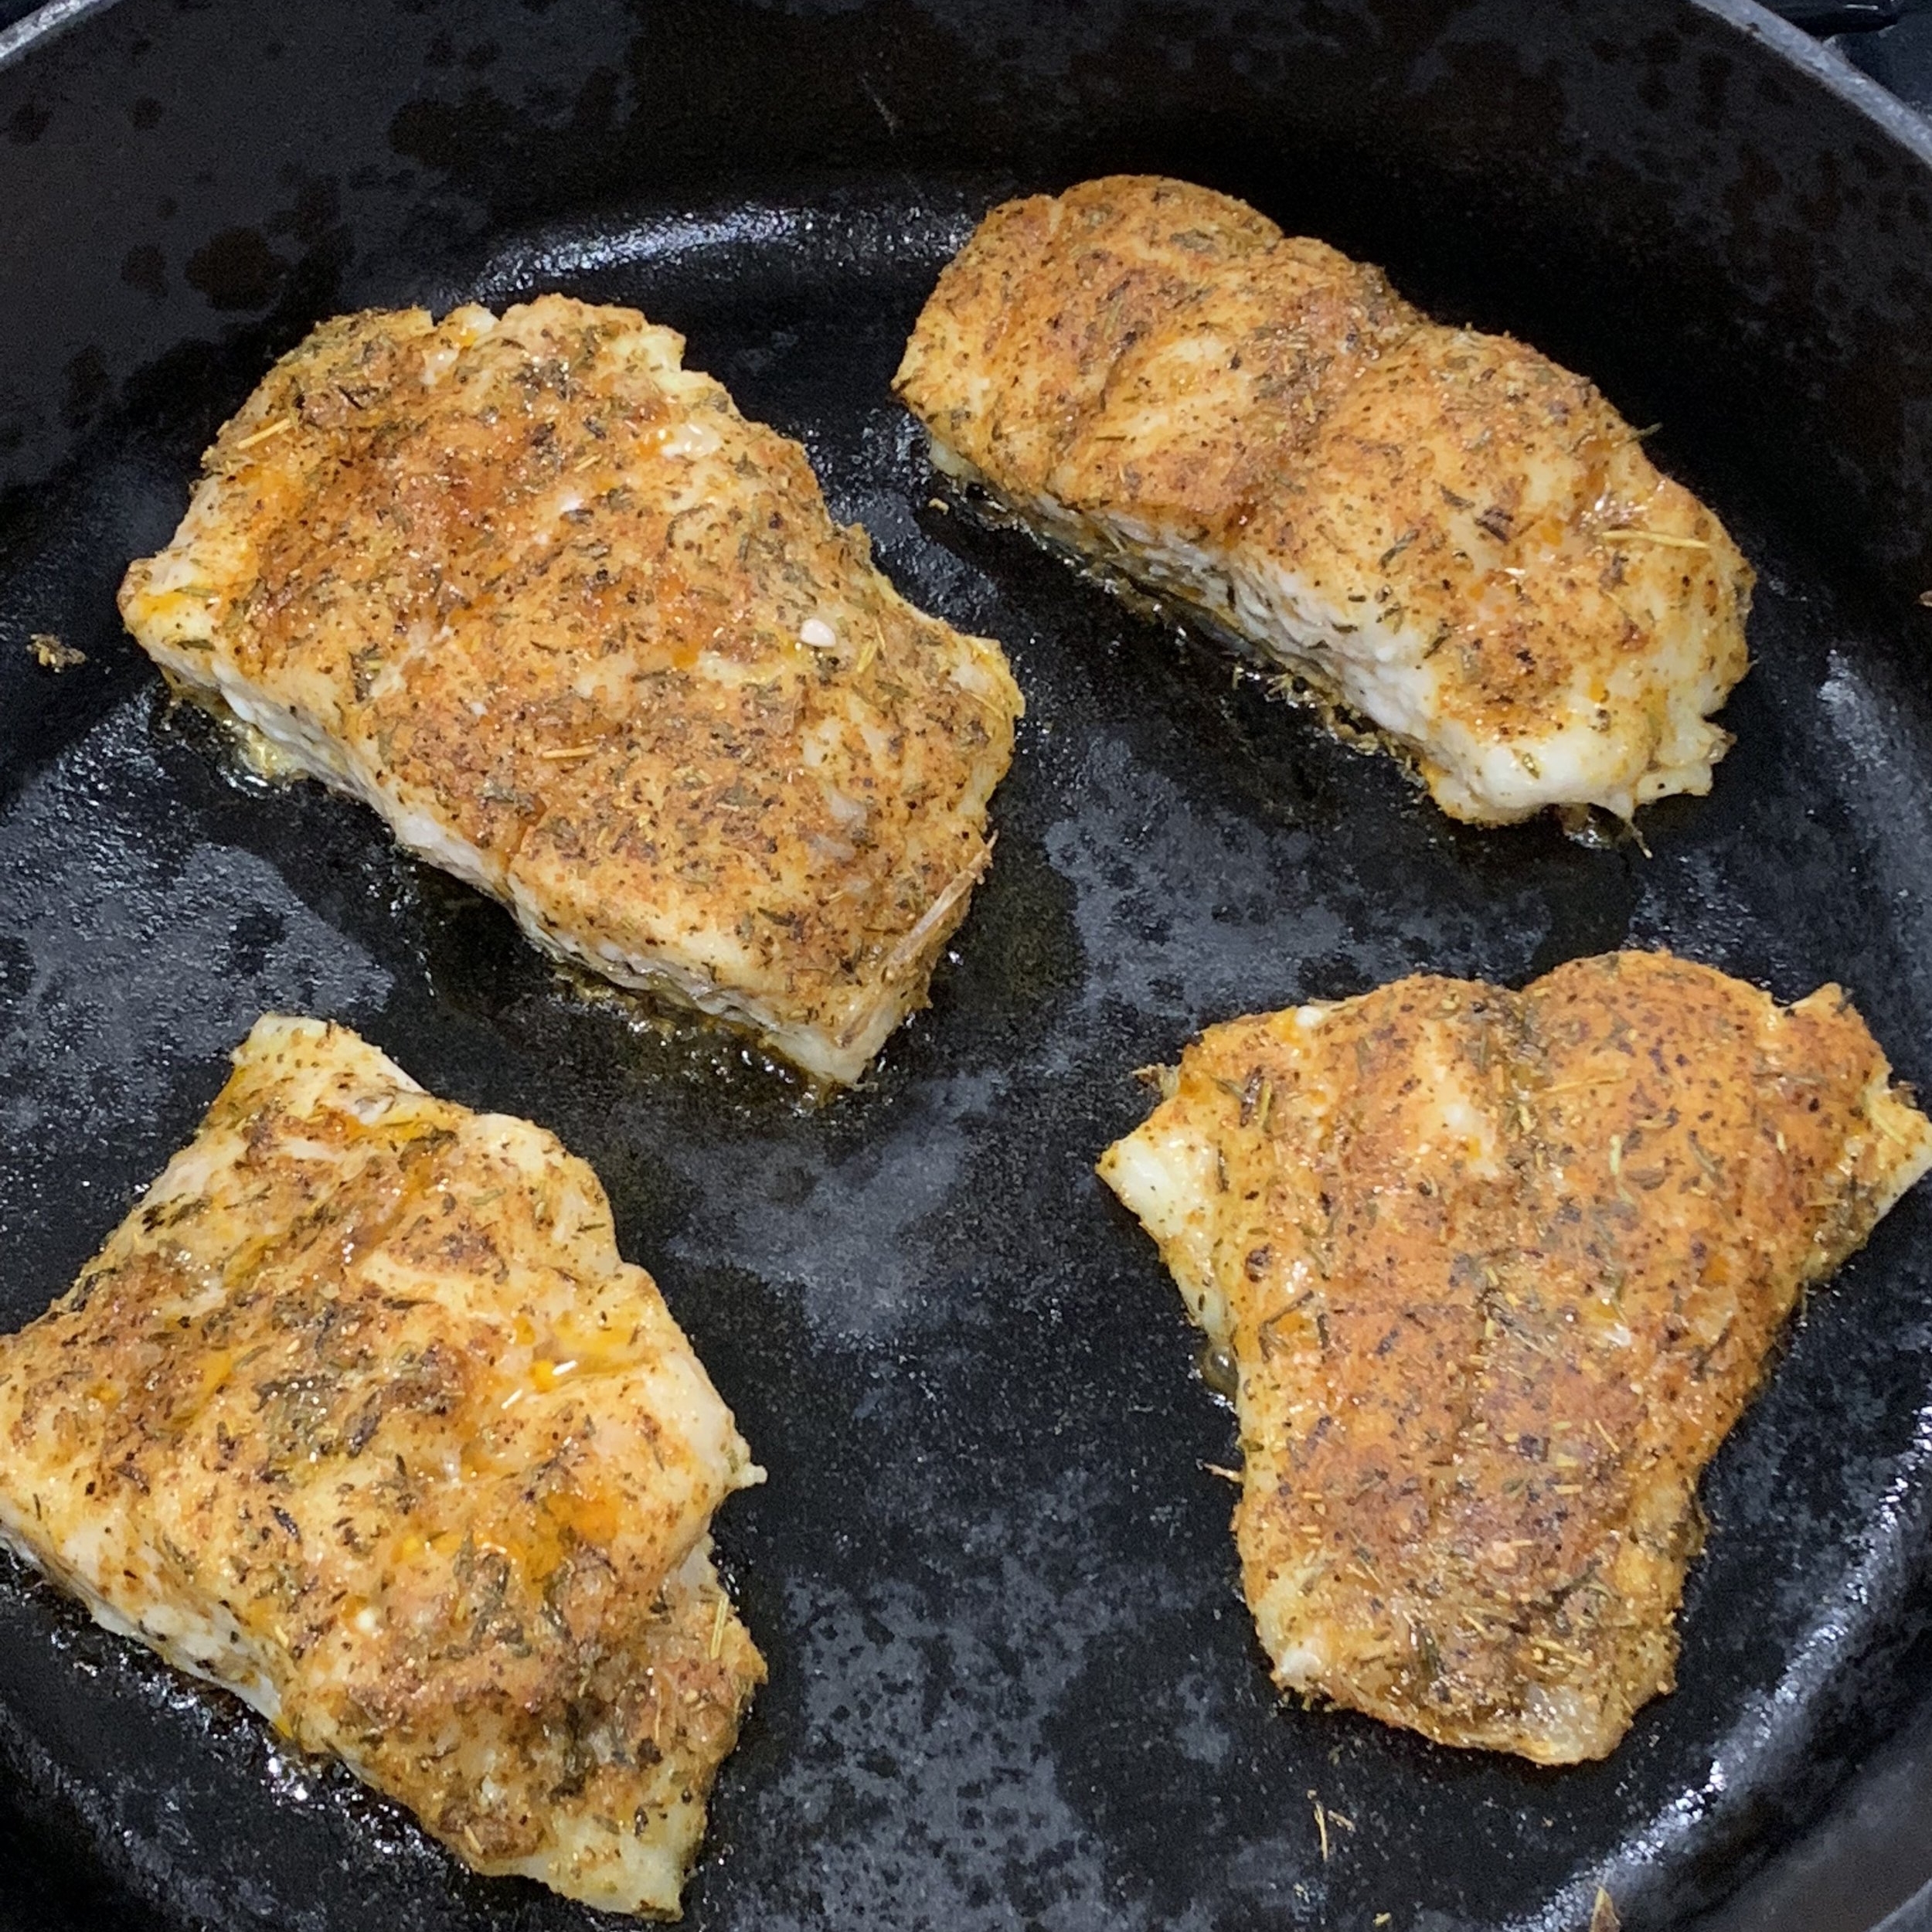
Here’s my solution to the fish problem. By cooking the fish on a hot cast iron skillet in the oven, the clean up is easy and there are no droplets of fishy oil to splatter and make things smell fishy.

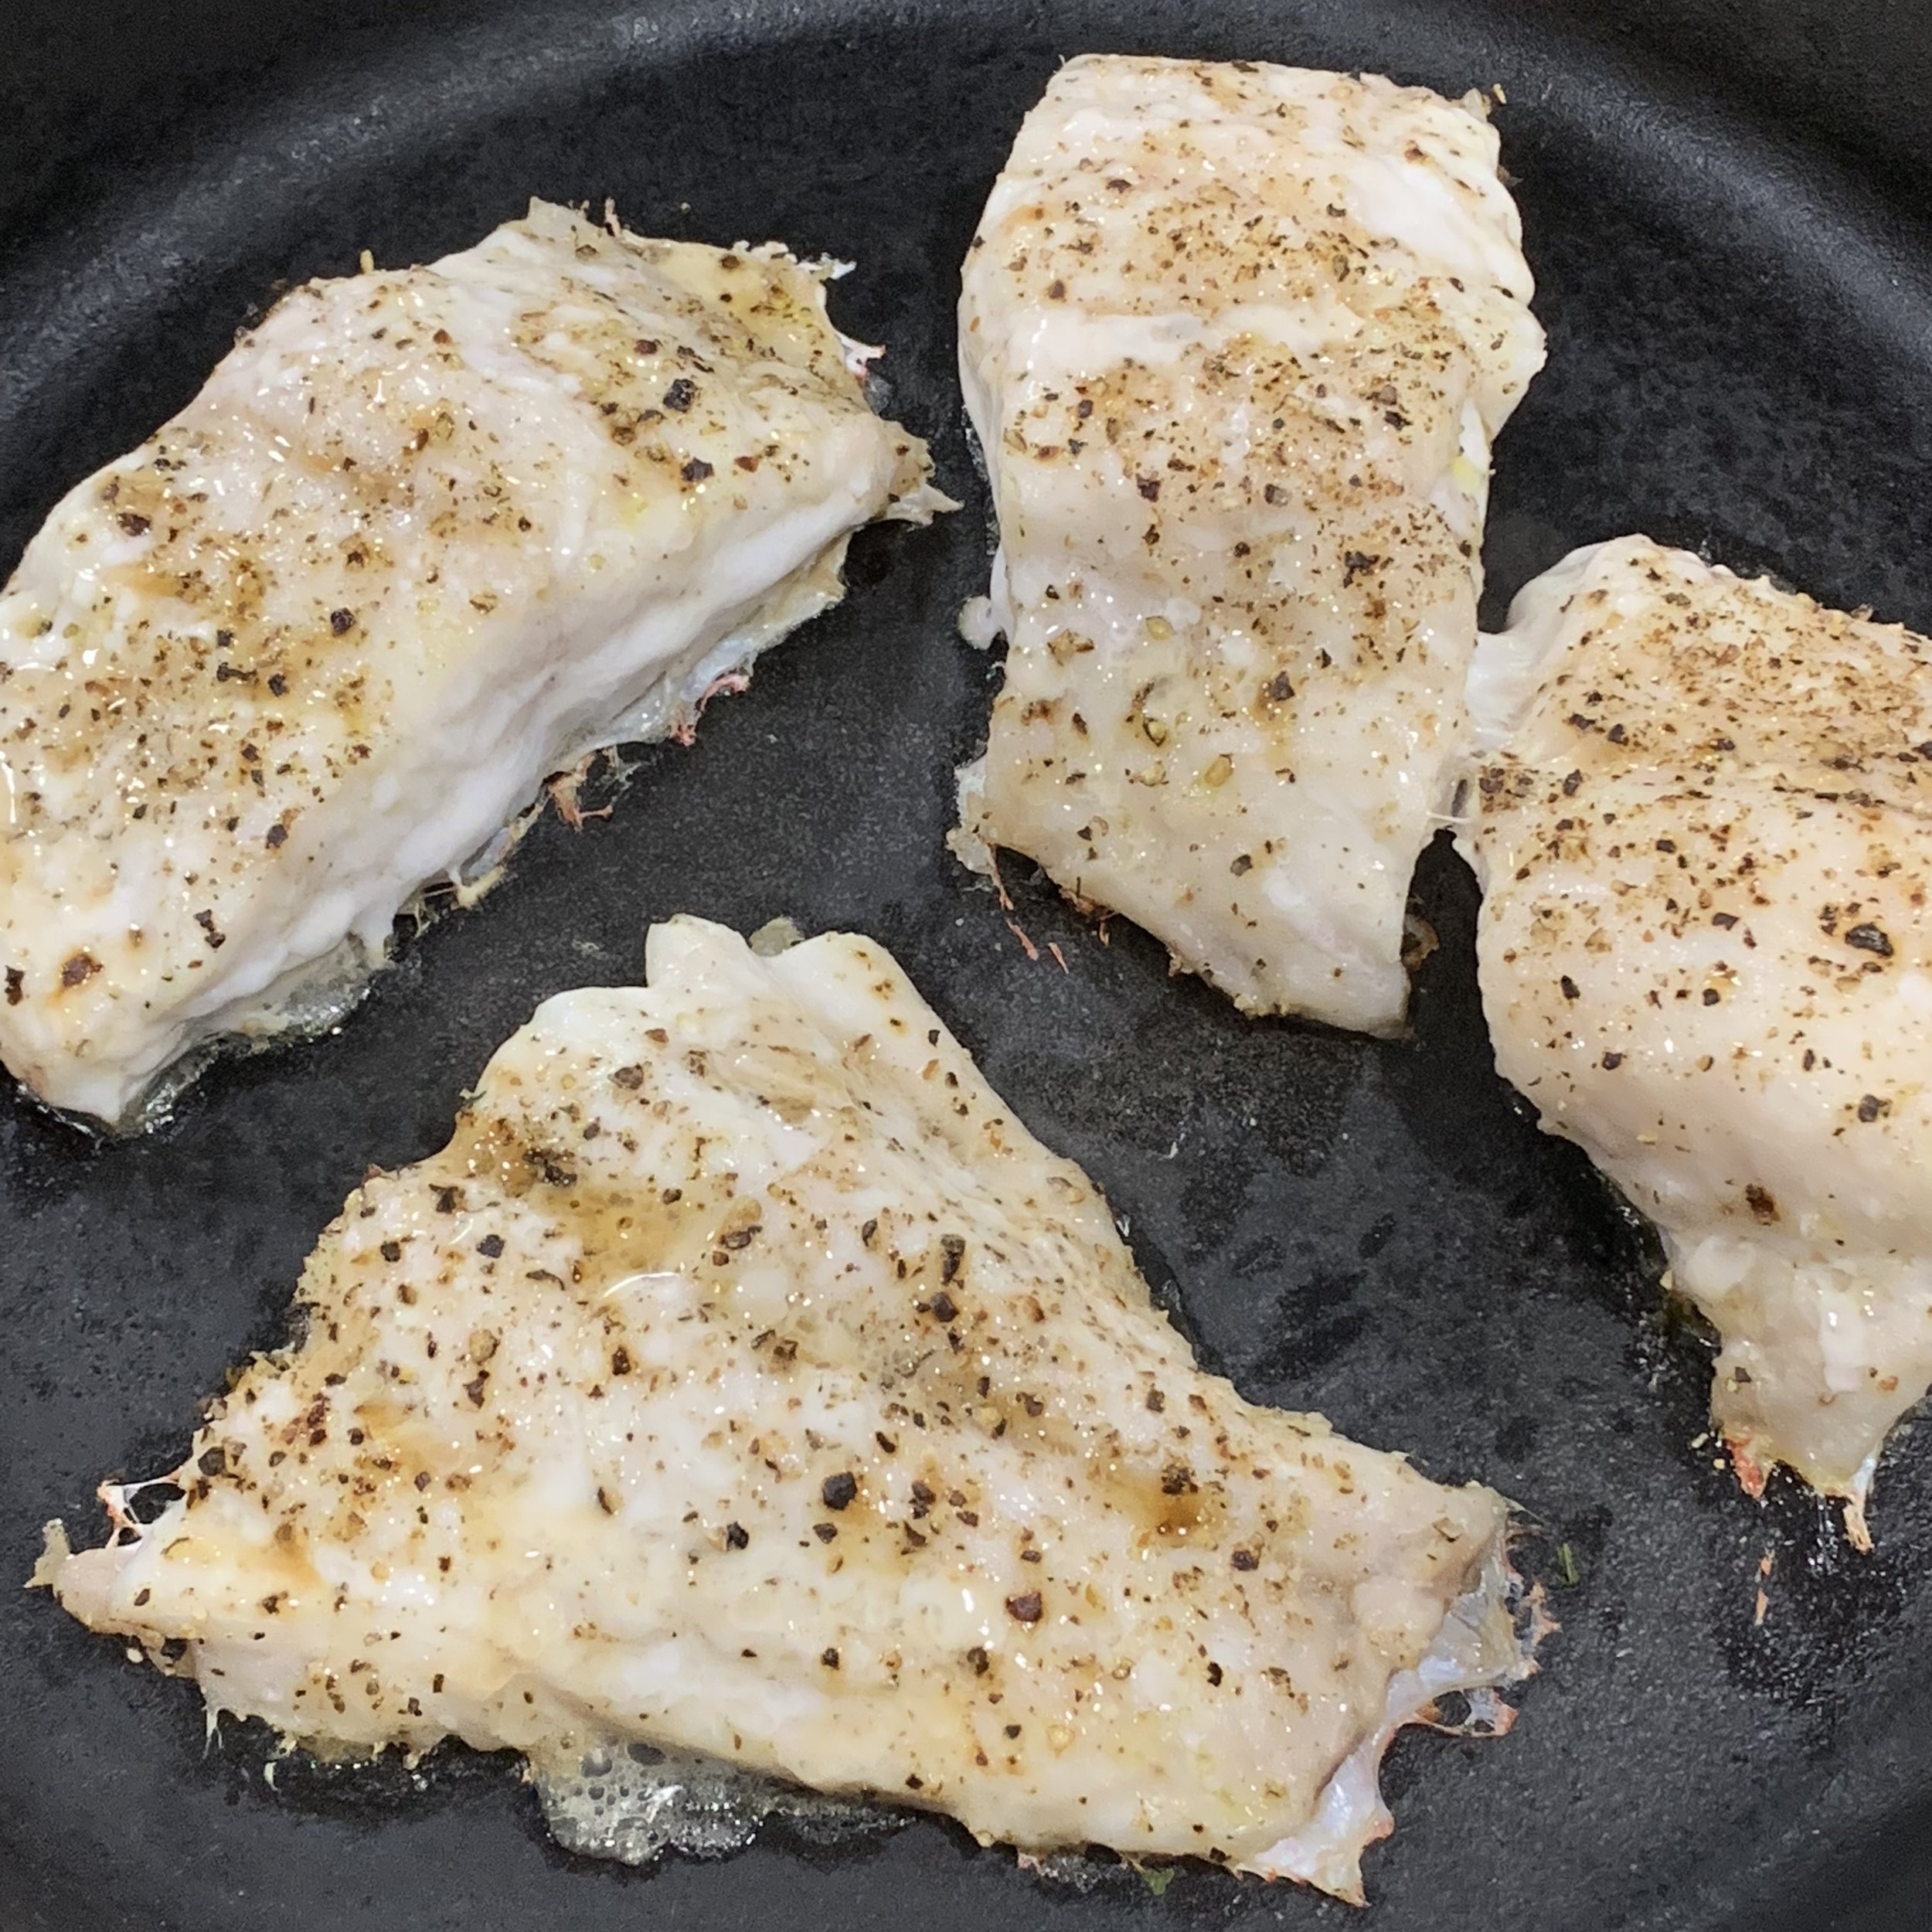
The thickness of the fish determines how long you cook it, but you can watch it turn opaque in the oven, so you don’t overcook it. If it’s undercooked, put it back in for another minute or so.

This method also helps to crisp the skin, which is a heathy part of the fish and where most of the really healthy fish oils reside. Did you know that the fish skin that’s taken off the filets is sold to the supplement companies to make the fish oil pills we buy? It’s becoming clear that taking fish oil capsules is not helpful for our health and may actually be causing harm by increasing the saturated fat in our diet without any health benefits. So why not just cook the skin so it’s crisp and enjoy it with the fish.

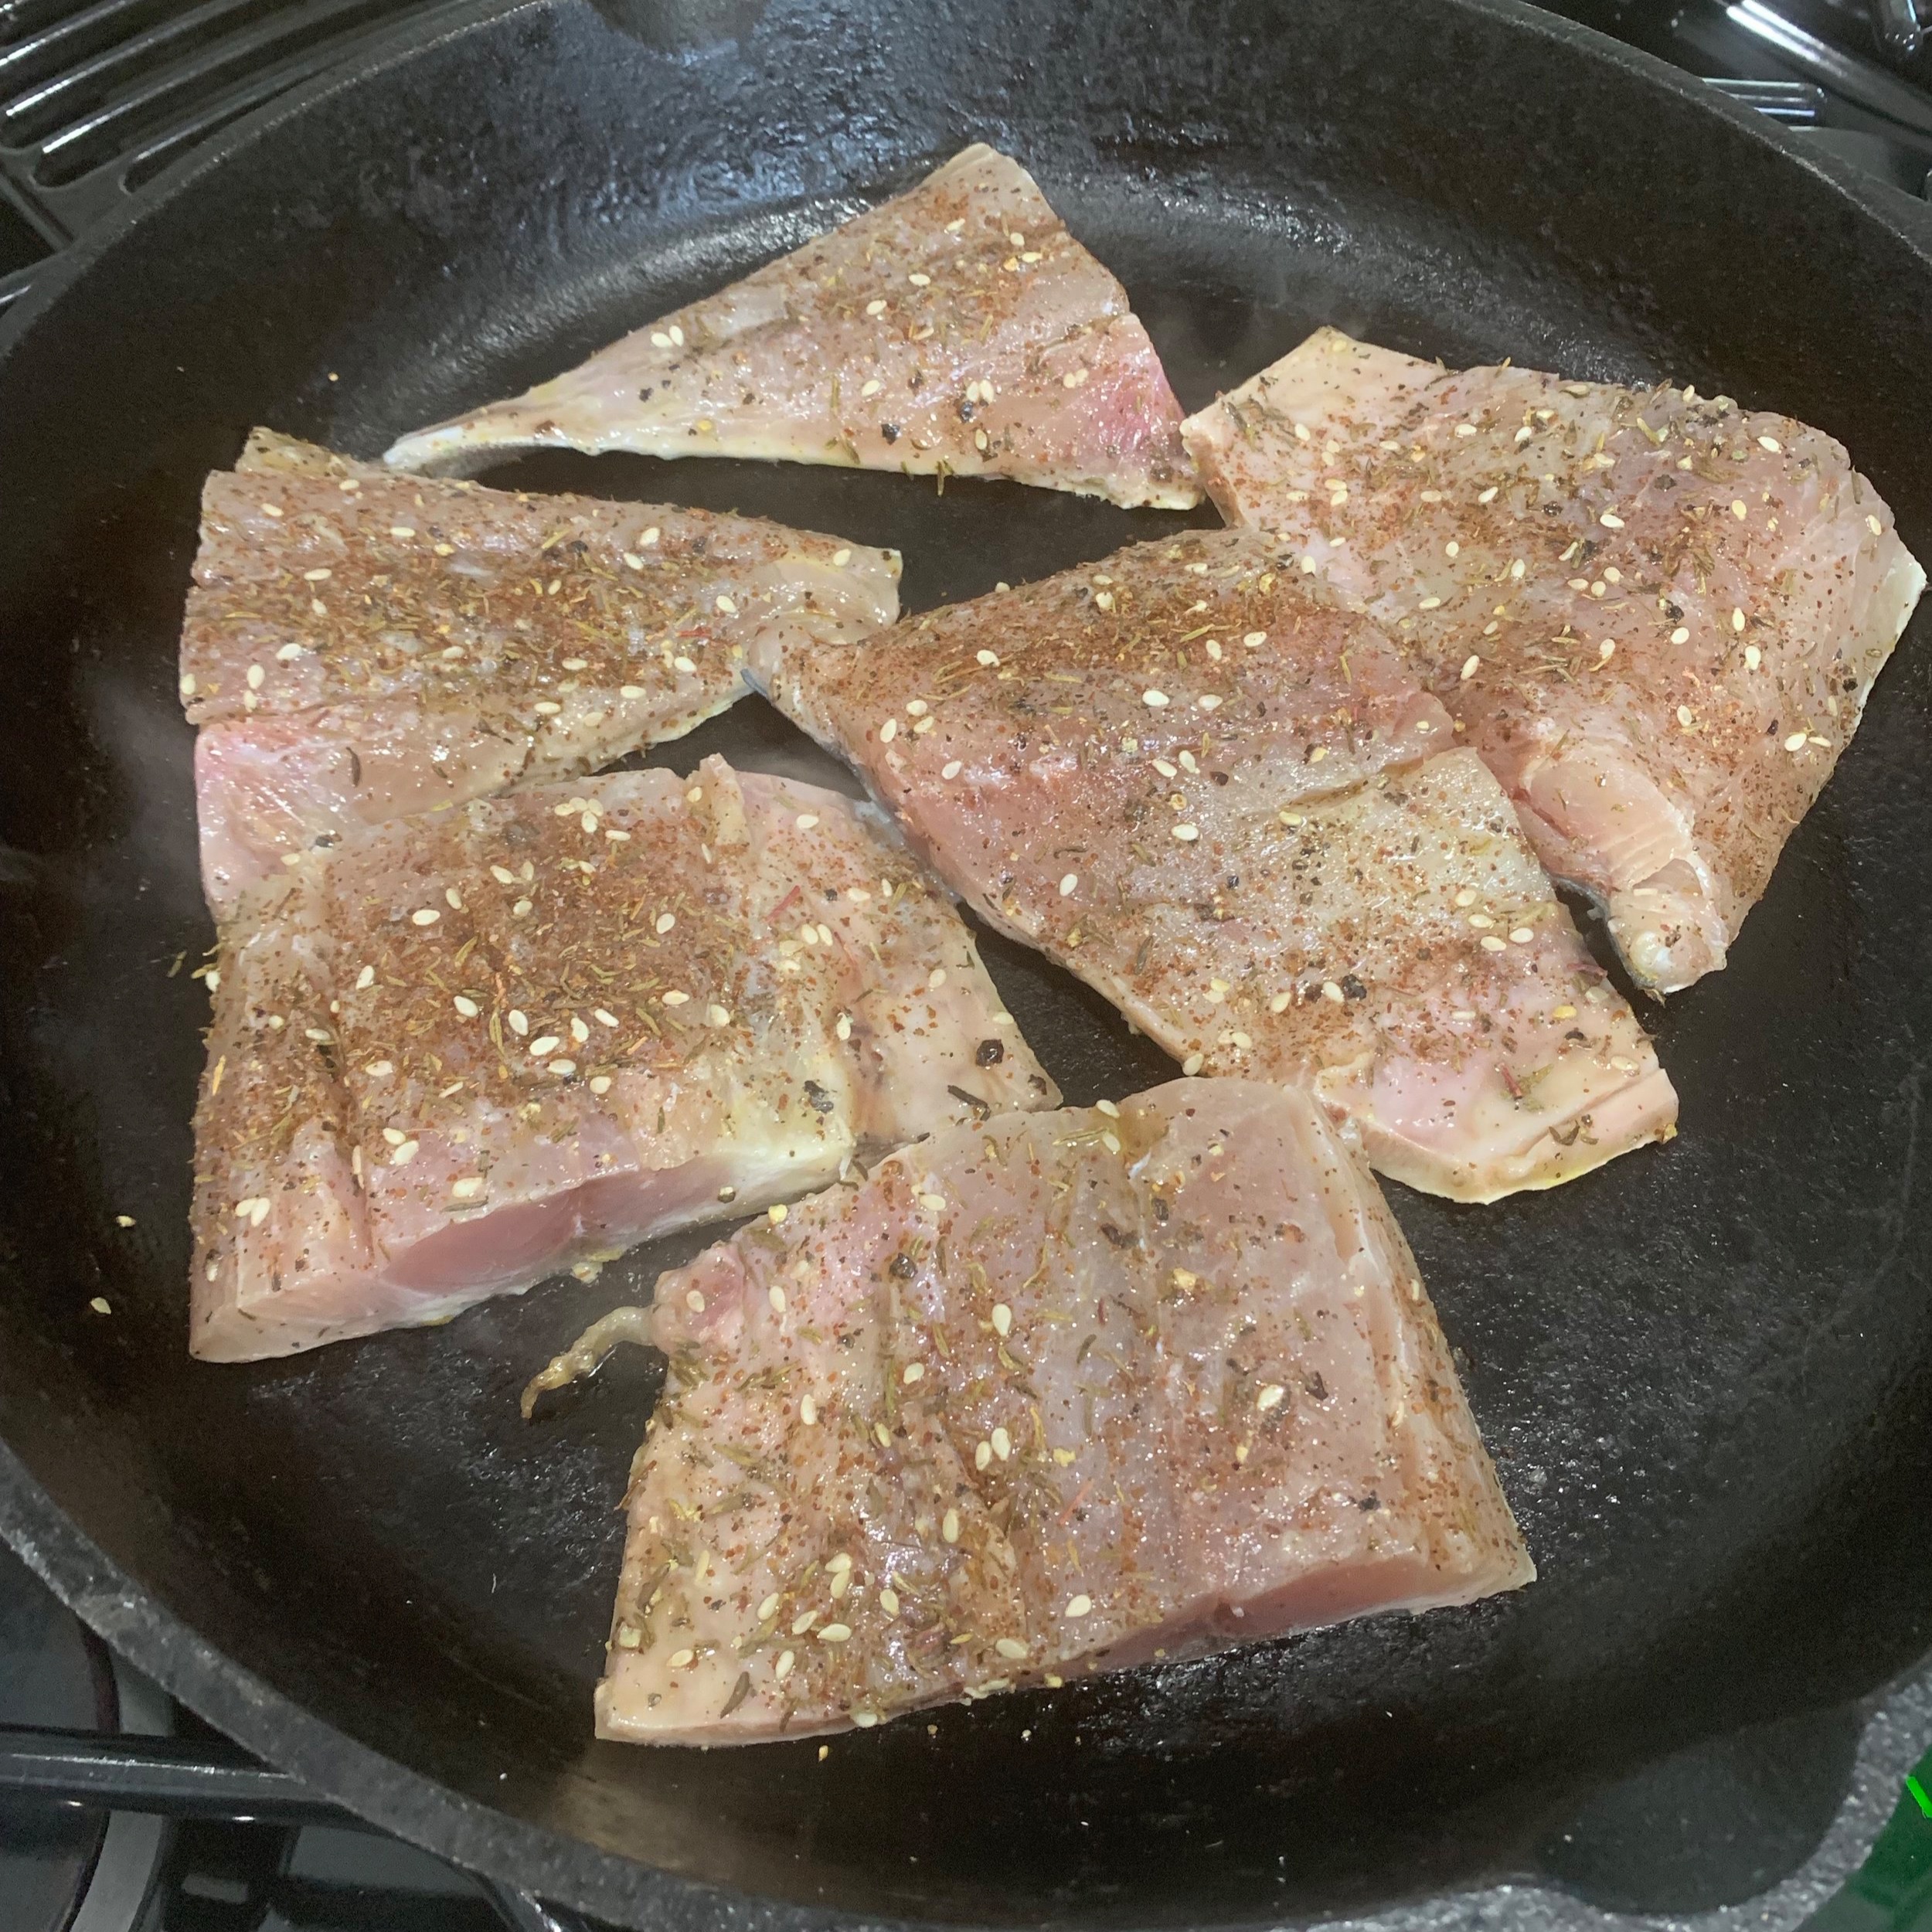
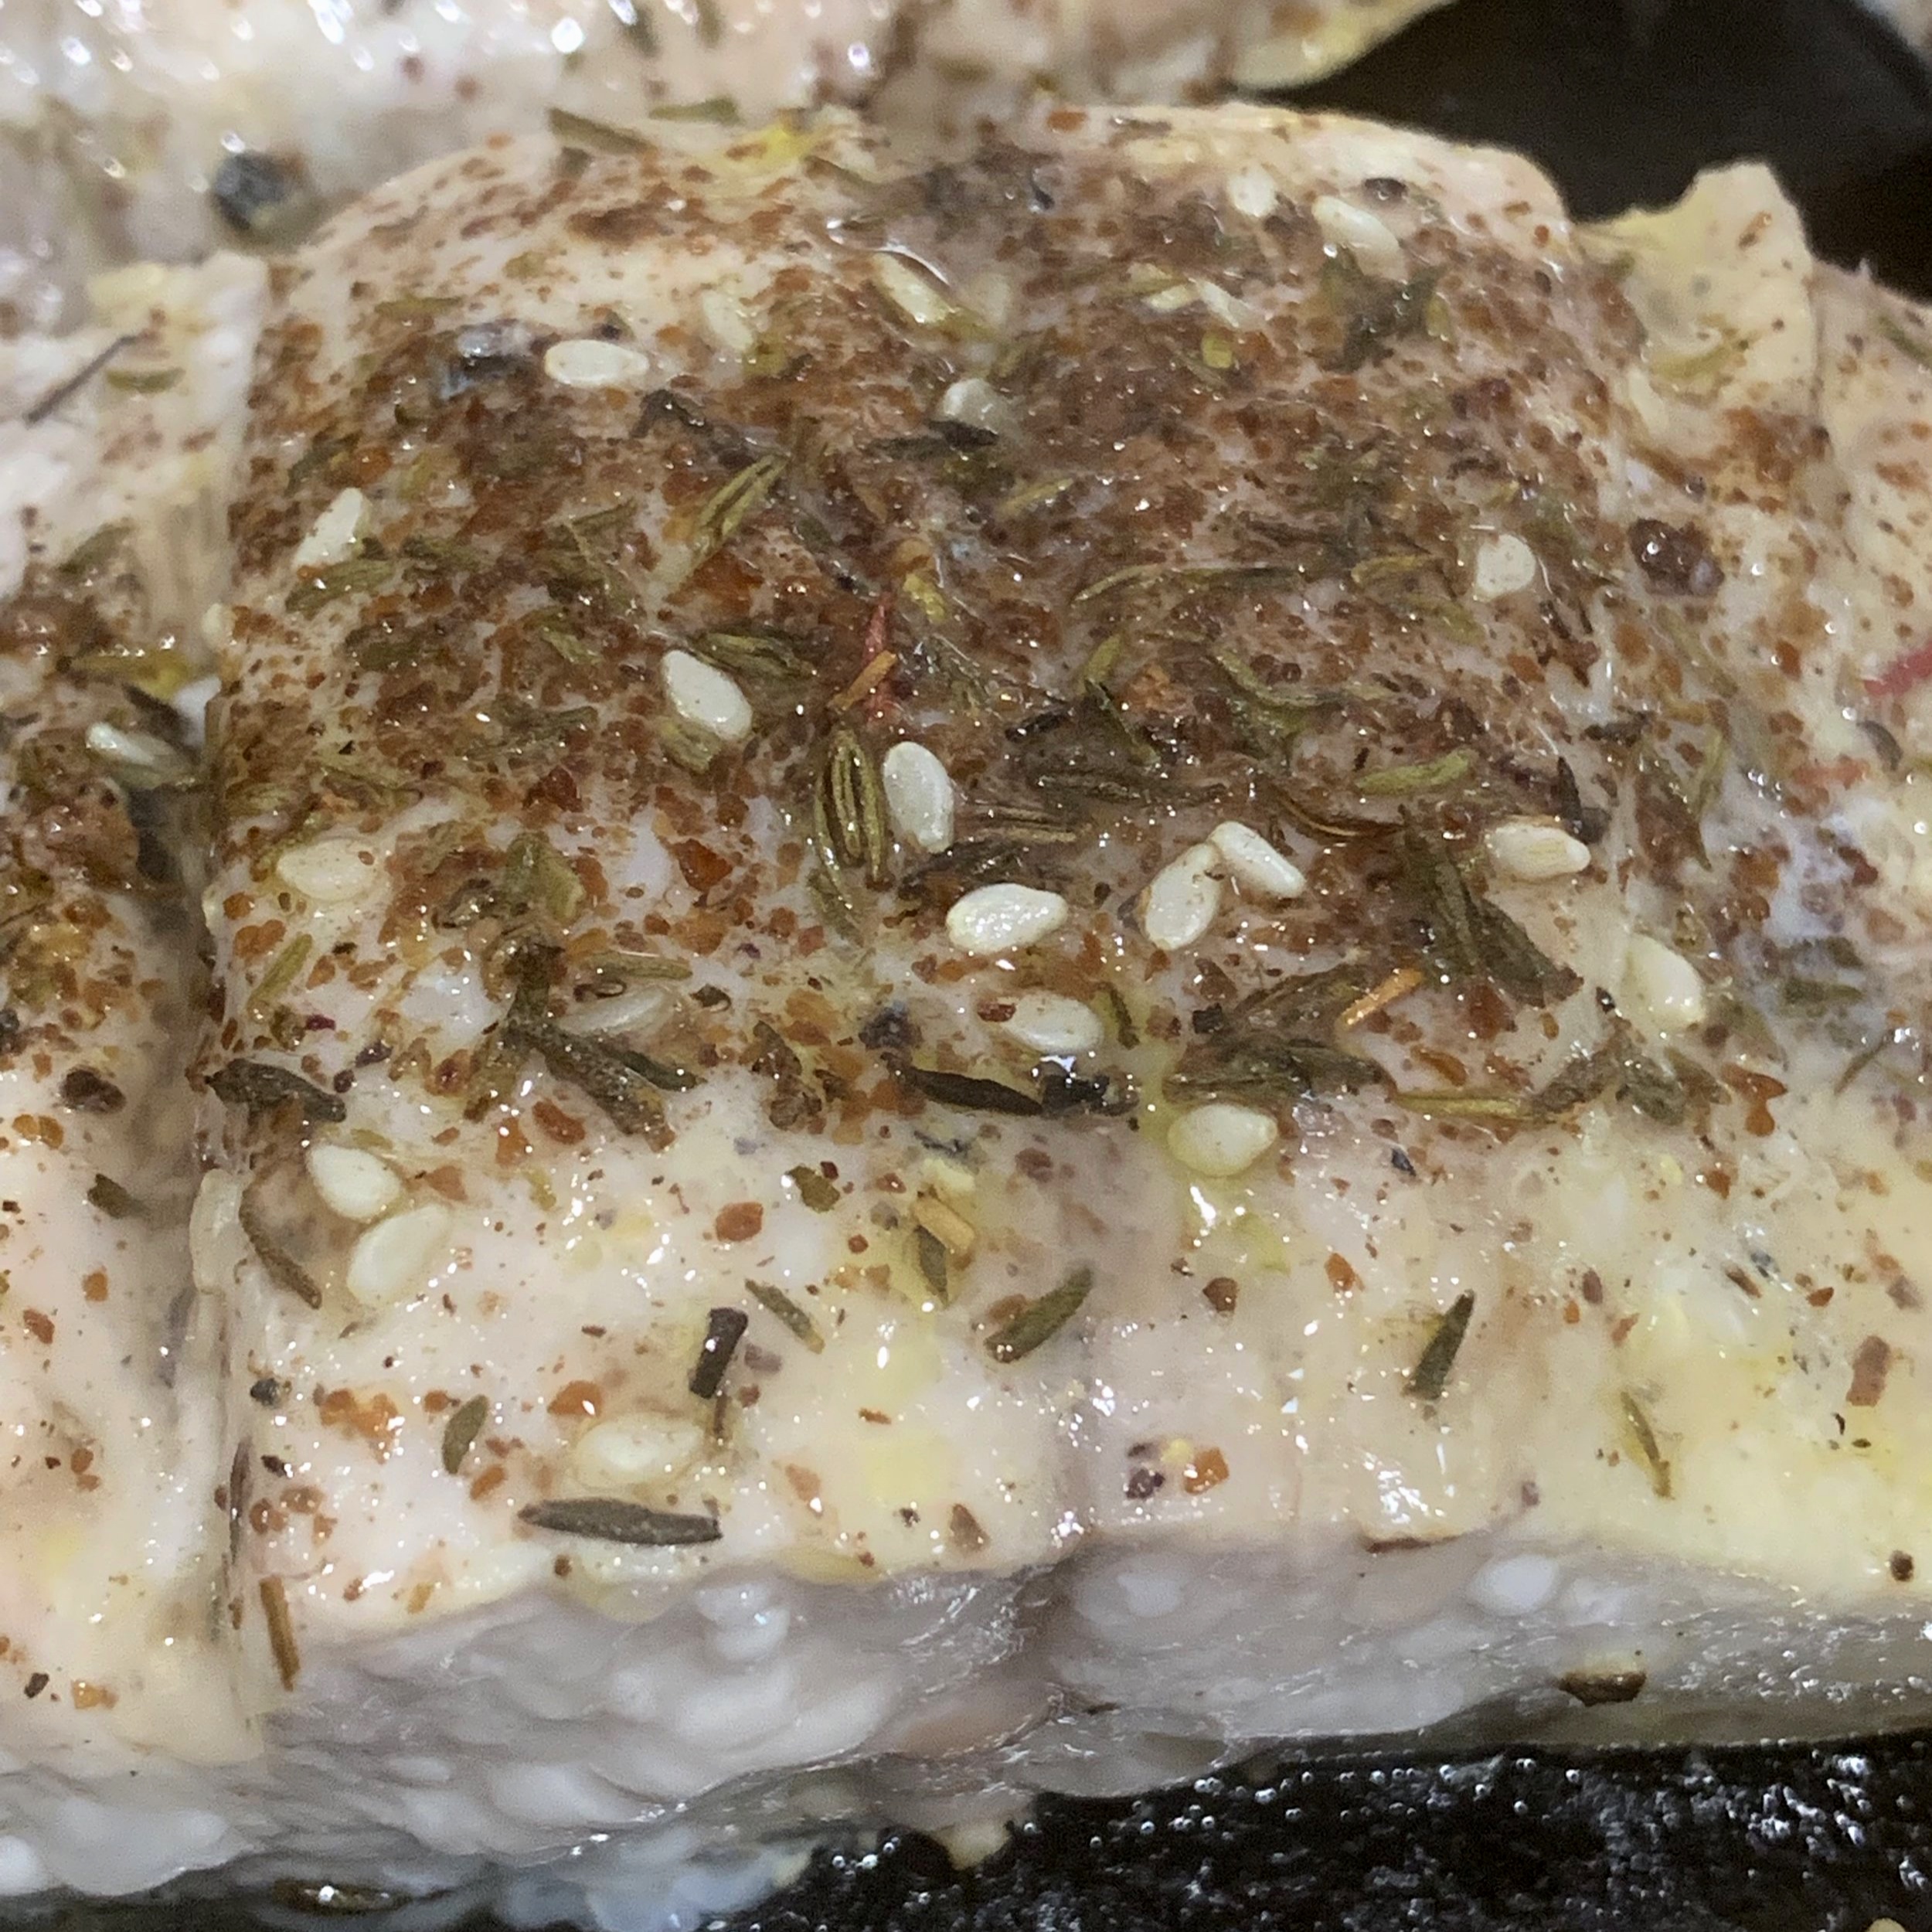
Depending on the type of fish, I season in different ways. With just caught snapper or trout, a little lemon, oil oil and salt and pepper will do. With a fish that has a stonger flavor, like redfish, mackerel or yellowtail (Japanese amberjack), I like to add spice blend like Penzey’s Northwoods Spice and Zatar. I always use a spritz of lemon and a little rub of olive oil. Remember to check to see if the spice blend has salt added before adding salt.

I hope you will try adding this method to your cooking fish and experiment with different fishes and spices.

RECIPE: Cast Iron Fish

INGREDIENTS

  • Flat bottomed cast iron skillet (like Lodge brand)

  • Skin on fish filets

  • Lemon

  • Extra virgin olive oil

  • Salt & Pepper

  • Spice mix (if using, eg Penzey’s blends; remember to check if it contains salt and don’t add additional)

PROCESS

  • Preheat oven to 400 degrees and place skillet in oven for 15 minutes while you prepare the fish

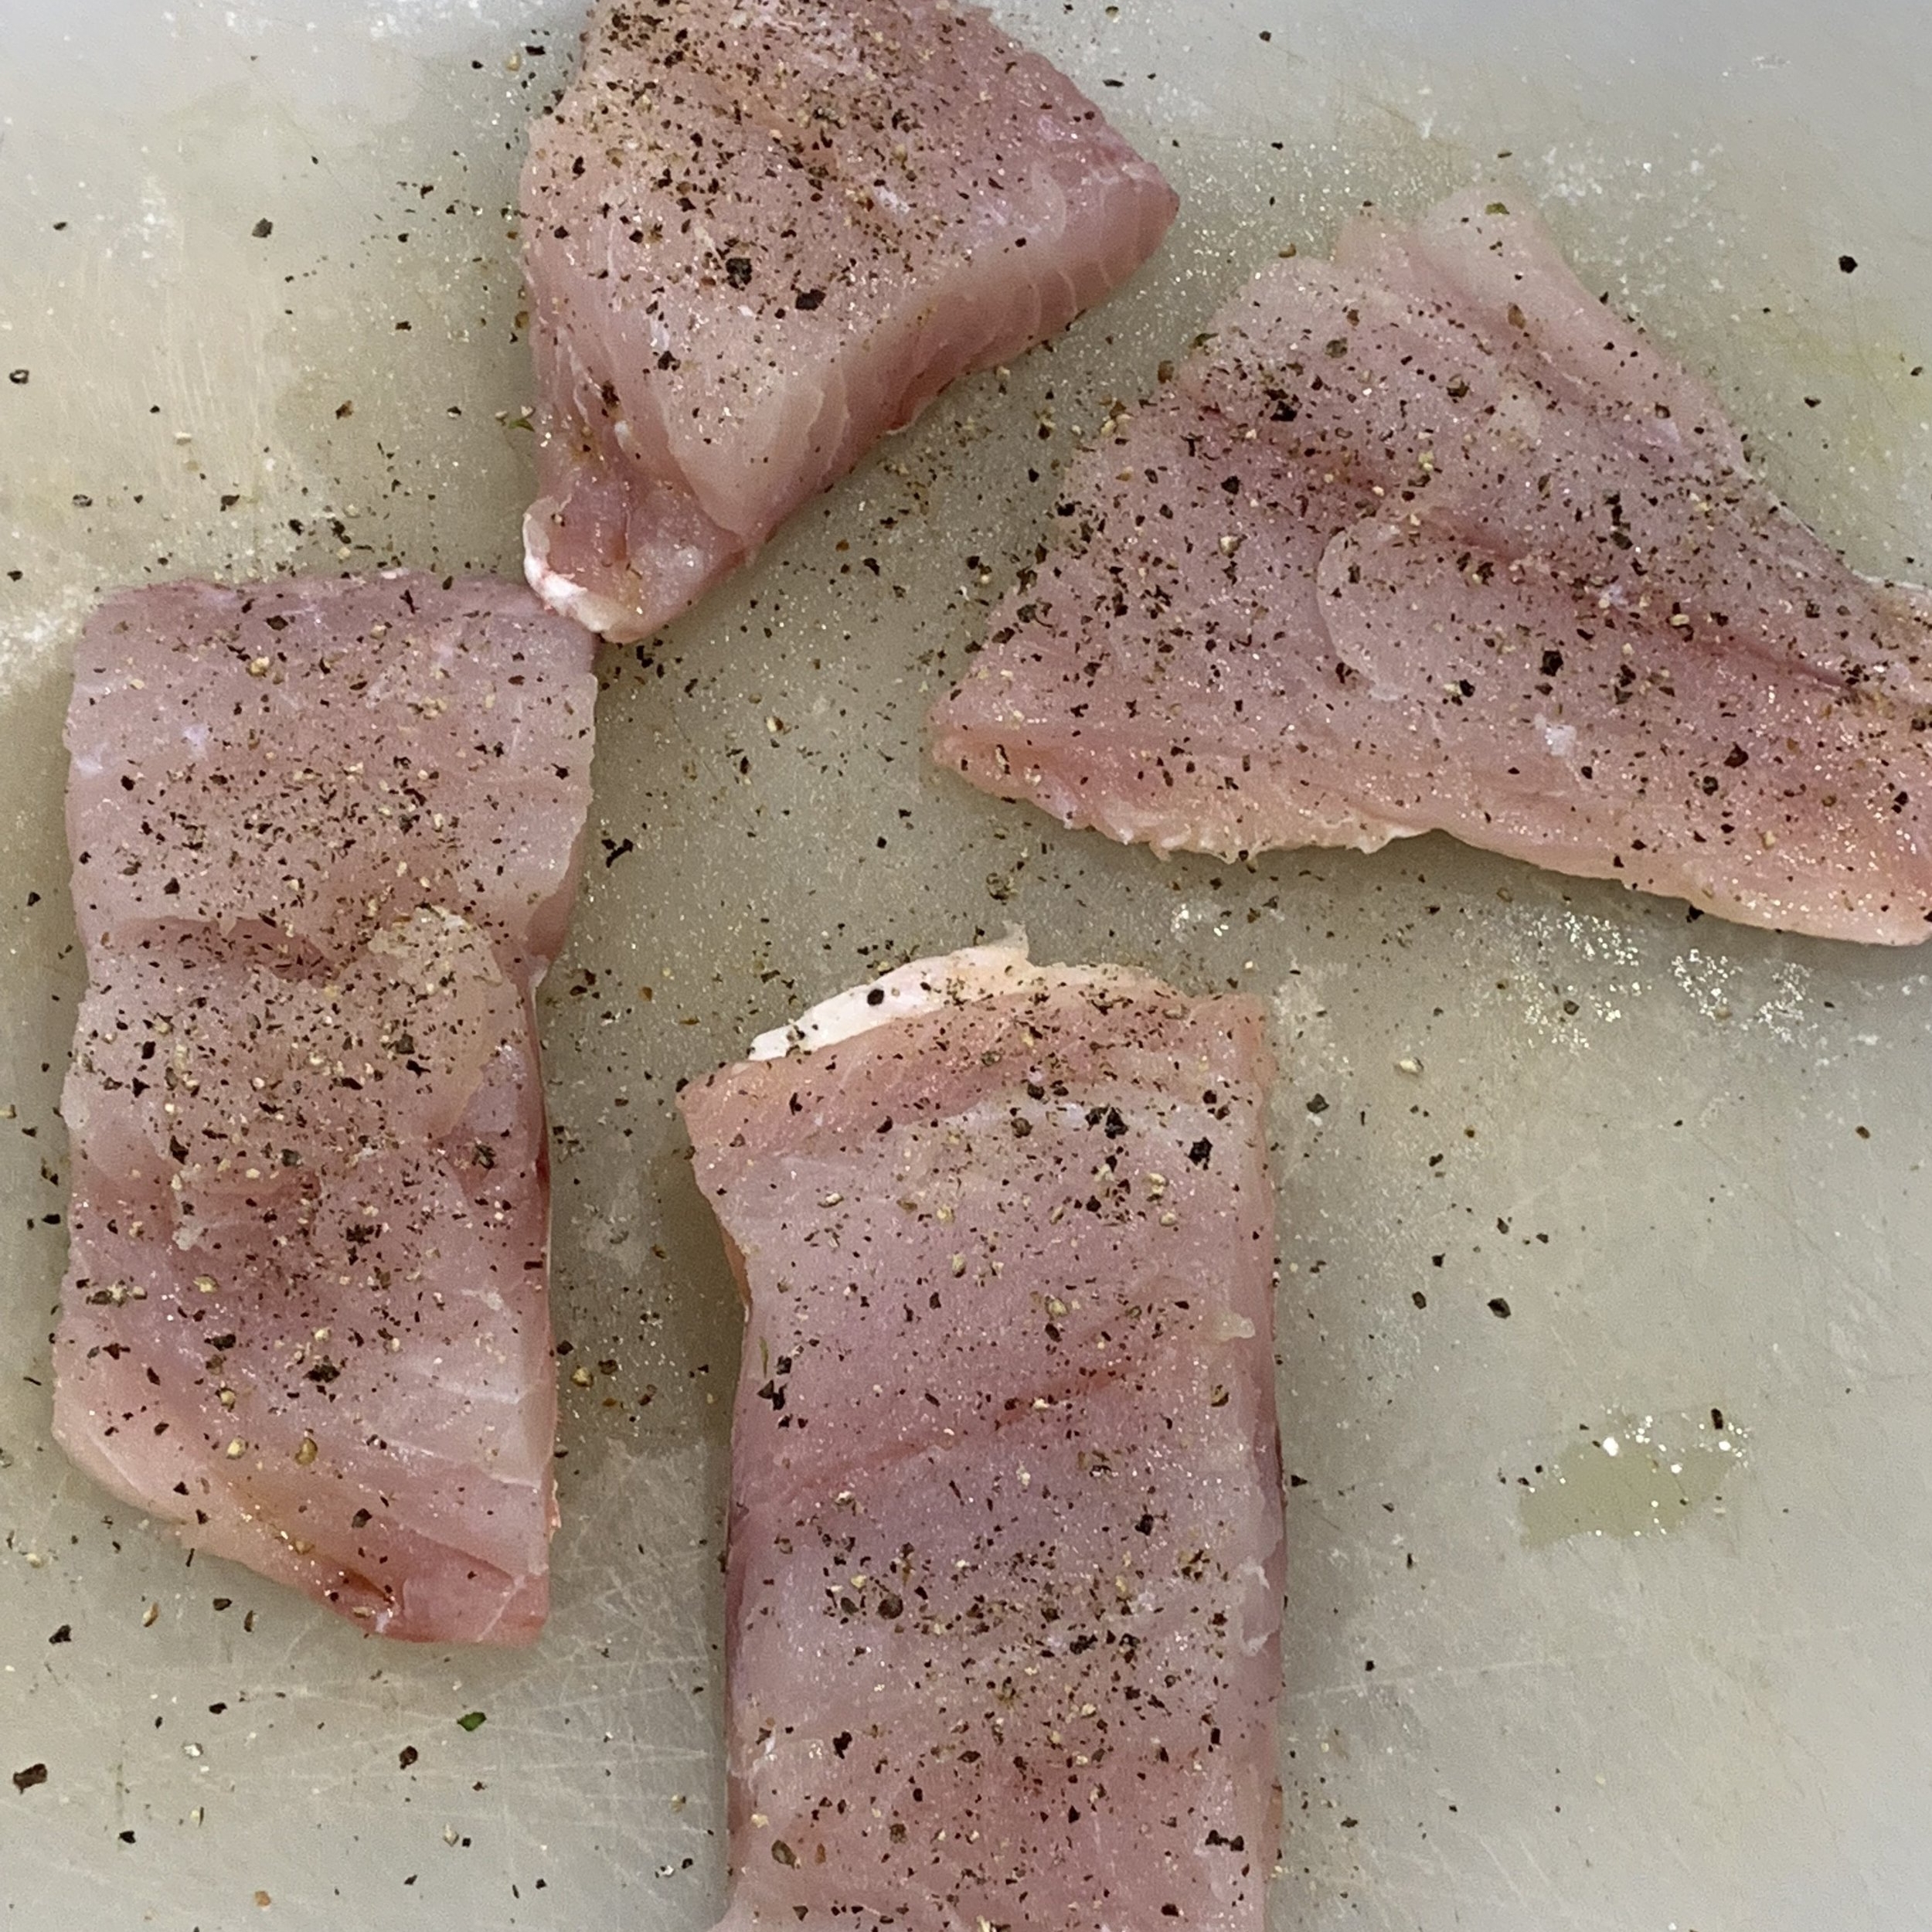
  • Drizzle the skin side of the fish with lemon, rub in a few drops of olive oil and sprinkle with salt & pepper or the spice mix. Repeat with the other side.

  • Take the skillet out of the oven and lay the fish in skin side down. It will sizzle.

  • Place in the oven for 4 to 8 minutes, depending on the thickness of the fish. Look to see that the fish tuns fully opaque. Let the fish rest in the skillet for a minute. If it’s not fully cooked when you take it out of the oven, just return it to the oven for another minute.

RBtl5kzJRRejrJnrQcIAKw.jpg


Happy New Year Black-Eyed Peas (Instant Pot)

I live in Texas. Here, as in most of the southern United States, we celebrate the New Year with foods representing luck and prosperity. Black-eyed peas likely originated in West Africa and were introduced to the southern United States as early as the 17th century by people brought here as slaves. It is this rich food culture that provides the symbolic food of New Years Day. The black-eyed peas represent luck, collard or other dark greens represent wealth and cornbread echoes gold. All our hopes for the year set forth in food.

I recall our wonderful neighbor, Louise Mann, bringing over a tray loaded with peas, greens and cornbread every New Years Day until she finally taught me how to make them. She made her back-eyed peas with ham hocks and her greens with bacon. They were delicious sopped up with the crumbly, sweet cornbread.

This recipe is a new one I tried in 2017. I was hoping for something lighter and brighter and this is what I came up with. The Rotel tomatoes and chilies are also regional, but you can likely get them online. They ended up in the recipe as I attempted to clean out my pantry.

Black-eyed peas are very nutritious. A cup contains 14g of protein, is rich in calcium, folic acid, vitamins A and C and is less that 200 calories.

I hope you have a healthy, peaceful and prosperous New Year.

RECIPE: Black Eye Peas (Instant Pot Recipe)

INGREDIENTS

  • 1 Cup chopped fennel 

  • 1 Cup chopped Spanish onion

  • 2 Tablespoon extra virgin olive oil 

  • 1 can Rotel original diced tomatoes and chilies(10oz) Do Not Drain

  • 1 can diced tomatoes (14.5 oz) Do Not Drain

  • 24oz fresh or soaked black eyed peas

  • 1-1/2 teaspoon salt

  • 1/2 teaspoon sugar

PROCESS

  • Sautée fennel & onions with 1/2 teaspoon of salt and sugar until starting to turn brown on edges.

  • Add the black-eyed peas and canned tomatoes and Rotel with liquid.

  • Add 20oz water and 1 tsp salt.

  • Cook using bean setting (30 min high pressure) with natural release.  Smash a few peas against the side of the pot and stir in for a creamier texture if you desire.

  • Alternately, you can cook them slowly on the stove top for about an hour and a half, until tender.


IMG_6540.JPG
IMG_6537.JPG

Tuscan Kale & Pecan Pasta

IMG_0248.JPG

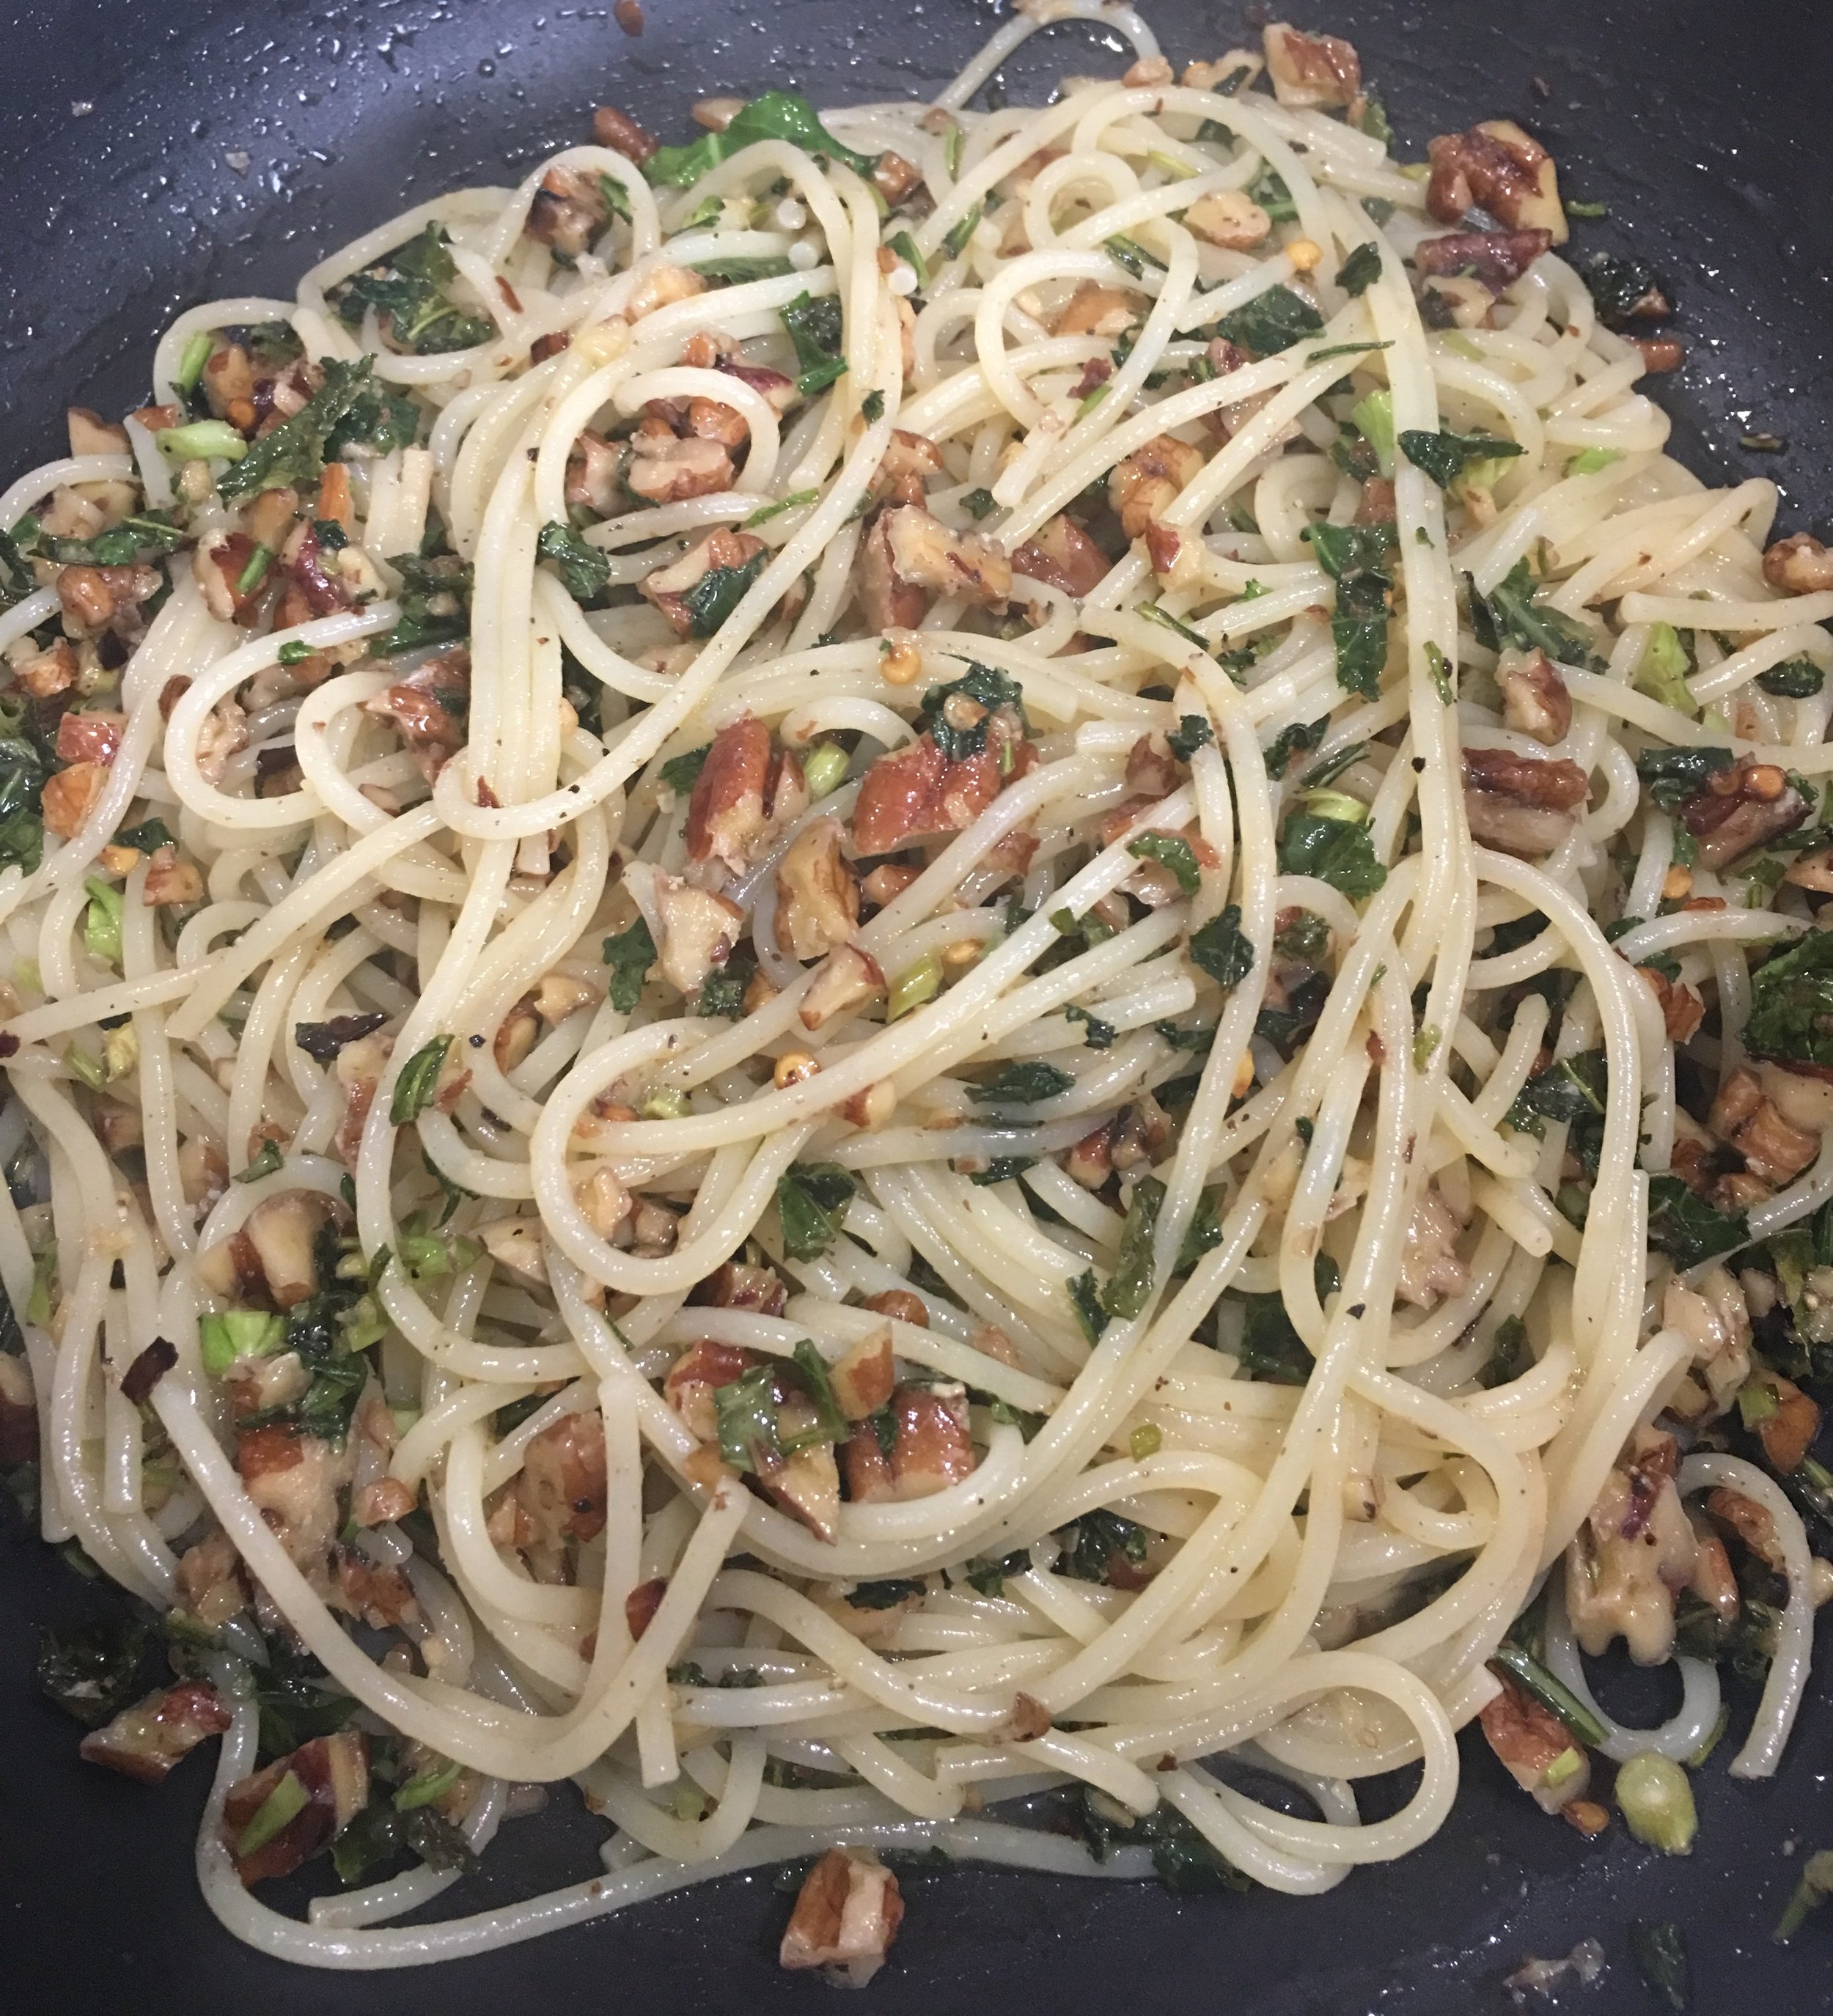
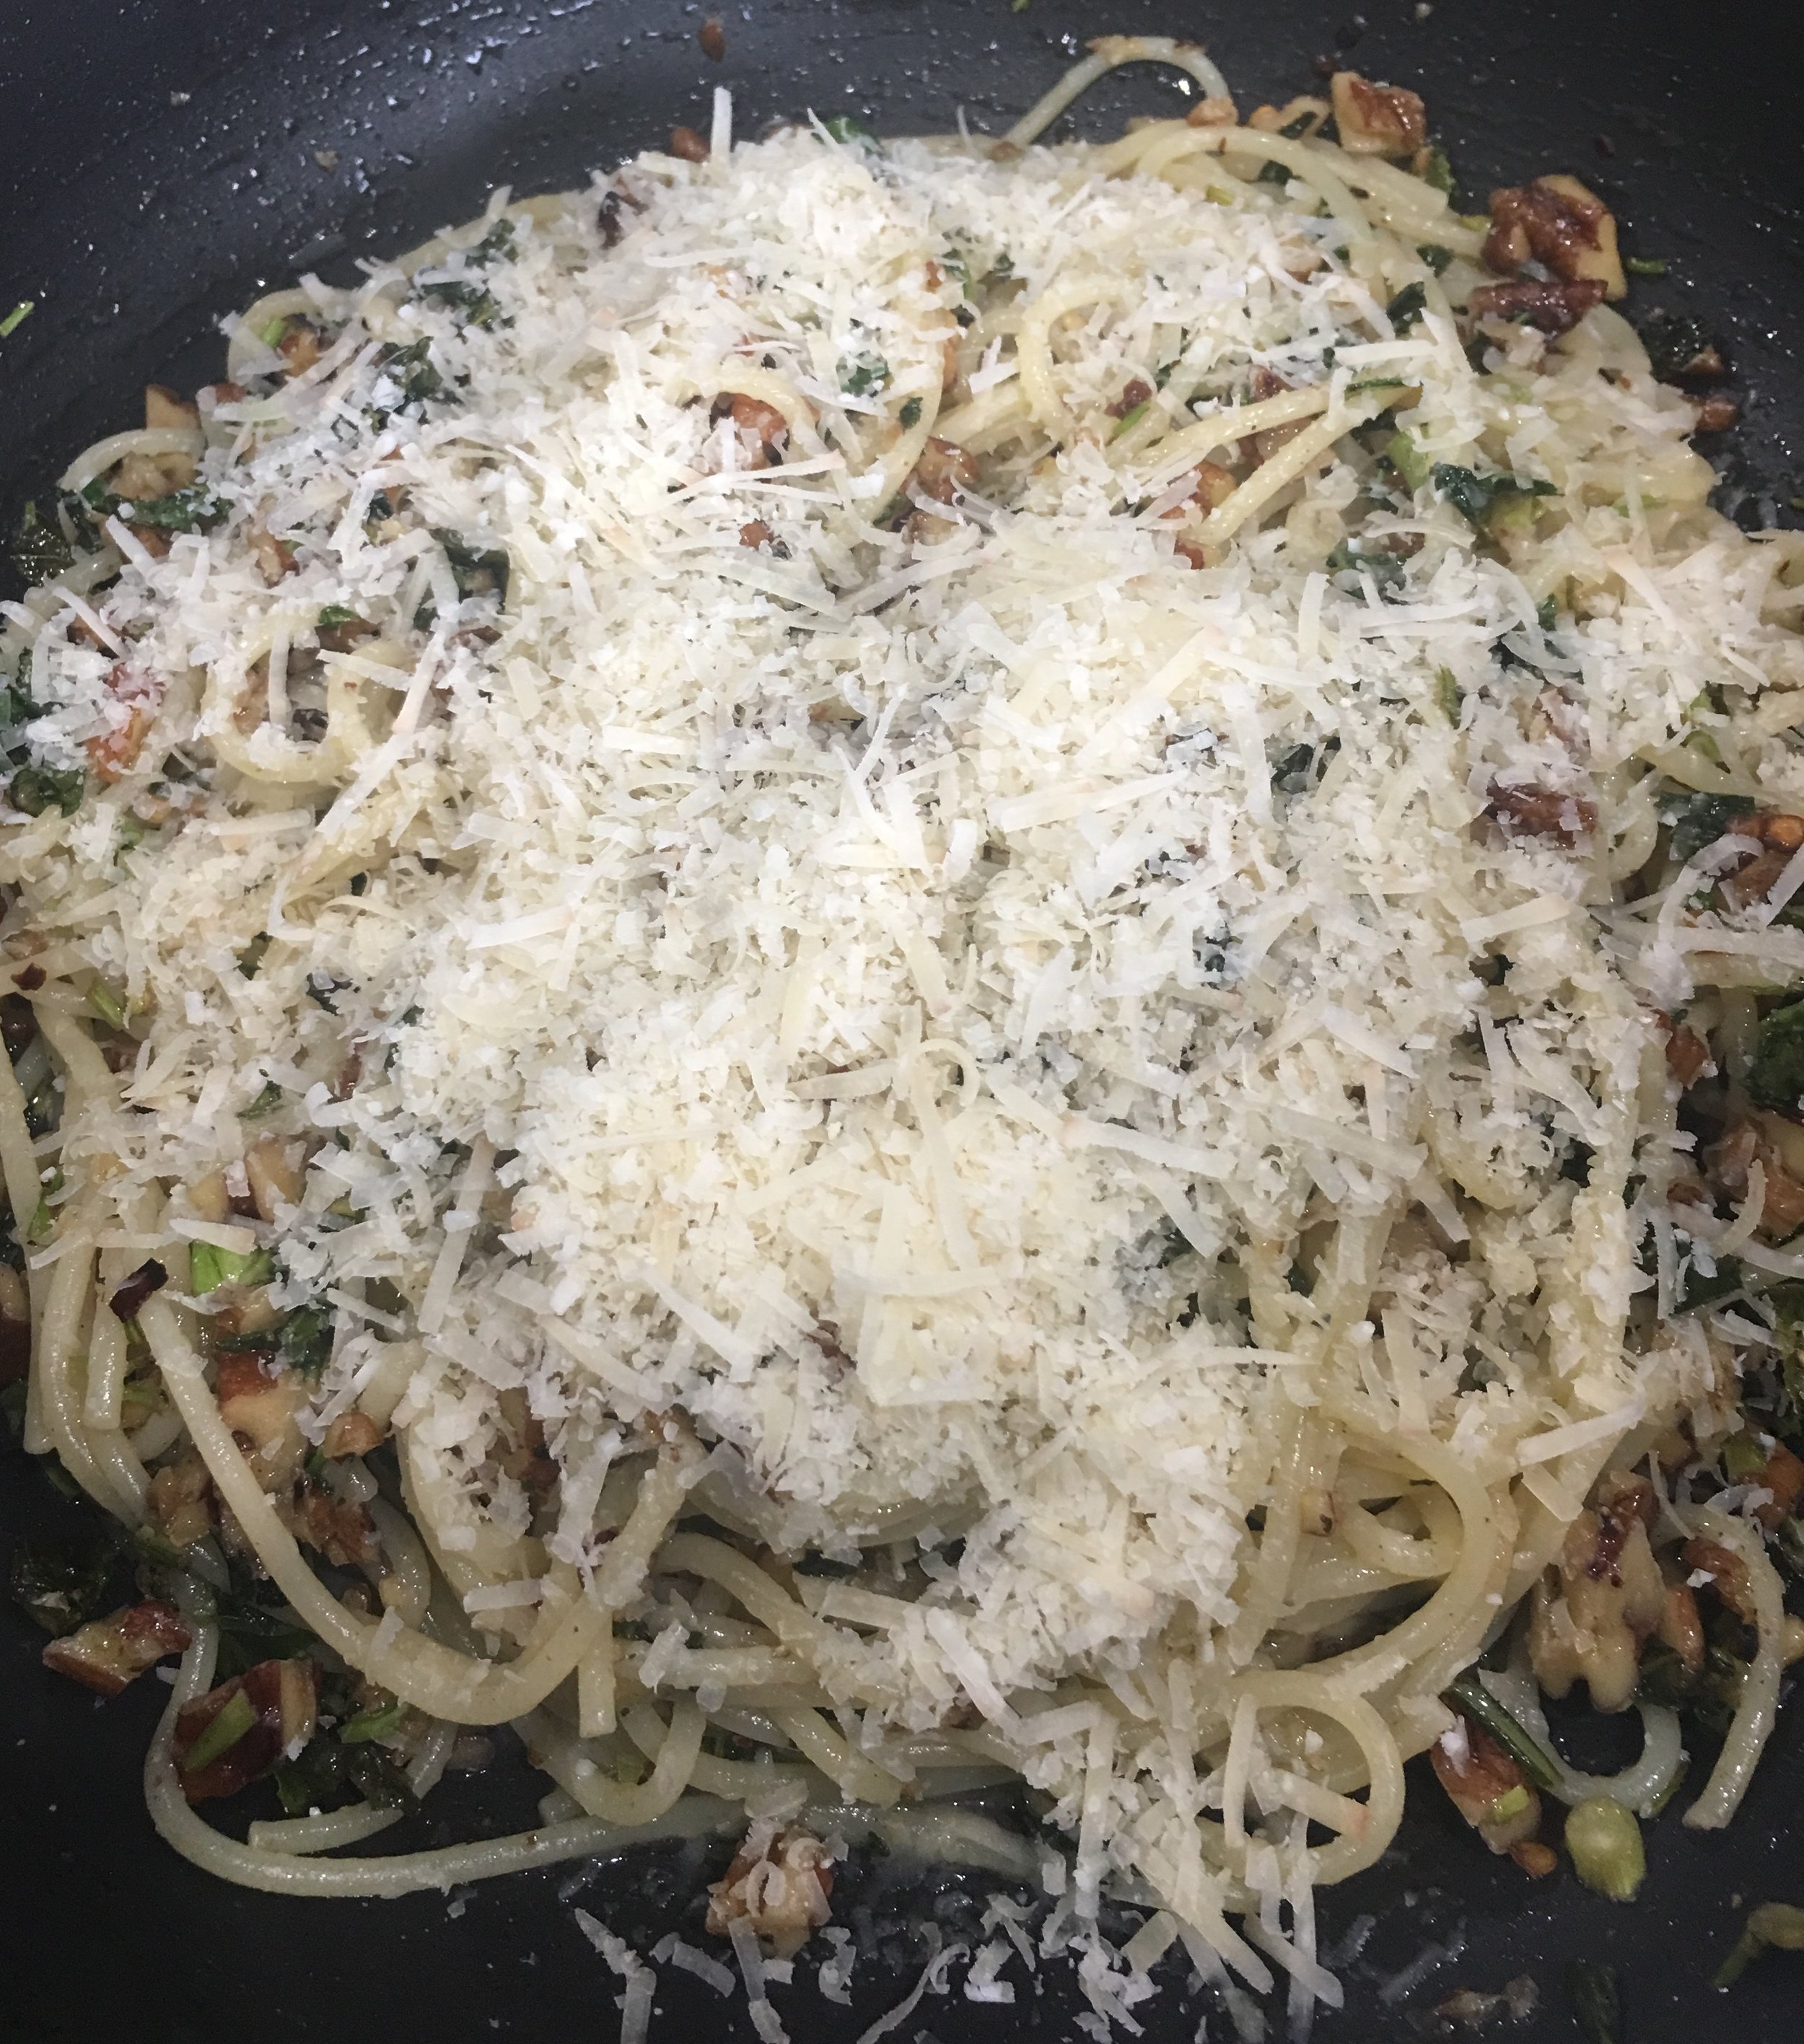
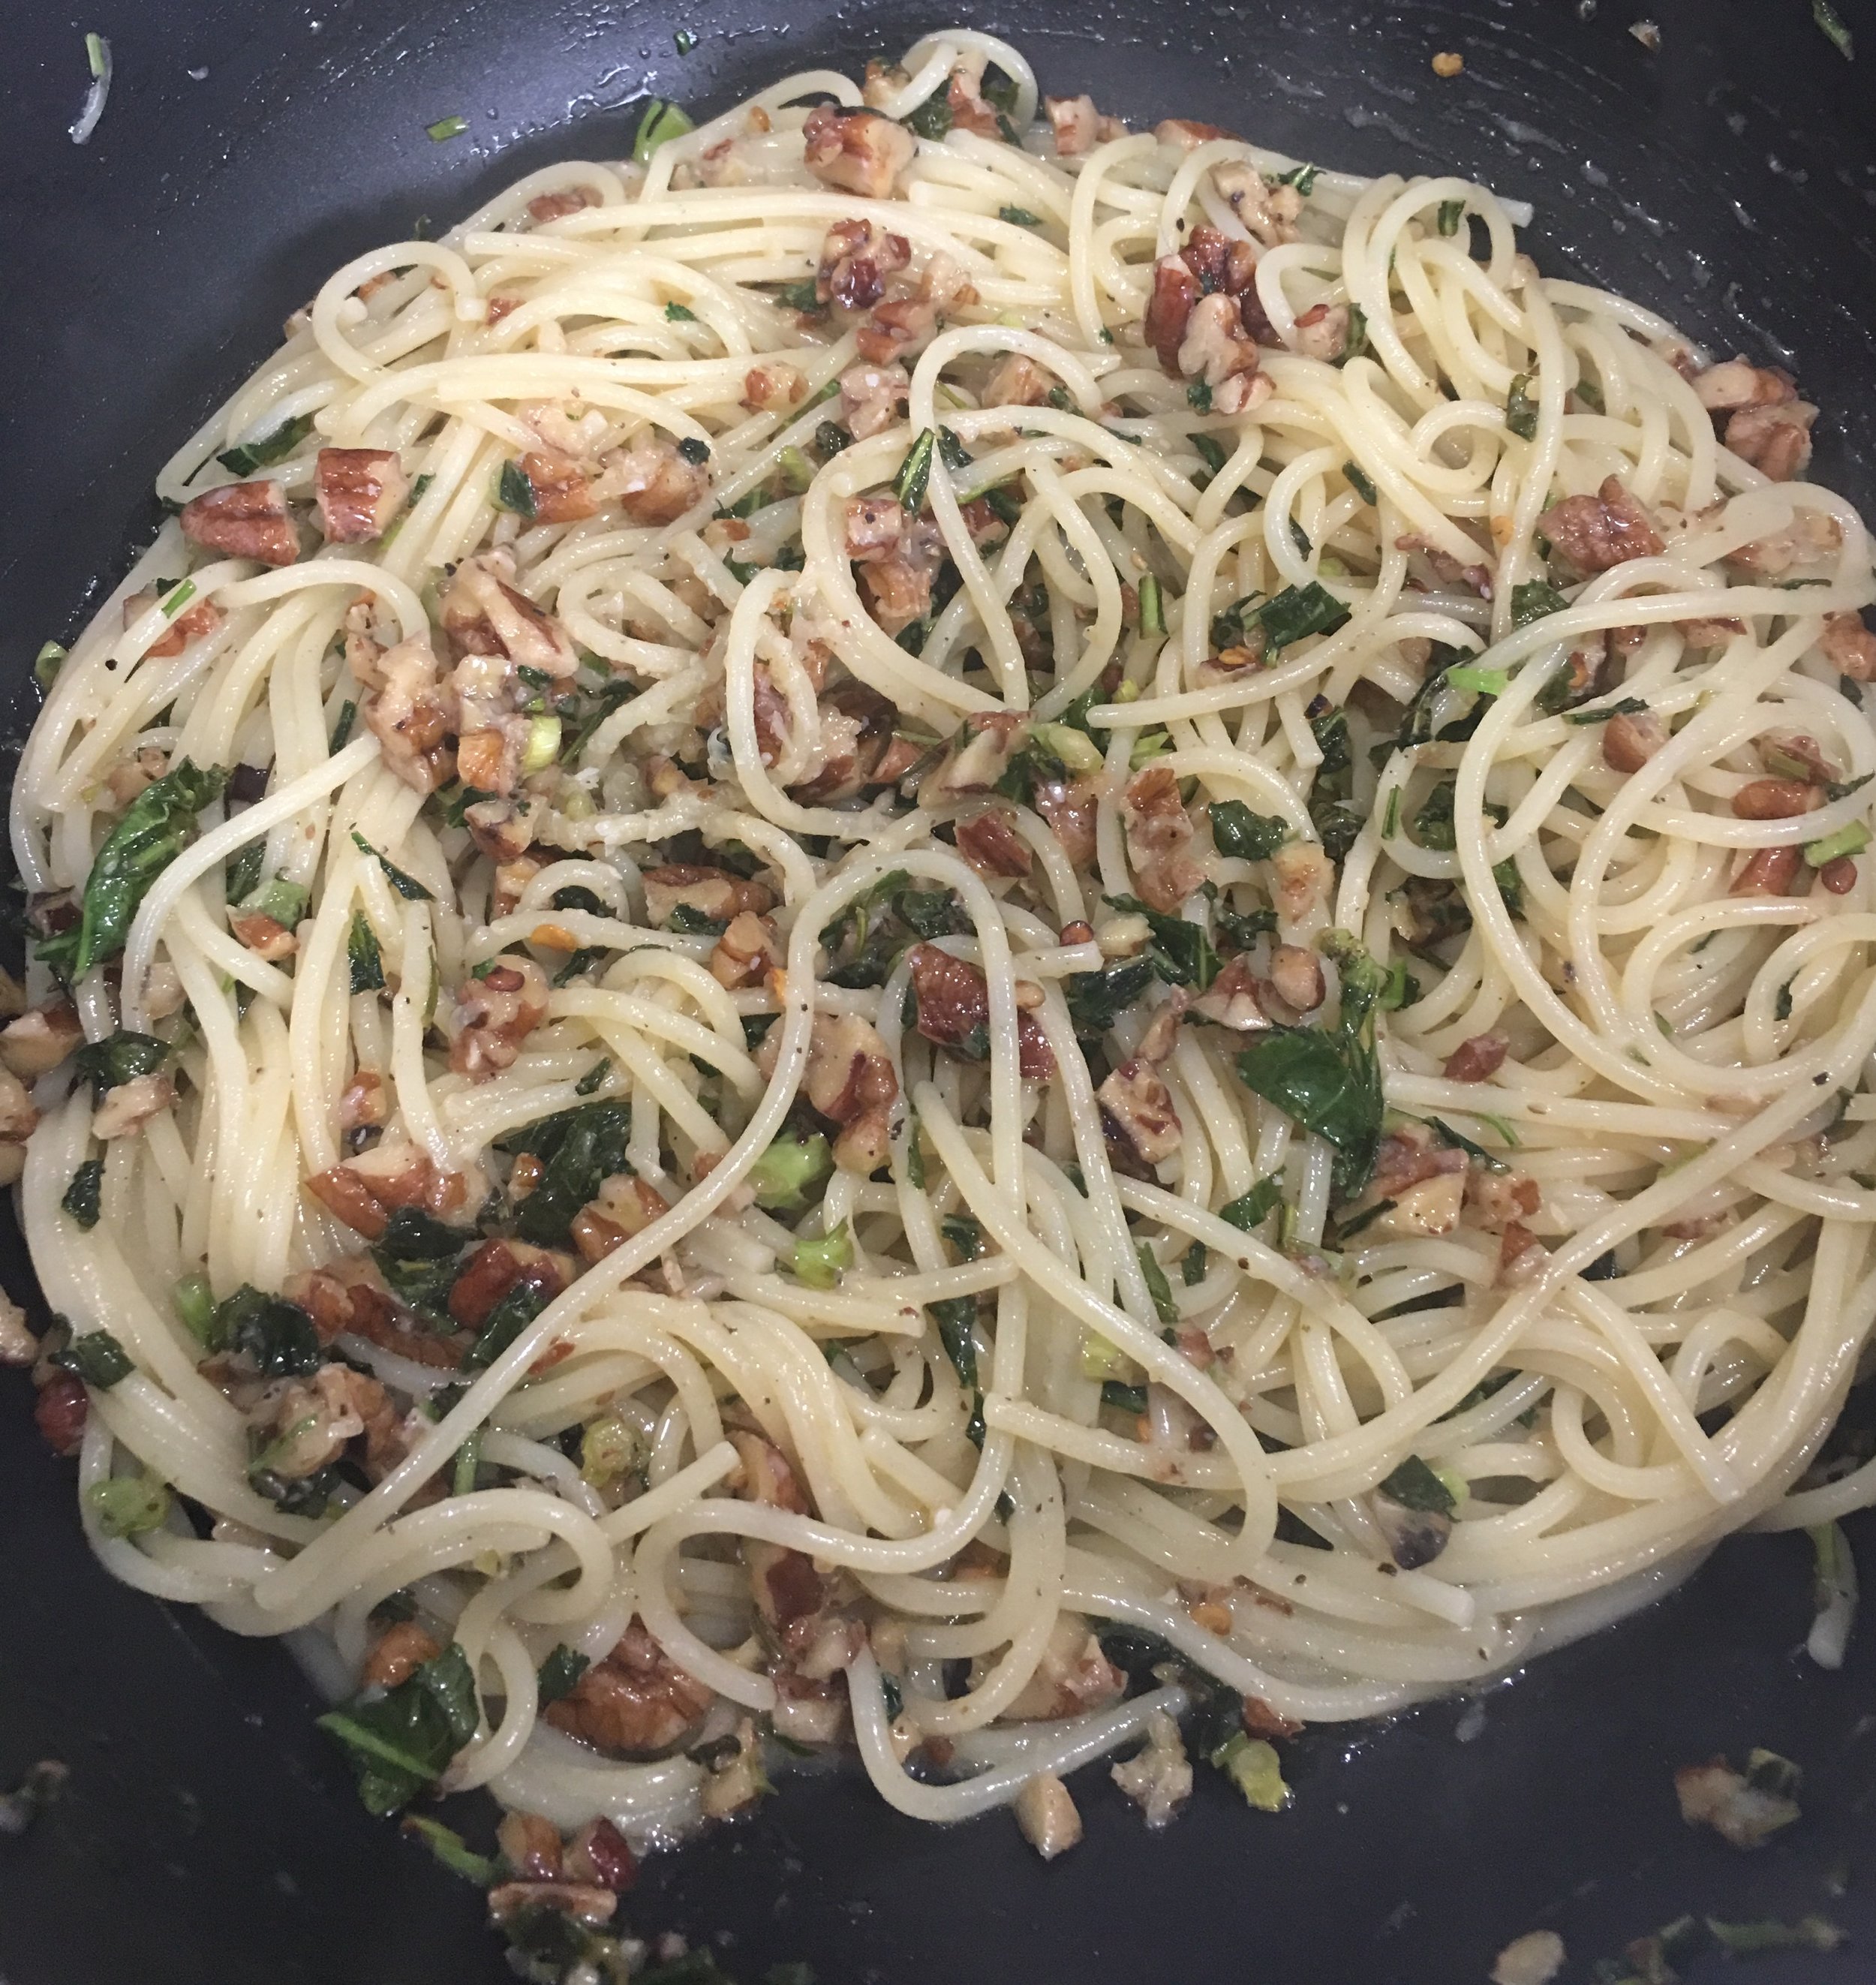
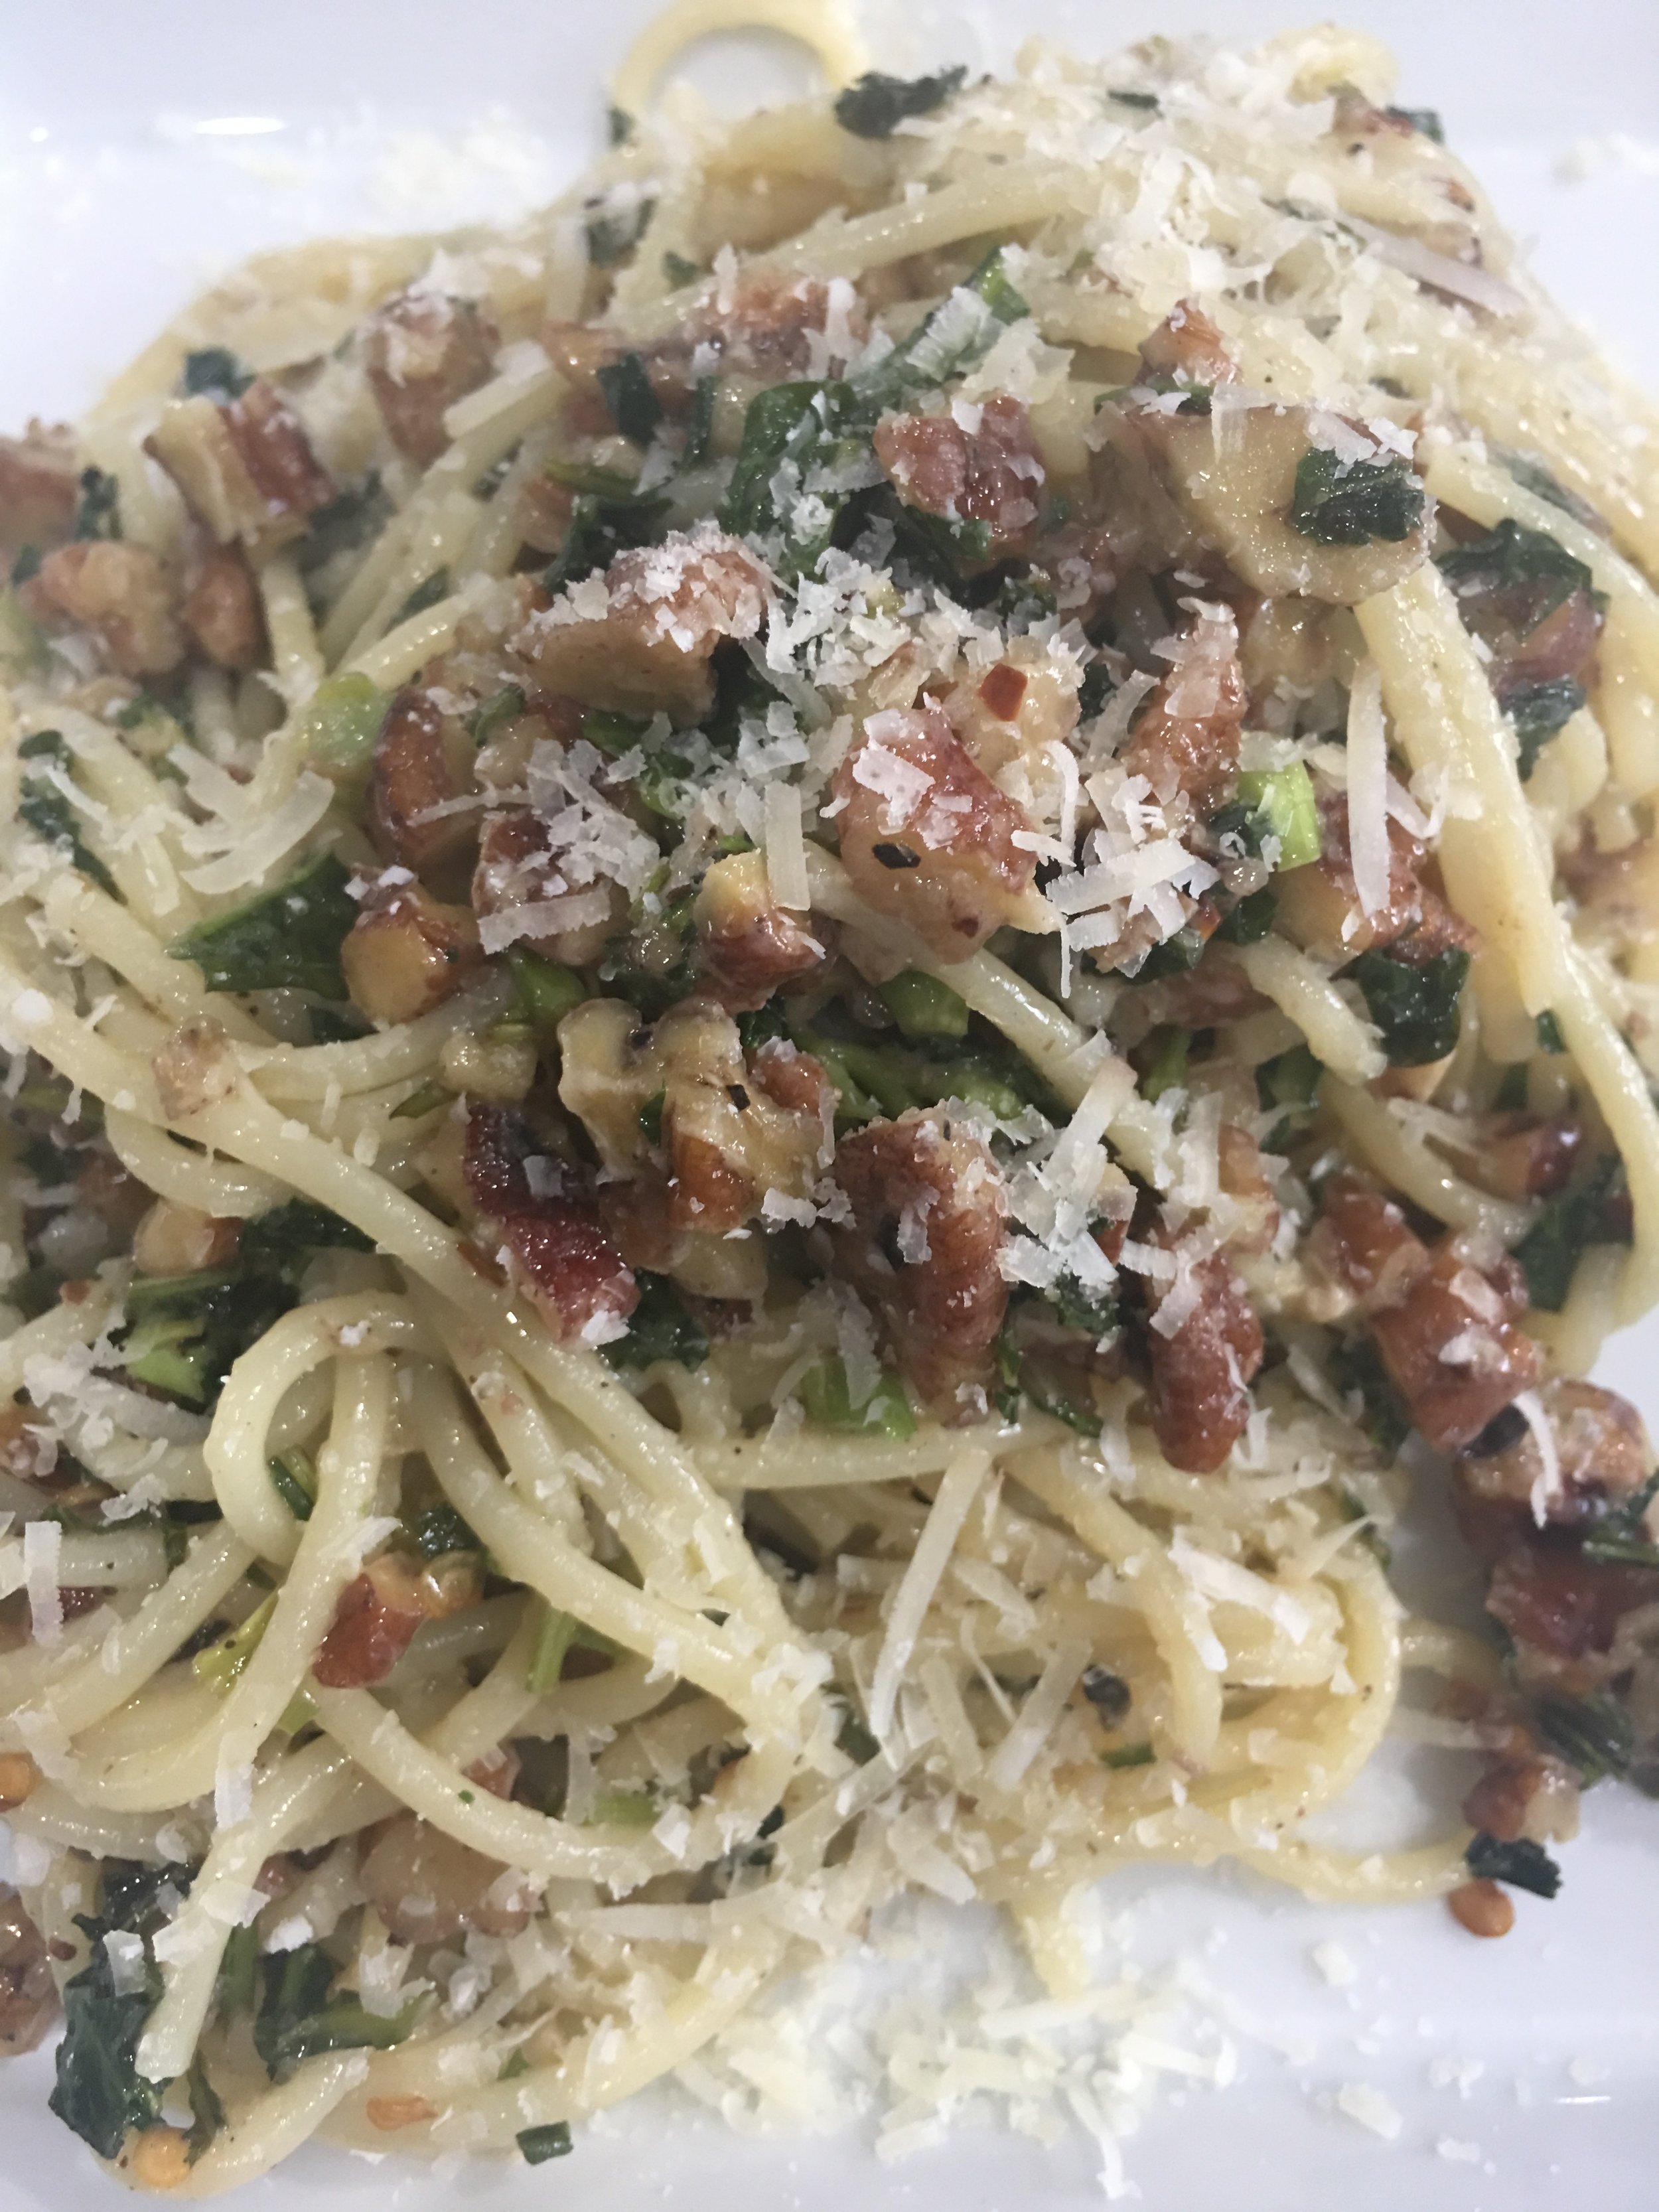
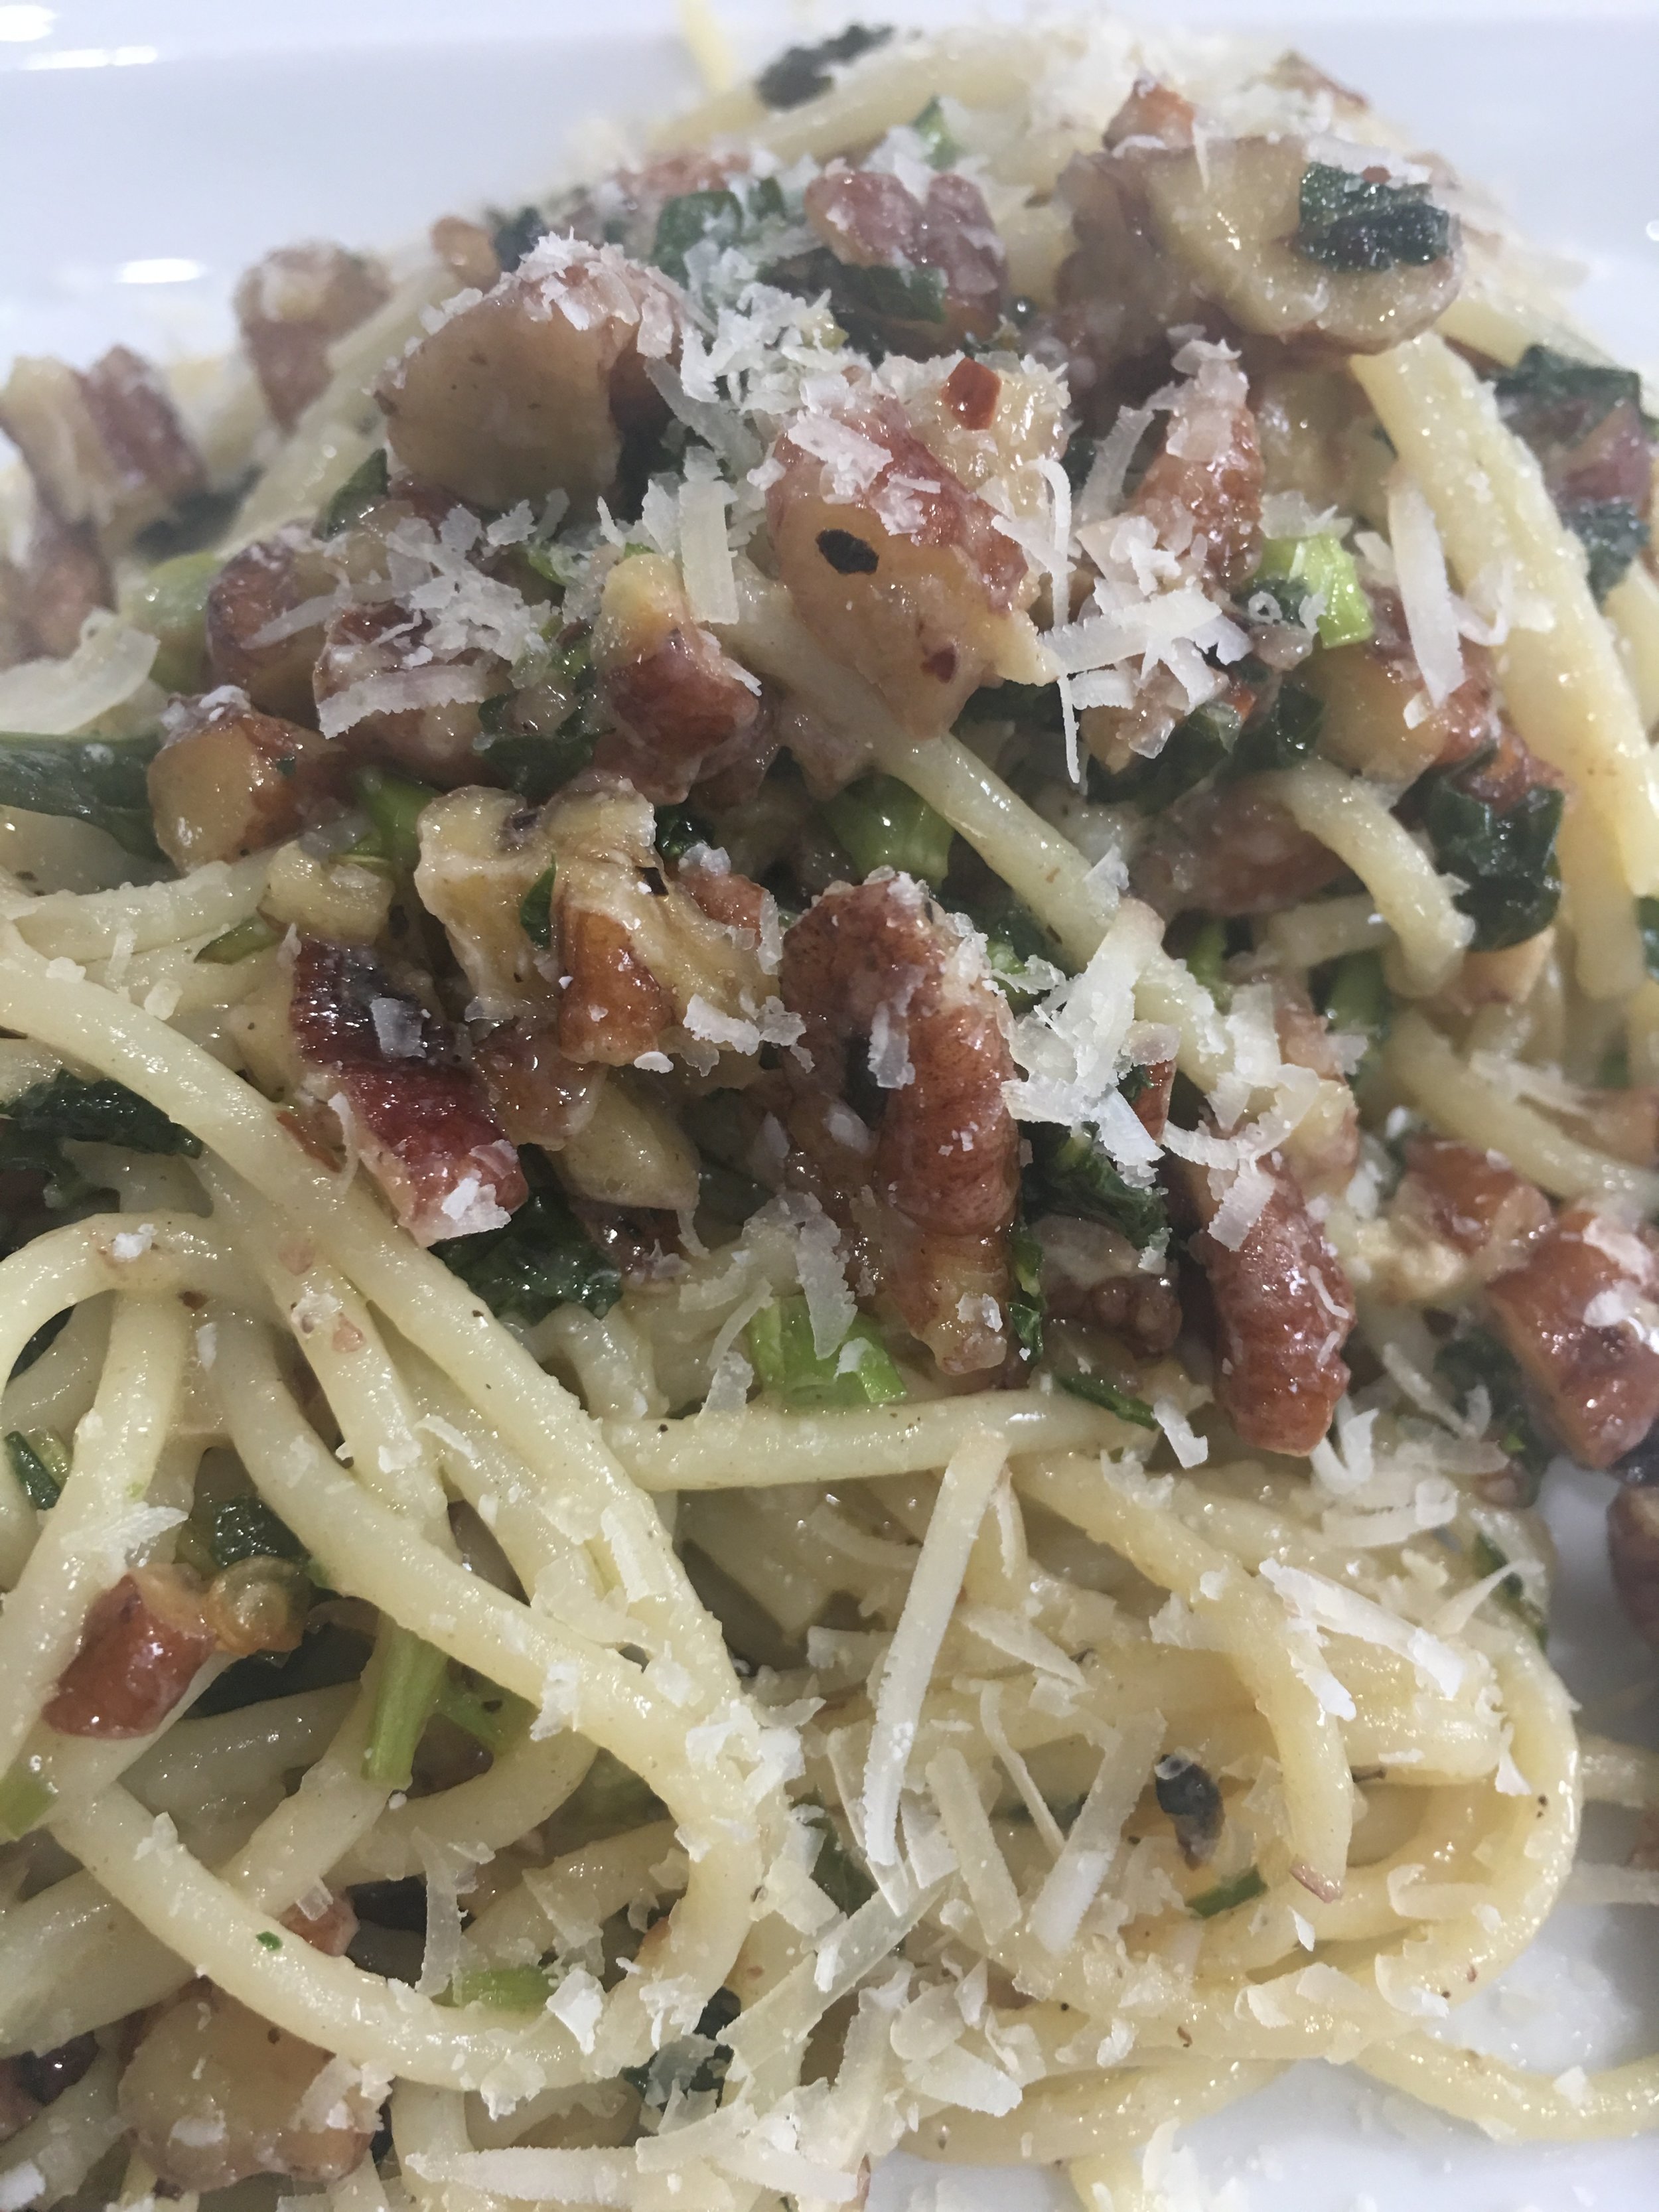
When time is short, the ingredients limited because you cleaned out the fridge in advance of leaving town, and you’re trying to follow the Healthy Is Homemade motto, this dish is the perfect solution.  

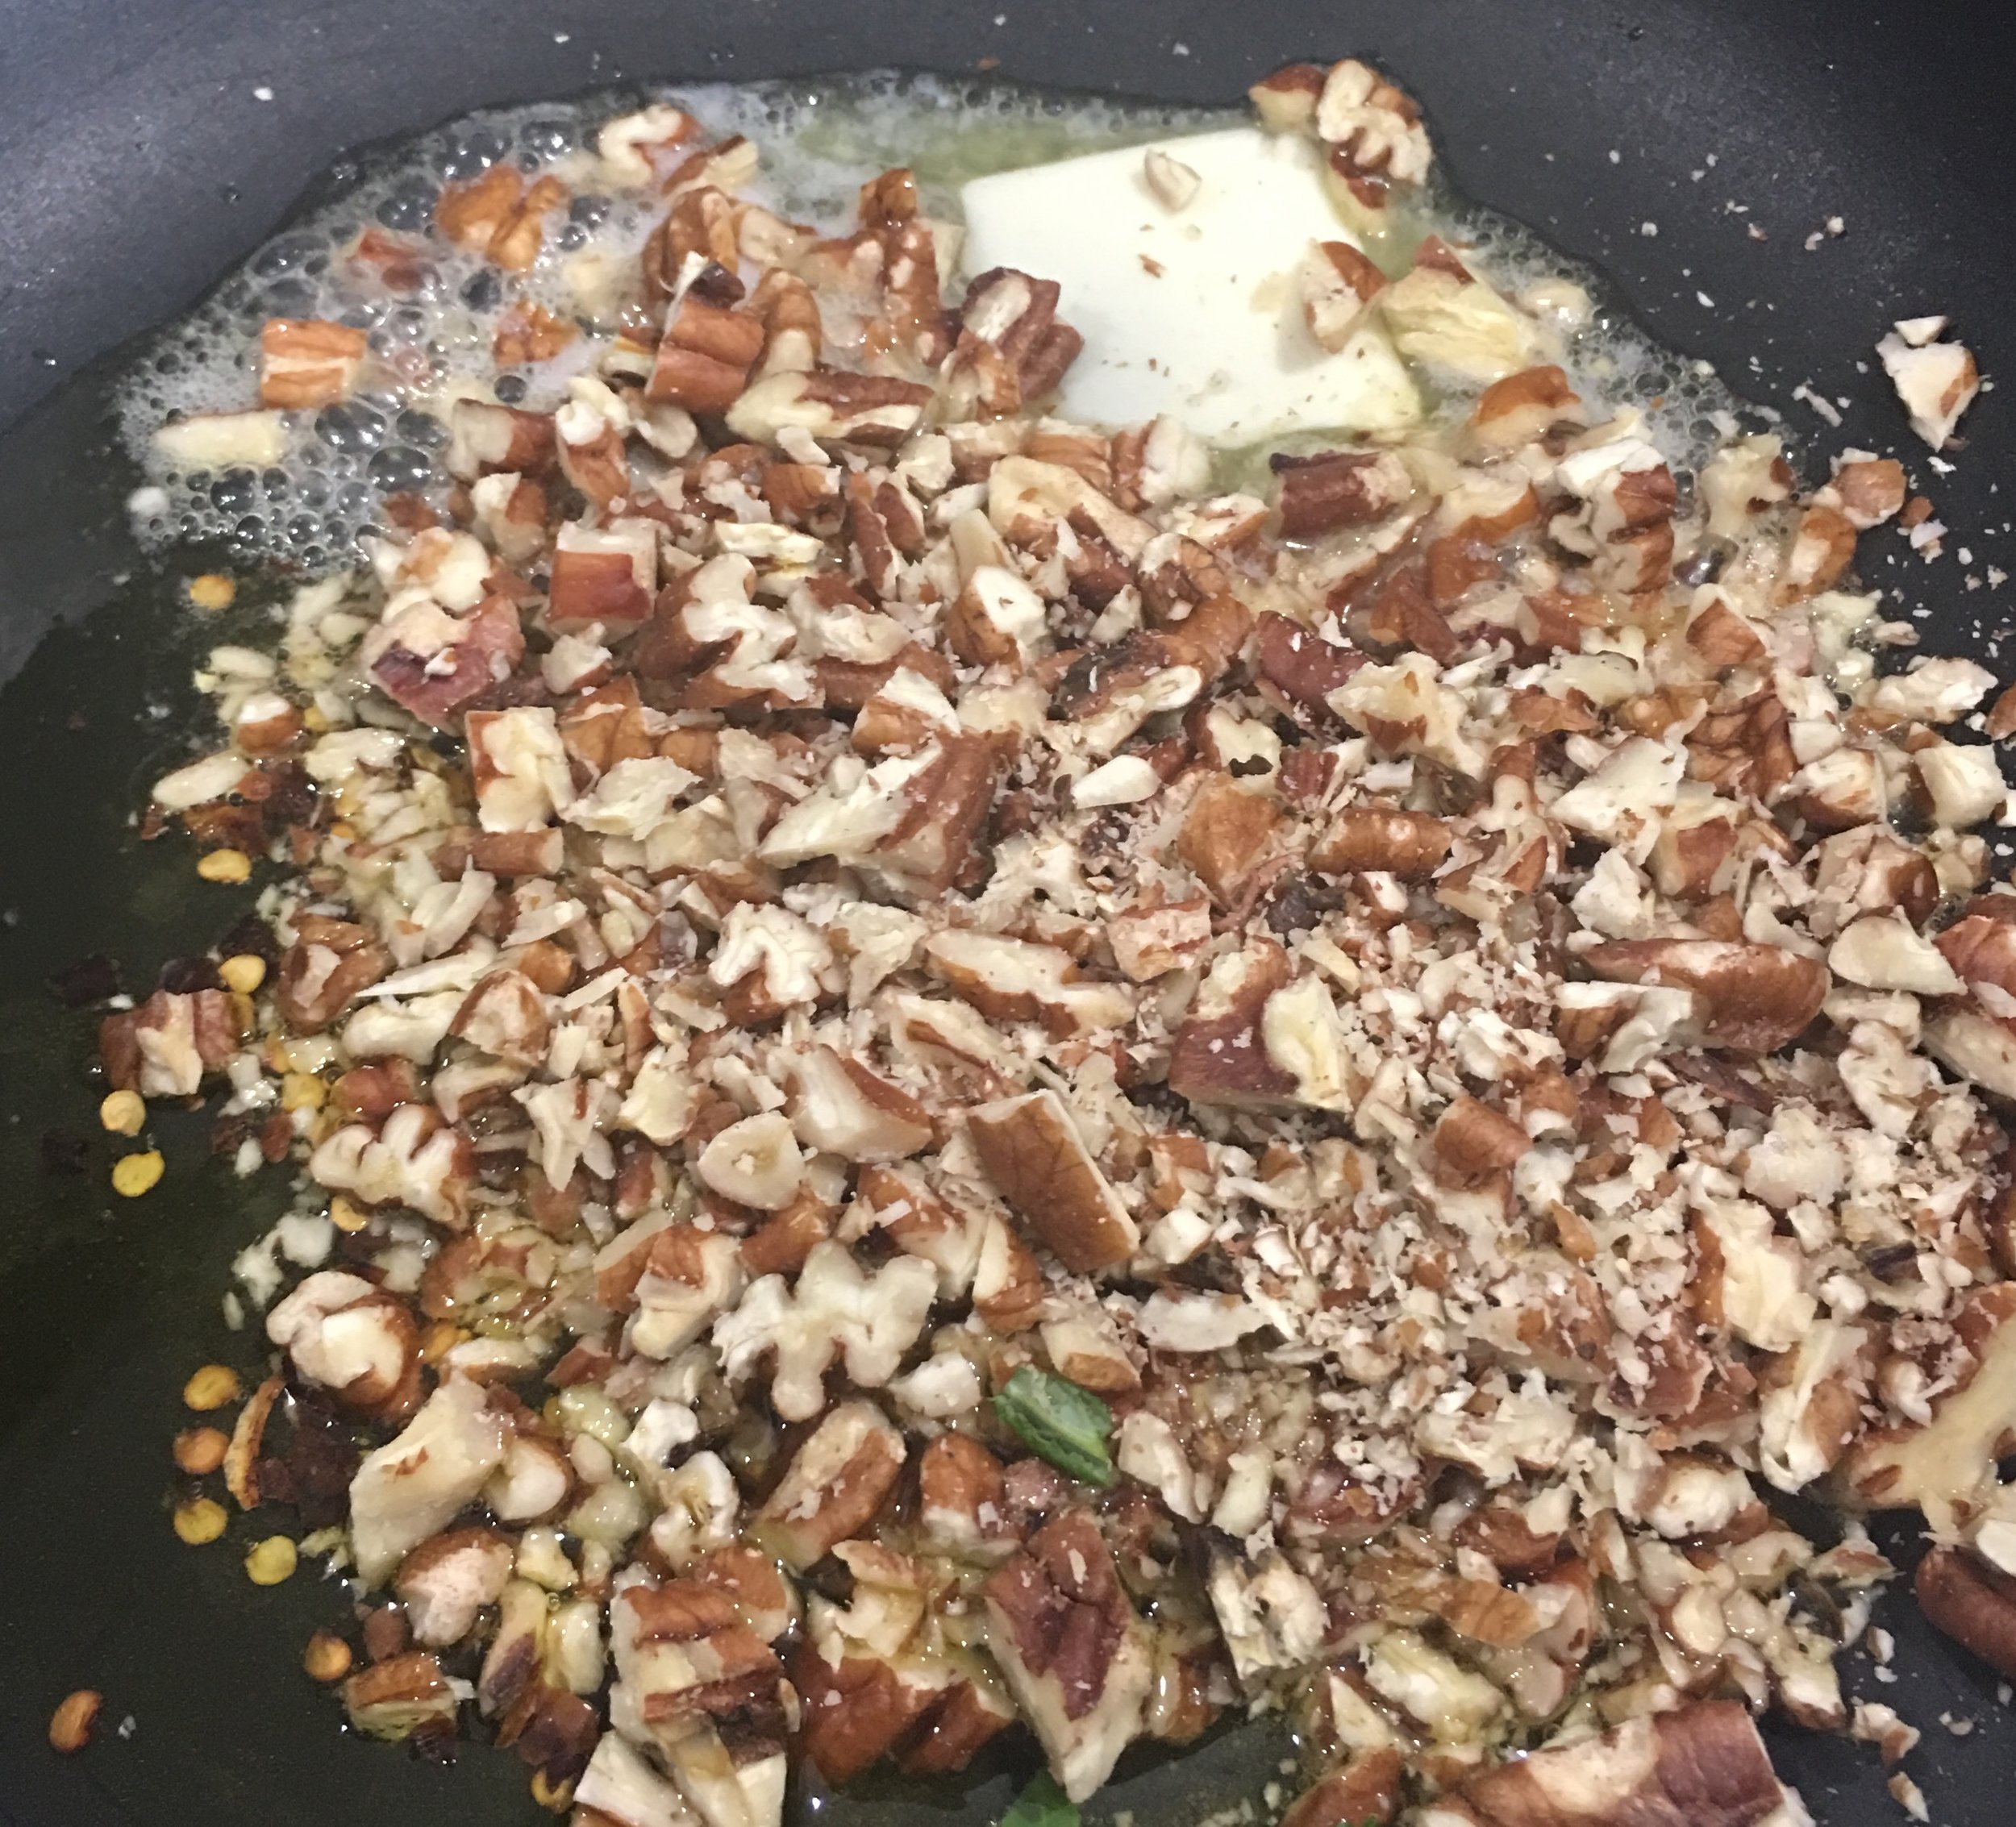
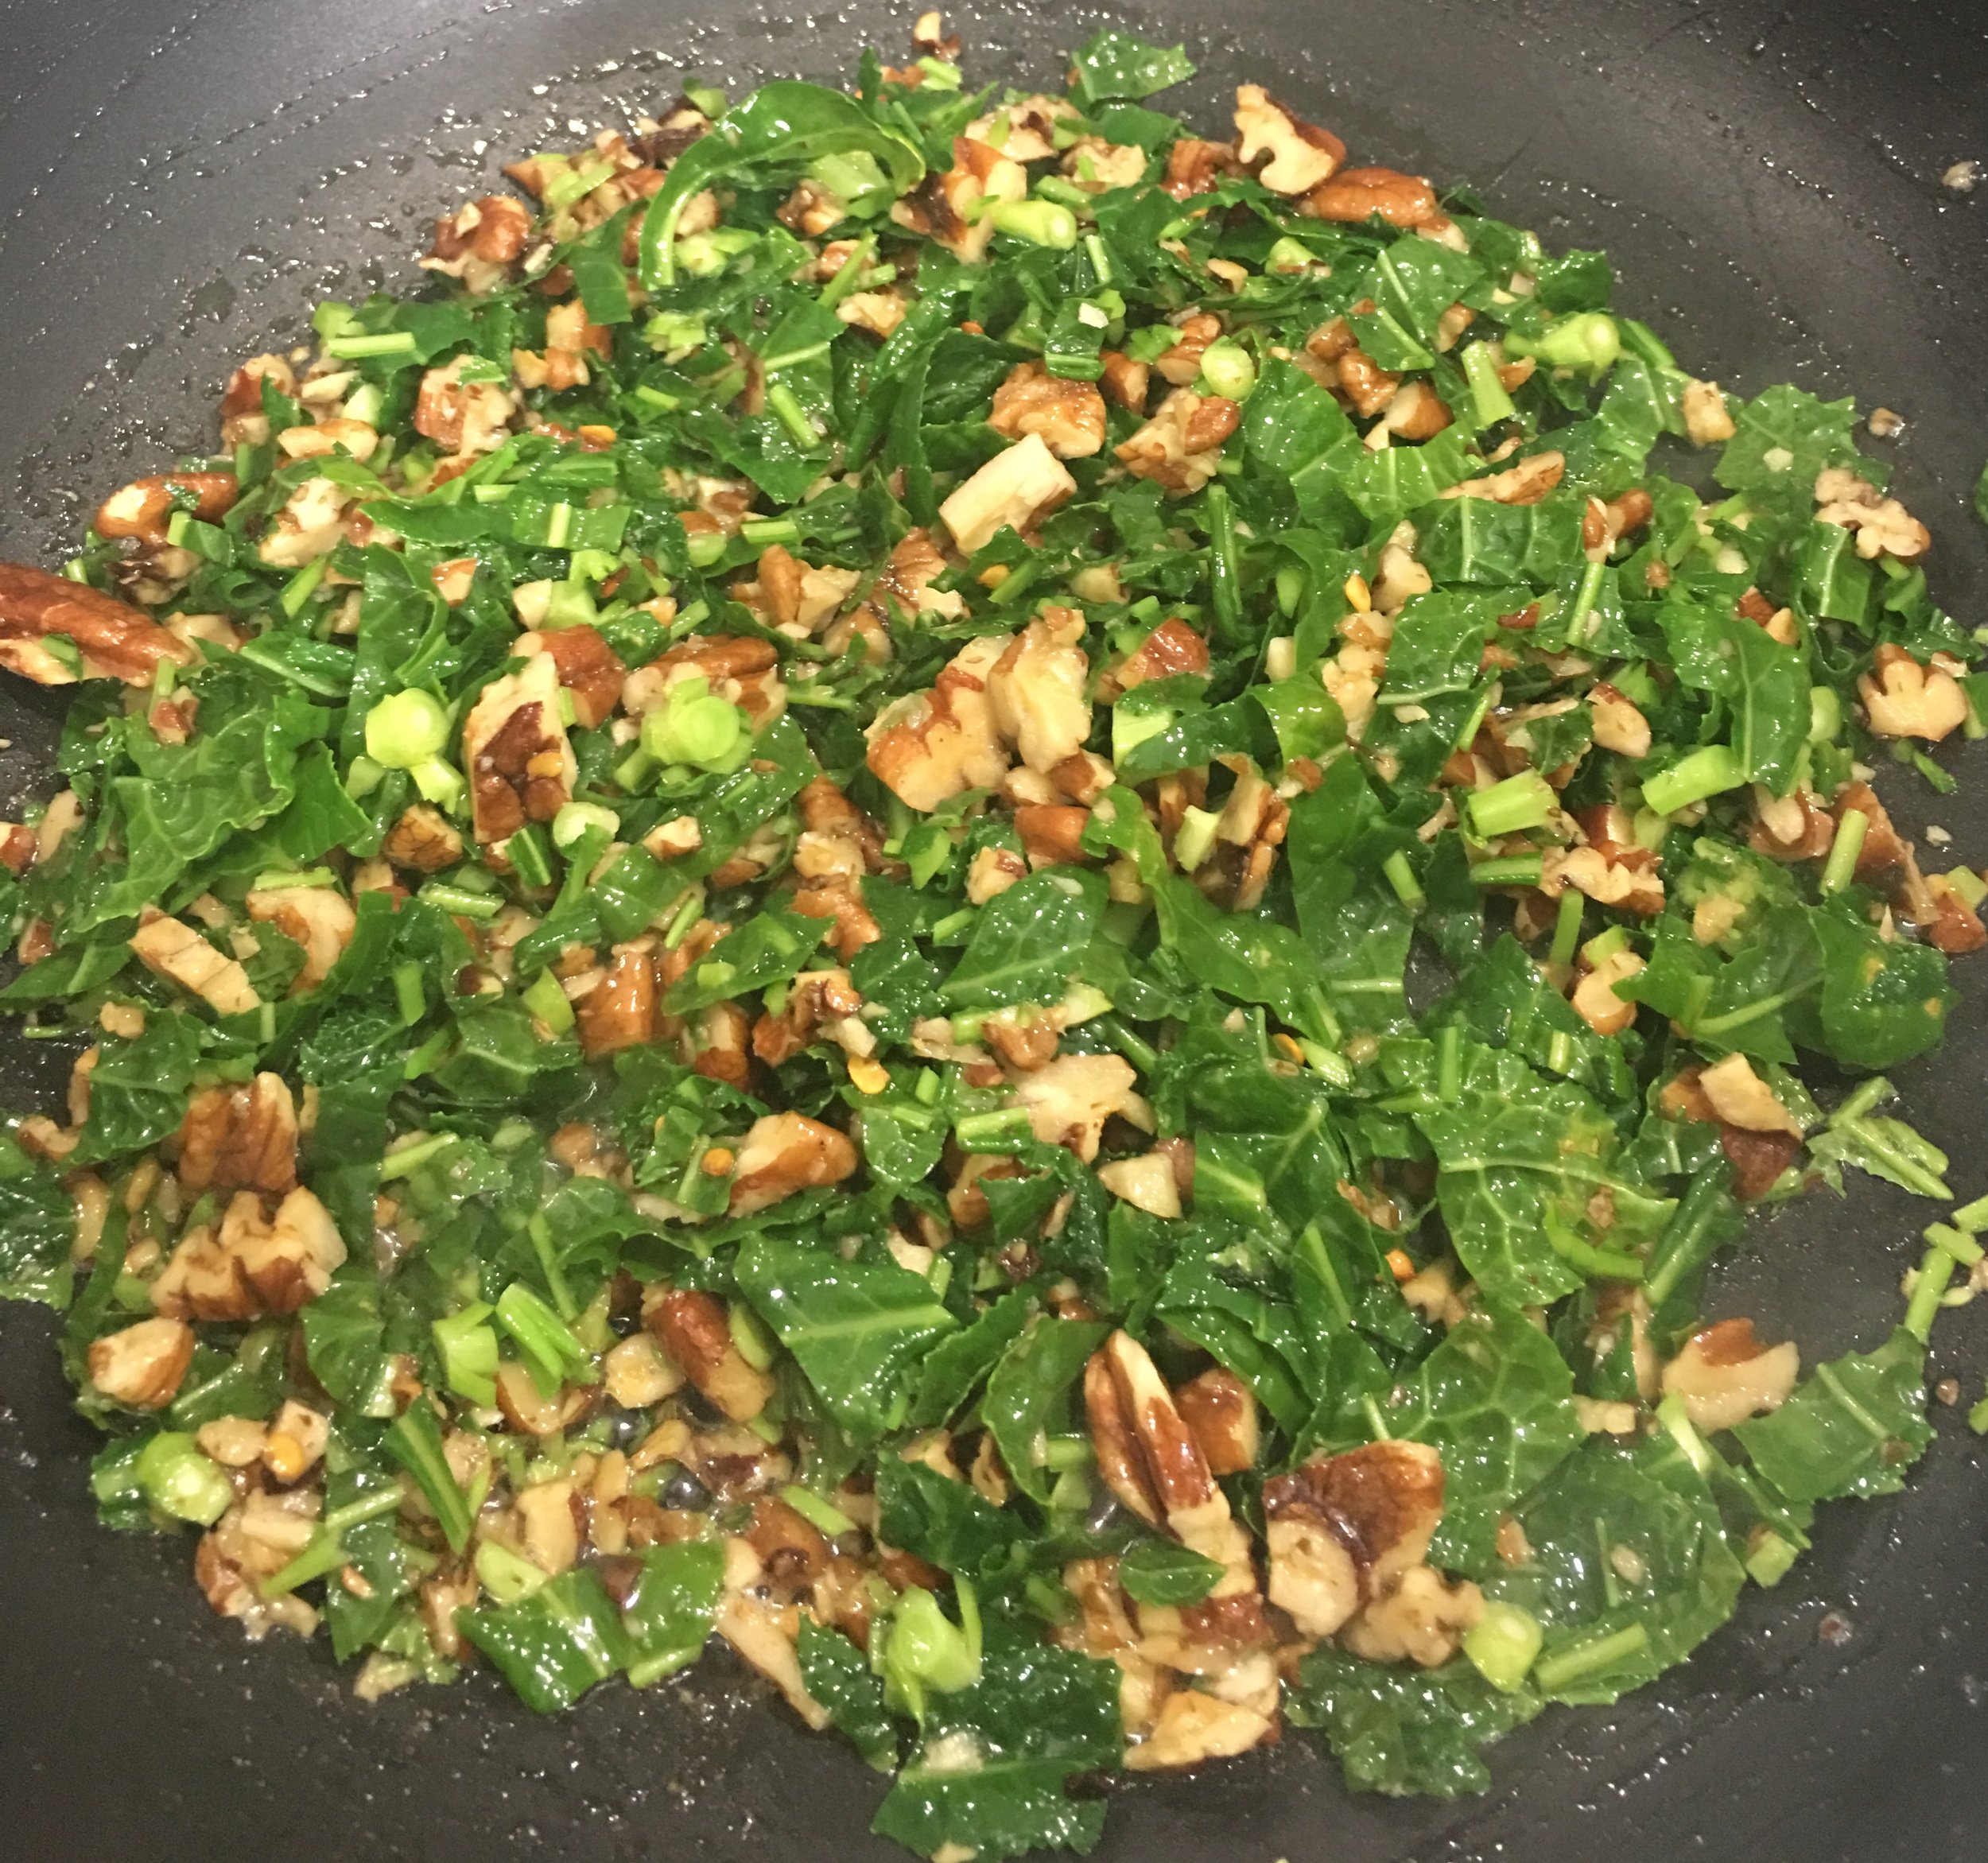
I usually have several types of raw nuts in the pantry and they are a perfect addition to pasta for protein, healthy fats and to keep you full. The lucky part of the day was being able to harvest the little tender shoots of a potted Tuscan Kale plant that sprouted on the very long stalk I let bolt this spring (in hopes of harvesting seeds, but I lost track of time). I tasted the leaf, preparing myself for some serious bitterness. If you’ve ever grown lettuce and let it bolt, you’ll know what I mean—the once sweet leaves turn incredibly bitter. To my great and delicious surprise, it was sweet and tender, with marvelous kale overtones. I harvested about a cupful and chopped it up with an equal portion of pecans. I had  a half cup of grated Parmesan in the fridge. I had 15 minutes. The dish sprang to life. 

We ate, did the minimal clean up and headed to the airport happy that we wouldn’t have to resort to the mostly unhealthy food choices available to us.

I will be making this again with fully grown Tuscan kale. You can substitute any sturdy, dark leafy greens, thinly sliced brussel sprouts, cauliflower or broccoli leaves, or even napa cabbage. Spinach is not a good choice here as it wilts away to nothing and gets watery.

RECIPE: Tuscan Kale & Pecan Pasta

INGREDIENTS

  • 4oz dry spaghetti cooked to al dente in salted water

  • 1 cup chopped raw pecans (you can use walnuts or almonds instead)

  • 1 cup chopped Tuscan kale (or any sturdy green)

  • 1/2 cup grated parmegiano regiano

  • 1/3 teaspoon cracked pepper

  • 1 teaspoon unsalted butter

  • 1 teaspoon extra virgin olive oil

  • 1/4 cup retained pasta water

PROCESS

  • Boil water, add salt and cook the pasta. While the pasta is cooking,

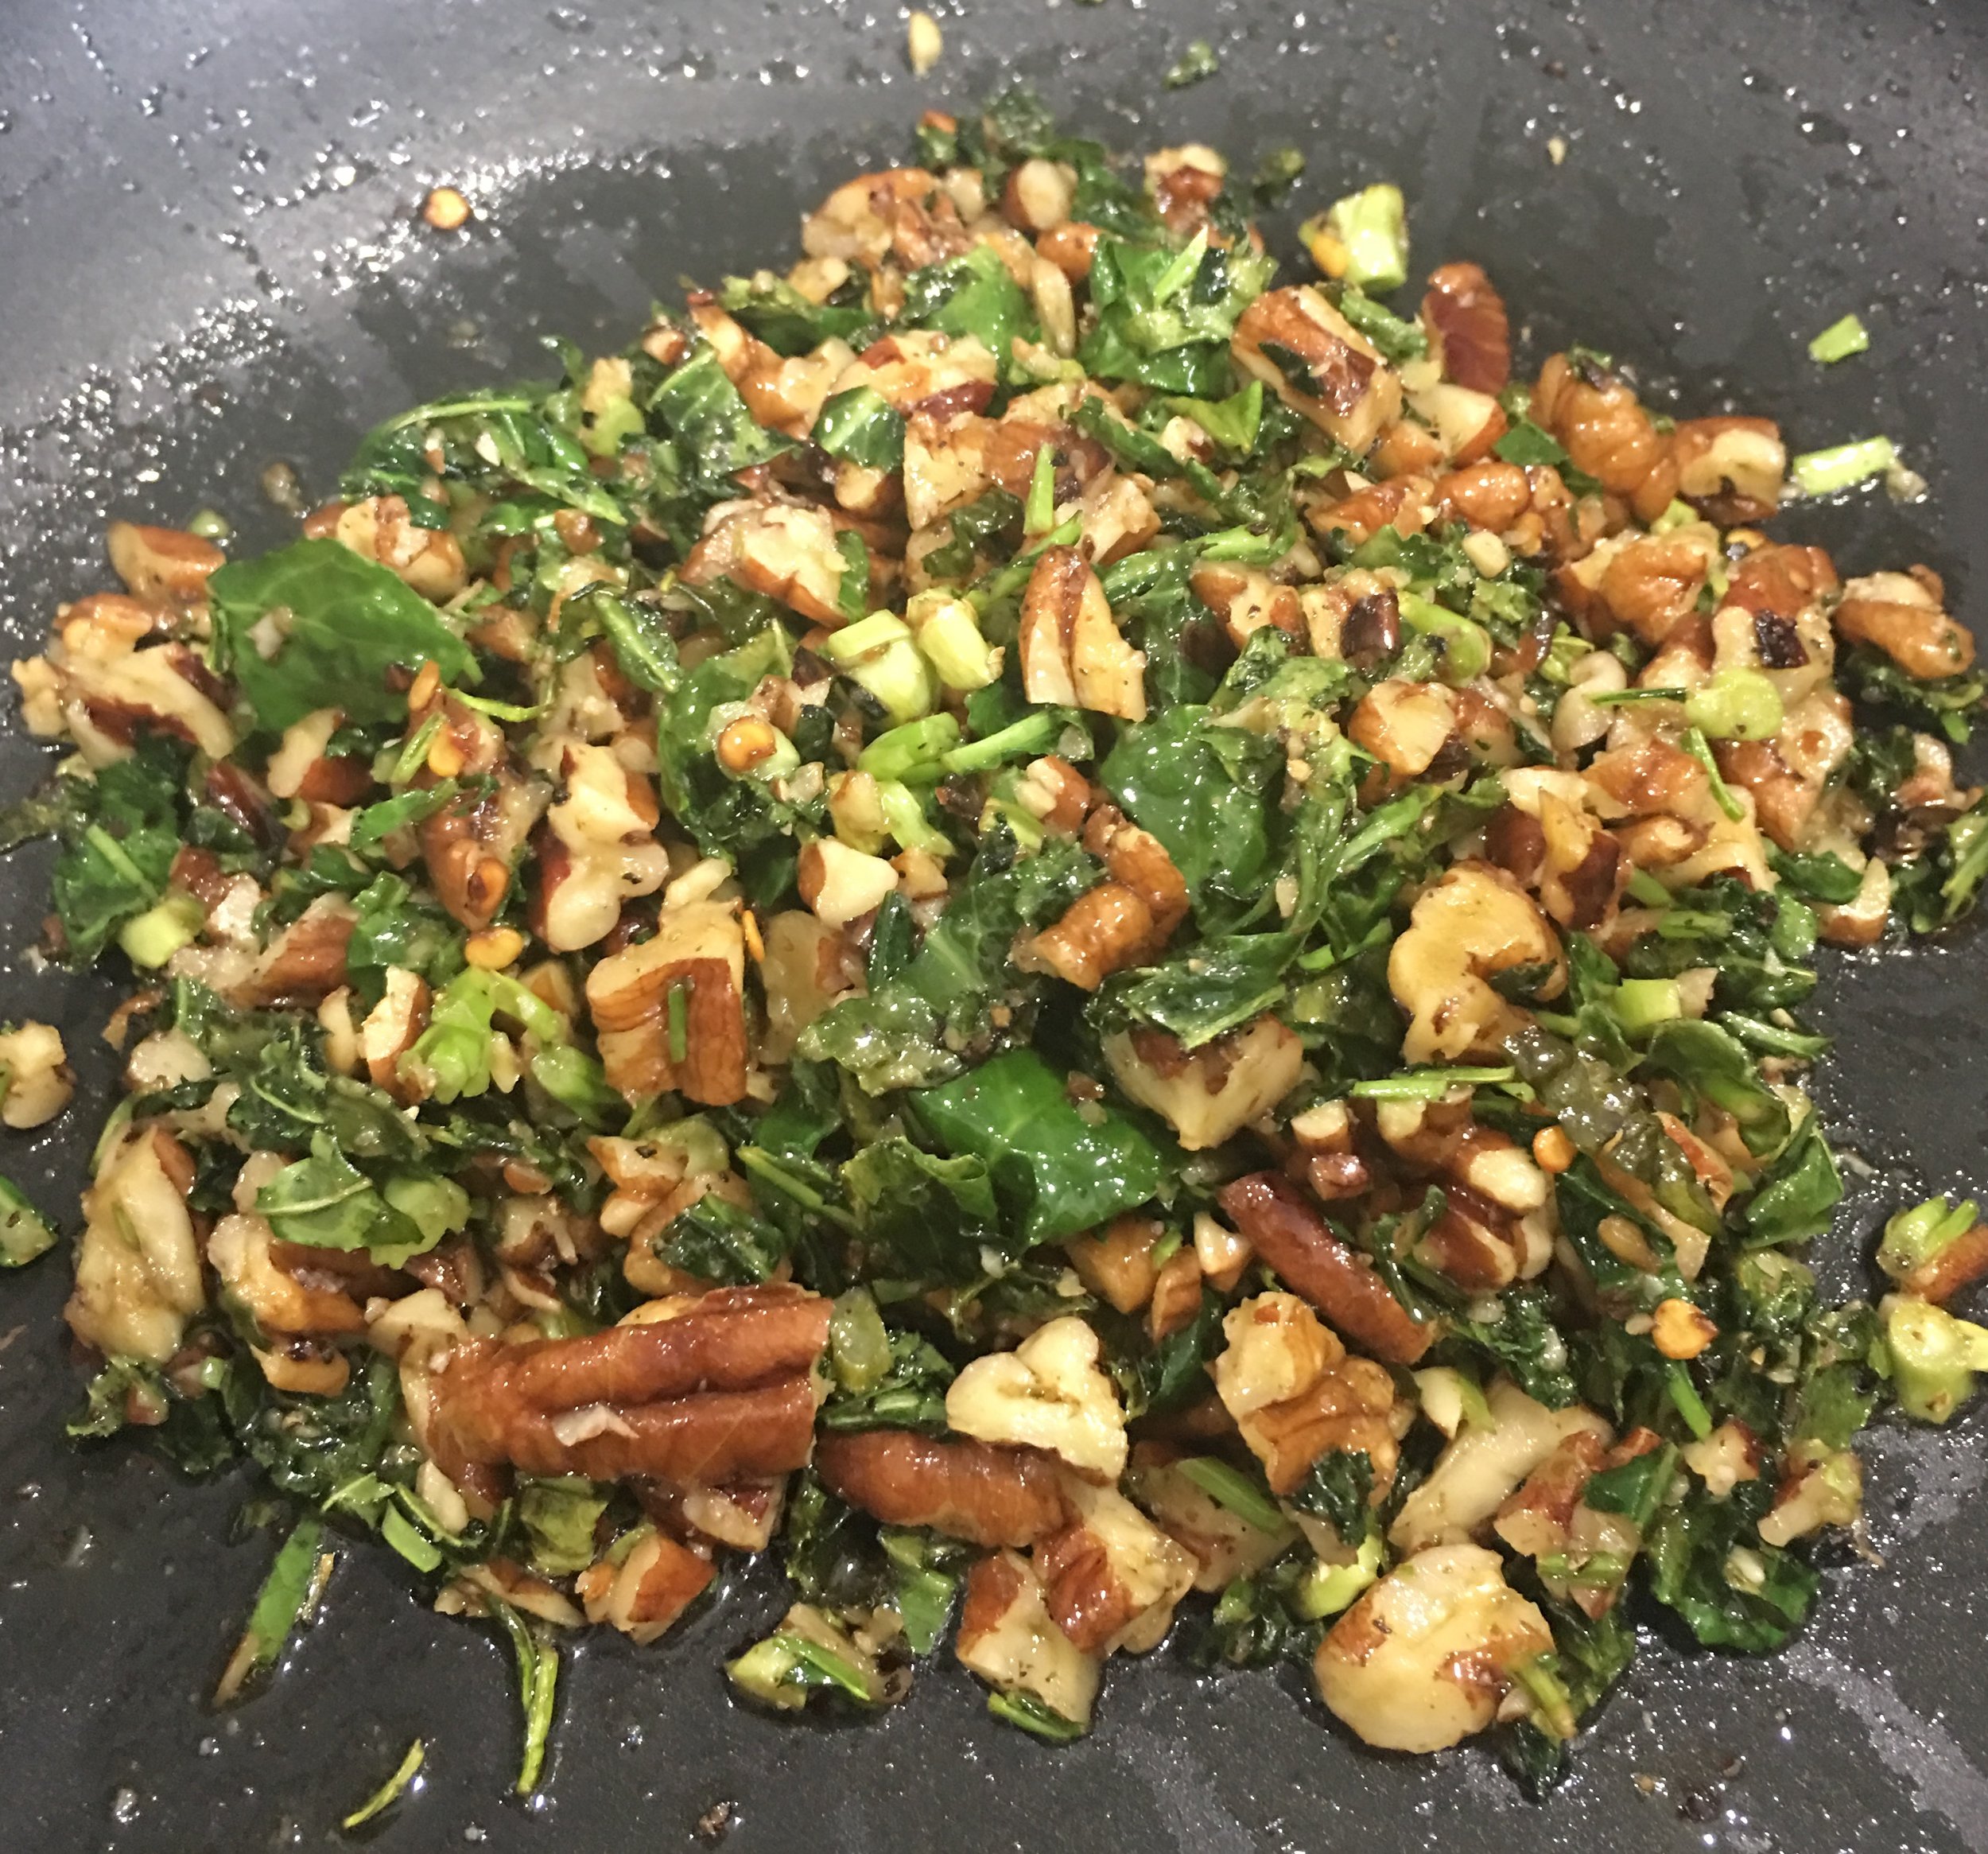
  • Heat butter and oil over medium flame. Add the pecans and gently toast.

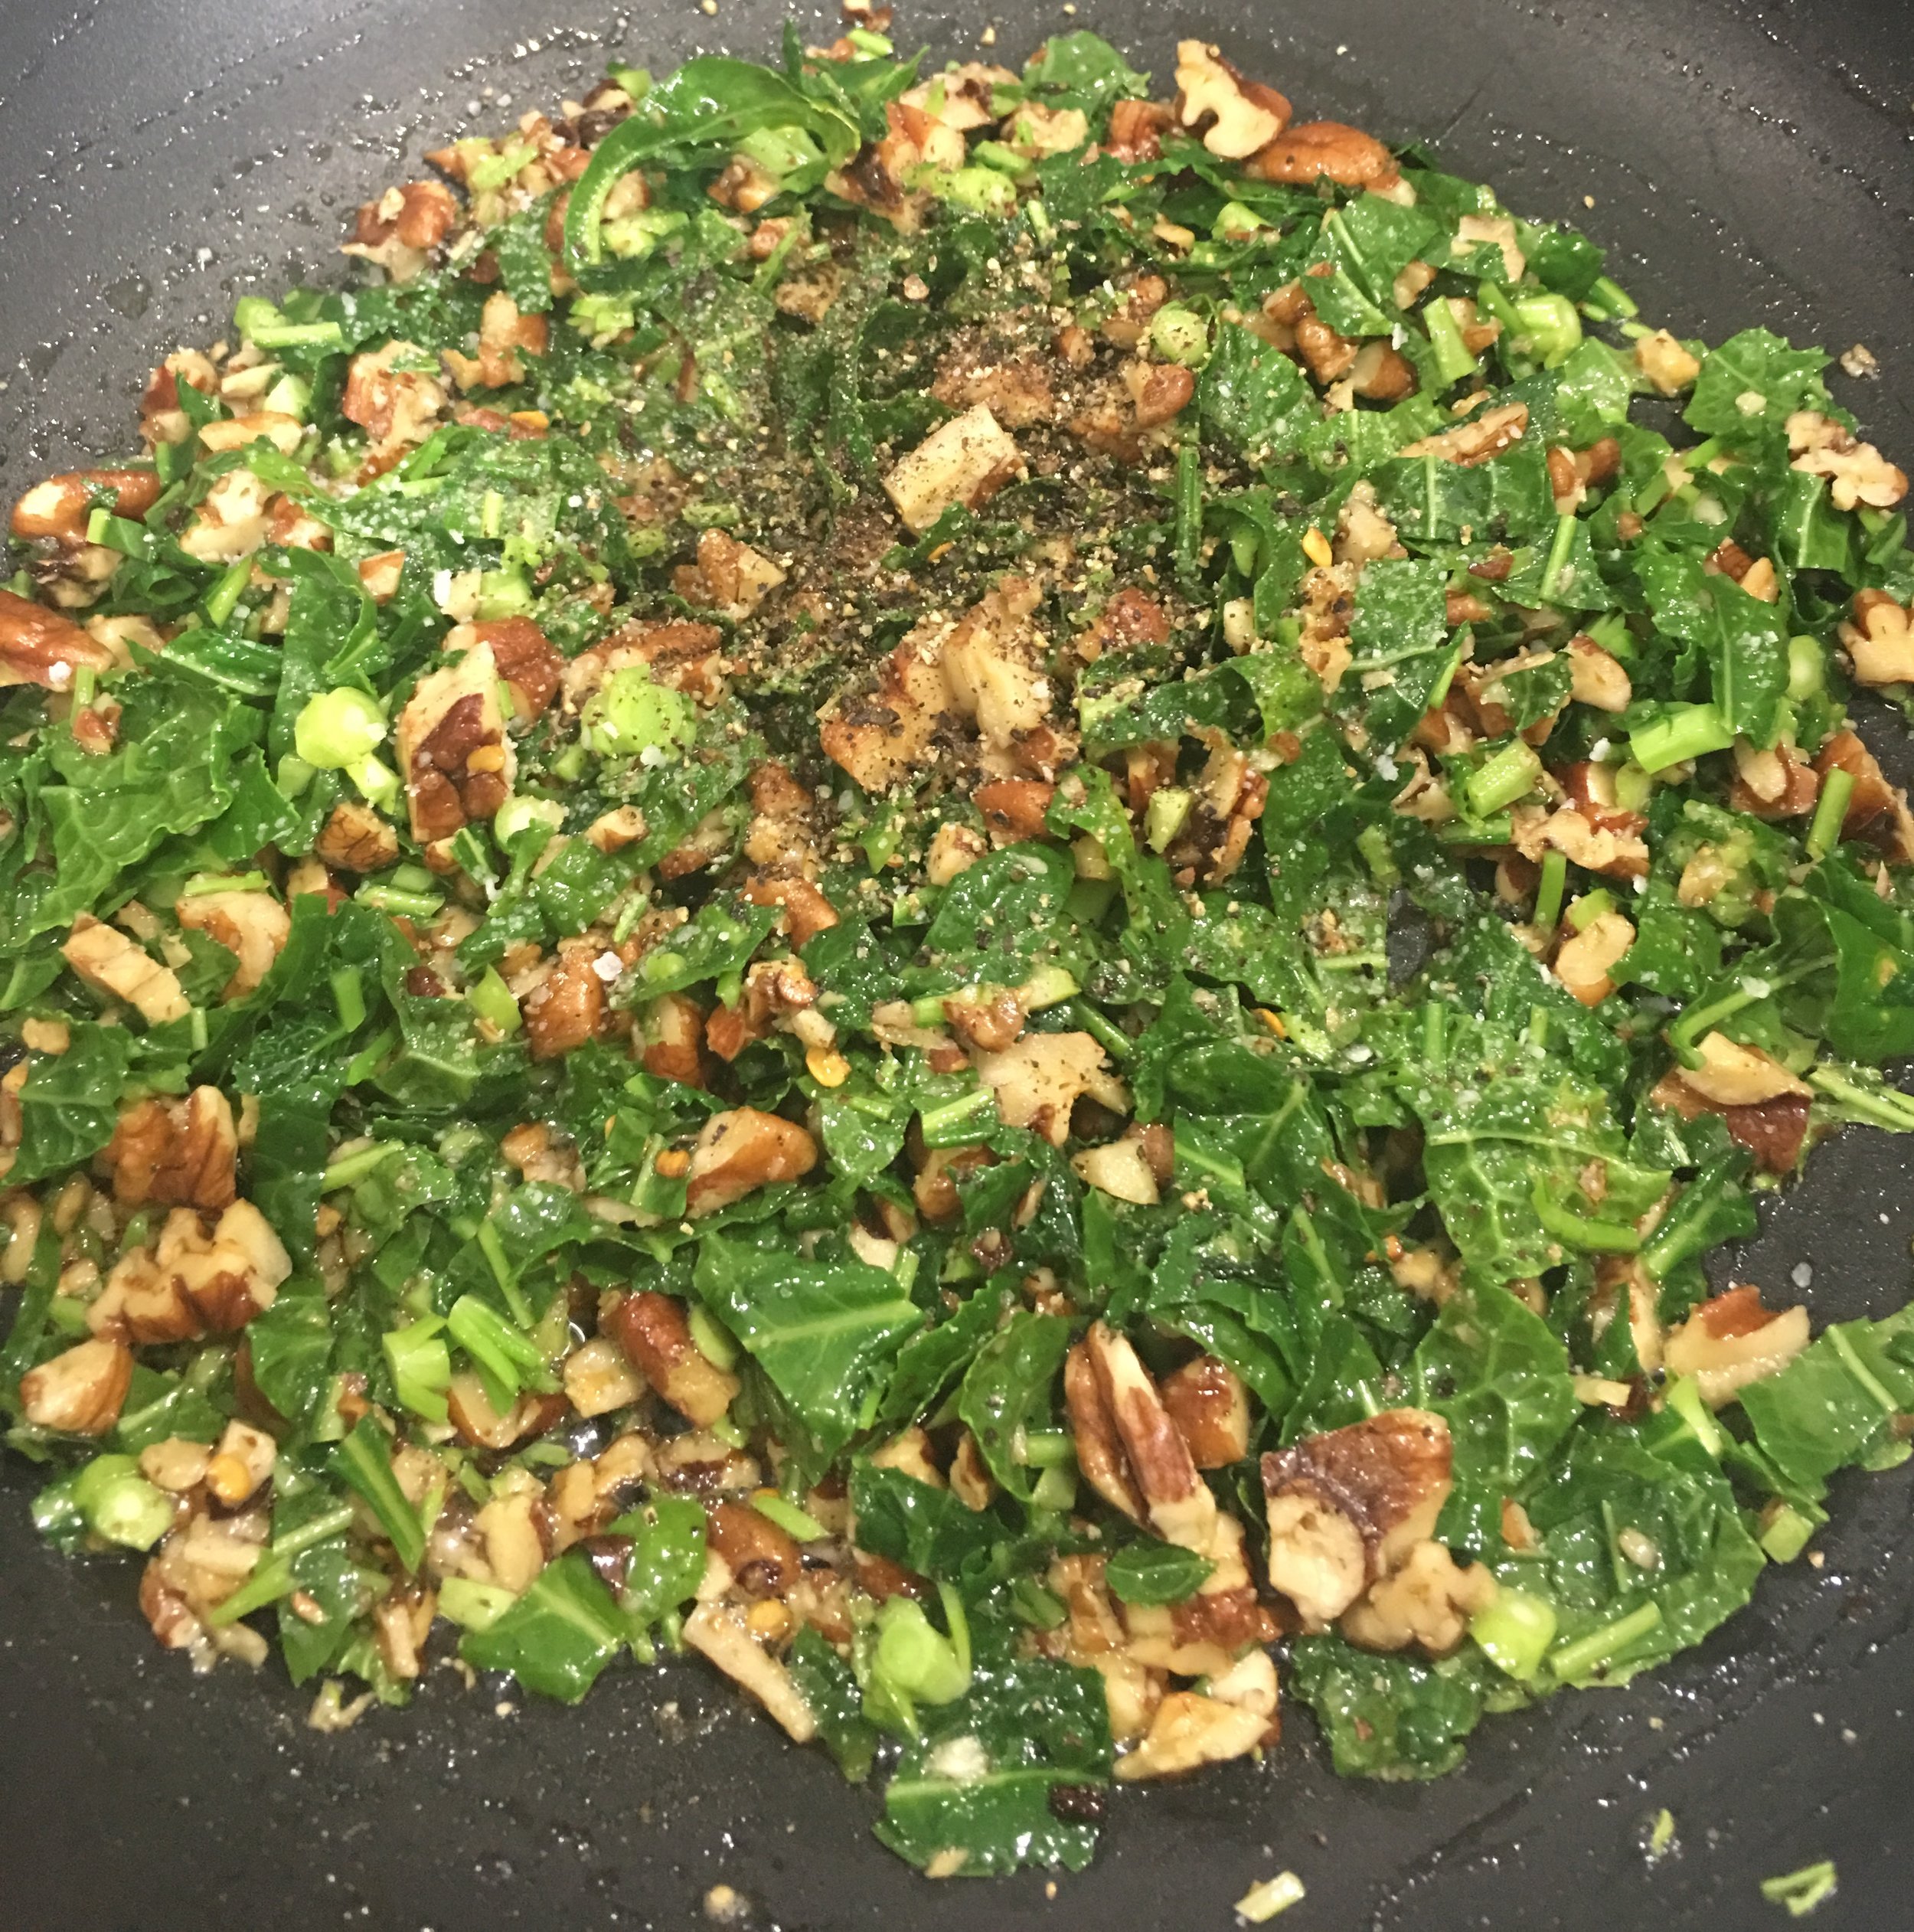
  • Add the chopped kale and sauté until gently wilted. About 2 minutes. Add the pepper.

  • Add the cooked pasta and toss. Add the cheese, 1/4 cup of the pasta cooking water. Toss to combine.

  • Adjust the seasoning. Remember that the cheese will add salt to the dish, so taste the completed dish before adding any salt.

    Serves 2


Summer Oatmeal-A Cool Idea

IMG_9936.JPG
IMG_9941.JPG

I love grains.  They are good and good for you in so many ways.  Humans have eaten them for thousands of years and many of the vitamins essential to good brain, heart and overall development come from grains.  That said, I despise processed cereals, which are a blight upon the earth; ok that may be a  little heavy but not inaccurate.  I can say this because I spent most of my medical school life eating frosted flakes for breakfast, lunch and dinner.  It was easy and delicious.  I just had no idea that it wasn't really food but sugar with a false label telling me I was getting nutrients in a bowl.  After researching processed cereals several years ago, I came home and threw out all my husband's Cheerios, including the chocolate.  This was an unpleasant surprise for him.  We got through it.  

But here's something more pleasant-a cool (literally) way go prepare oatmeal in the fridge.  It can be personalized based on what dry fruit one prefers.  There's no cooking and it can live in the fridge up to a week making it perfect for school day breakfasts as well.  Make them in smaller mason jars and you can take them to go.

I'm using Mcann's Irish Rolled Oats here.  I like currents and have recently discovered dried mulberries.  These have no sugar added.  You can enhance the oatmeal with additional chopped nuts (pecans, walnuts, pistachios) and fresh fruits, berries or yogurt. The combinations are only limited by your imagination,  As always, I encourage you to eat seasonally.

You can use a larger jar and increase the amounts--just leave some room for the oatmeal to expand a little.  Your can mix all the ingredients in a bowl and divide into smaller jars for individual and to go servings

RECIPE:  Summer Cold Oatmeal

In a Pint canning jar, place:

  • 1 cup rolled oats
  • 1/8 cup dried currants
  • 1/8 cup dried mulberries
  • Add 1 and 1/2 cups of whole milk.
  • Cover and place in the refrigerator overnight (about 12 hours)
  • Spoon out about 1/3 into a bowl and enjoy as is or with the toppings of you choice.

Makes 2-3 servings

Suggestions for toppings:

Peaches, pecans and honey

Berries, almonds, yogurt and honey

Blueberries, walnuts, cinnamon and maple syrup

Bananas and brown sugar

Hurricane Harvey Fallout: Bread Is Good Food

IMG_6190.JPG

Hurricane Harvey may have devastated Houston, but it did not destroy us. Even if you didn’t directly experience the flooding and loss, we are still all touched by it through our friends, families and communities. For almost a year people have been displaced from their homes and the routines of daily living where we find sanctuary. Kitchens are slowly being redesigned and remodeled. Instant Pots, induction cook tops and microwaves are playing a role feeding us. We’re getting back to some basics in the kitchen. I’m back to the basics of bread.

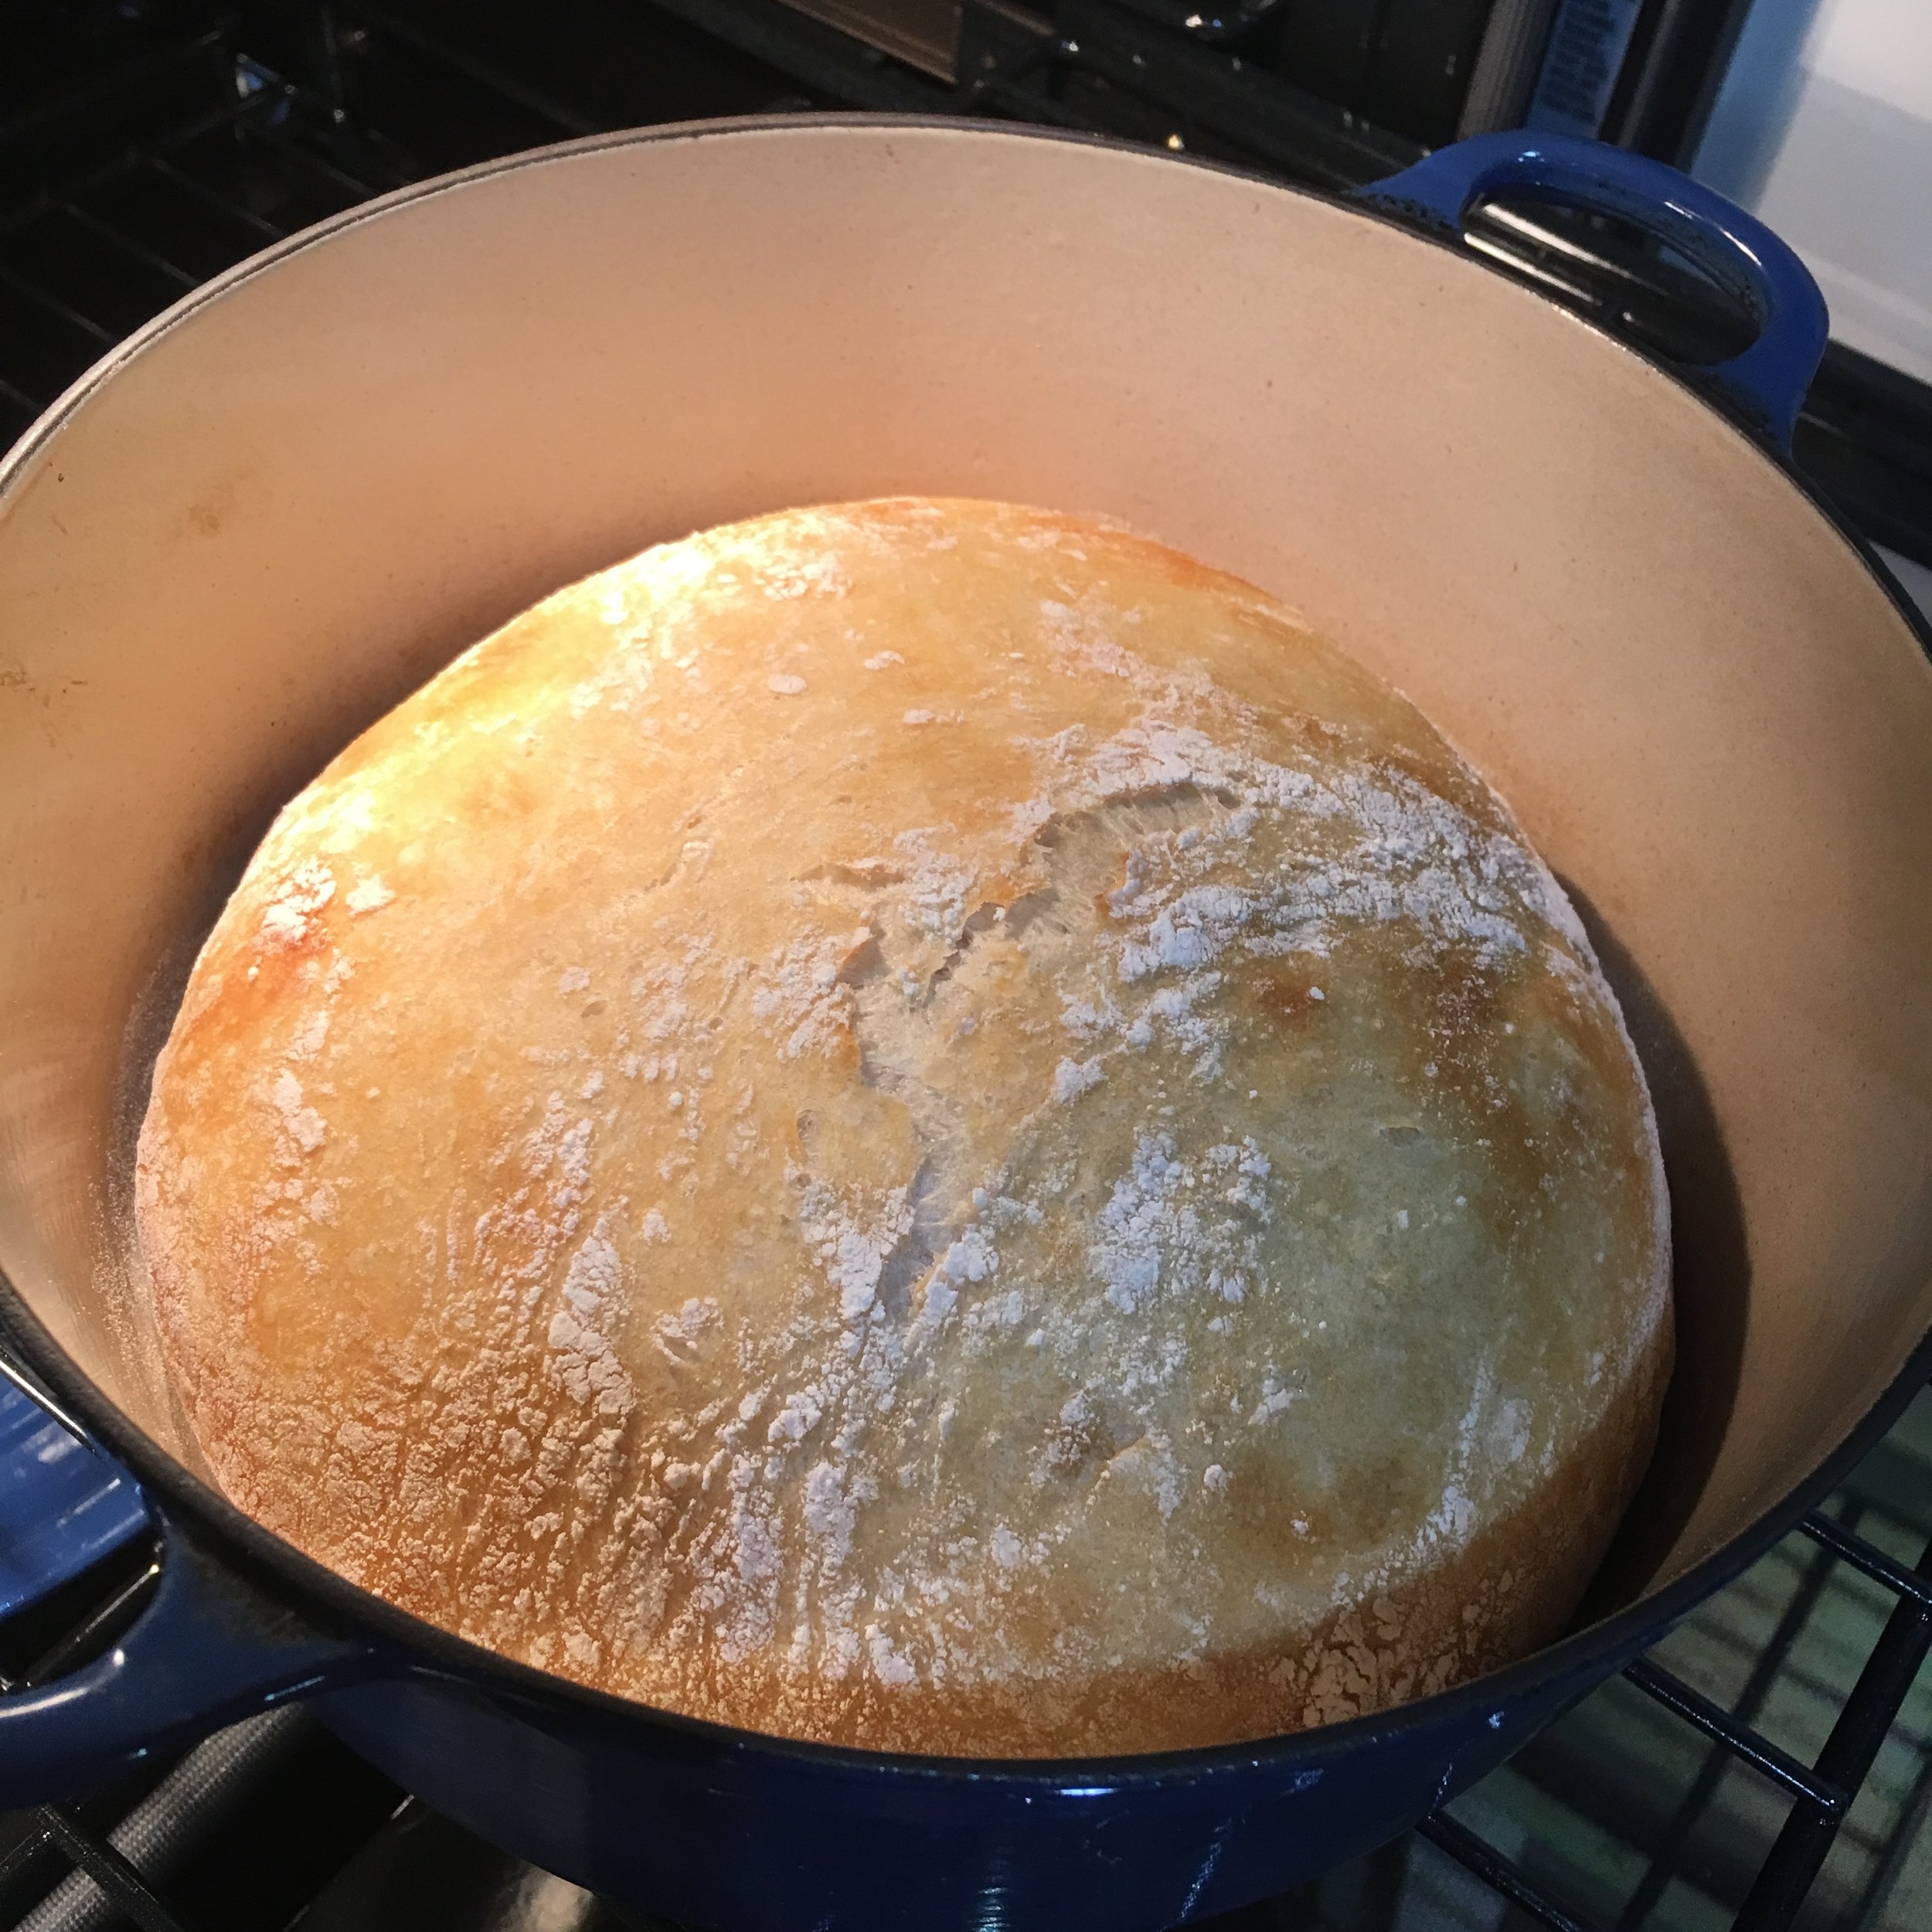
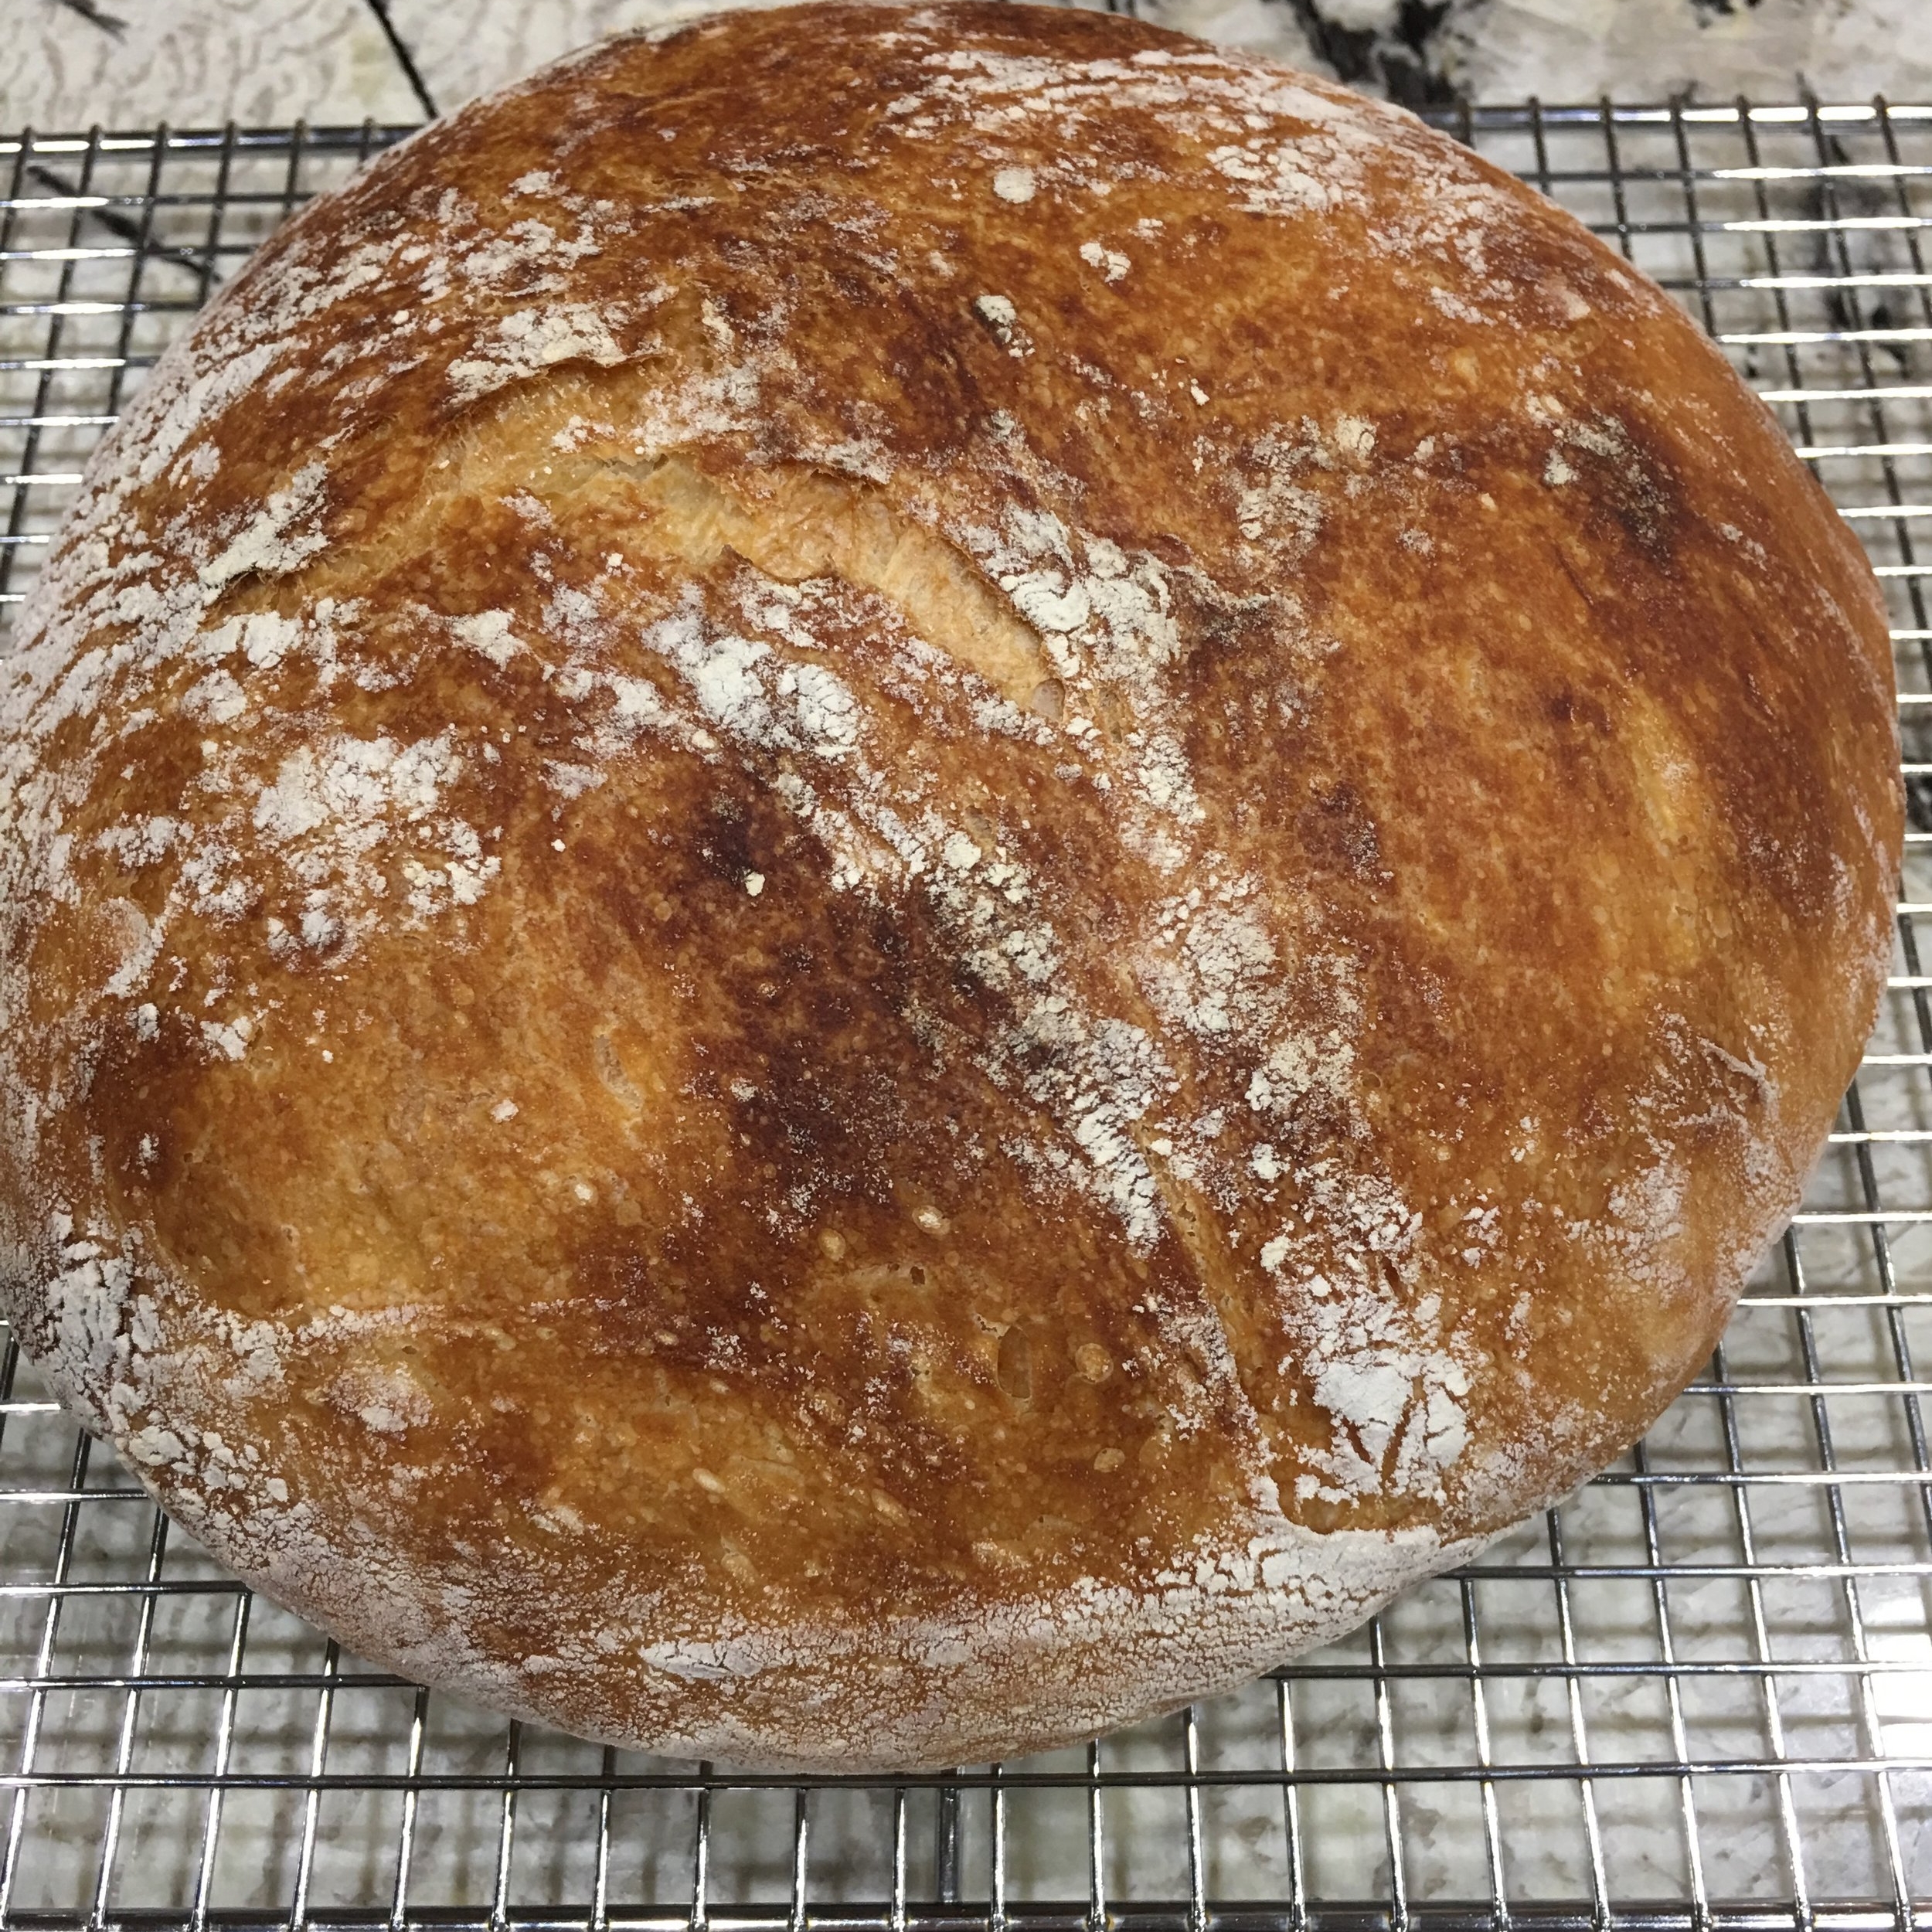
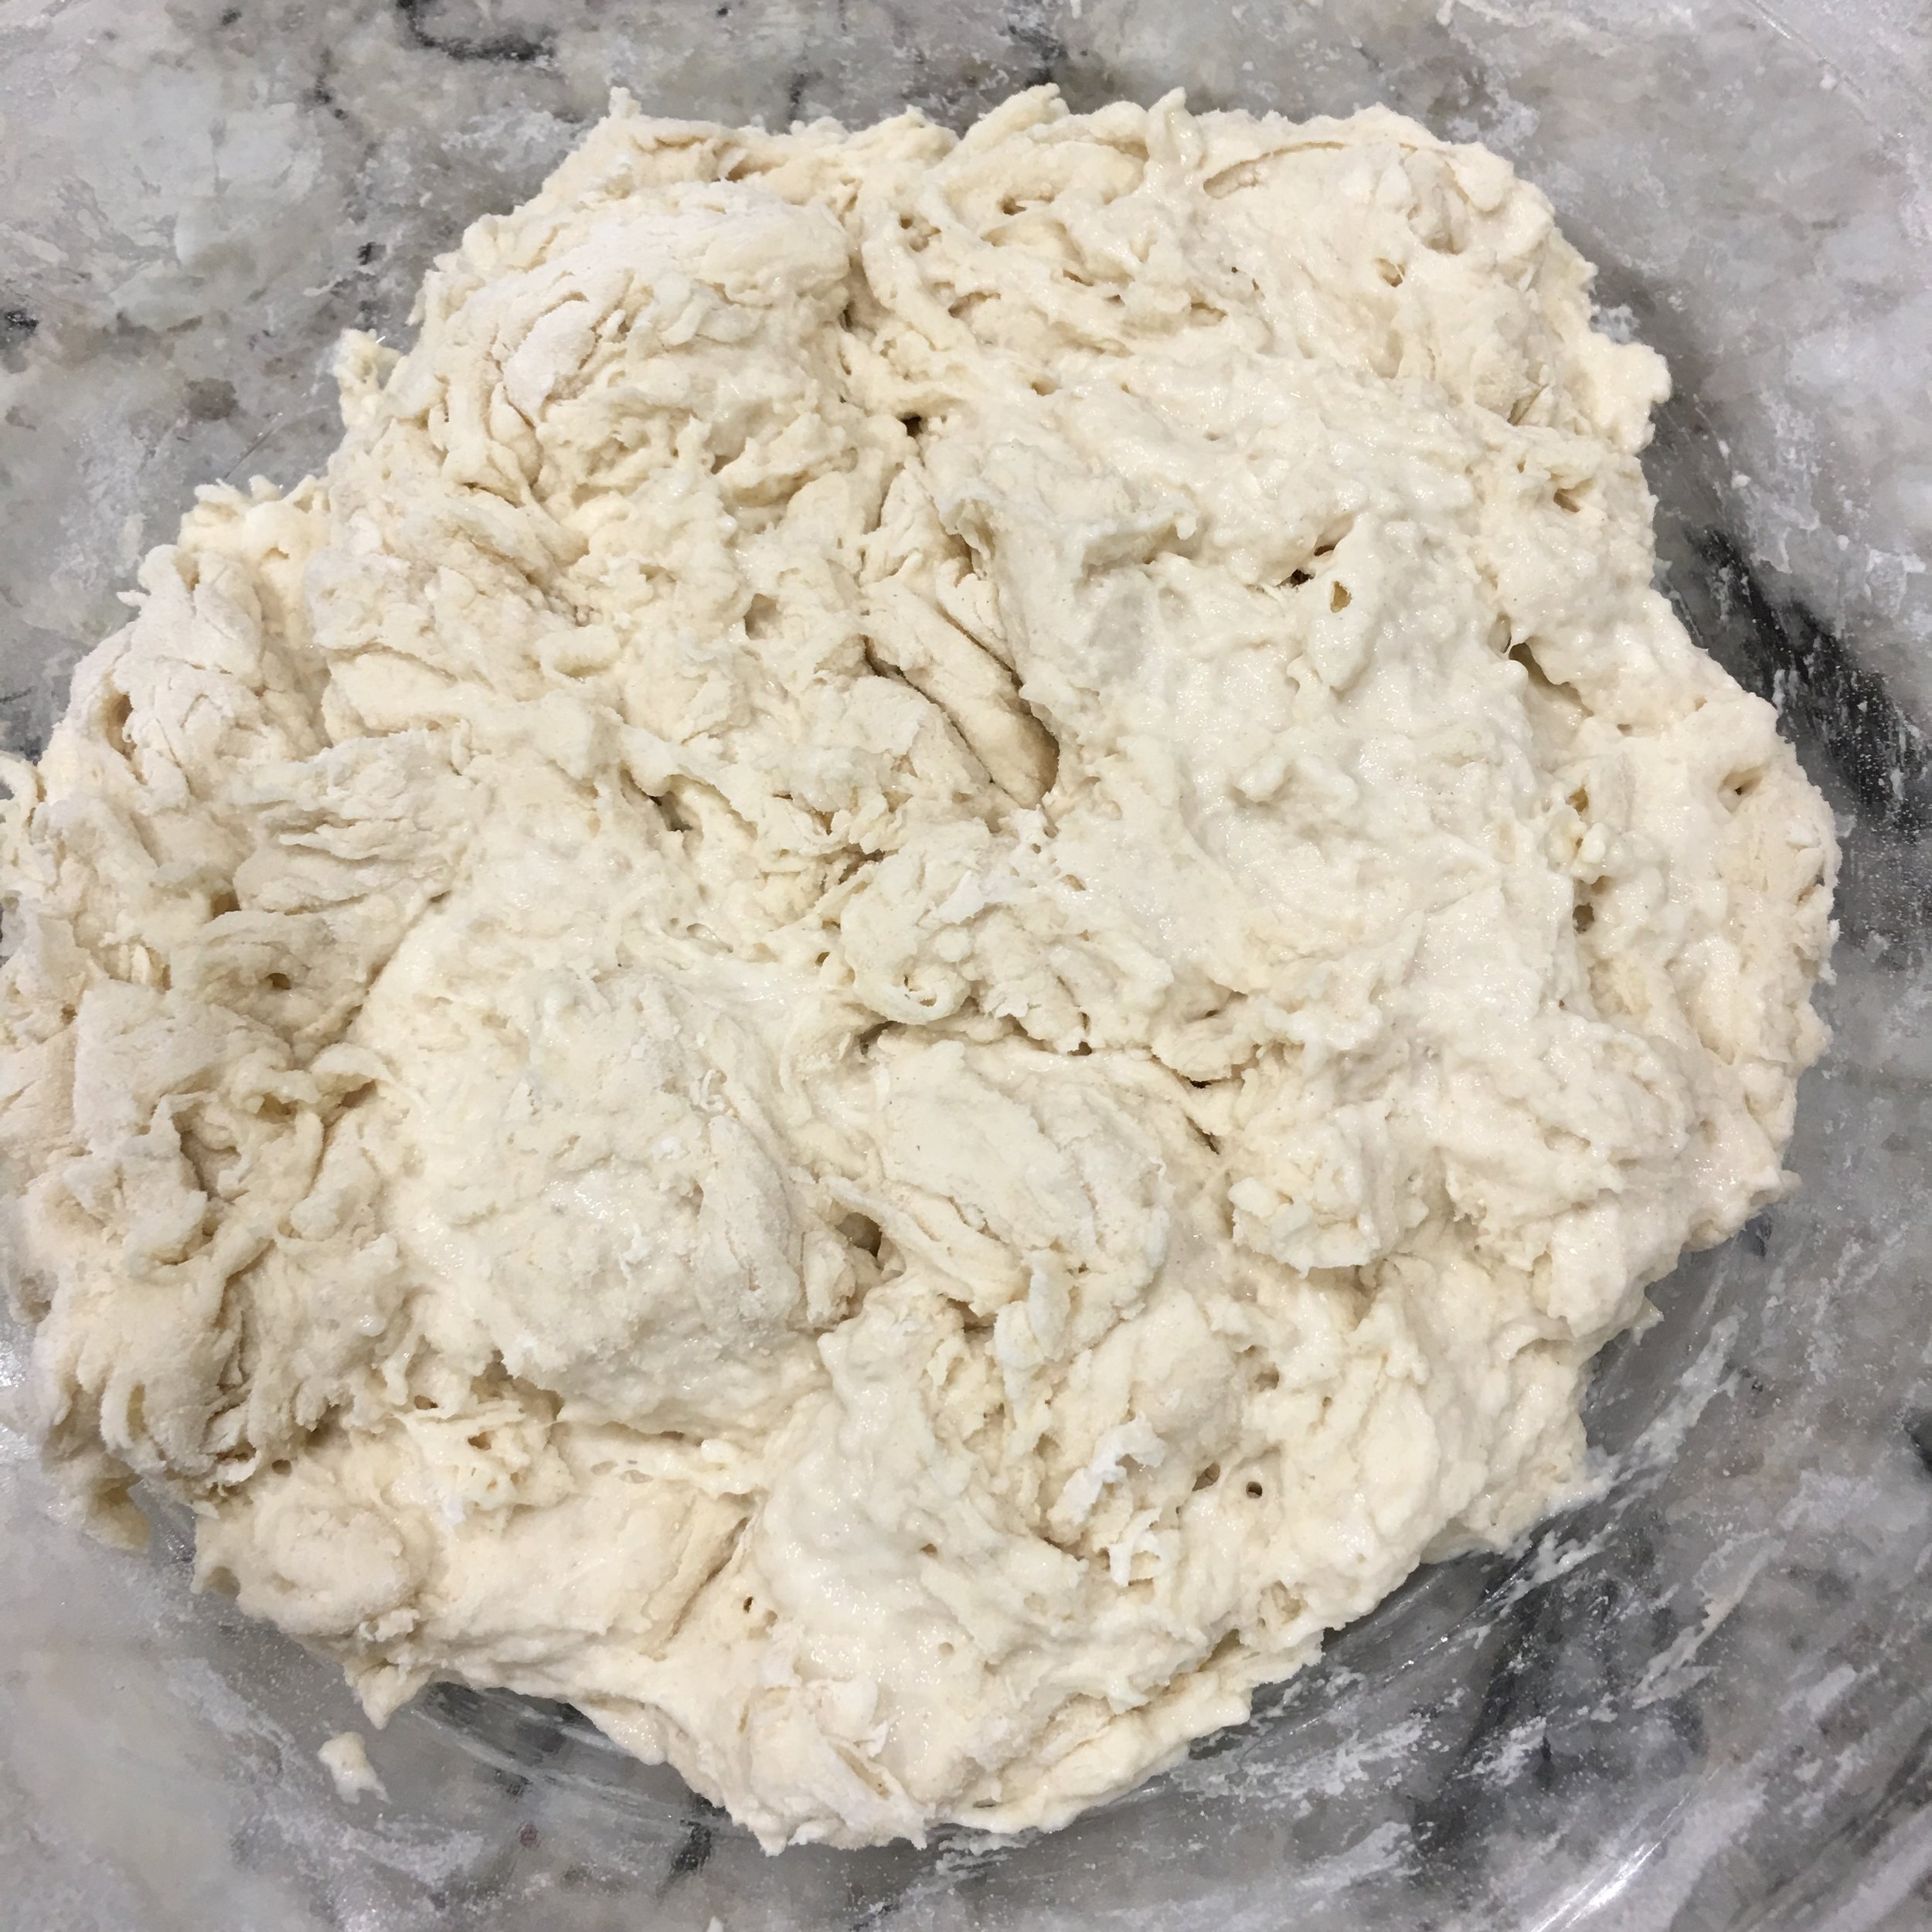
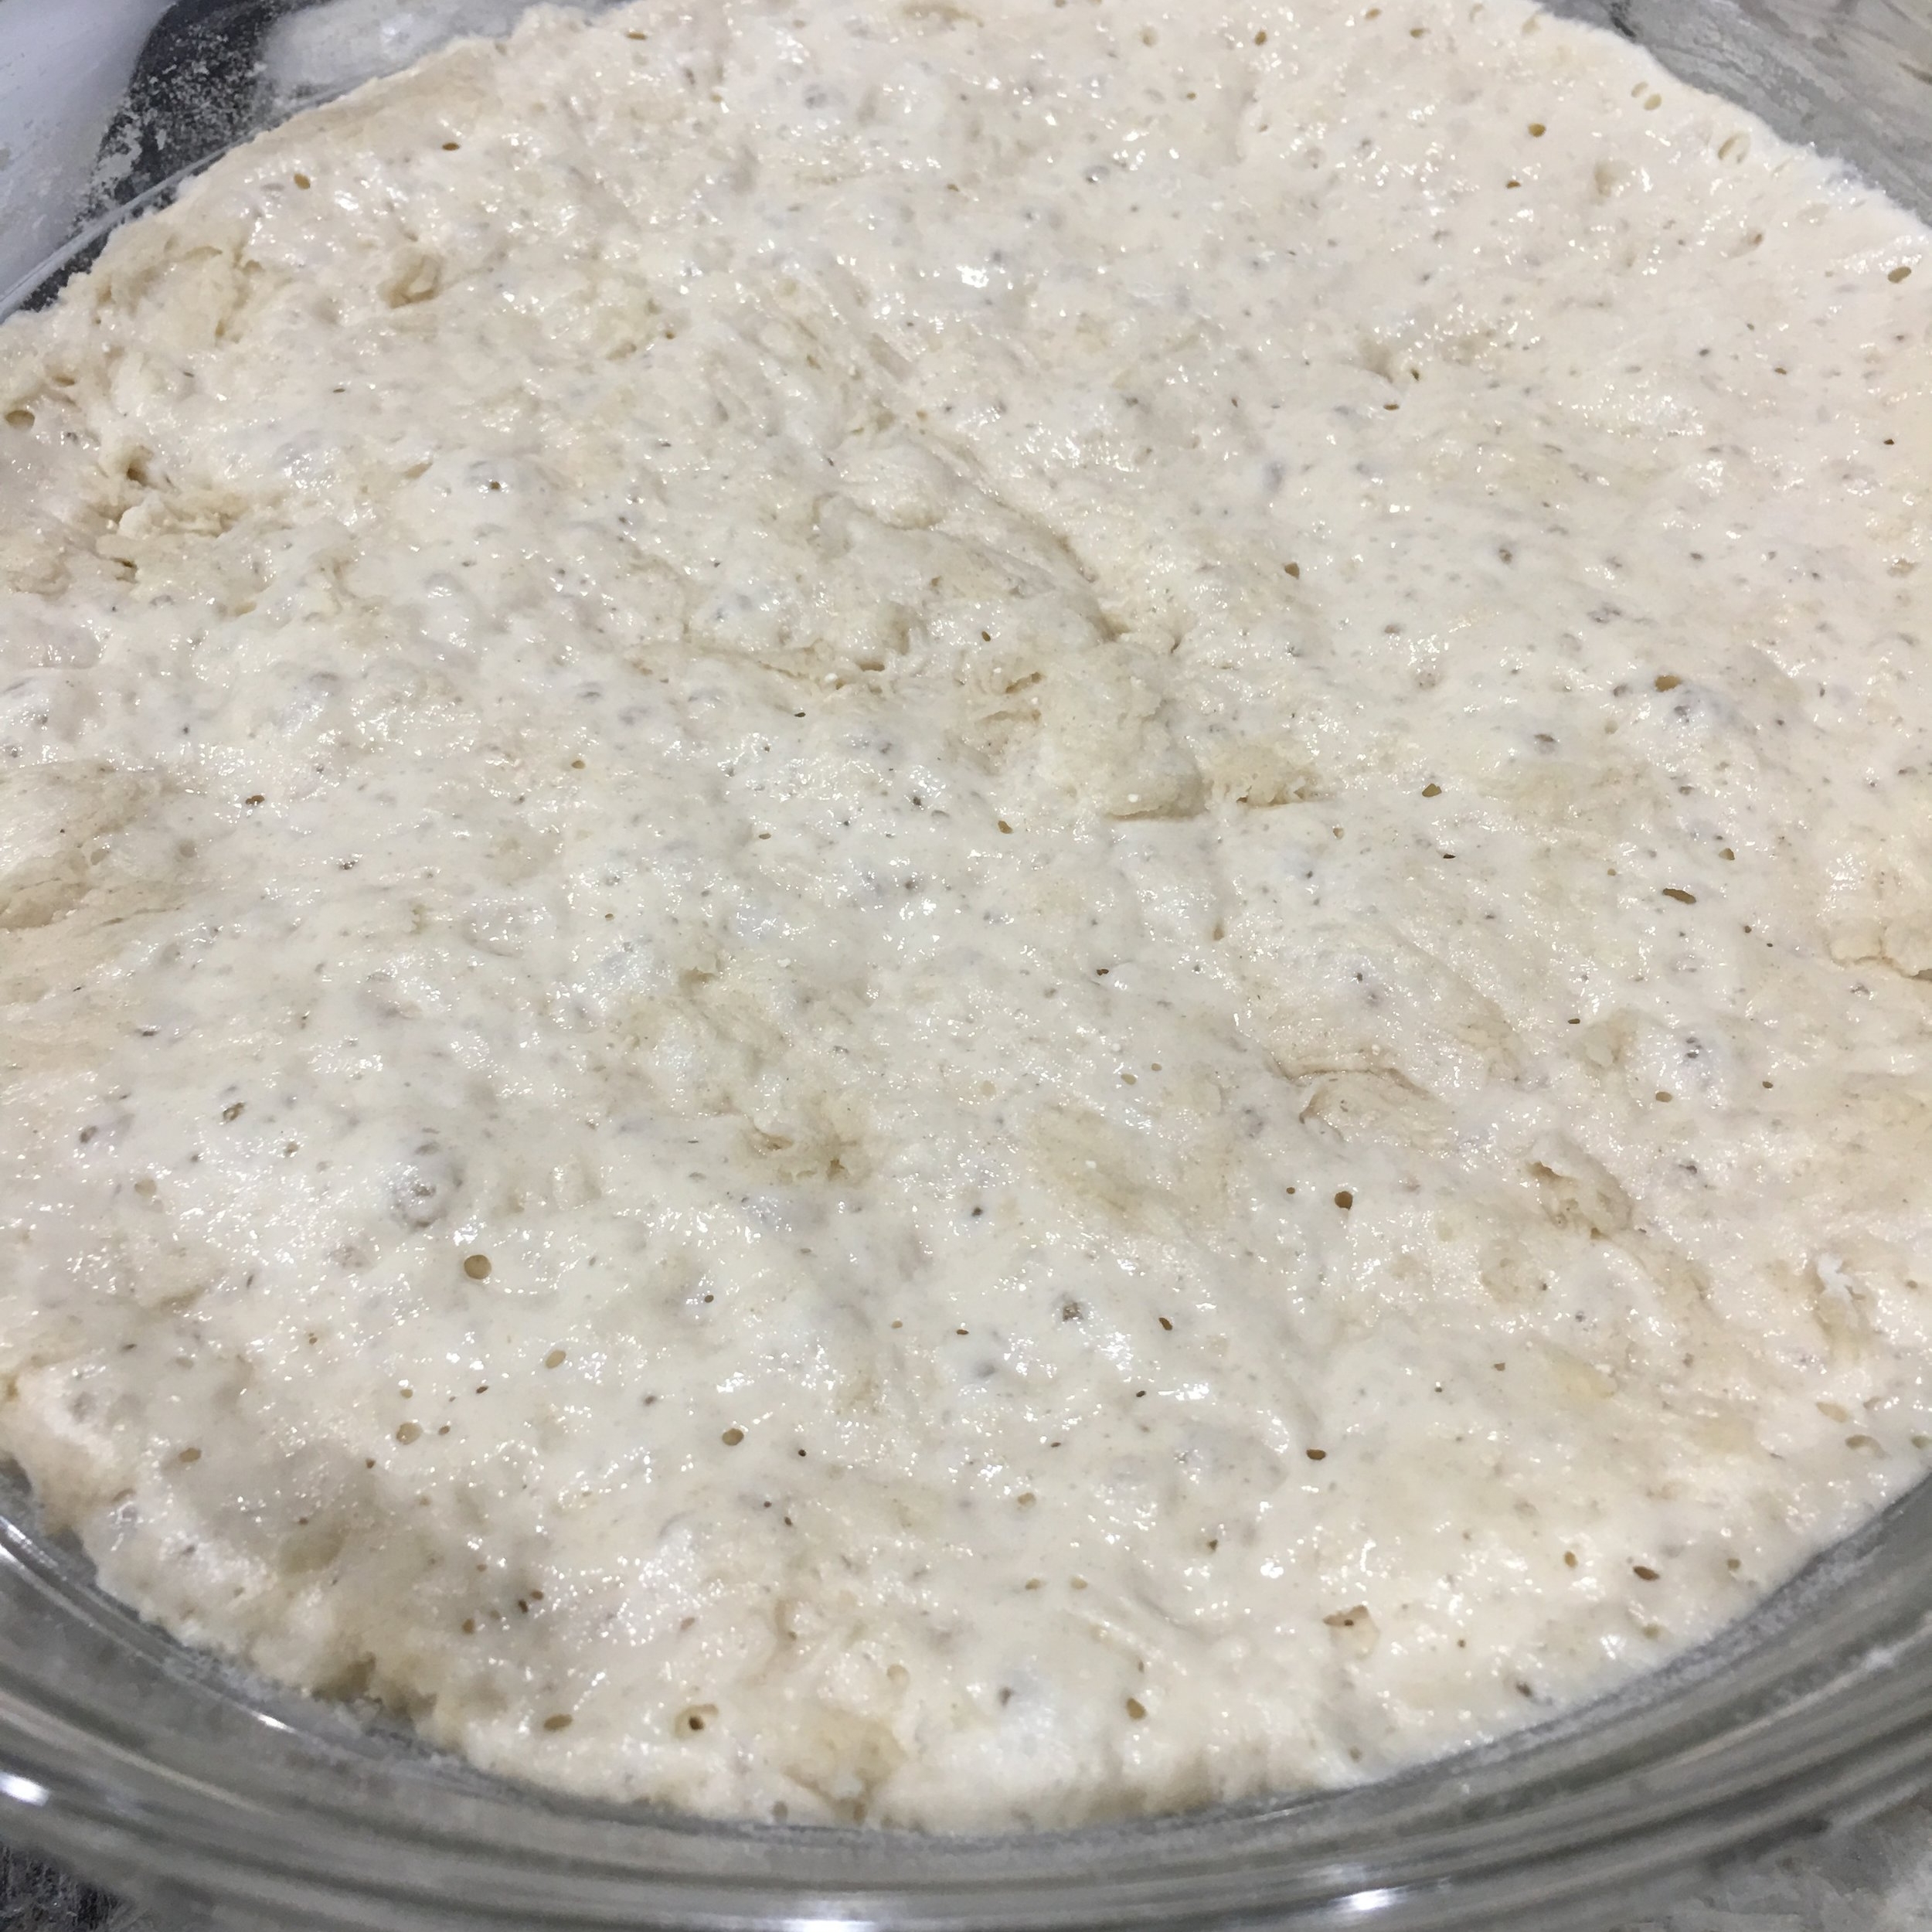
Our Harvey preparations were a last minute affair, so no bread was to be found on grocery shelves. No matter, we had flour, yeast, salt and time.  The baking began. I must give credit to my husband for bringing home a bag of Bob's Redmill Artisan Bread Flour when he couldn't locate bread.  He made a loaf of pan de mie.  I found an easier recipe right on the back of the bag.  I’m partial to this very easy, no-knead bread. The crust is not too hard, but has body and the crumb is soft and tender. Great for sandwiches, toast or dipping into soups. I hope you’ll try this. It takes a little planning, but it’s so worth it. 

A word on bread and gluten.  Unless you have Celiac Disease (I have plenty of patients who do) or have a true wheat allergy (which is rare), you do not need to be gluten free.  Our bodies have evolved over tens of thousands of years to digest and process wheat.  Wheat is a main source of many B vitamins which are essential for good health, with thiamin and riboflavin being essential for memory and brain function.  That said, I do not support the consumption of grocery store and commercial breads which have large amounts of gluten added for longer shelf life and that strangely soft texture; they do indeed cause bloating, digestion, rashes and a whole host of other problems.  This is the reason why eating store bought bread in the United States makes you feel sick but you are able to eat bread in Europe without any problems.  In most places in Europe the bread is made daily the old fashioned way.  Bread should have good flour, preferably unbleached, water, yeast and salt if you like (Tuscan bread is made without salt and is delicious). The gluten that is developed in the dough undergoes a conformational change when baked making it more difficult for the human gut to absorb.  Evolution has already done this for us.  We just messed things up by adding gluten to everything and turning it from food, which should be fresh, into a commodity to sit on shelves for convenience. So, EAT REAL BREAD.  I'm sure there are bakers where you live who are following this noble tradition which has fed the world for ages.   Or try the recipe below and become a fresh bread baker yourself.

No Knead Bread-a Hurricane Harvey Recipe

EQUIPMENT
Dutch oven with lid
Large mixing bowl
Patience

INGREDIENTS
3 C artisan bread flour
2 tsp kosher salt
1/2 tsp active dry yeast
1-1/2 C warm water

PROCESS
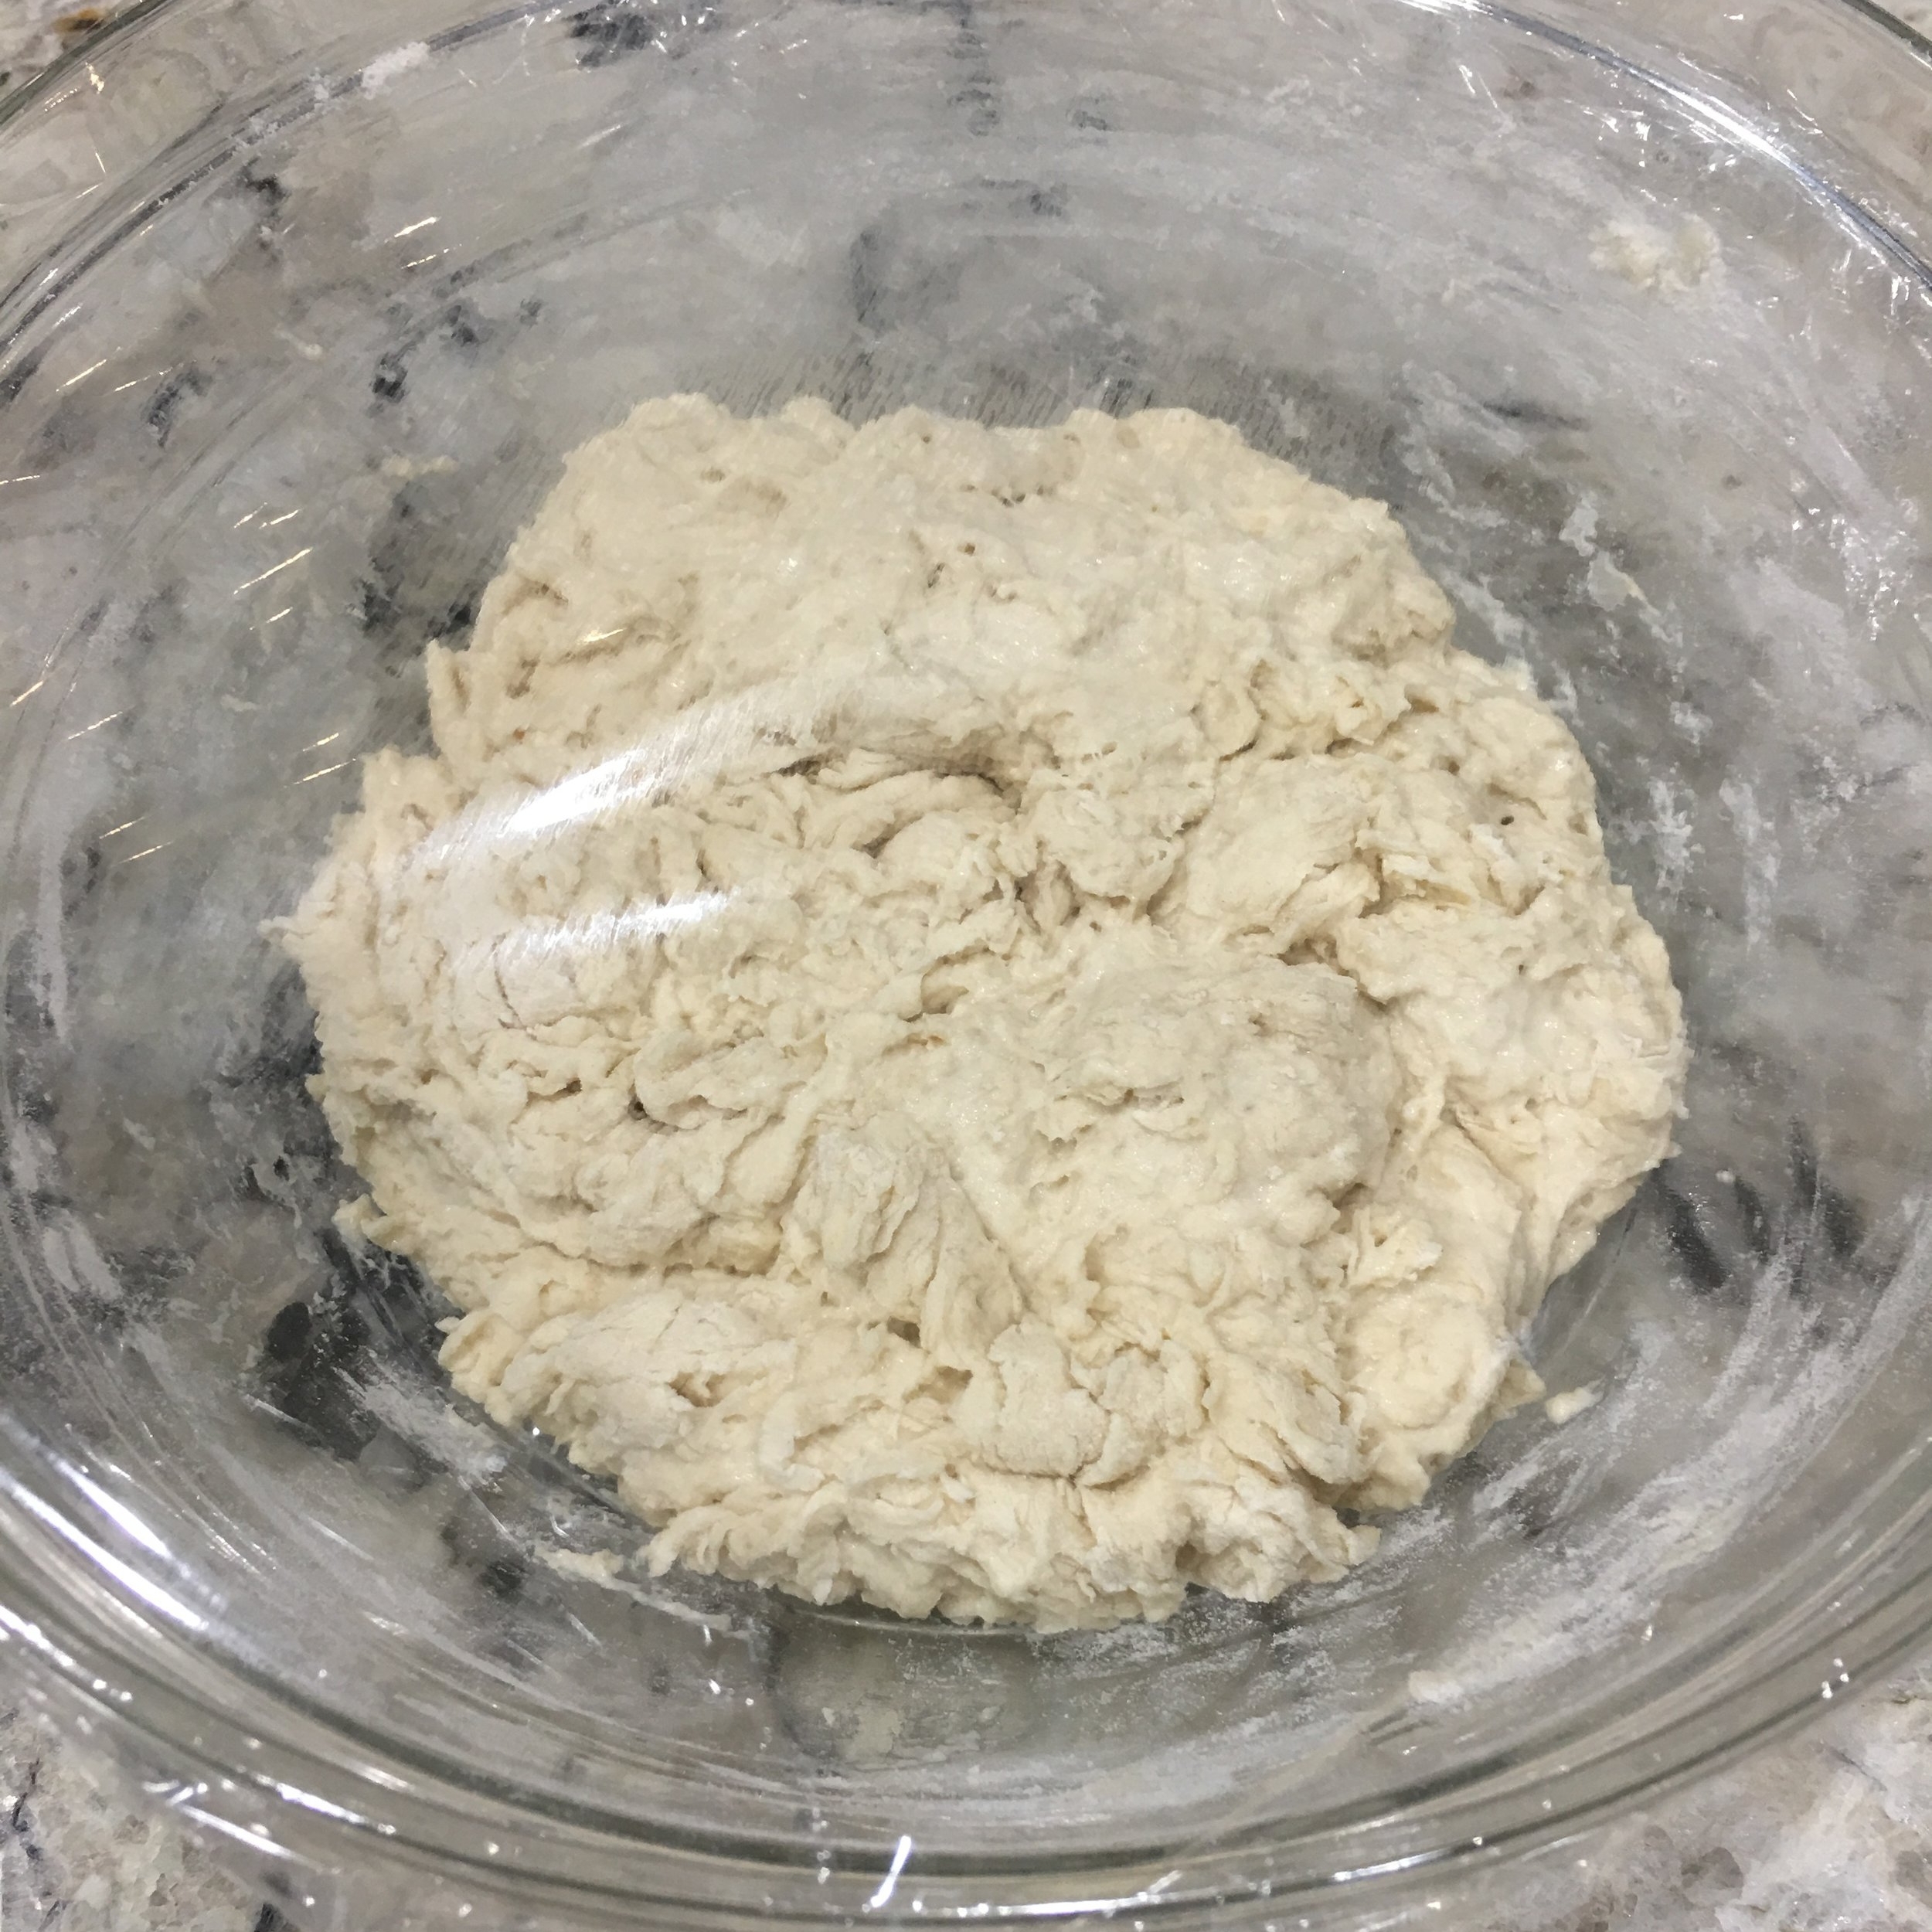
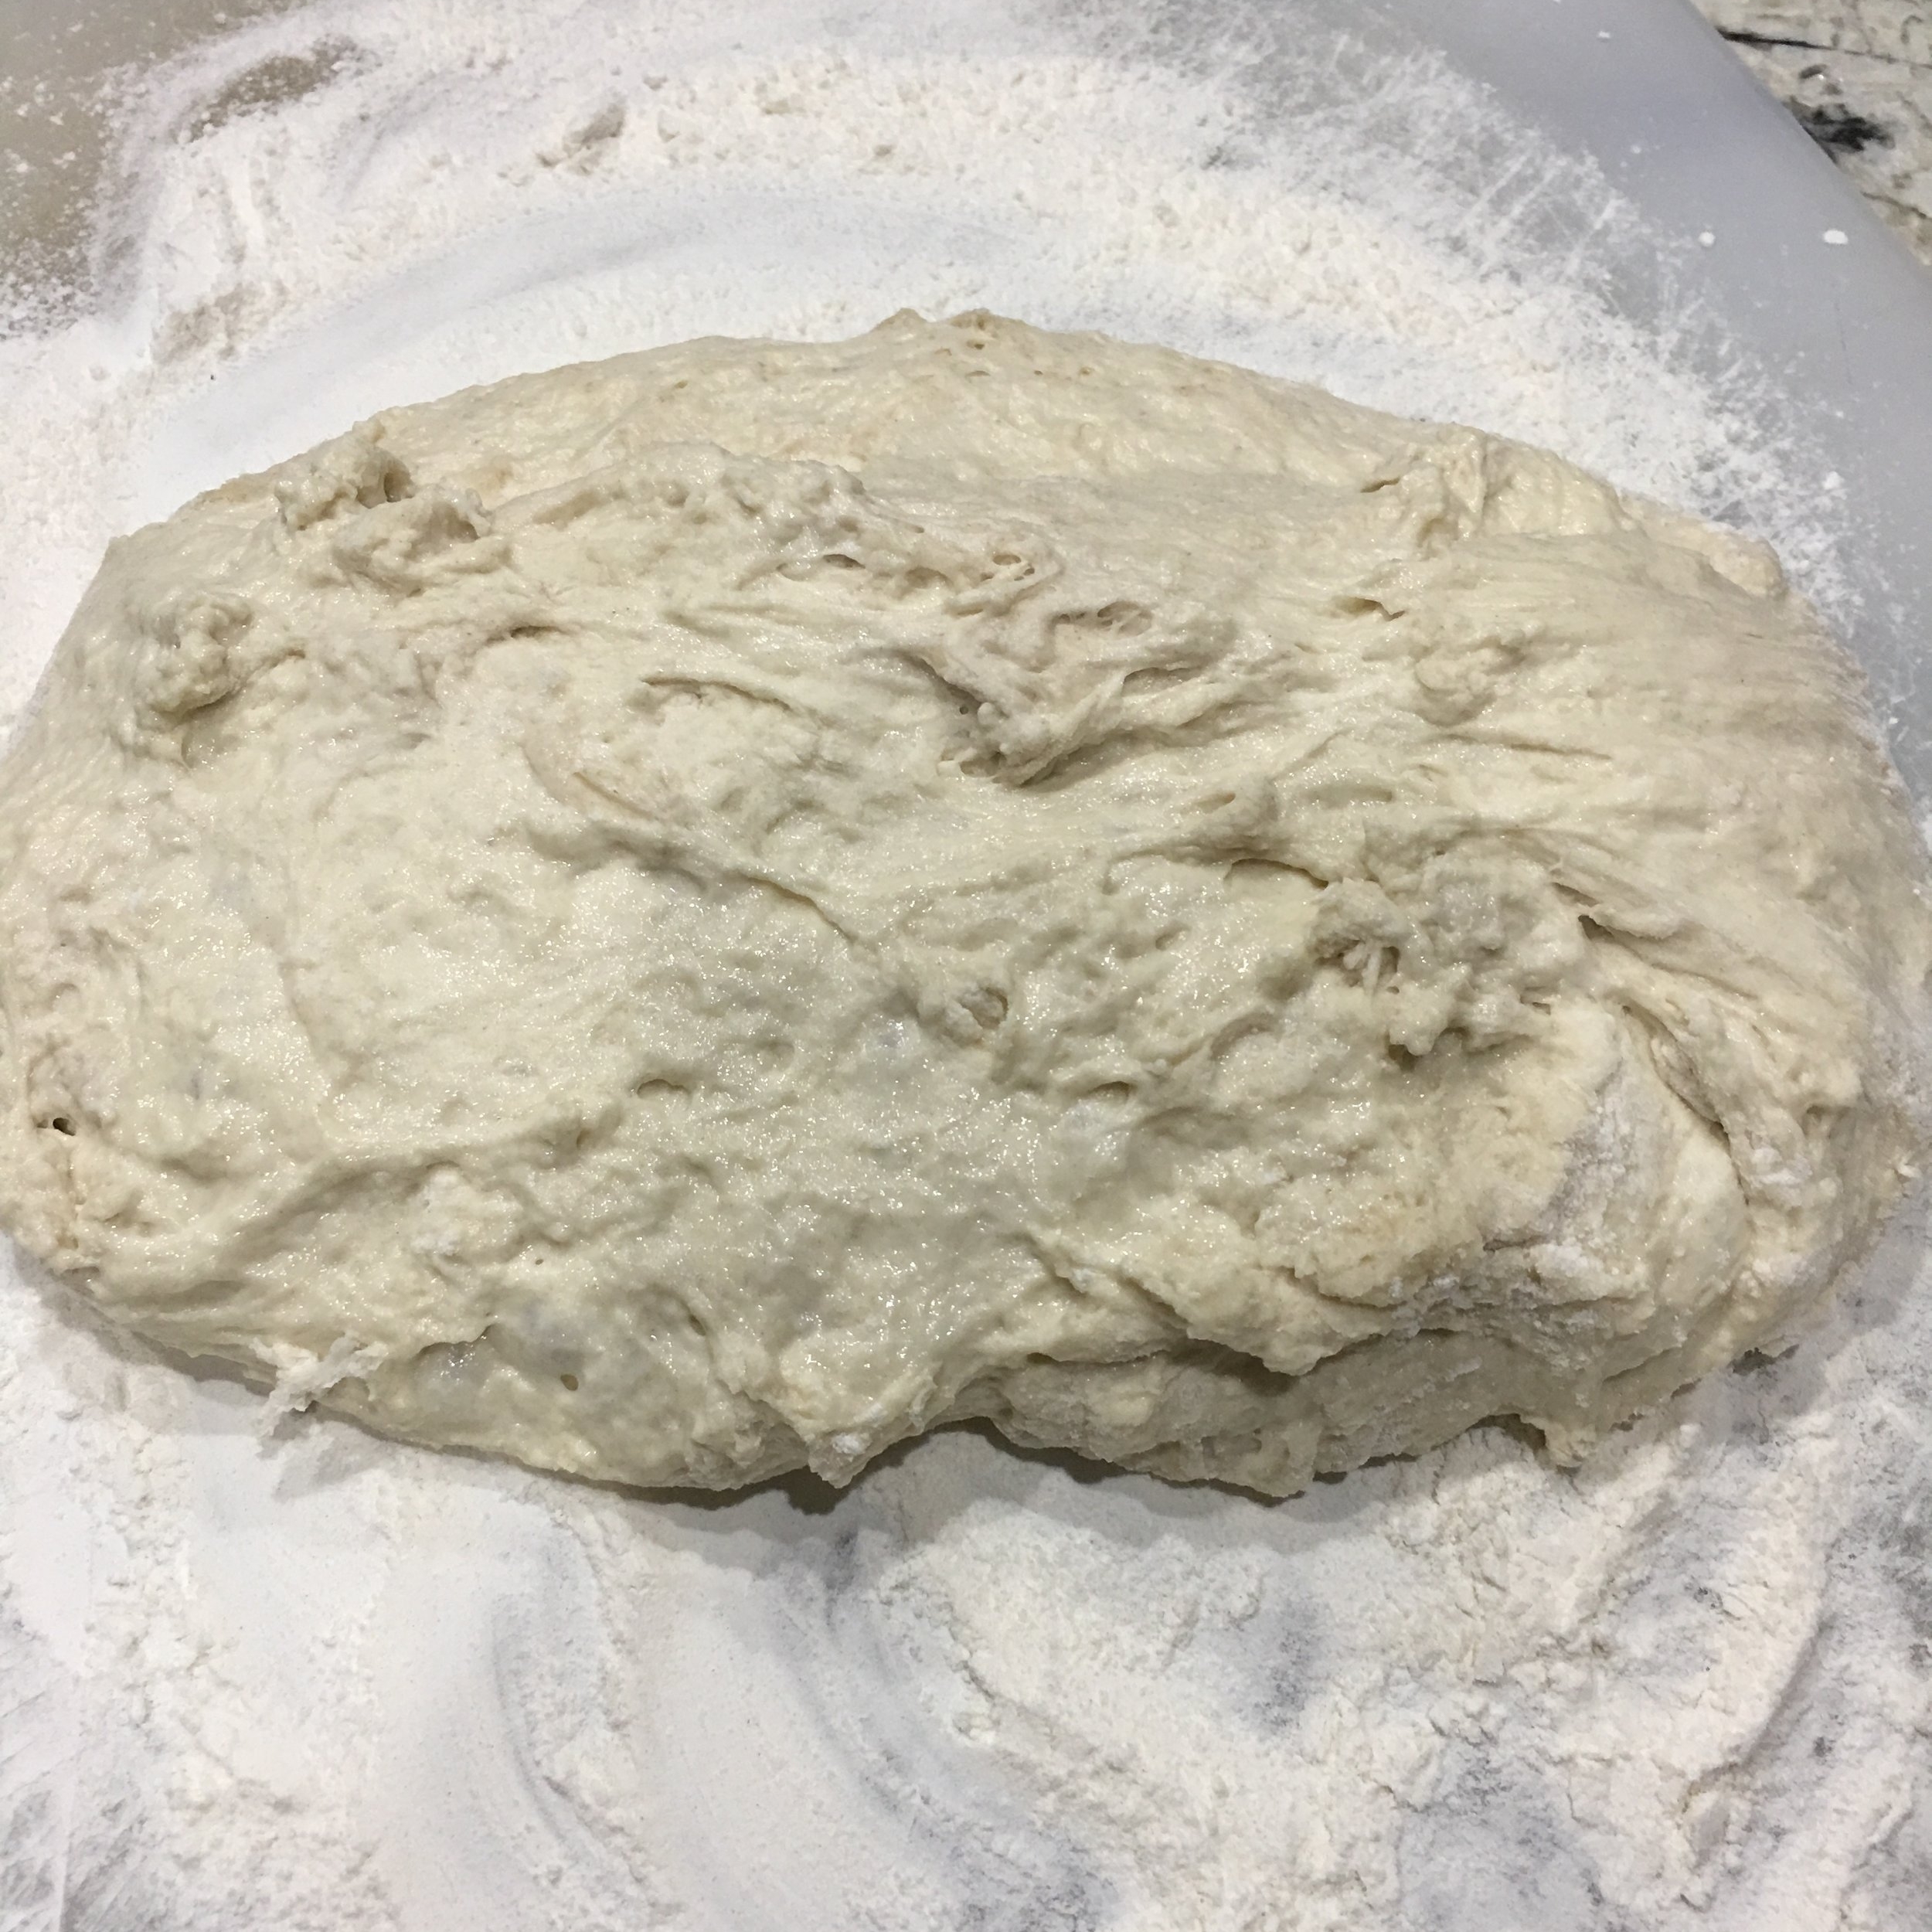
1. In a large bowl combine dry ingredients. Add water and mix completely to form a shaggy dough. Cover with plastic wrap and set at room temperature or proof setting in oven for 10 hours.
2. Preheat oven with uncovered Dutch oven inside to 450 degrees for 30 minutes.
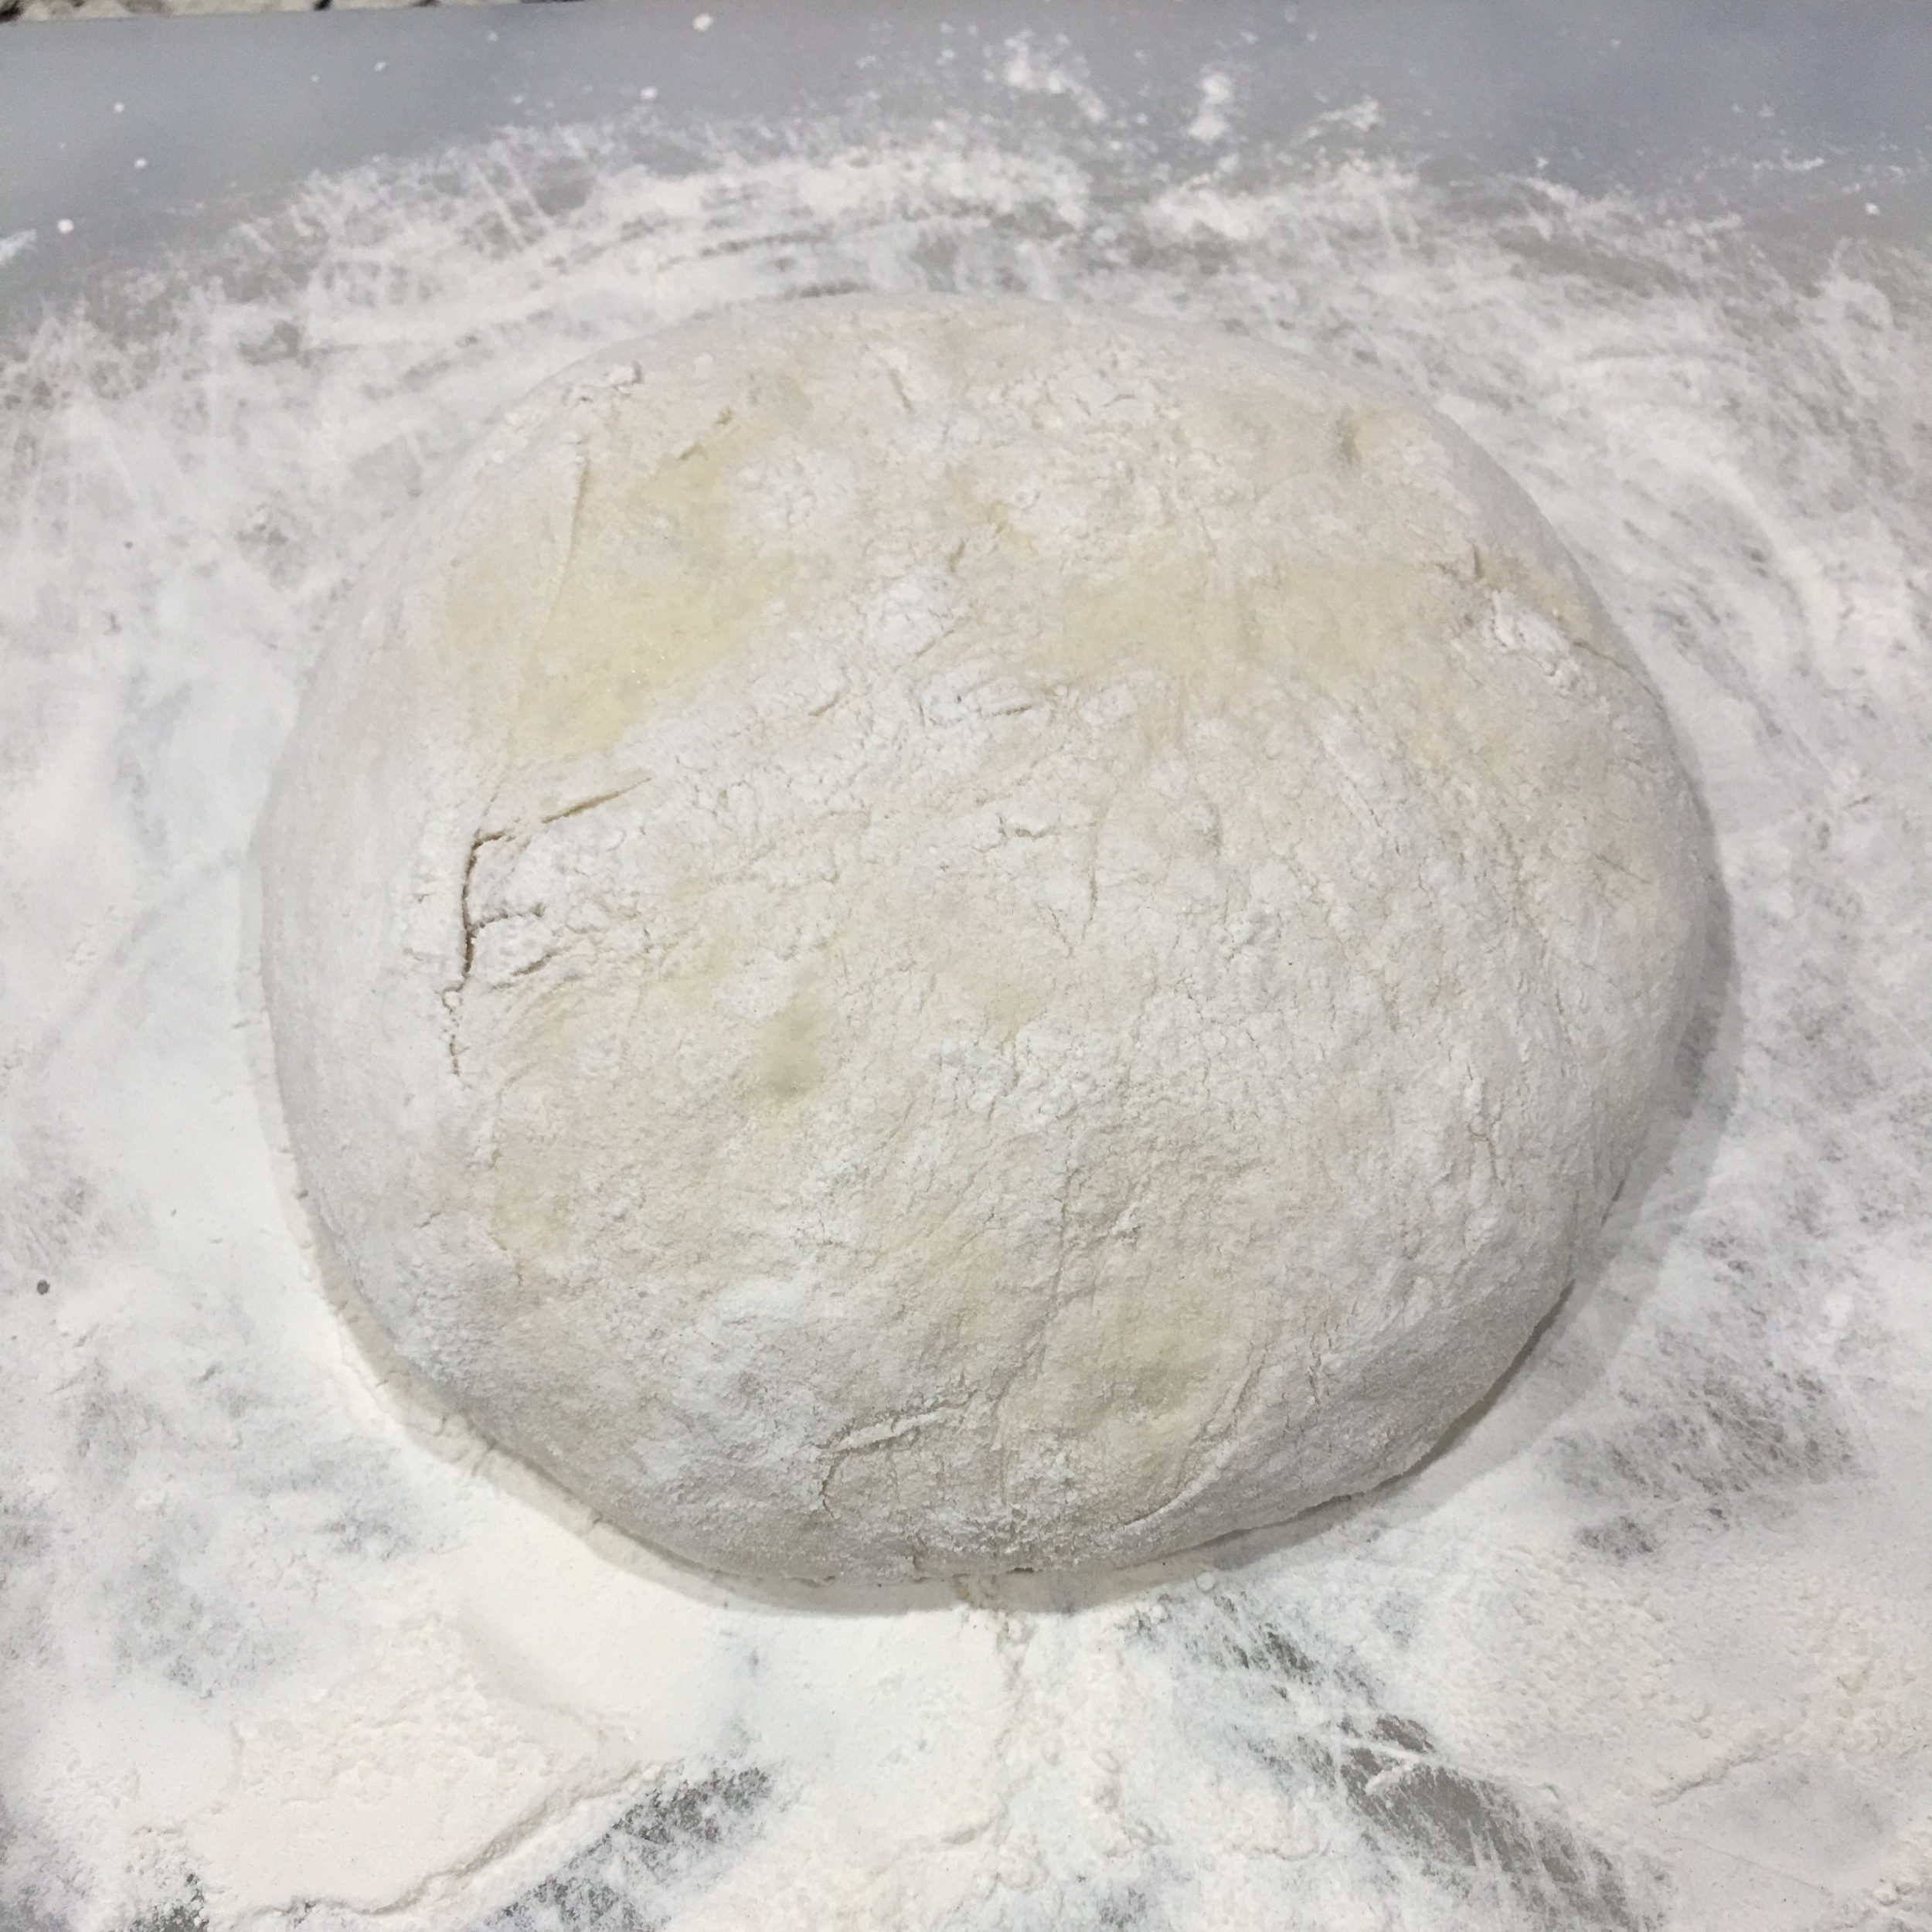
3. While the oven is preheating, place dough on floured surface and form into a round and allow to rest for 30 minutes covered with plastic wrap.
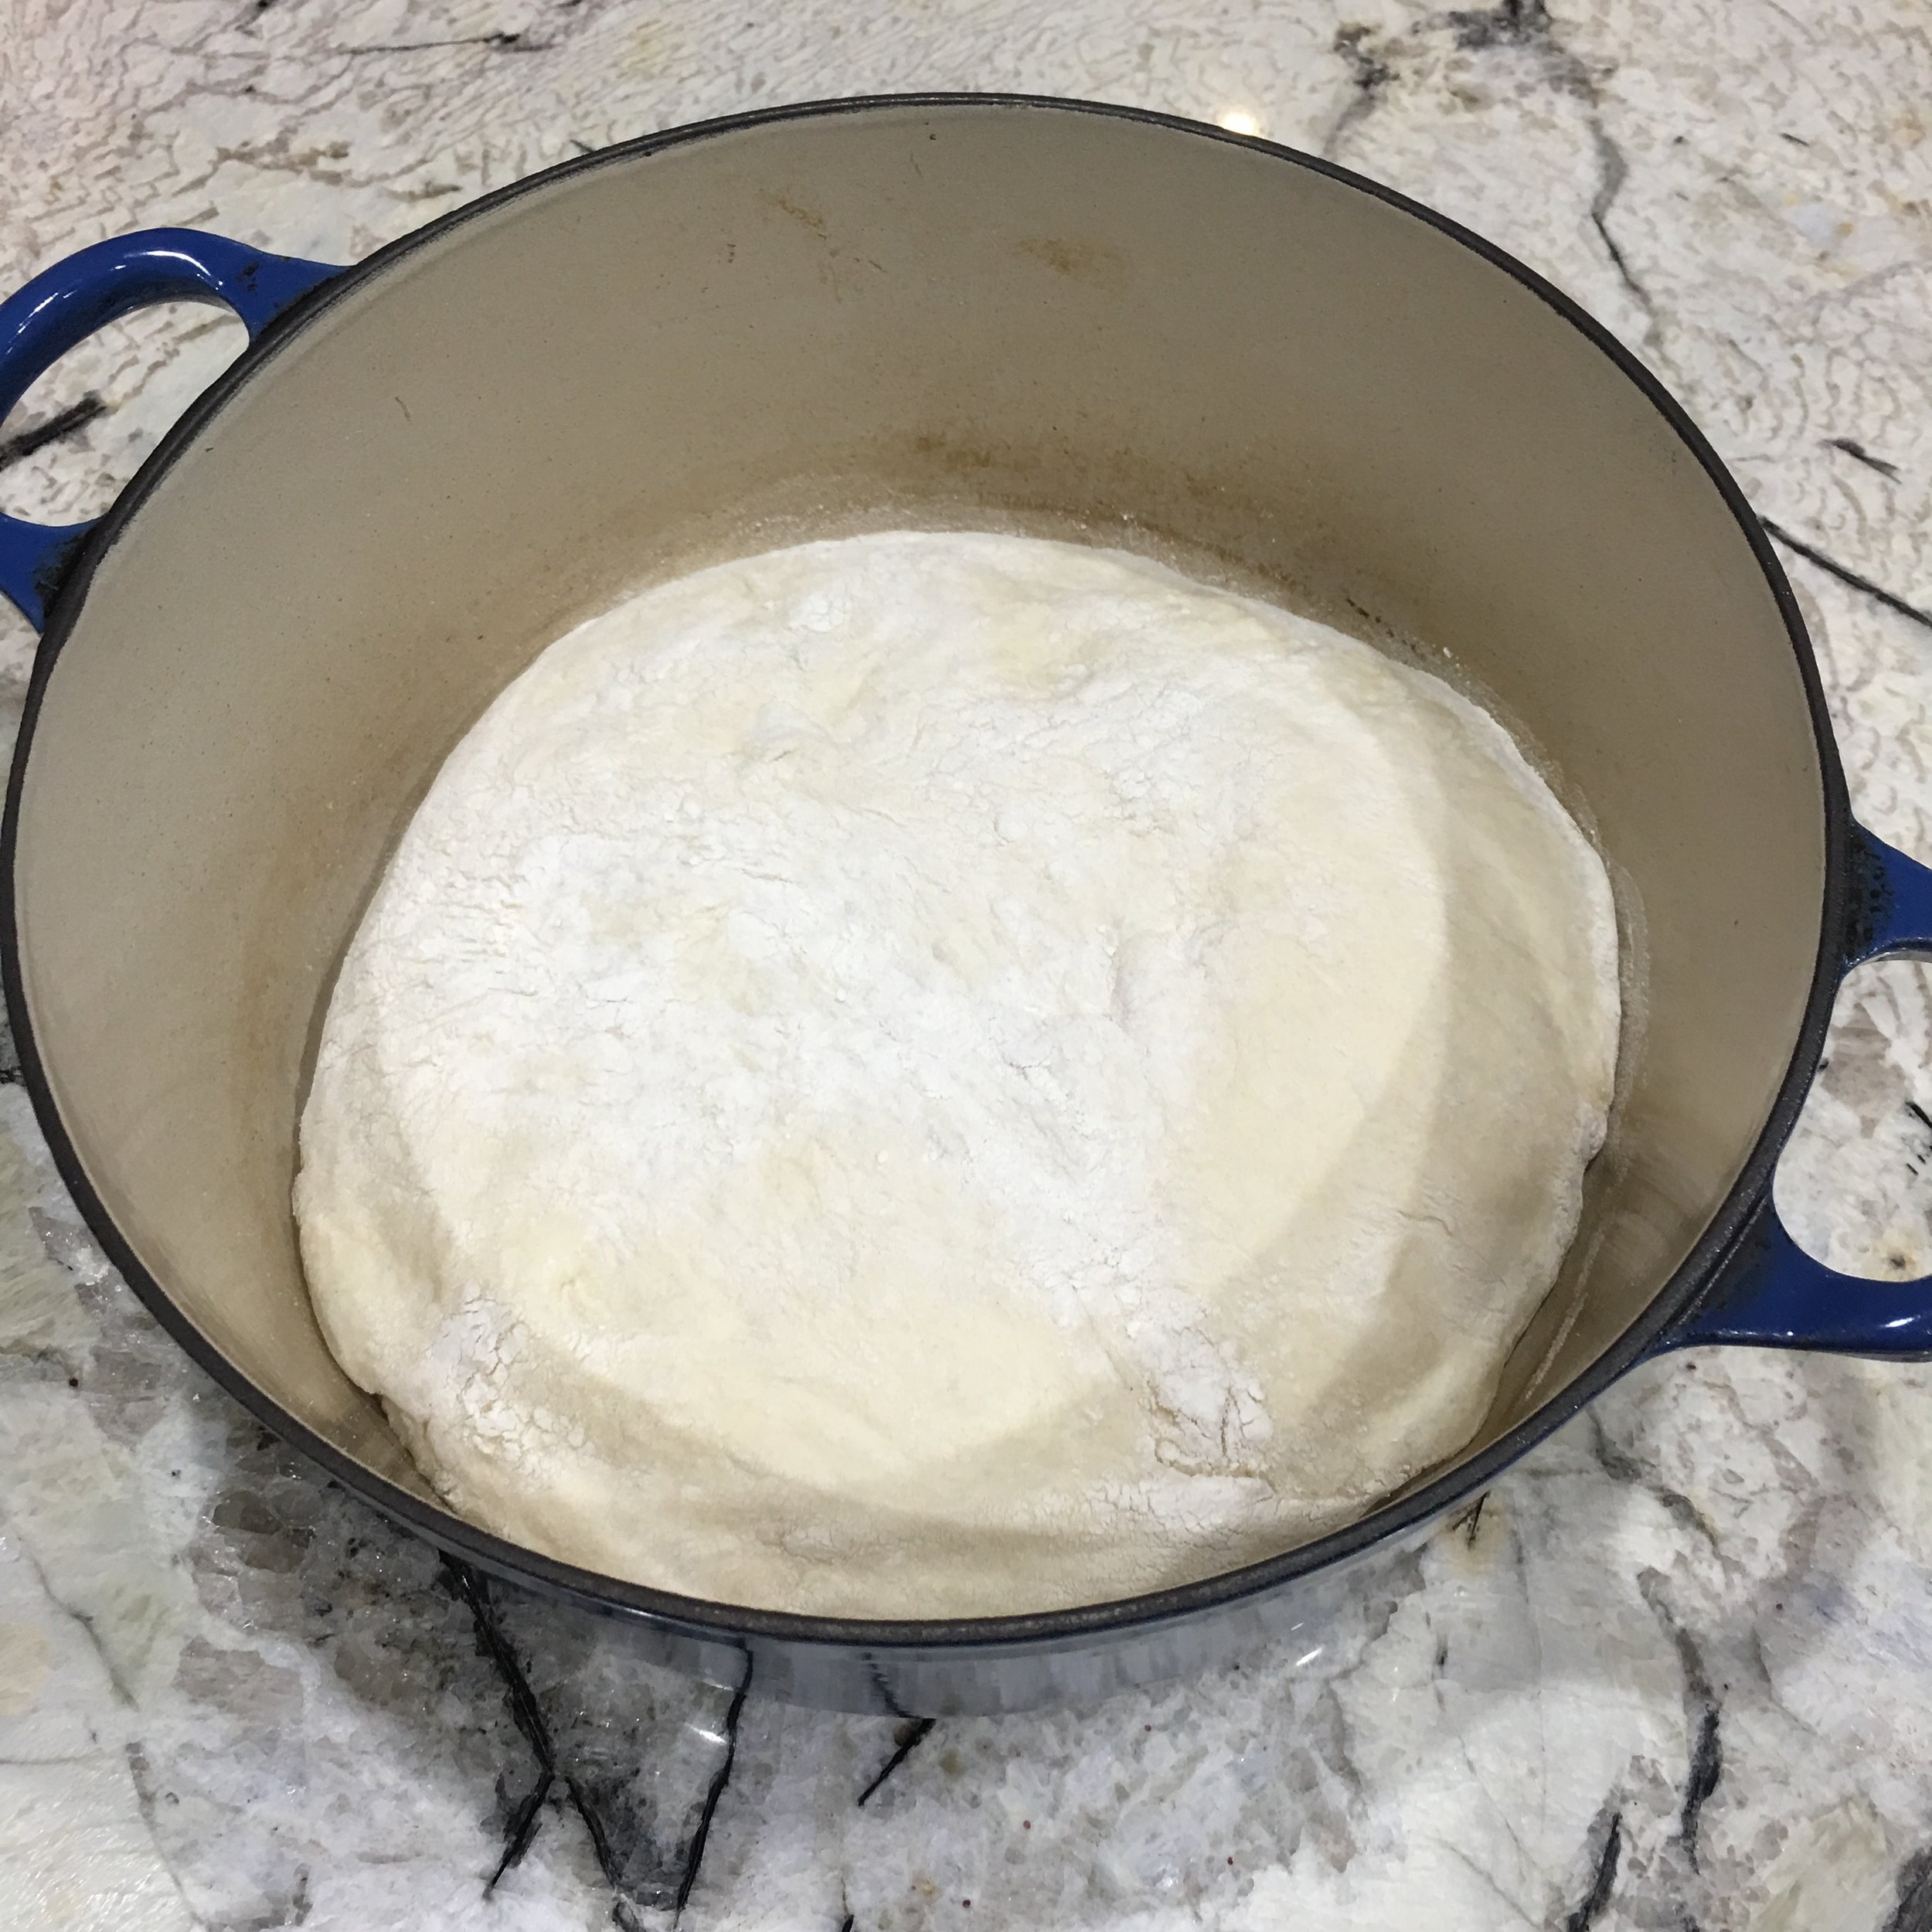
4. Carefully place dough into hot Dutch oven, cover with lid and bake 20 minutes.
5. Remove Dutch oven lid and continue to bake another 12-18 minutes until crust is a golden brown.
6. Remove loaf from oven and cool.
7. Enjoy!


At The Market: Shrimp with Green Beans, Potatoes and Mustard Seed

IMG_9302.JPG

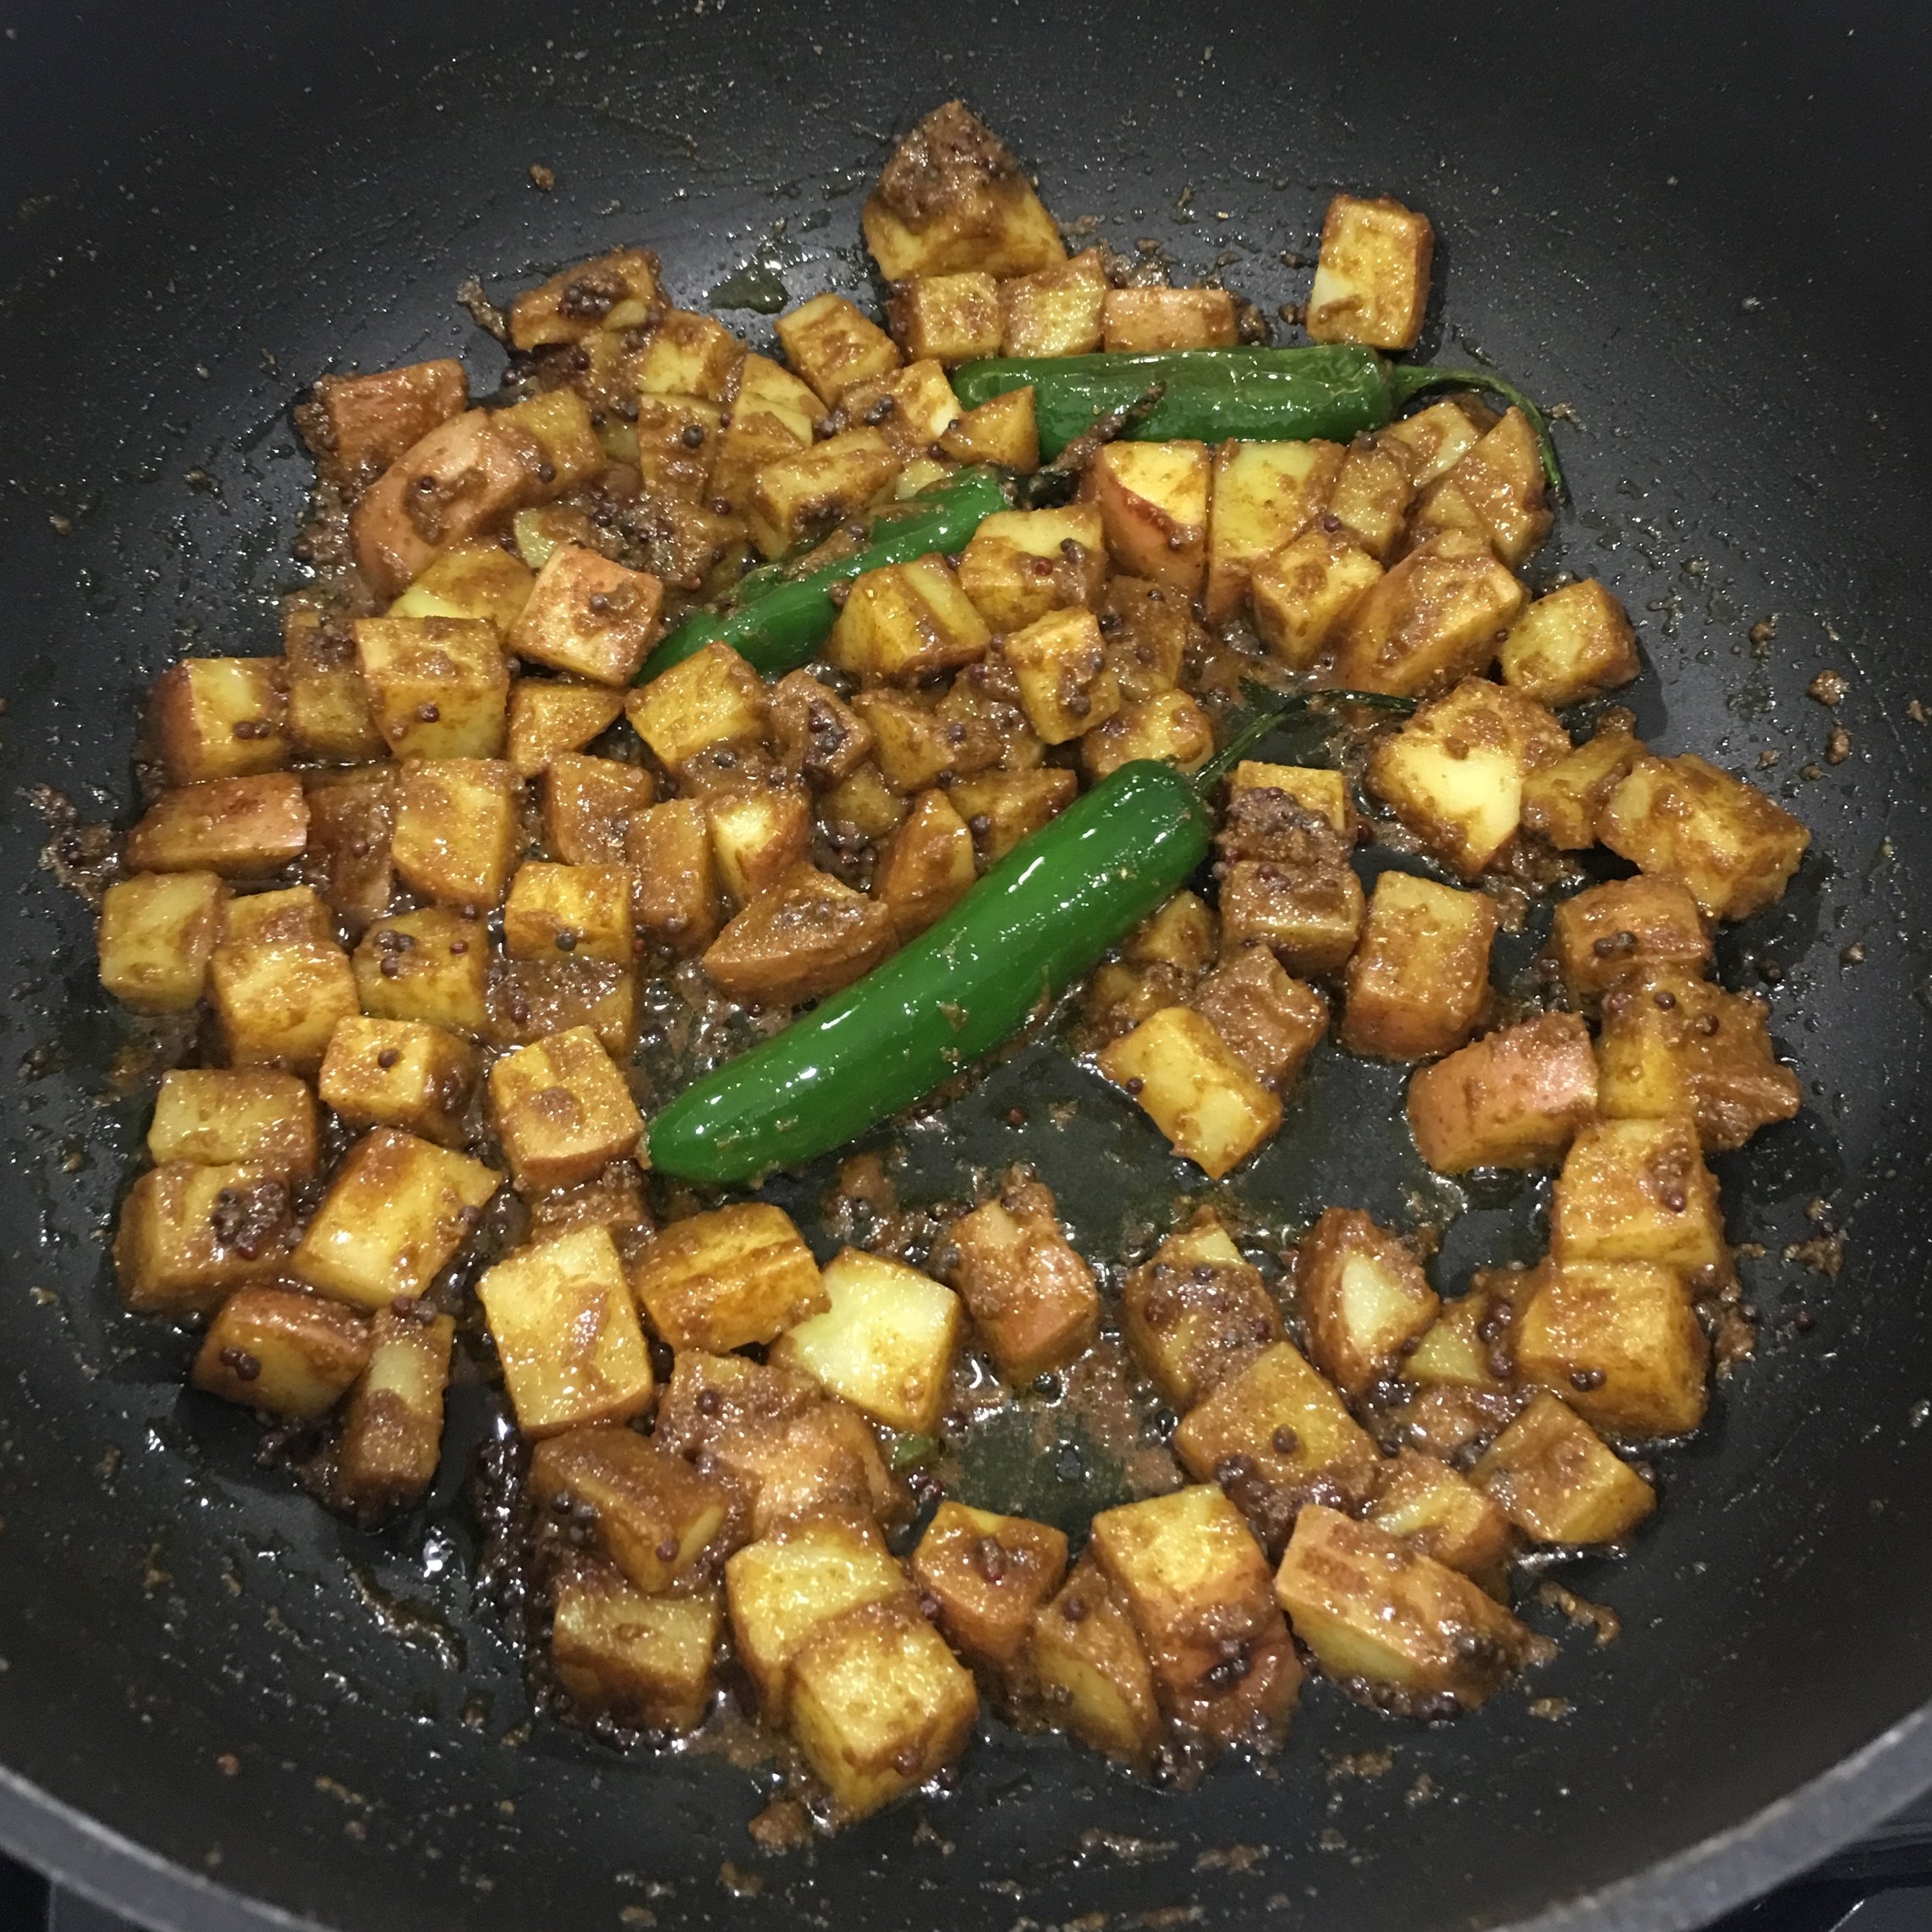
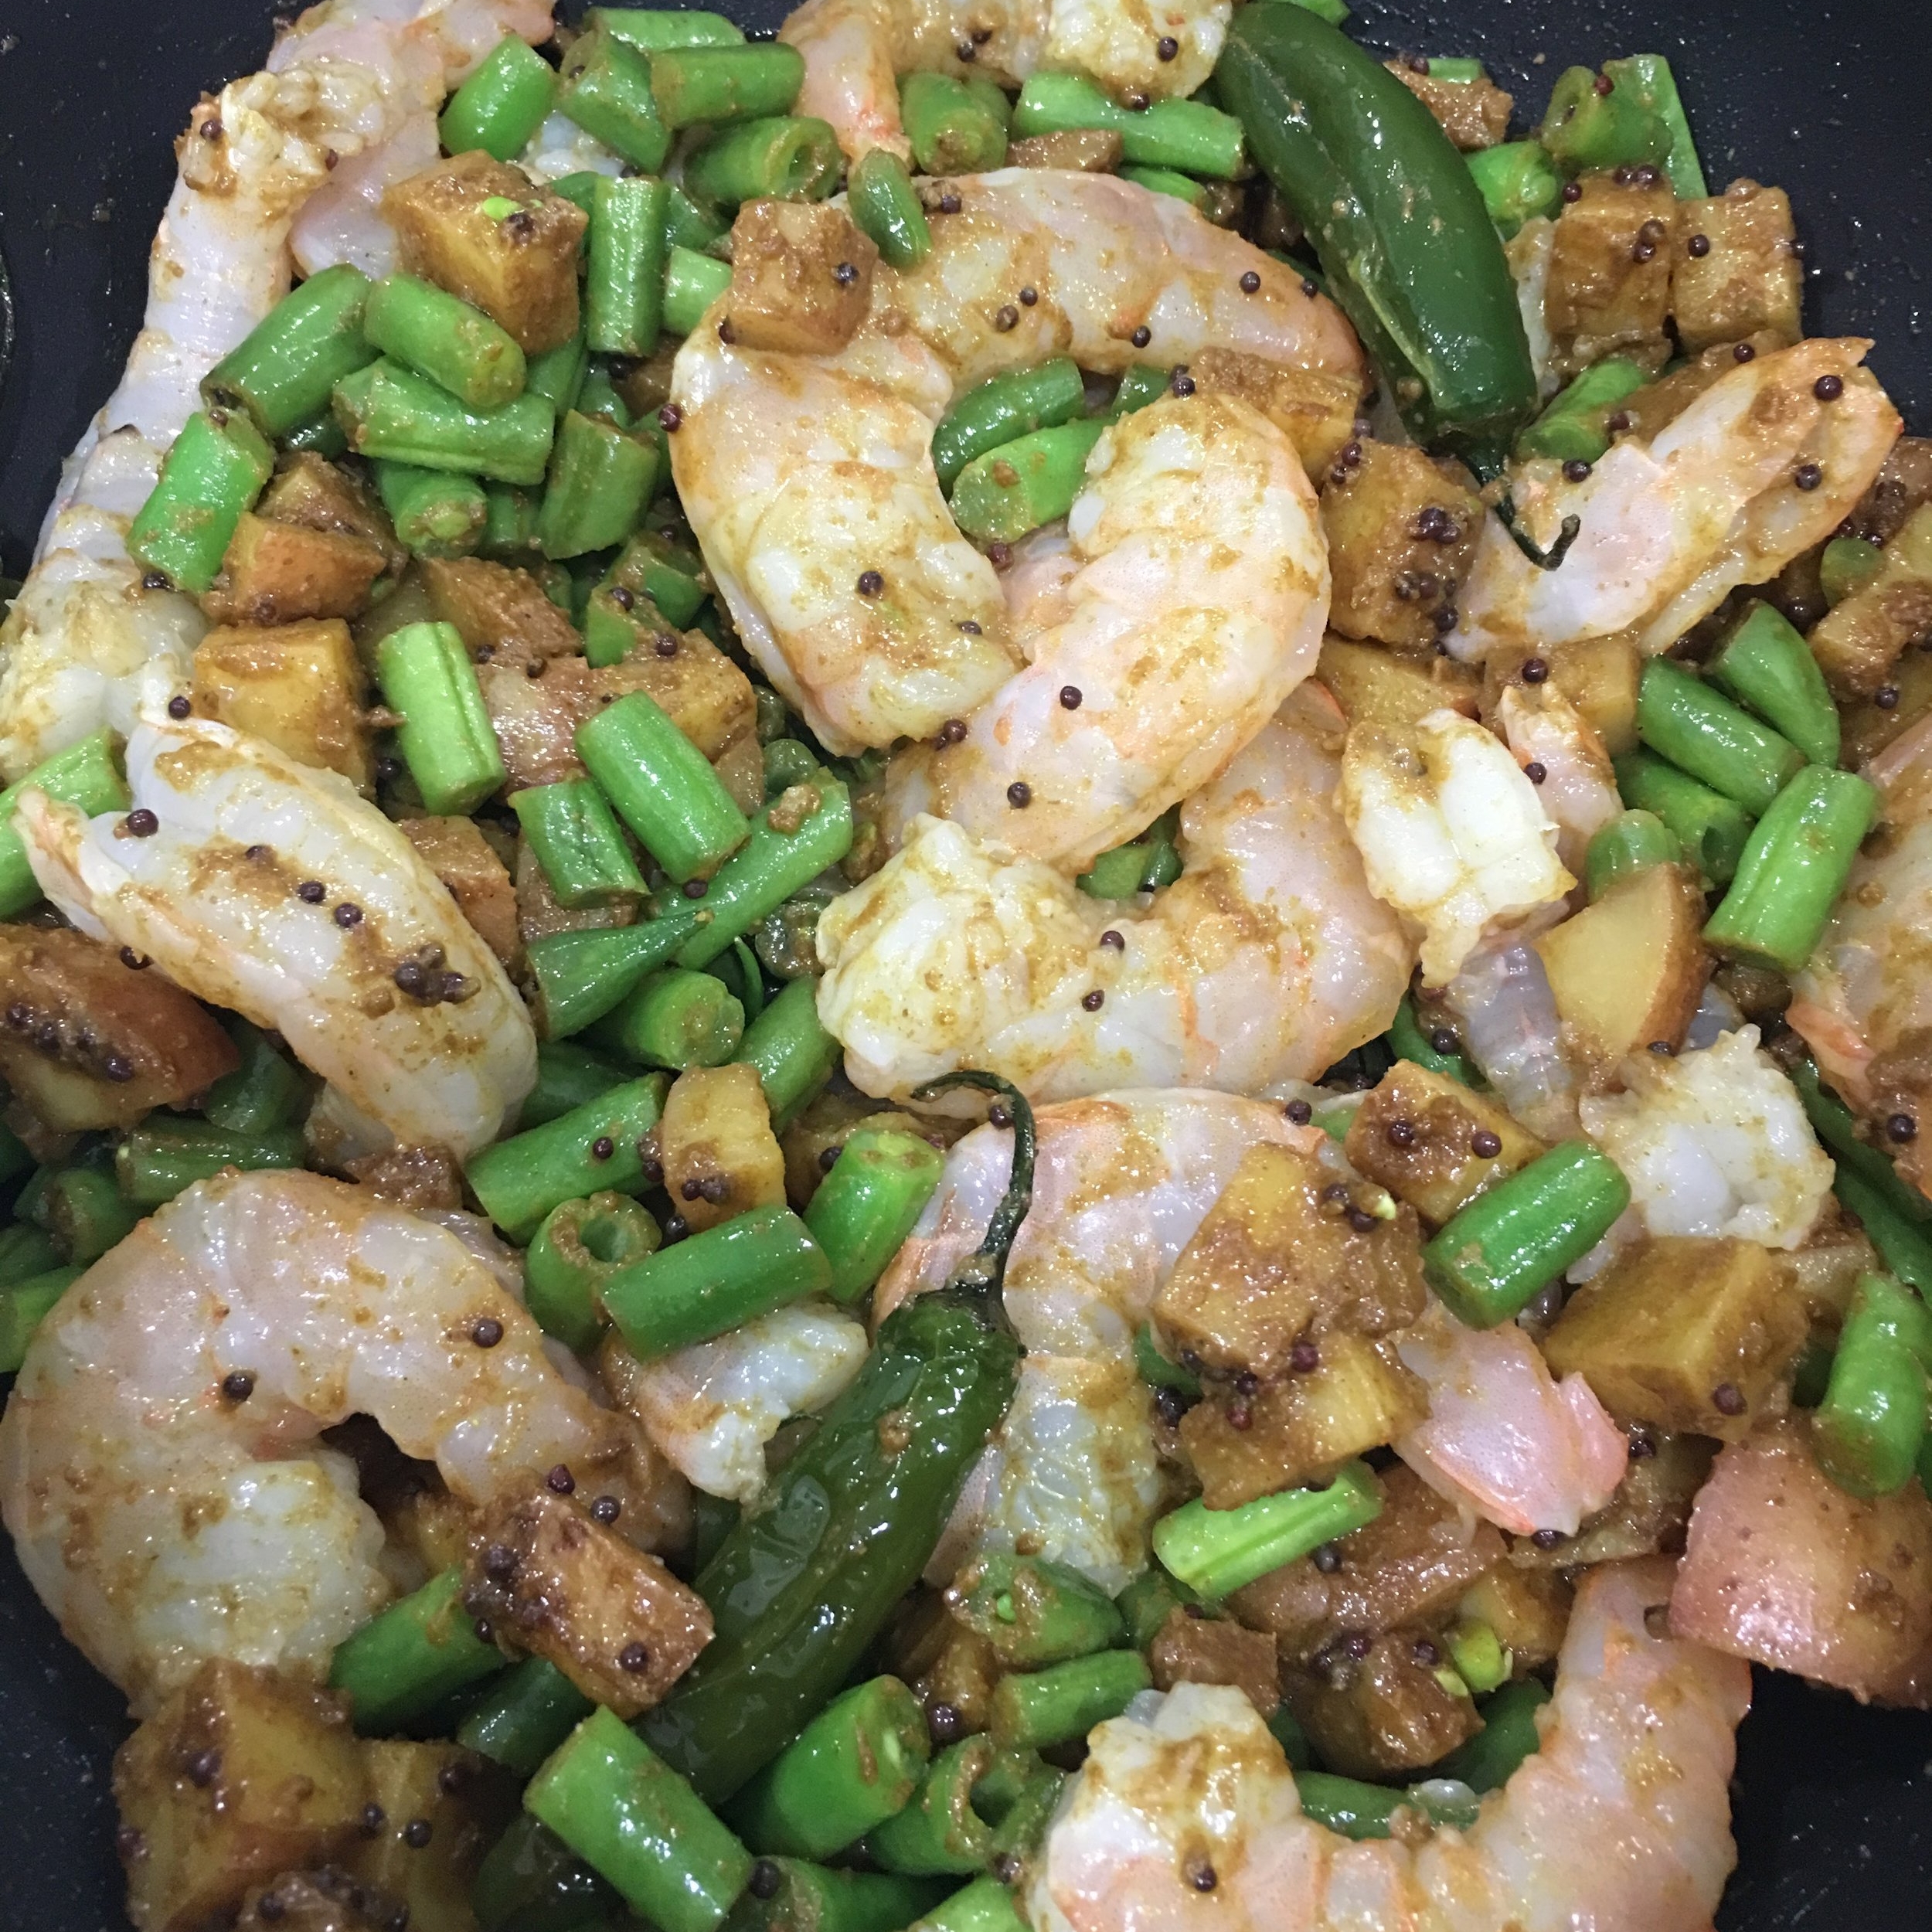
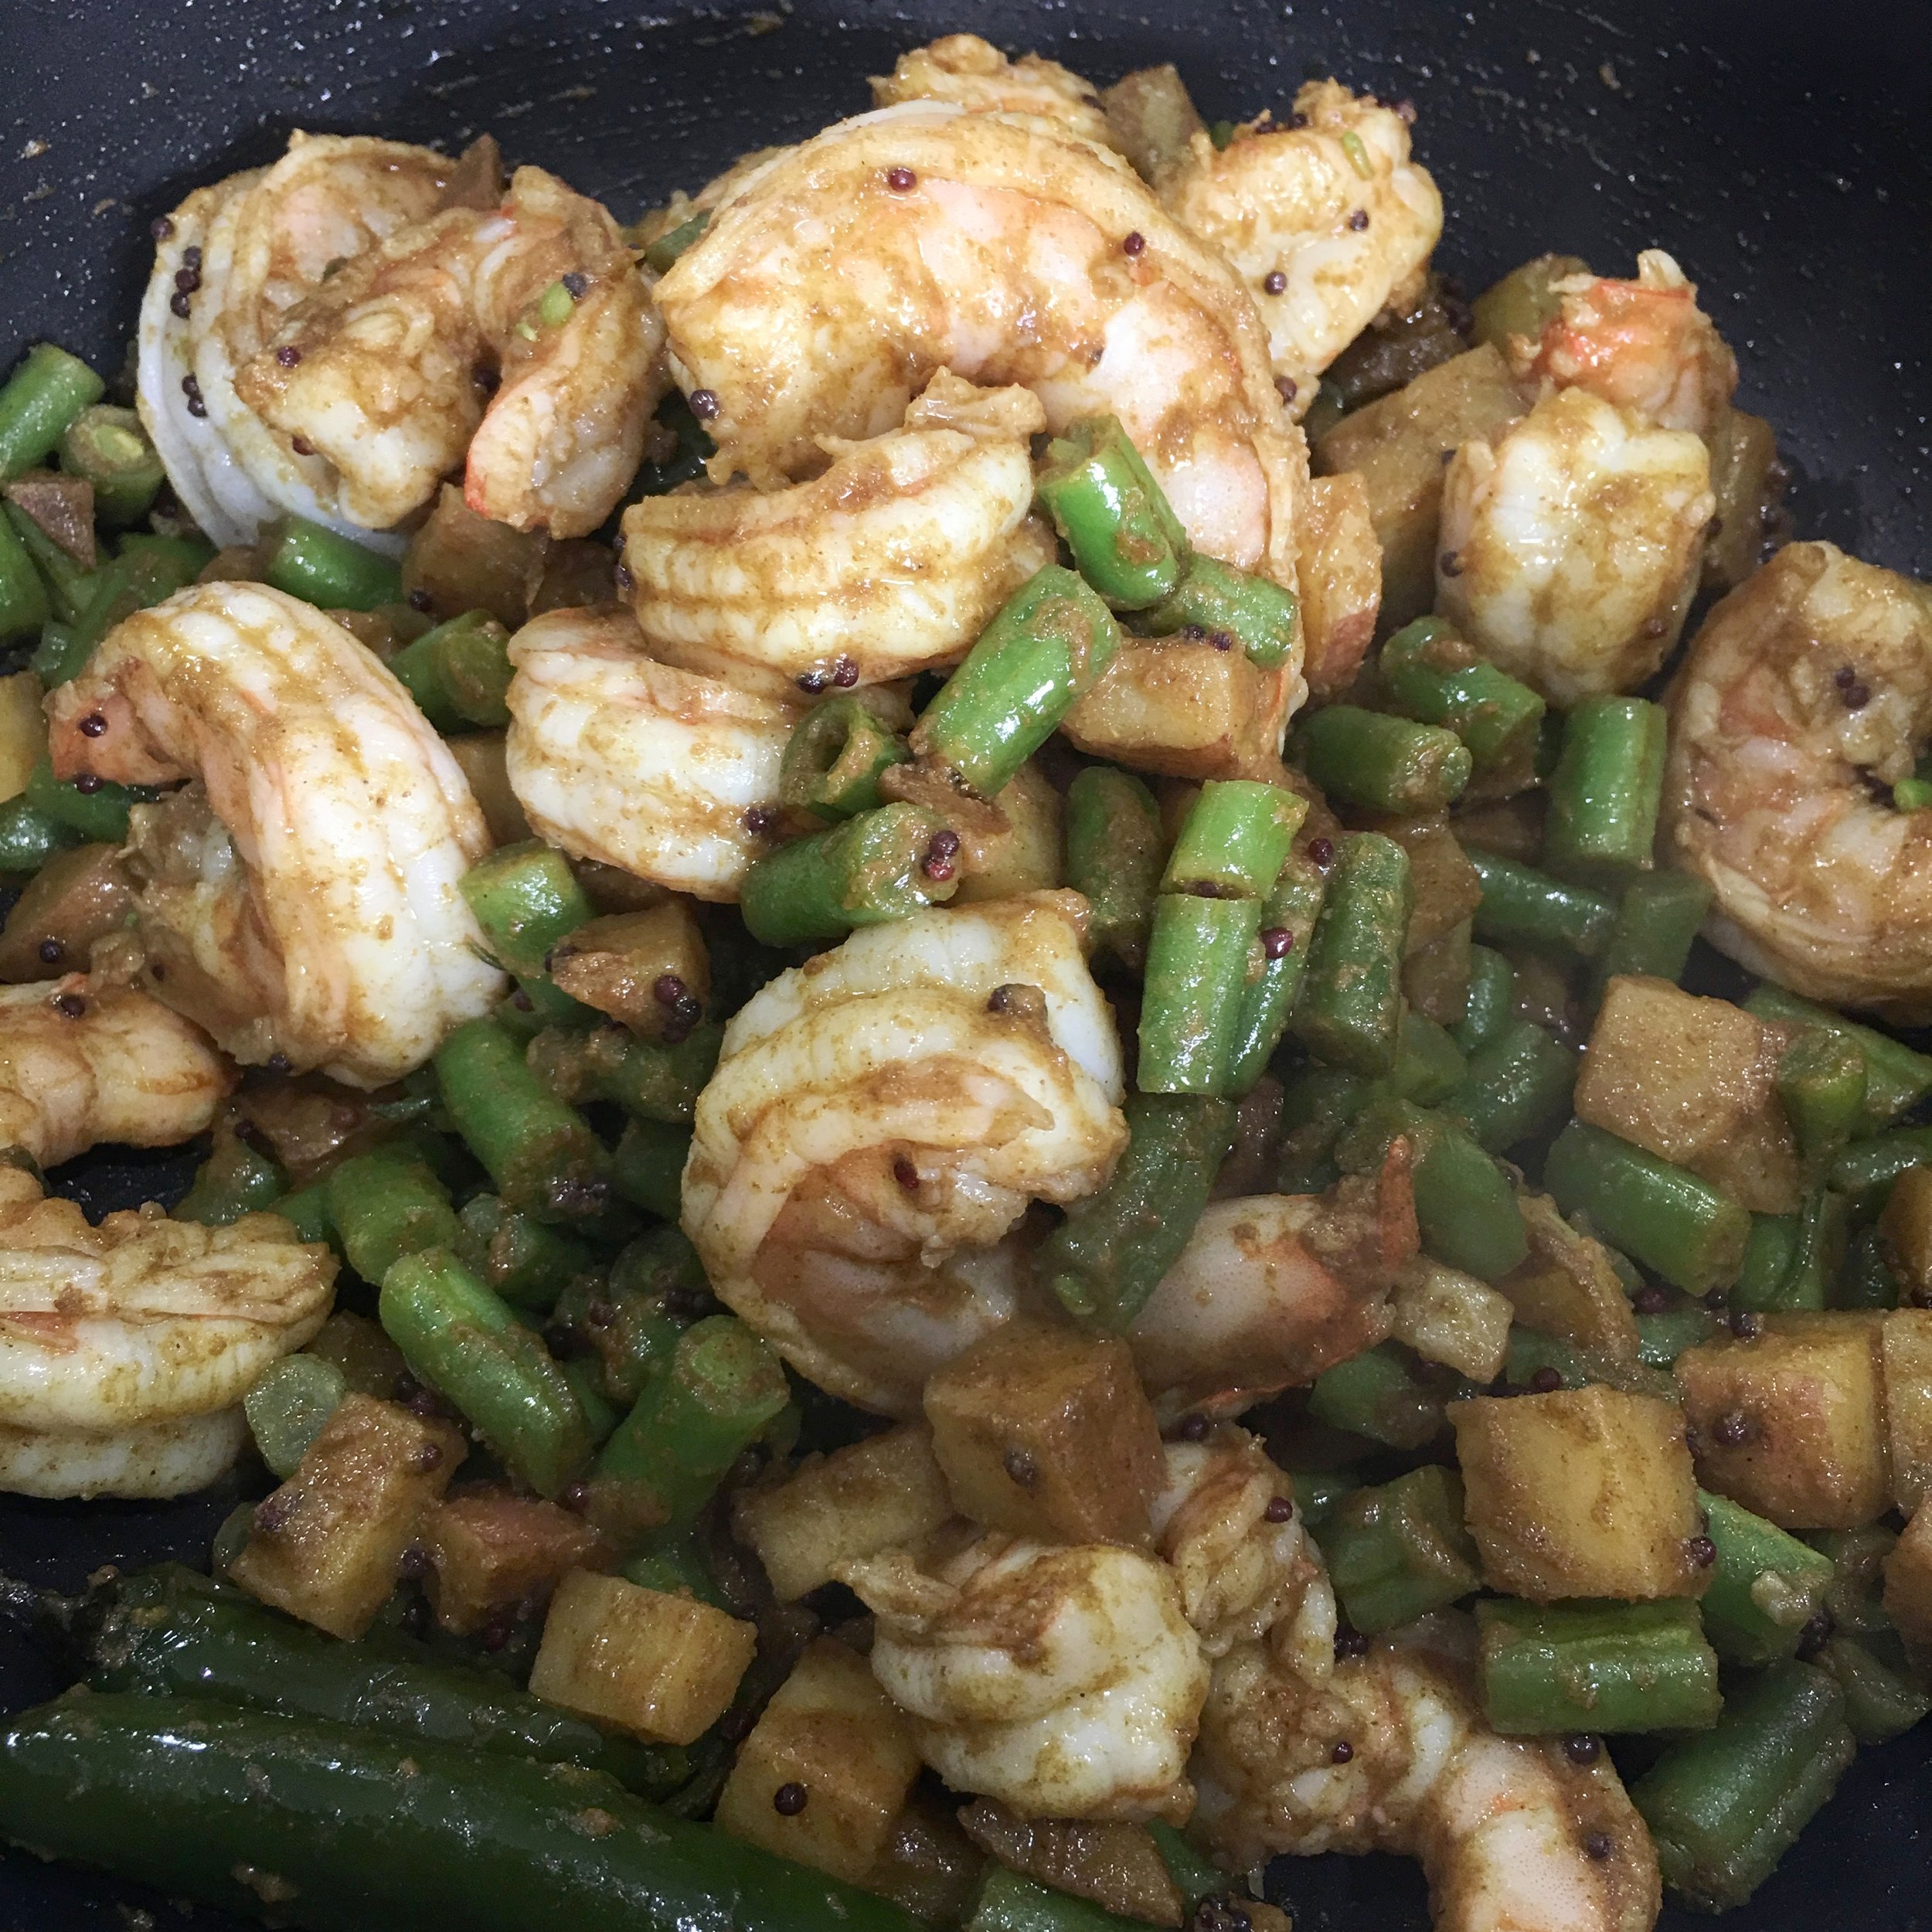
The summer heat has been relentless and many of the gentler, more tender crops have dried up. We've also had a drenching rain that caused flooding over the July 4th holiday. In Houston, there's been some PTSD as last year's Hurricane Harvey left us damaged and bruised.  The wounds have not yet healed and many people still have not been able to rebuild their lives.  It's a tough time for farmers, so it's even more important to support them. Whatever is available at their stands will be what I will cook with.  As I live close to the Gulf of Mexico, I'm fortunate to have Lil Emma's Seafood bringing fresh shrimp that were swimming just a few hours earlier right to my farmers' market. With a few potatoes, green beans and a little help from the pantry, a quick, easy and nutritious dish came together.

Using mustard seeds and mustard oil give the shrimp a lovely warm flavor without too much sharpness. Along with the turmeric, mustard is an anti-inflammatory agent in Ayurvedic teachings. I like the flavor of green chilies, but feel free to leave them out or use ground cayenne.

Shrimp are high in cholesterol, but are an excellent source of protein, magnesium and some calcium.  Potatoes are rich in Vitamins C, B6, magnesium, iron and fiber. Green beans are rich in Vitamins A, C, B6, folic acid,  and the minerals calcium, iron and copper.  The fresher the vegetables, the more nutrition they contain as many vitamins, especially Vitamin C, degrade rapidly with storage.  

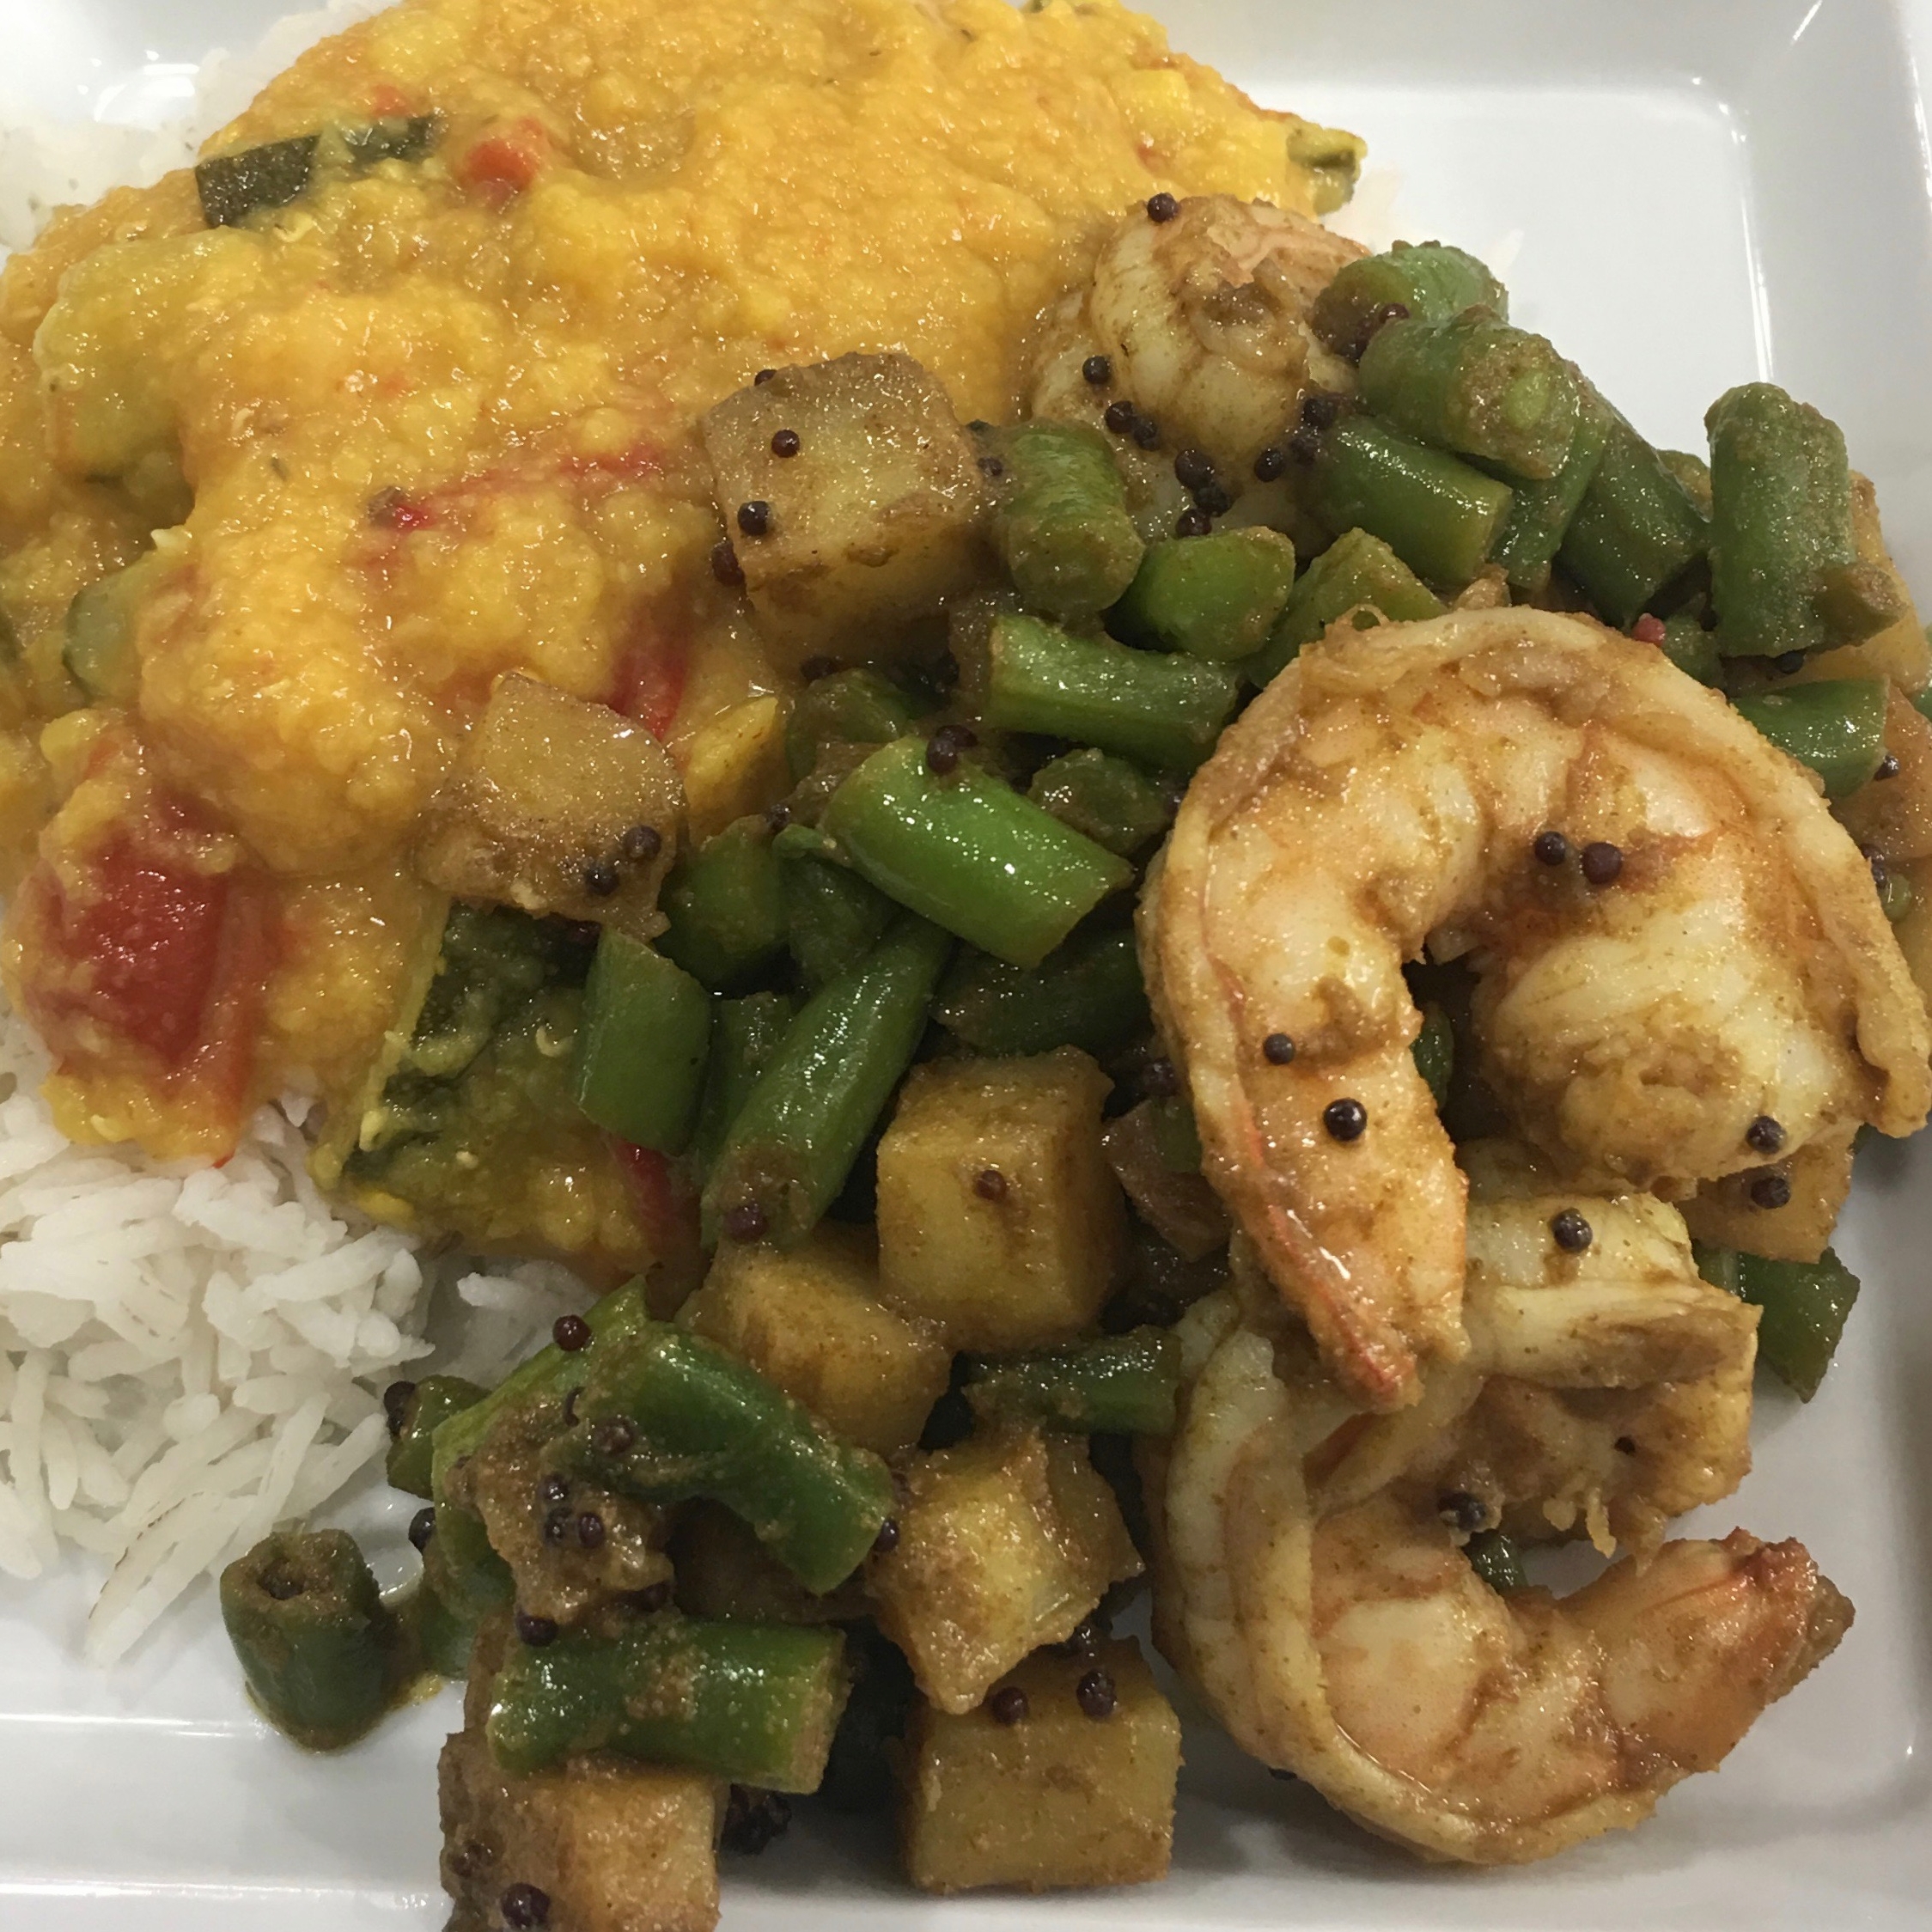
Today, I made basmati rice and Indian style lentils/daal with zucchini and tomatoes (in plentiful supply right now) to go along with the shrimp. As always, the vegetable component of the meal is the largest, with the meat, in this case shrimp, playing a special guest starring role, in small quantities. You can also serve this with bread, or just a fork.

If you don't have fresh shrimp on hand, frozen will be fine. Thaw them slowly in a few changes of cool water.

RECIPE: Shrimp with Green Beans, Potatoes and Mustard Seed

INGREDIENTS

  • 1 pound shrimp (cleaned and deveined)
  • 1 Tablespoon extra virgin olive oil
  • 2 cups potatoes, 1/4 inch dice
  • 2 cups chopped green beans, 1/2 inch pieces
  • 1 Tablespoon black mustard seeds
  • 1-2 green chilies, split halfway (Serrano, jalapeño) or 1/2 teaspoon cayenne
  • 1/2 teaspoon salt
  • 1 Tablespoon ground coriander
  • 1 Tablespoon ground cumin
  • 1/2 teaspoon turmeric
  • 1/2 teaspoon cane sugar
  • Juice of 1/2 small lemon, about 1 Tablespoon
  • 1/2 teaspoon mustard oil

PROCESS

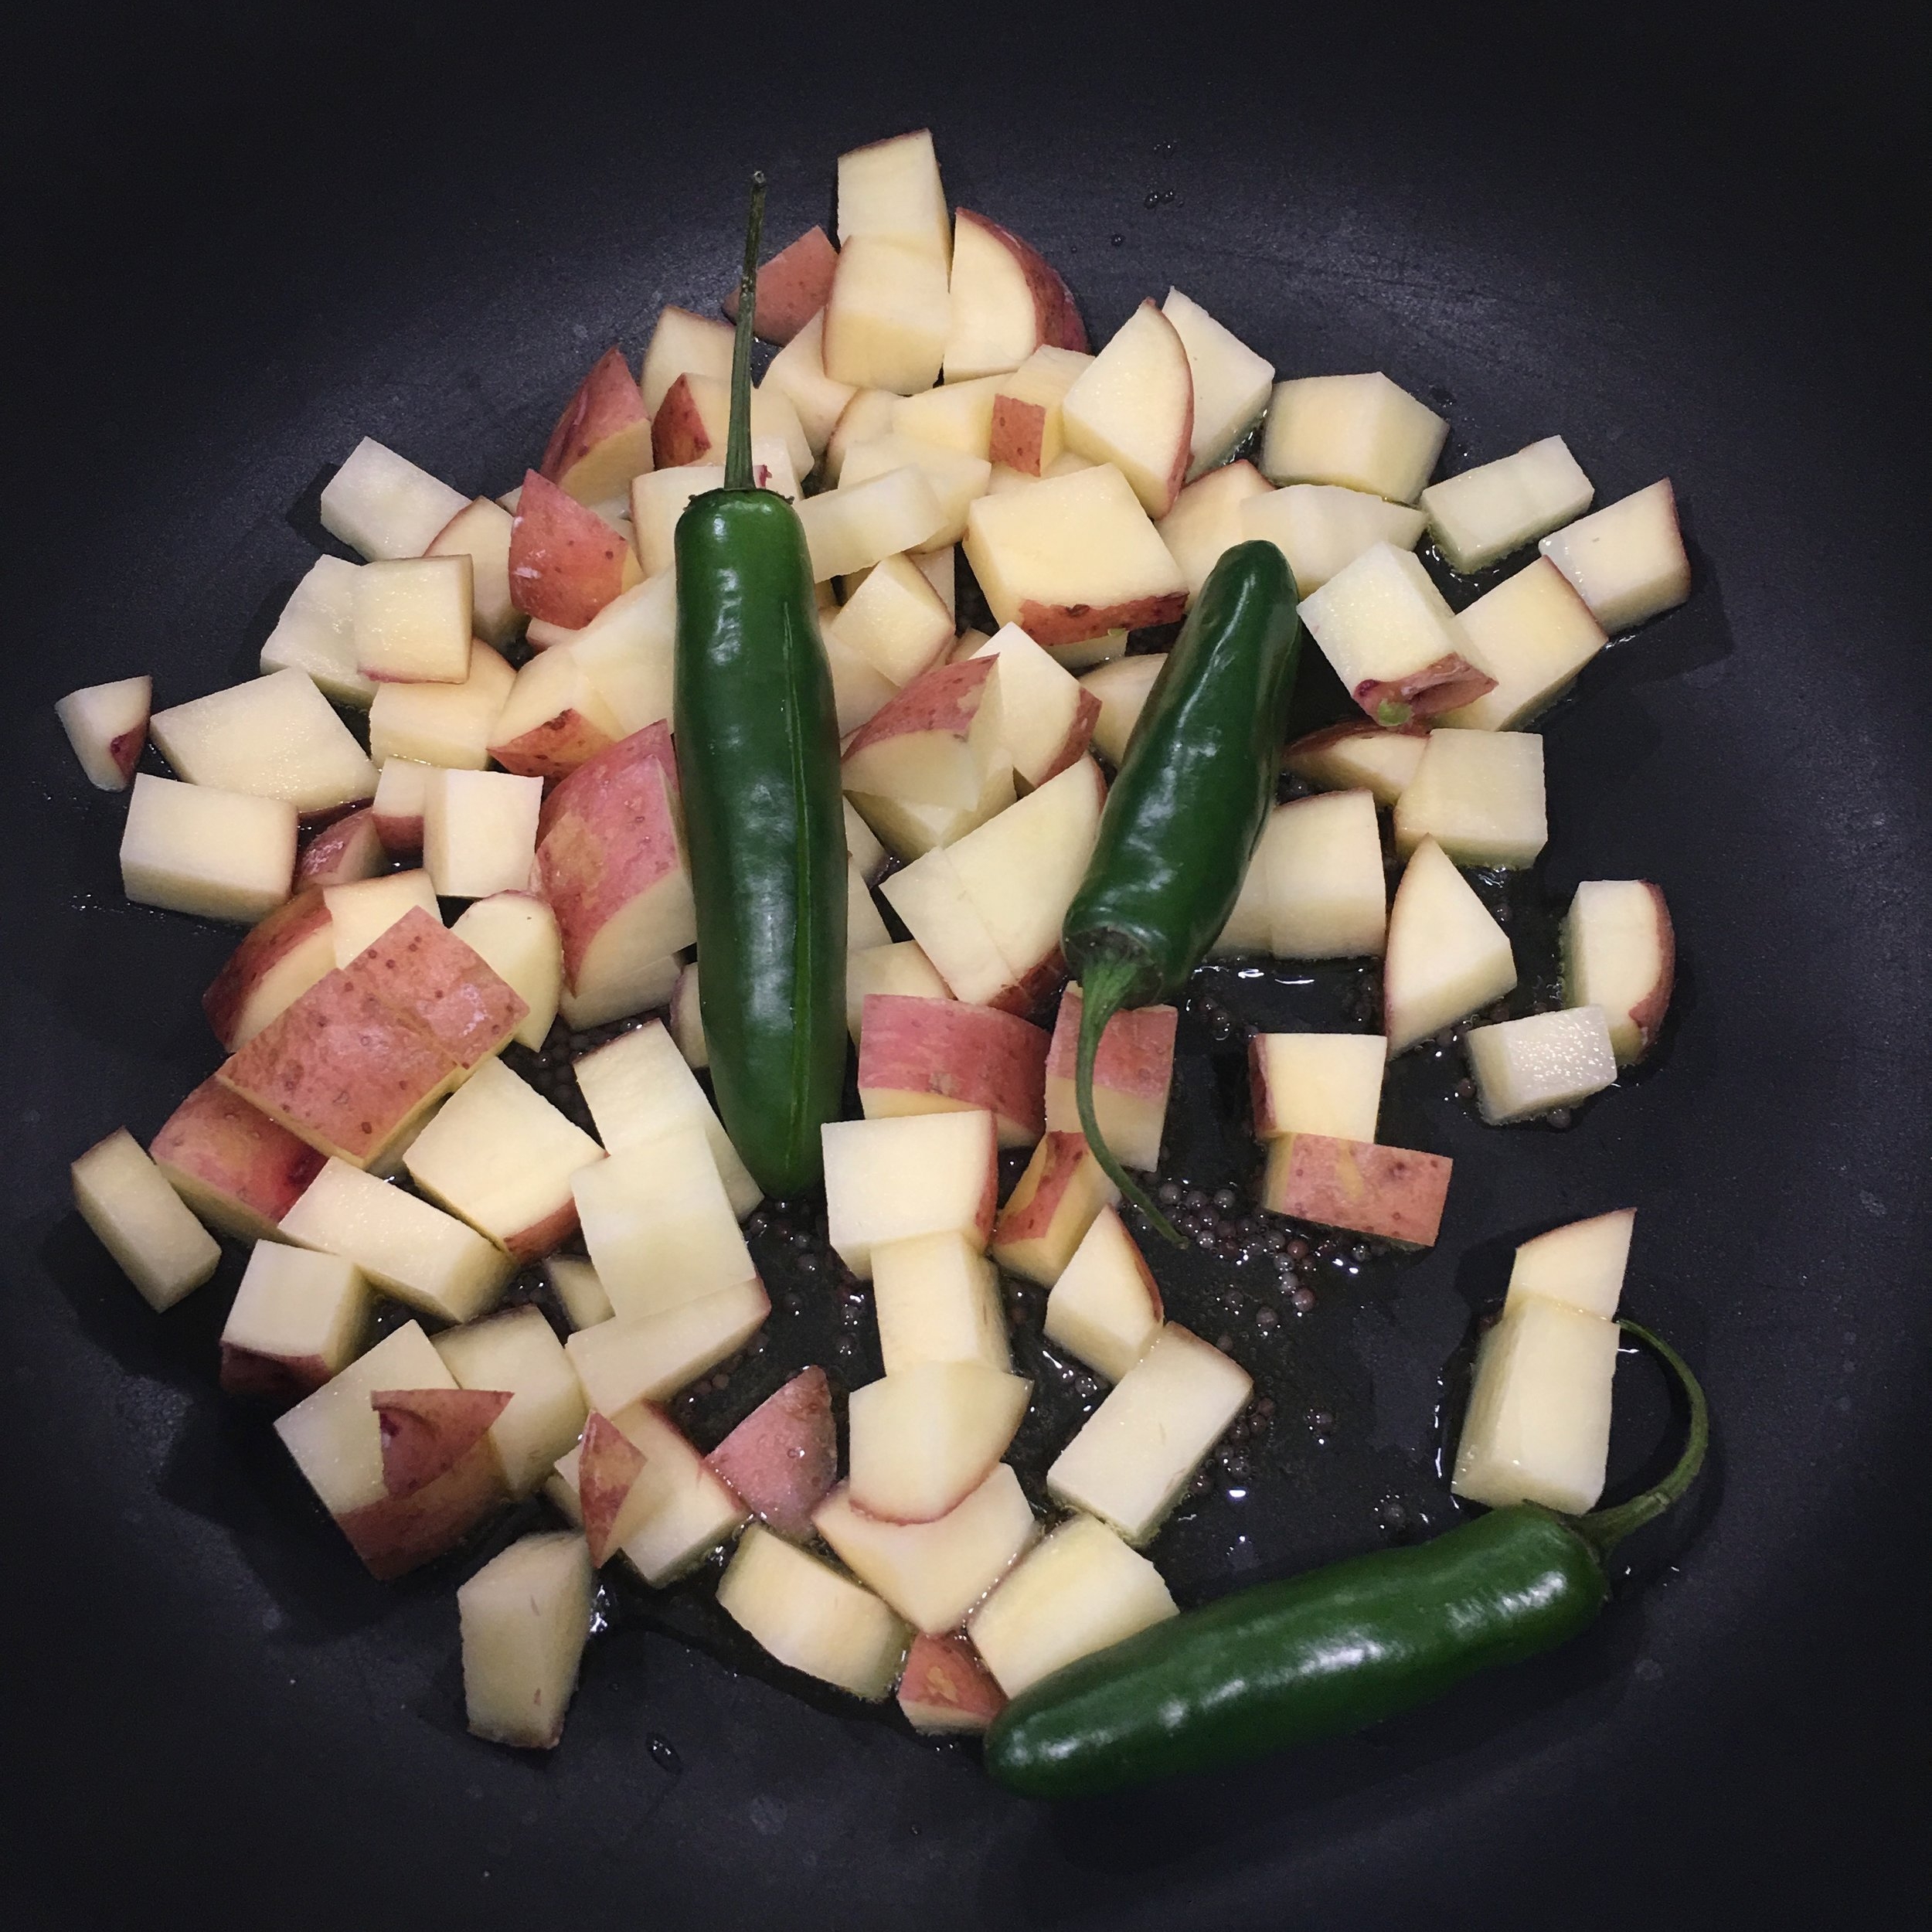
  1. Heat mustard seeds  and chilies (if using) in oil until the seeds start to pop.
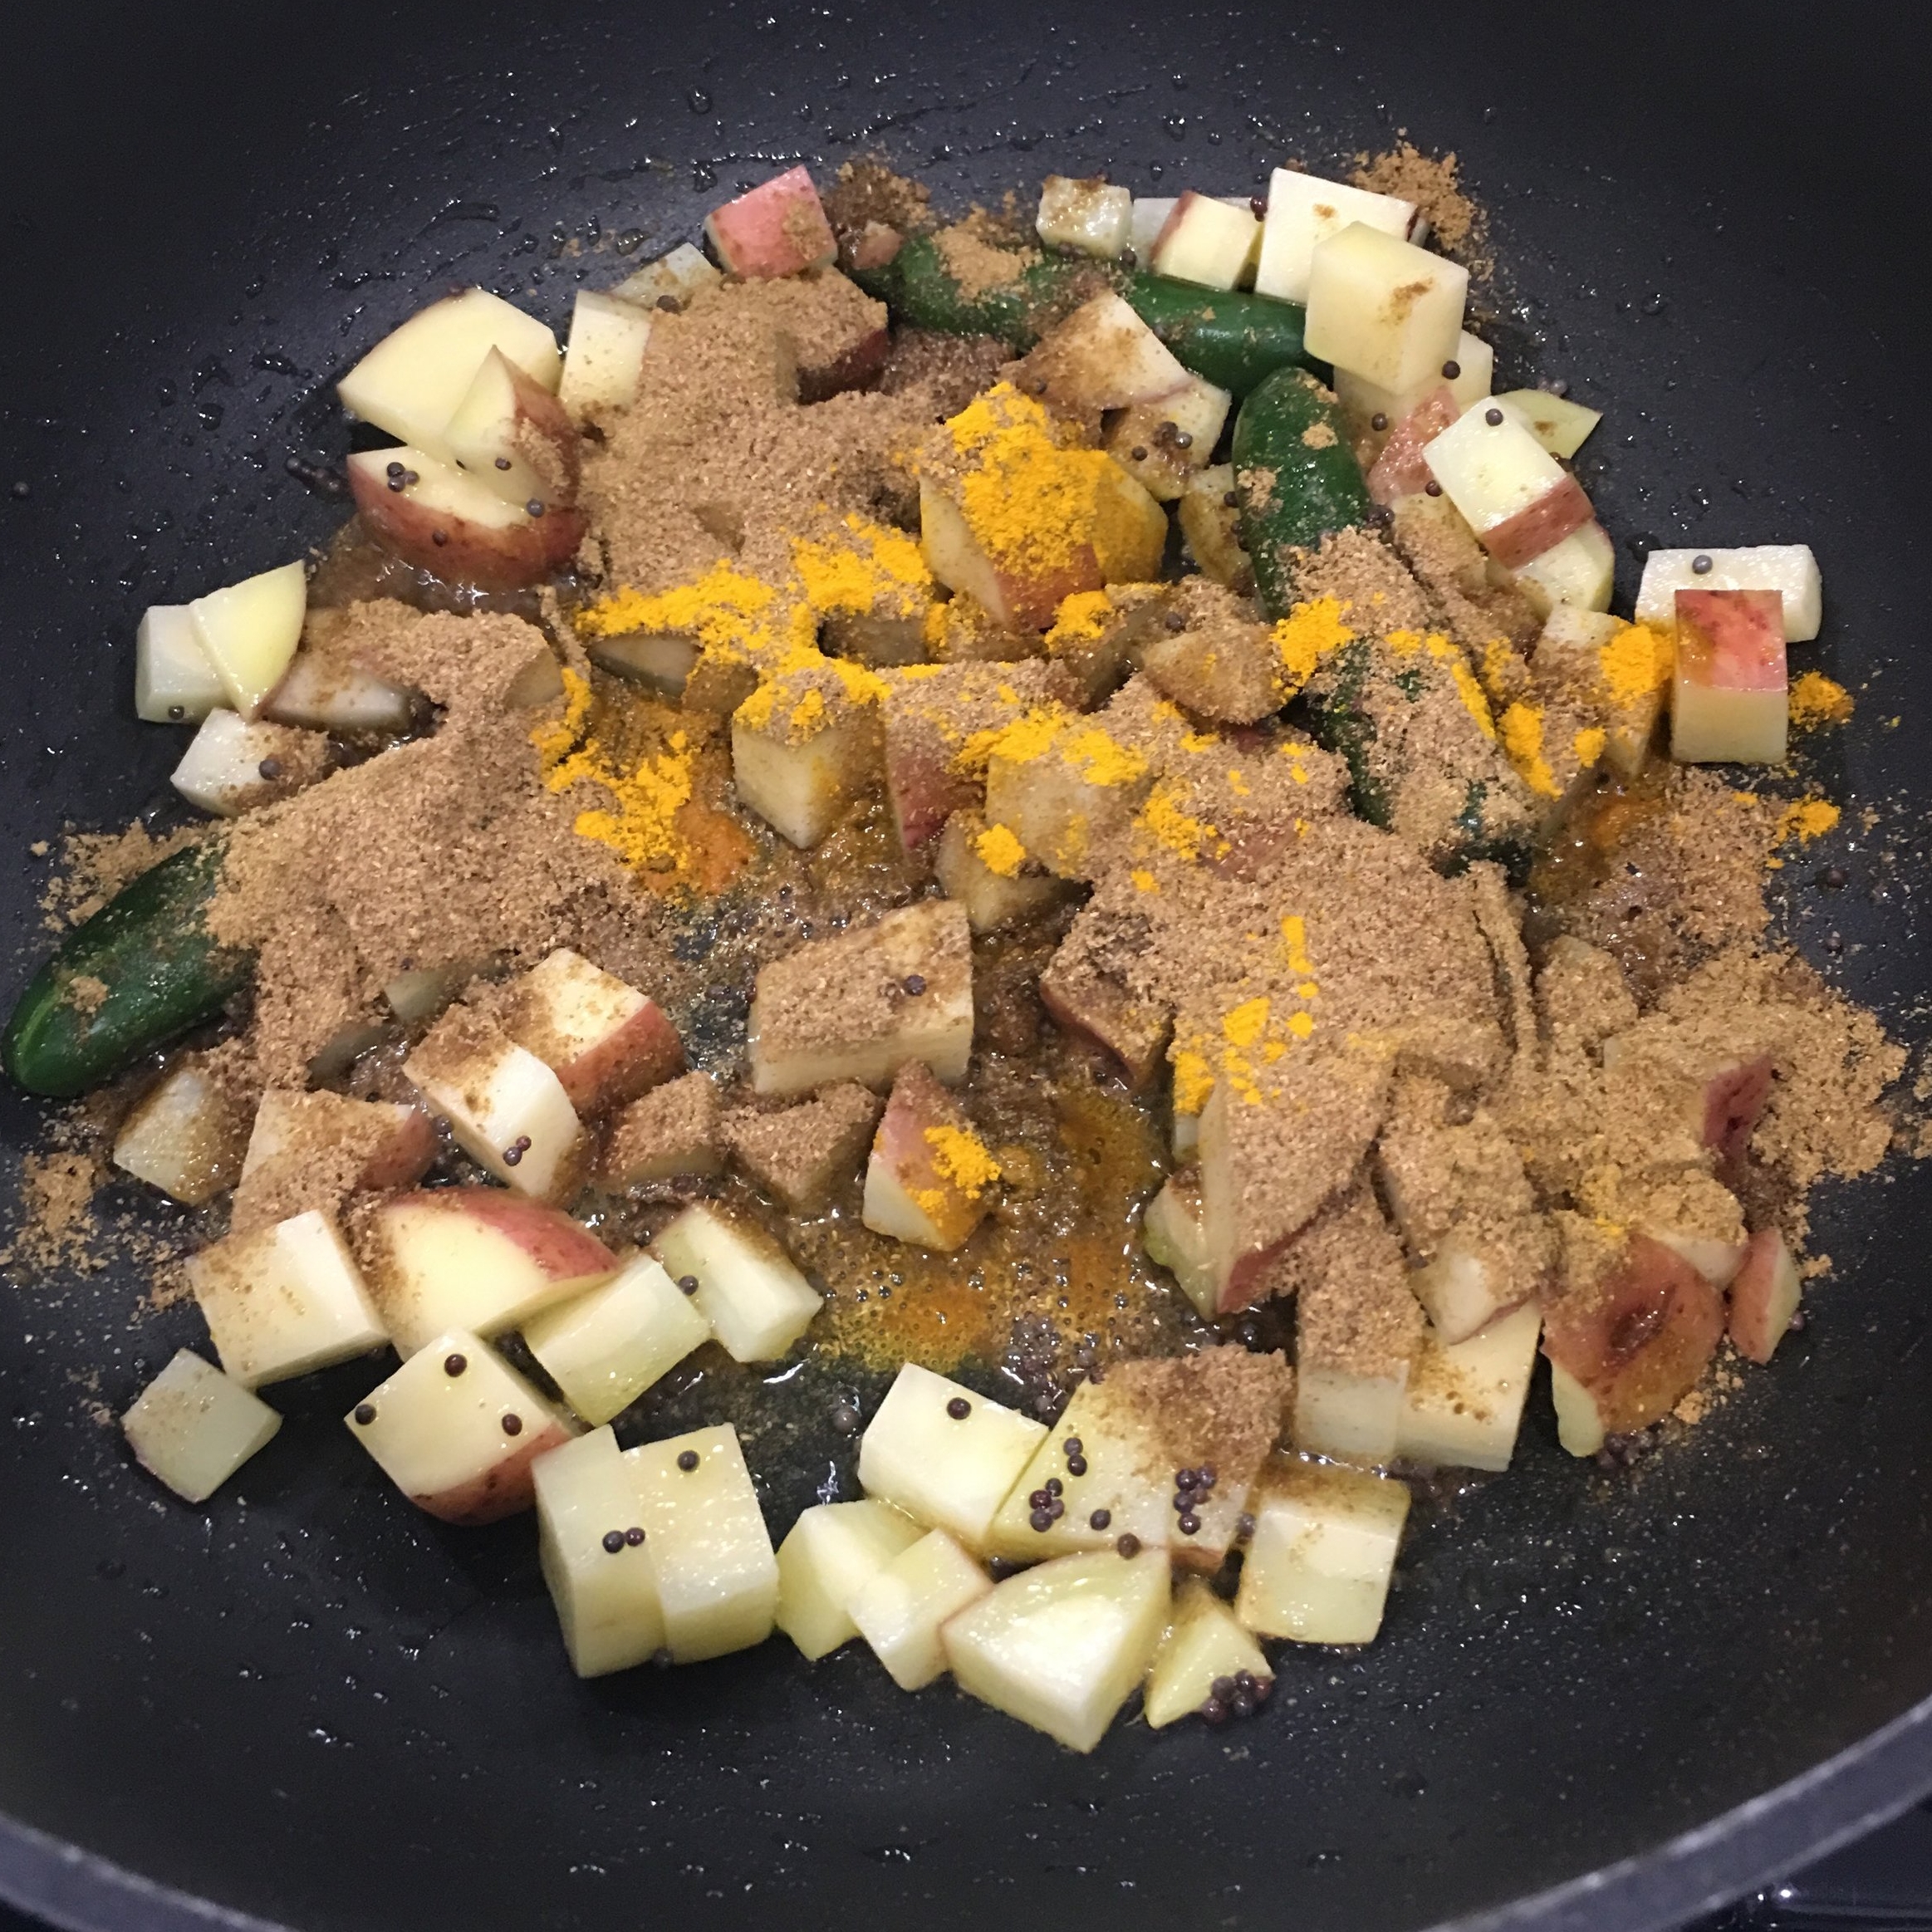
  2. Add potatoes, chilies  and spices. Sauté over medium heat for 3-4 minutes.
  3. Add 1/4 cup water, cover and cook for 5 minutes until the potatoes are just tender, but not soft.
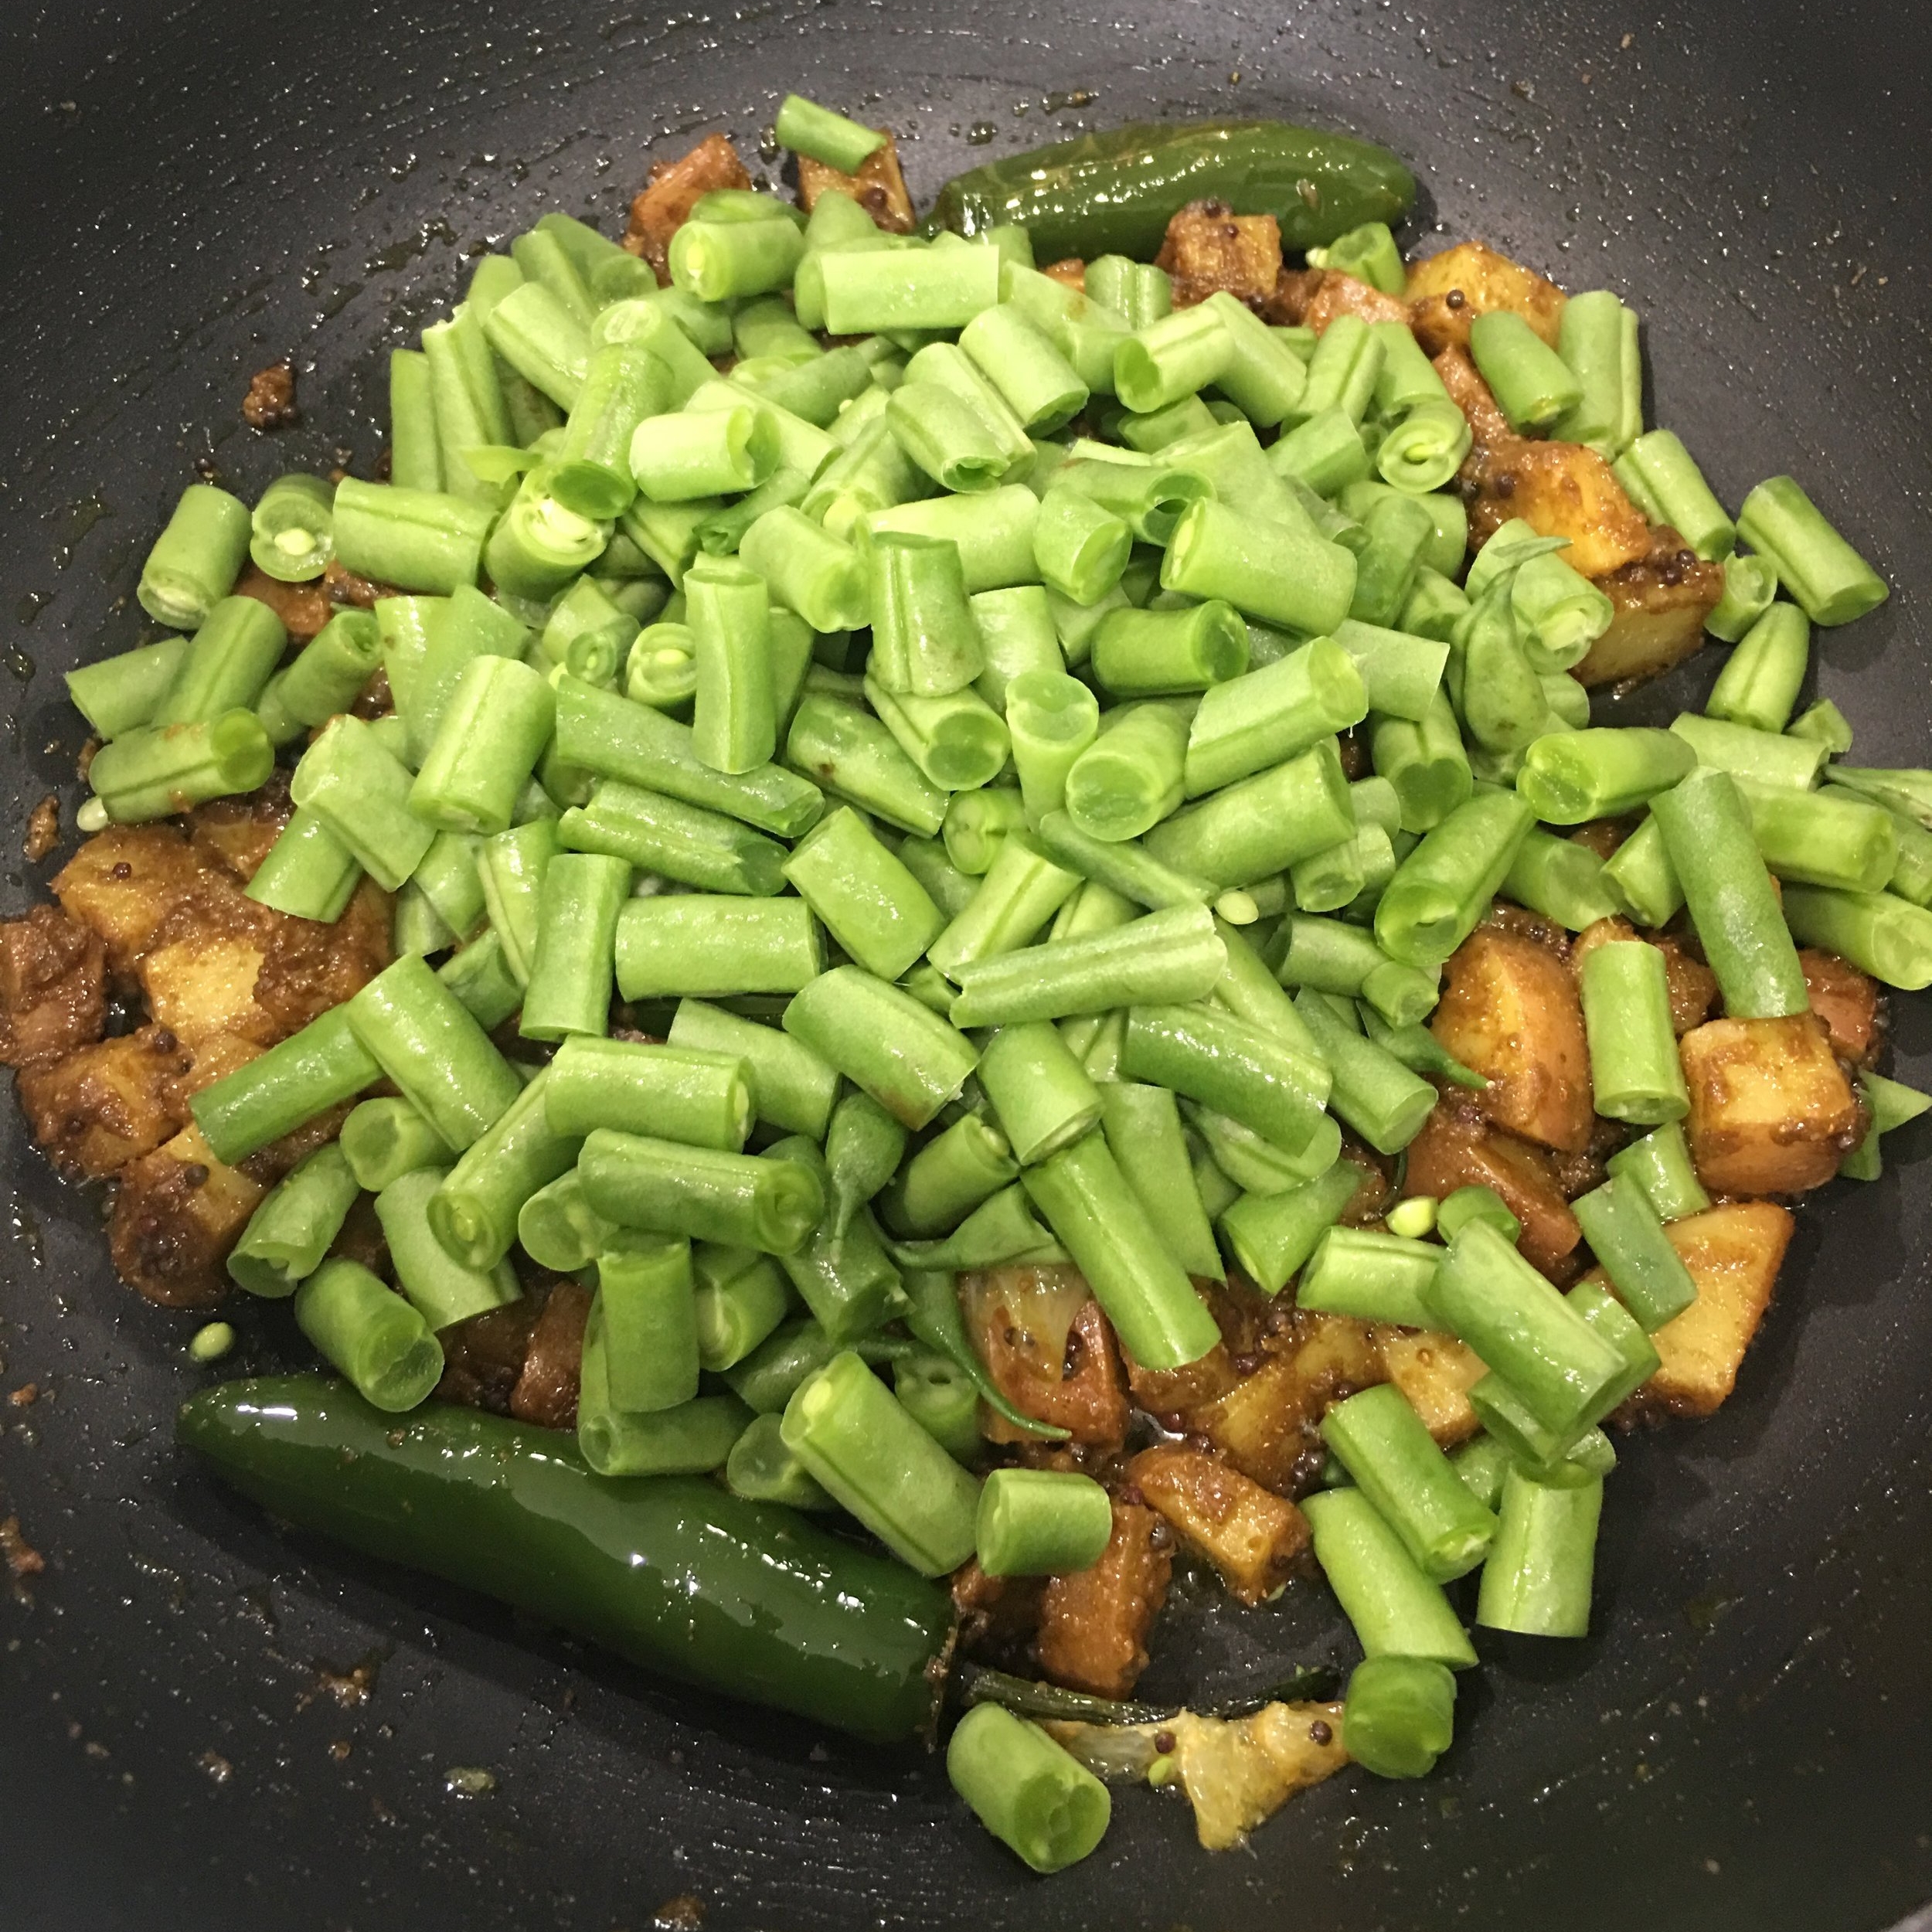
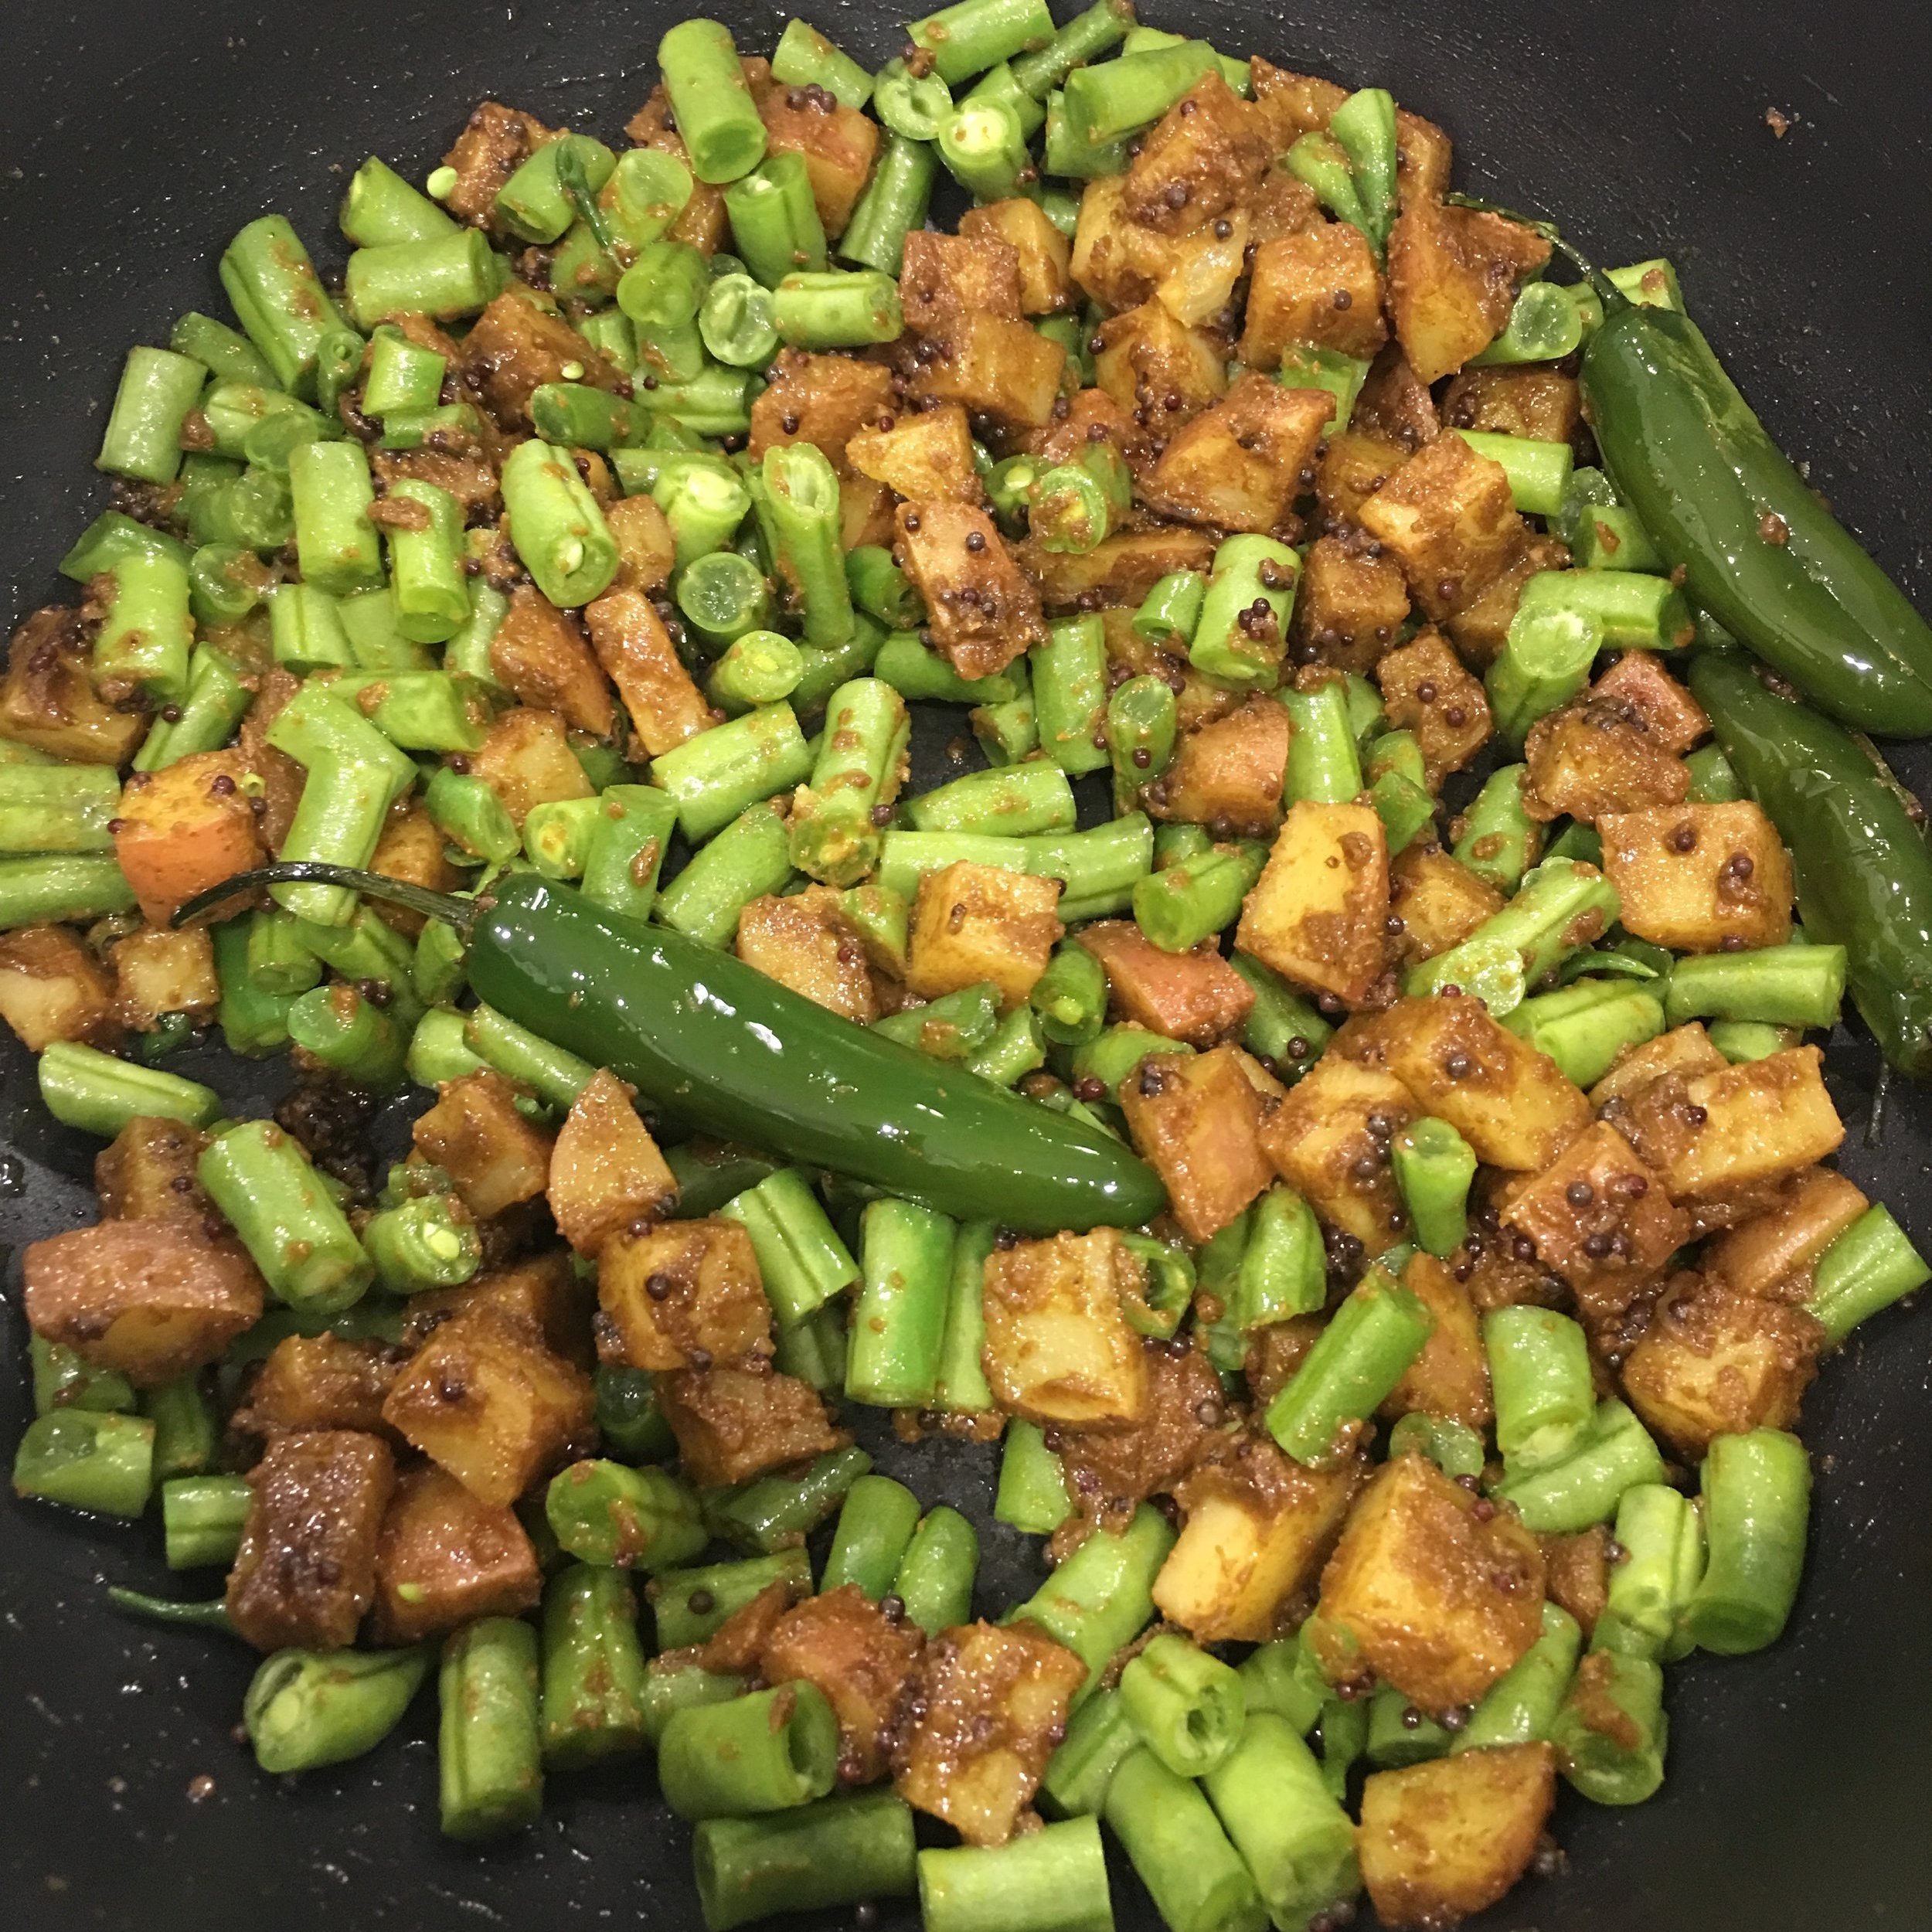
  4. Add the green beans, sautéed for 1-2 minutes and food covered for about another 2 minutes. They should remain undercooked as they will cook further with the shrimp.
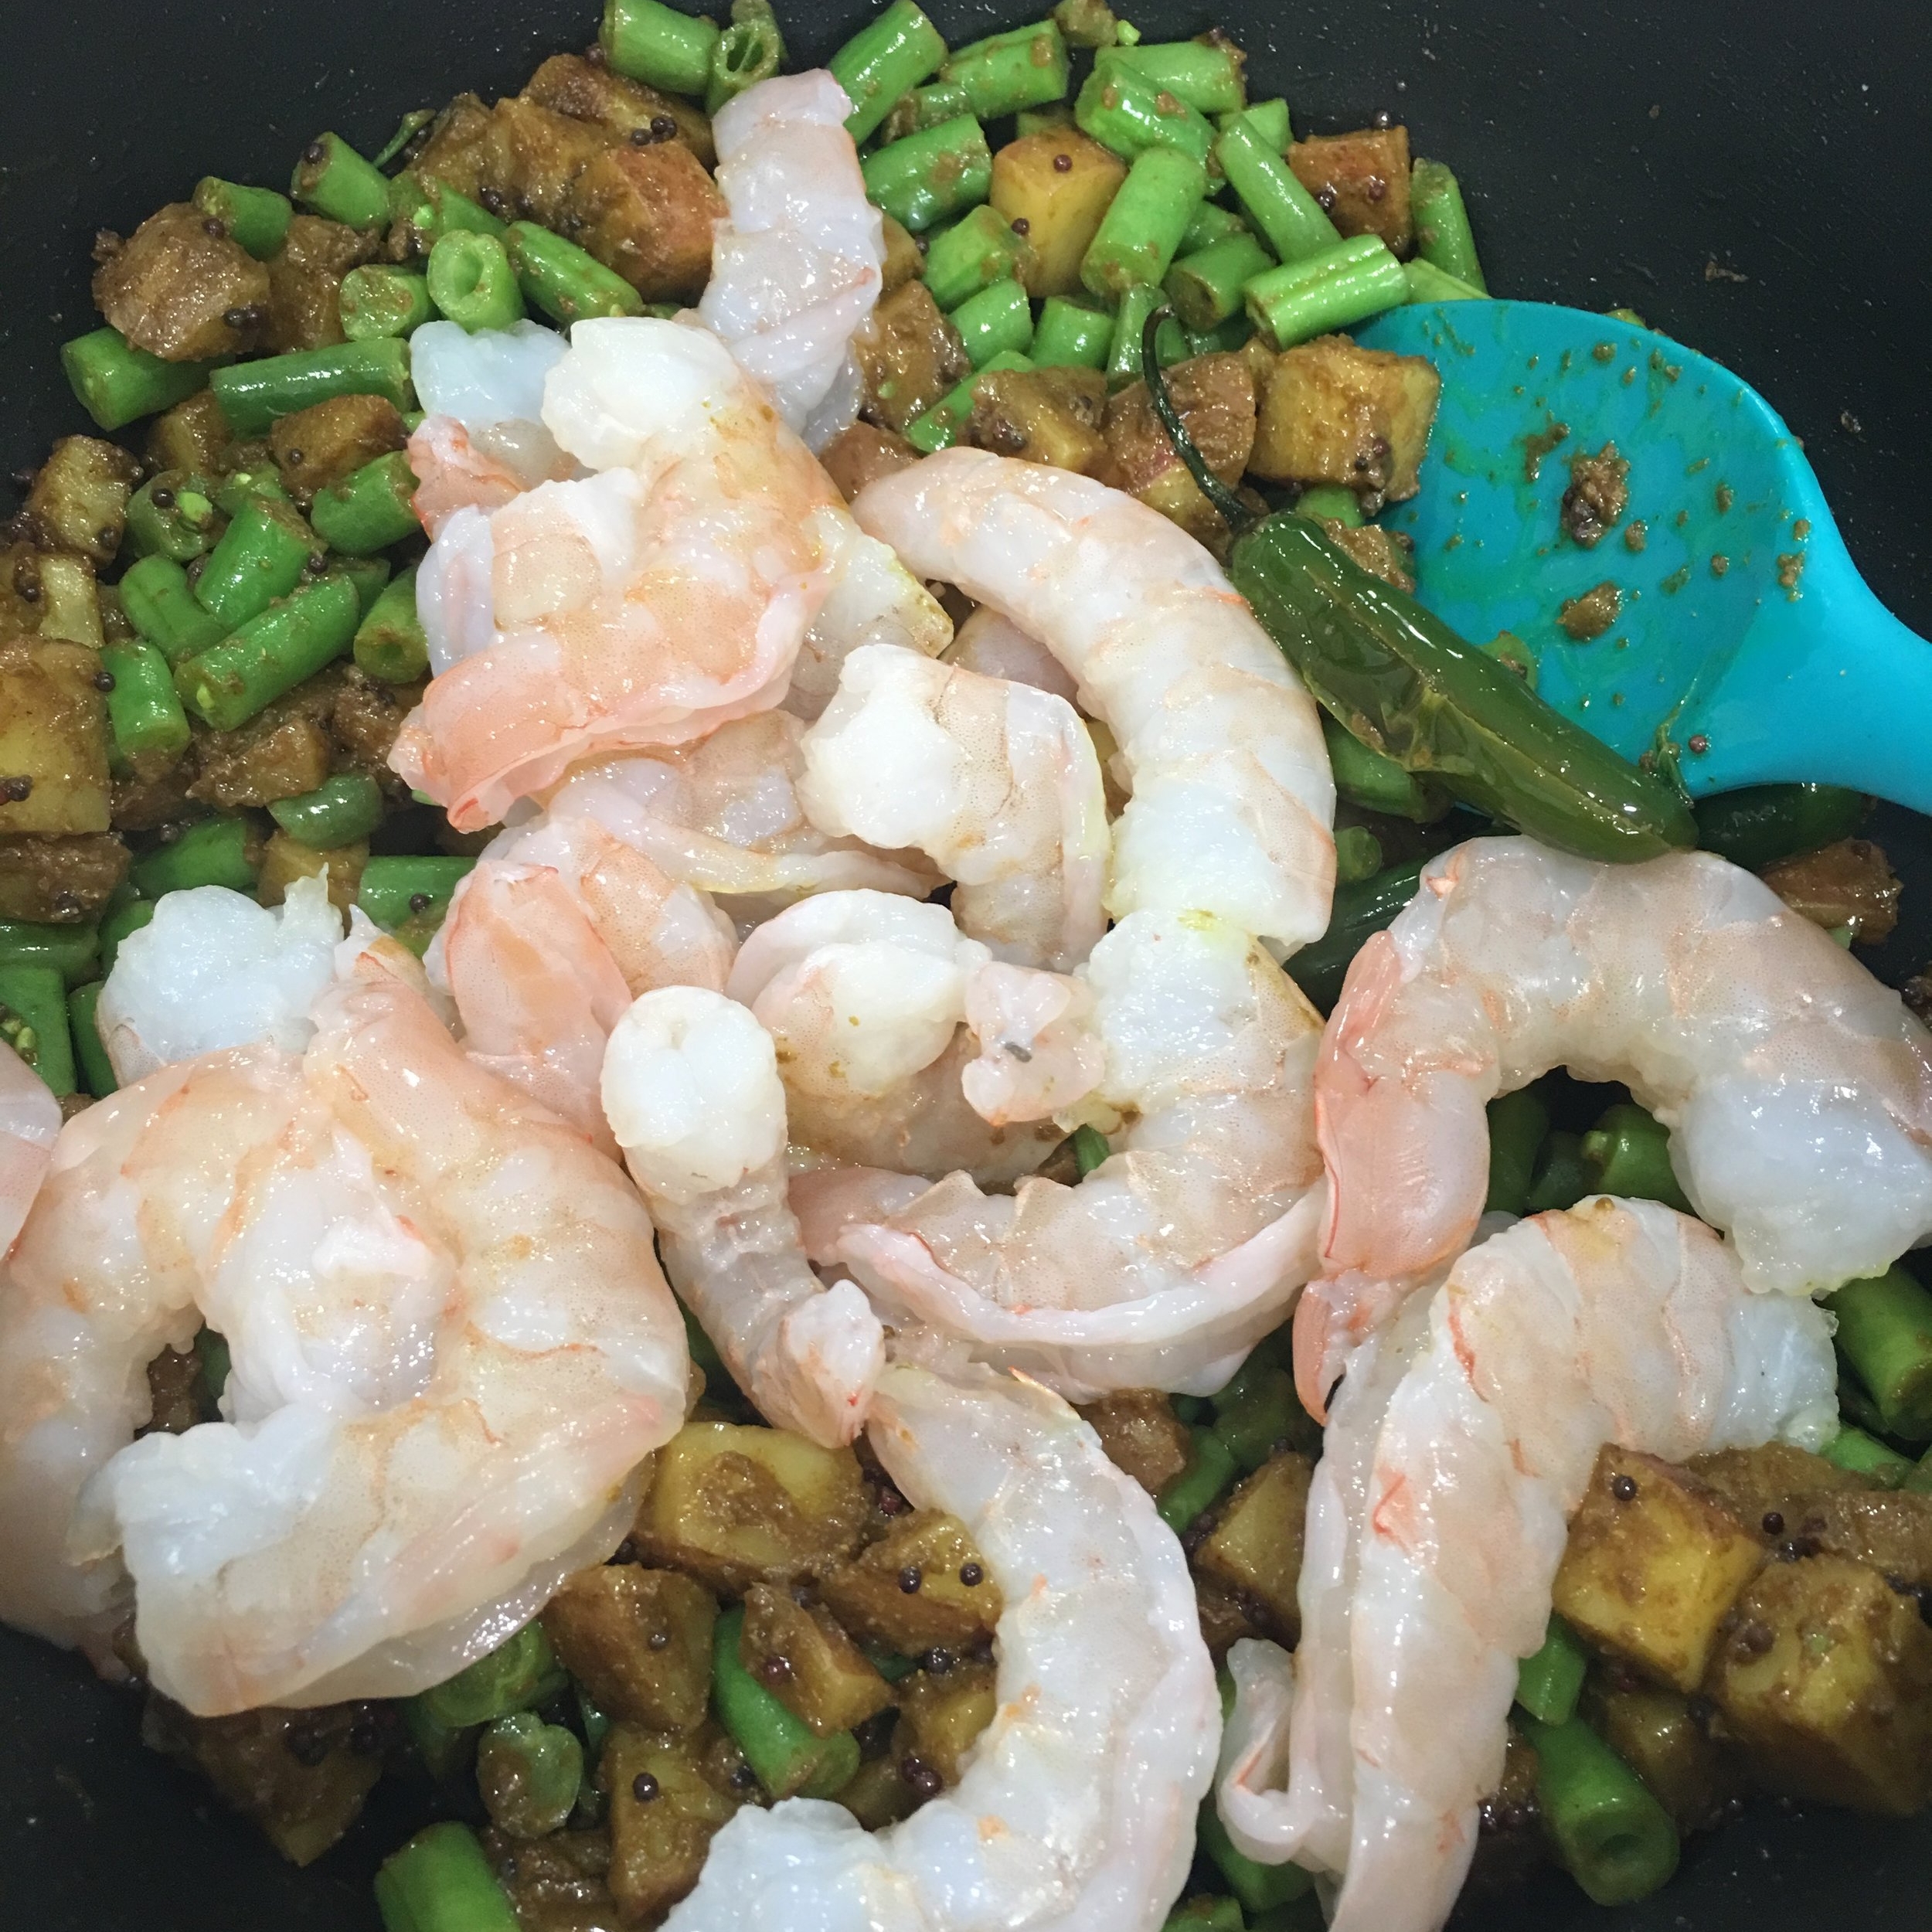
  5. Add the shrimp, and sautéed until cooked through. The time will depend on the size of your shrimp.
  6. Drizzle the mustard oil over and toss.

Serves 4


Food Safety: Wash Your Produce

218FC728-8F8C-44C5-9B3C-F5B42C483002.JPG

As of the today’s latest news, the outbreak of a toxic strain of E. Coli linked to romaine lettuce from the Yuma, Arizona area has sickened 121 people across 25 states, killing one.  The outbreak has entered its second month and the New York Times reported today that federal agencies are unable to locate the contamination source.   It’s become clear that our regulations regarding food sources have a long way to go.   Several safety measures which were designed to protect our food supply have yet to actually be implemented.  Most of the time our food travels a long way and there are many points of contact where contamination can occur. 

The FDA states: 
‘While the American food supply is the safest in the world, the Federal government estimates that there are about 48 million cases of food borne illness annually—the equivalent of sickening 1 in 6 Americans each year.  And each year these illnesses result in an estimated 128,000 hospitalizations and 3,000 deaths.’

So how do we keep ourselves safe? If your food comes from the grocery store, as is the case for most Americans, you are unlikely to know where your food originated or how many hands were laid on it before it got to you.  If you shop at local farmers markets, you may know where your food was grown and who grew it, but that doesn’t mean it isn’t subject to contamination by harmful bacteria which live in the soil.  Bags of greens, which have become a convenience for most of us, may say triple washed, but that doesn’t make them clean or safe.  Even if you’ve grown the most beautiful vegetables, you need to think about food safety. I am routinely guilty of eating cherry tomatoes directly off the plant and I do occasionally sample things like tomatoes and sugar snap peas at my local farmers market.  So far, I’ve been lucky.  

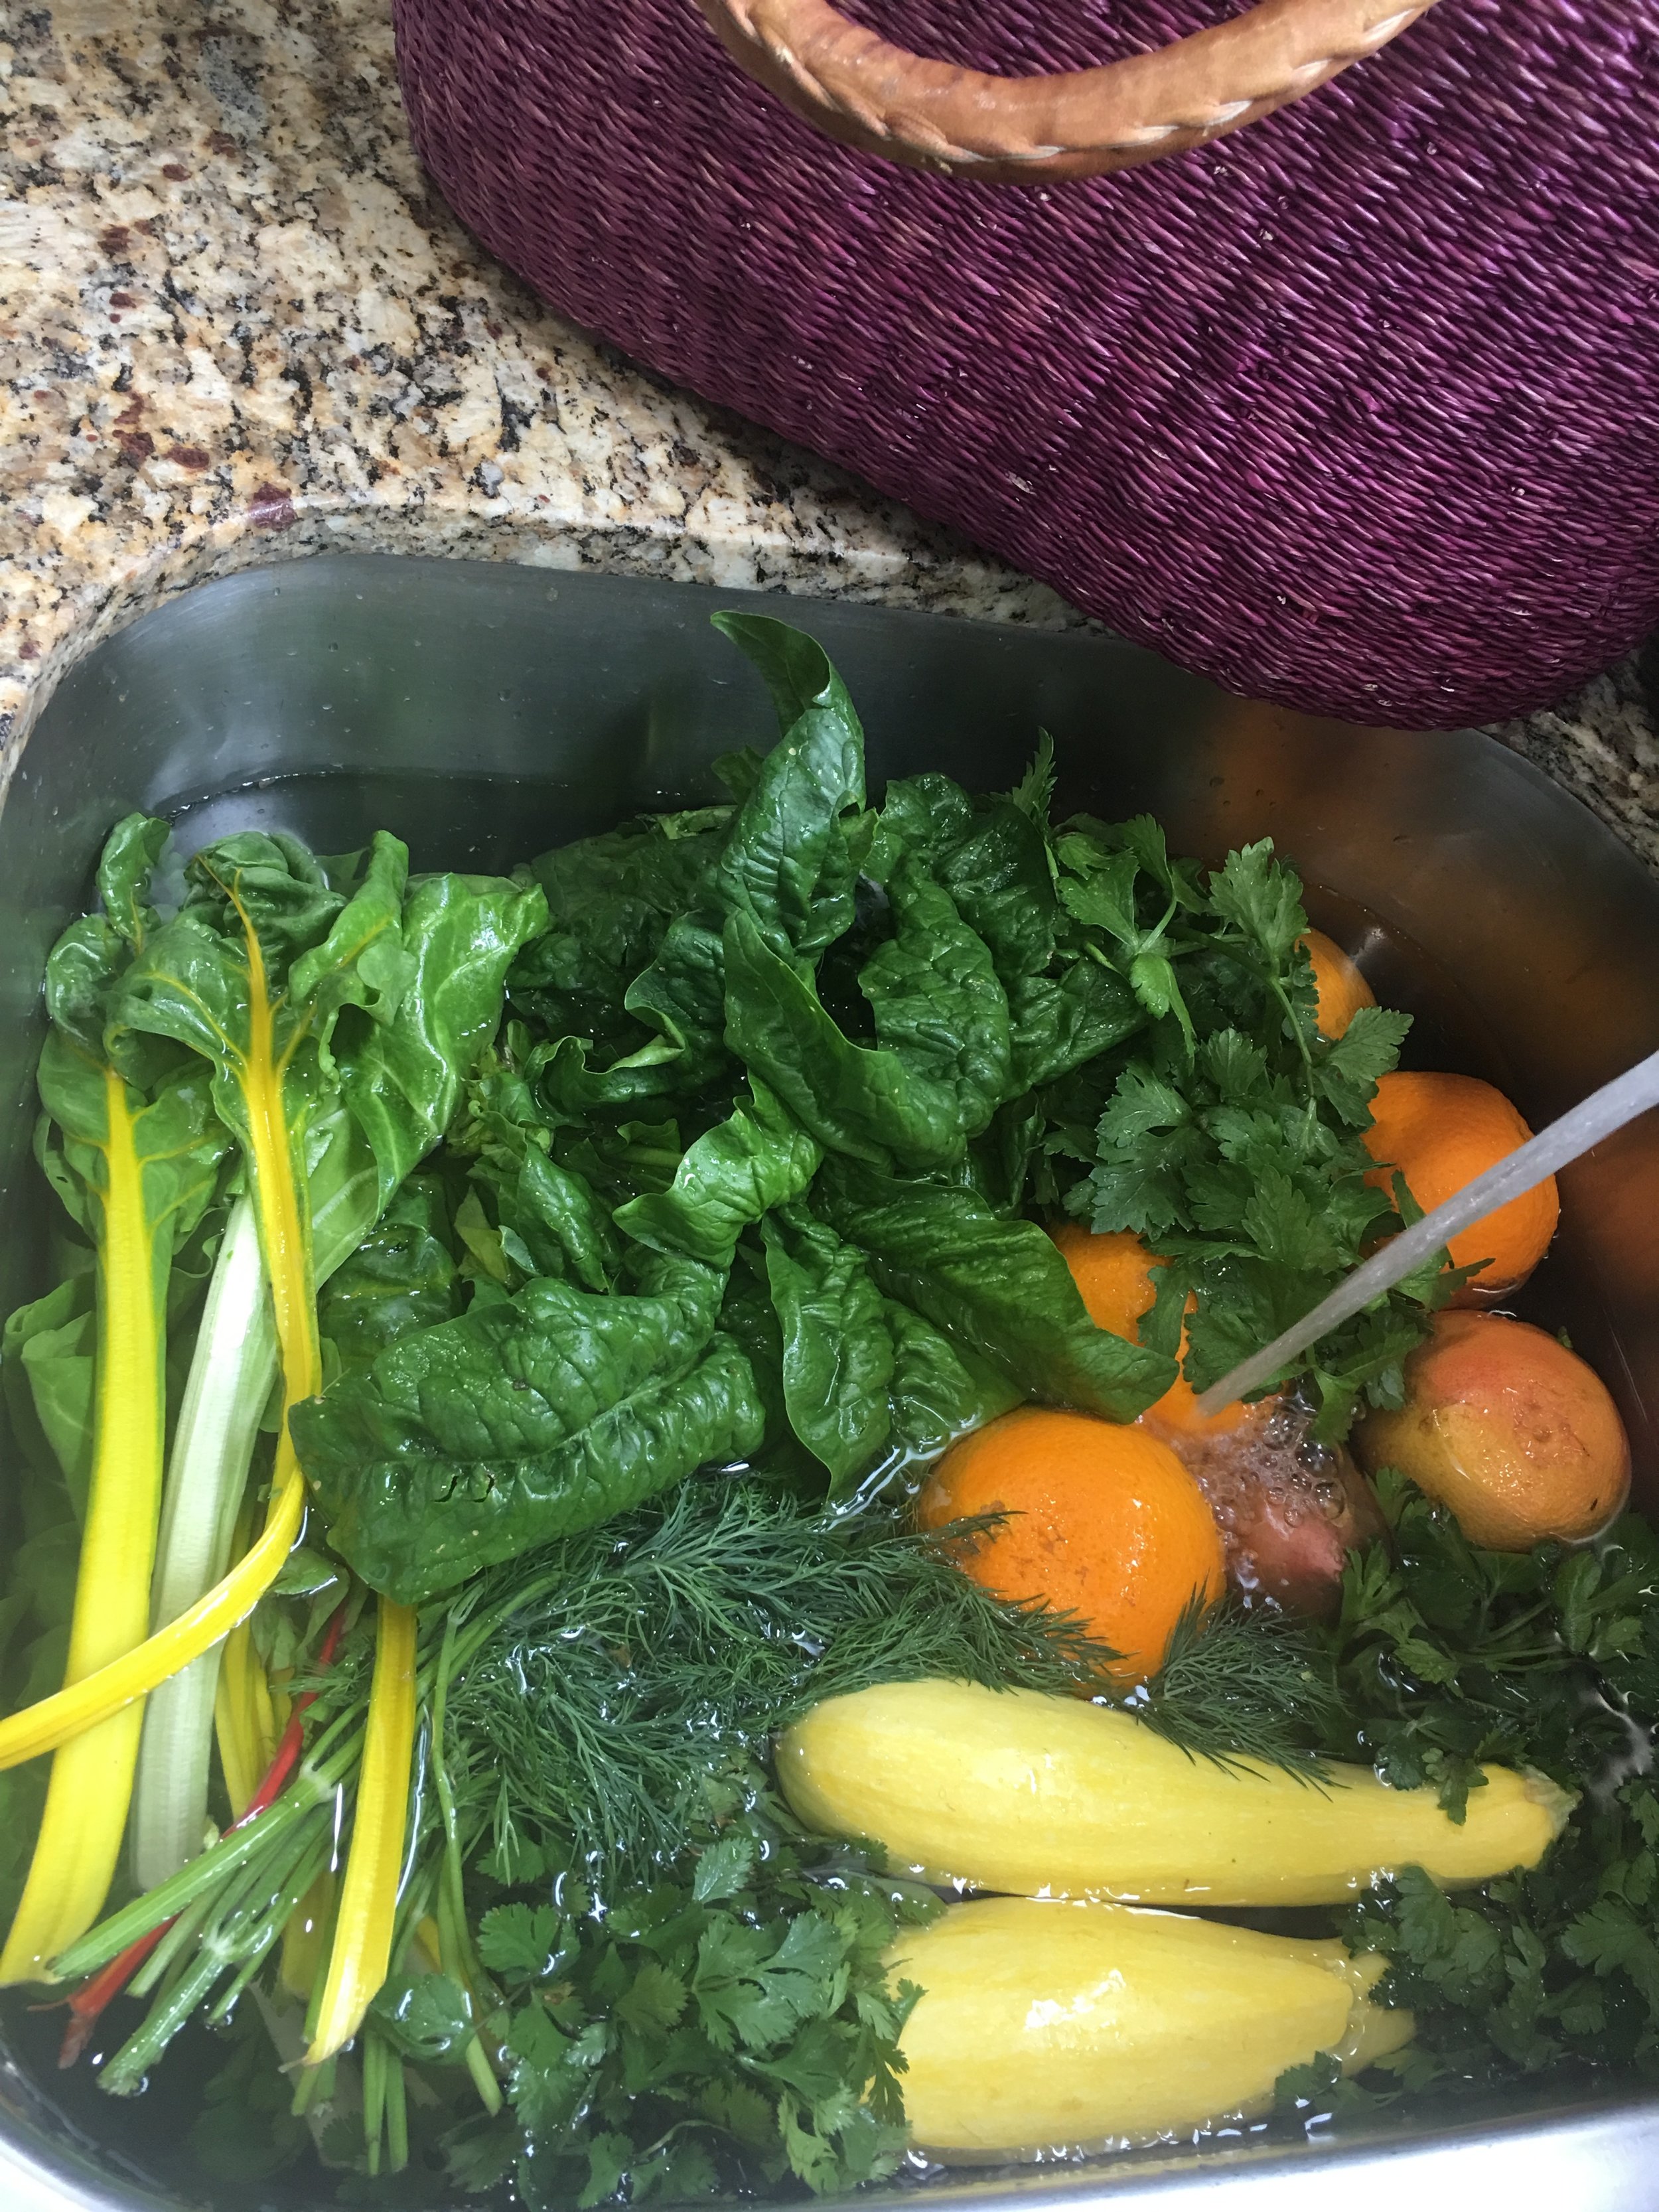
The first and most important aspect of food safety (I’m only talking produce here, for meat info see Is Your Steak Safe) is a good and thorough washing.  Whether organic or not, washing and rinsing fruits and vegetables with water helps rid them of soil, microorganisms and potential human pathogens such as E. Coli, listeria and salmonella.  When I get home from the market, I immediately rinse off all visible dirt from the produce.  Then it’s into the sink filled with cool water.  I clean off the counter where I had the vegetables as well.  For thick skinned vegetables, I soak and then use a vegetable bush to scrub them before putting them into the refrigerator.  For greens, I soak them several times, lifting them out from the water as the dirt accumulates in the bottom of the sink and repeat.  Then it’s into the salad spinner to dry before storage. For tender green and herbs I follow the soaking procedure, but don’t leave them in the water too long, and always dry them.

I love the tops of radishes and beet greens.  I also love broccoli and cauliflower leaves.  These are hazardous as they collect dirt and soil in crevices.  I carefully cut off the section attaching the greens to the root vegetable and discard as this is where dirt accumulates.  For all leaves and stems, I pay close attention, washing them out with a light scrub and rinse.

For berries, tomatoes, soft and thin skinned fruits, a quick rinse is running water will do, Remove cores from strawberries and tomatoes to avoid trapped dirt and microbes.  

I set aside about an hour every Saturday after I return from the market to go through the ‘processing’ which help me keep things clean and organized for the week.  I also try to buy just what I need and hopefully eat my bounty fairly quickly (even in the fridge, some bacterial growth can and does occur).  

After all, I’m doing all this to to stay healthy, not to get sick. 

 
7AFB6E47-2272-42FF-812E-319129D10C30.JPG