After a busy day, I usually try to get dinner on the table in about 20 to 30 minutes. The simpler the better for me and I have learned to use good spice mixes to make things easier for myself. I also try to make as many one pot meals as possible, adding as many vegetables as I can to the protein I'm using. I can make a quick salad with sliced cucumbers and radishes and make rice in the time the vindaloo is cooking.
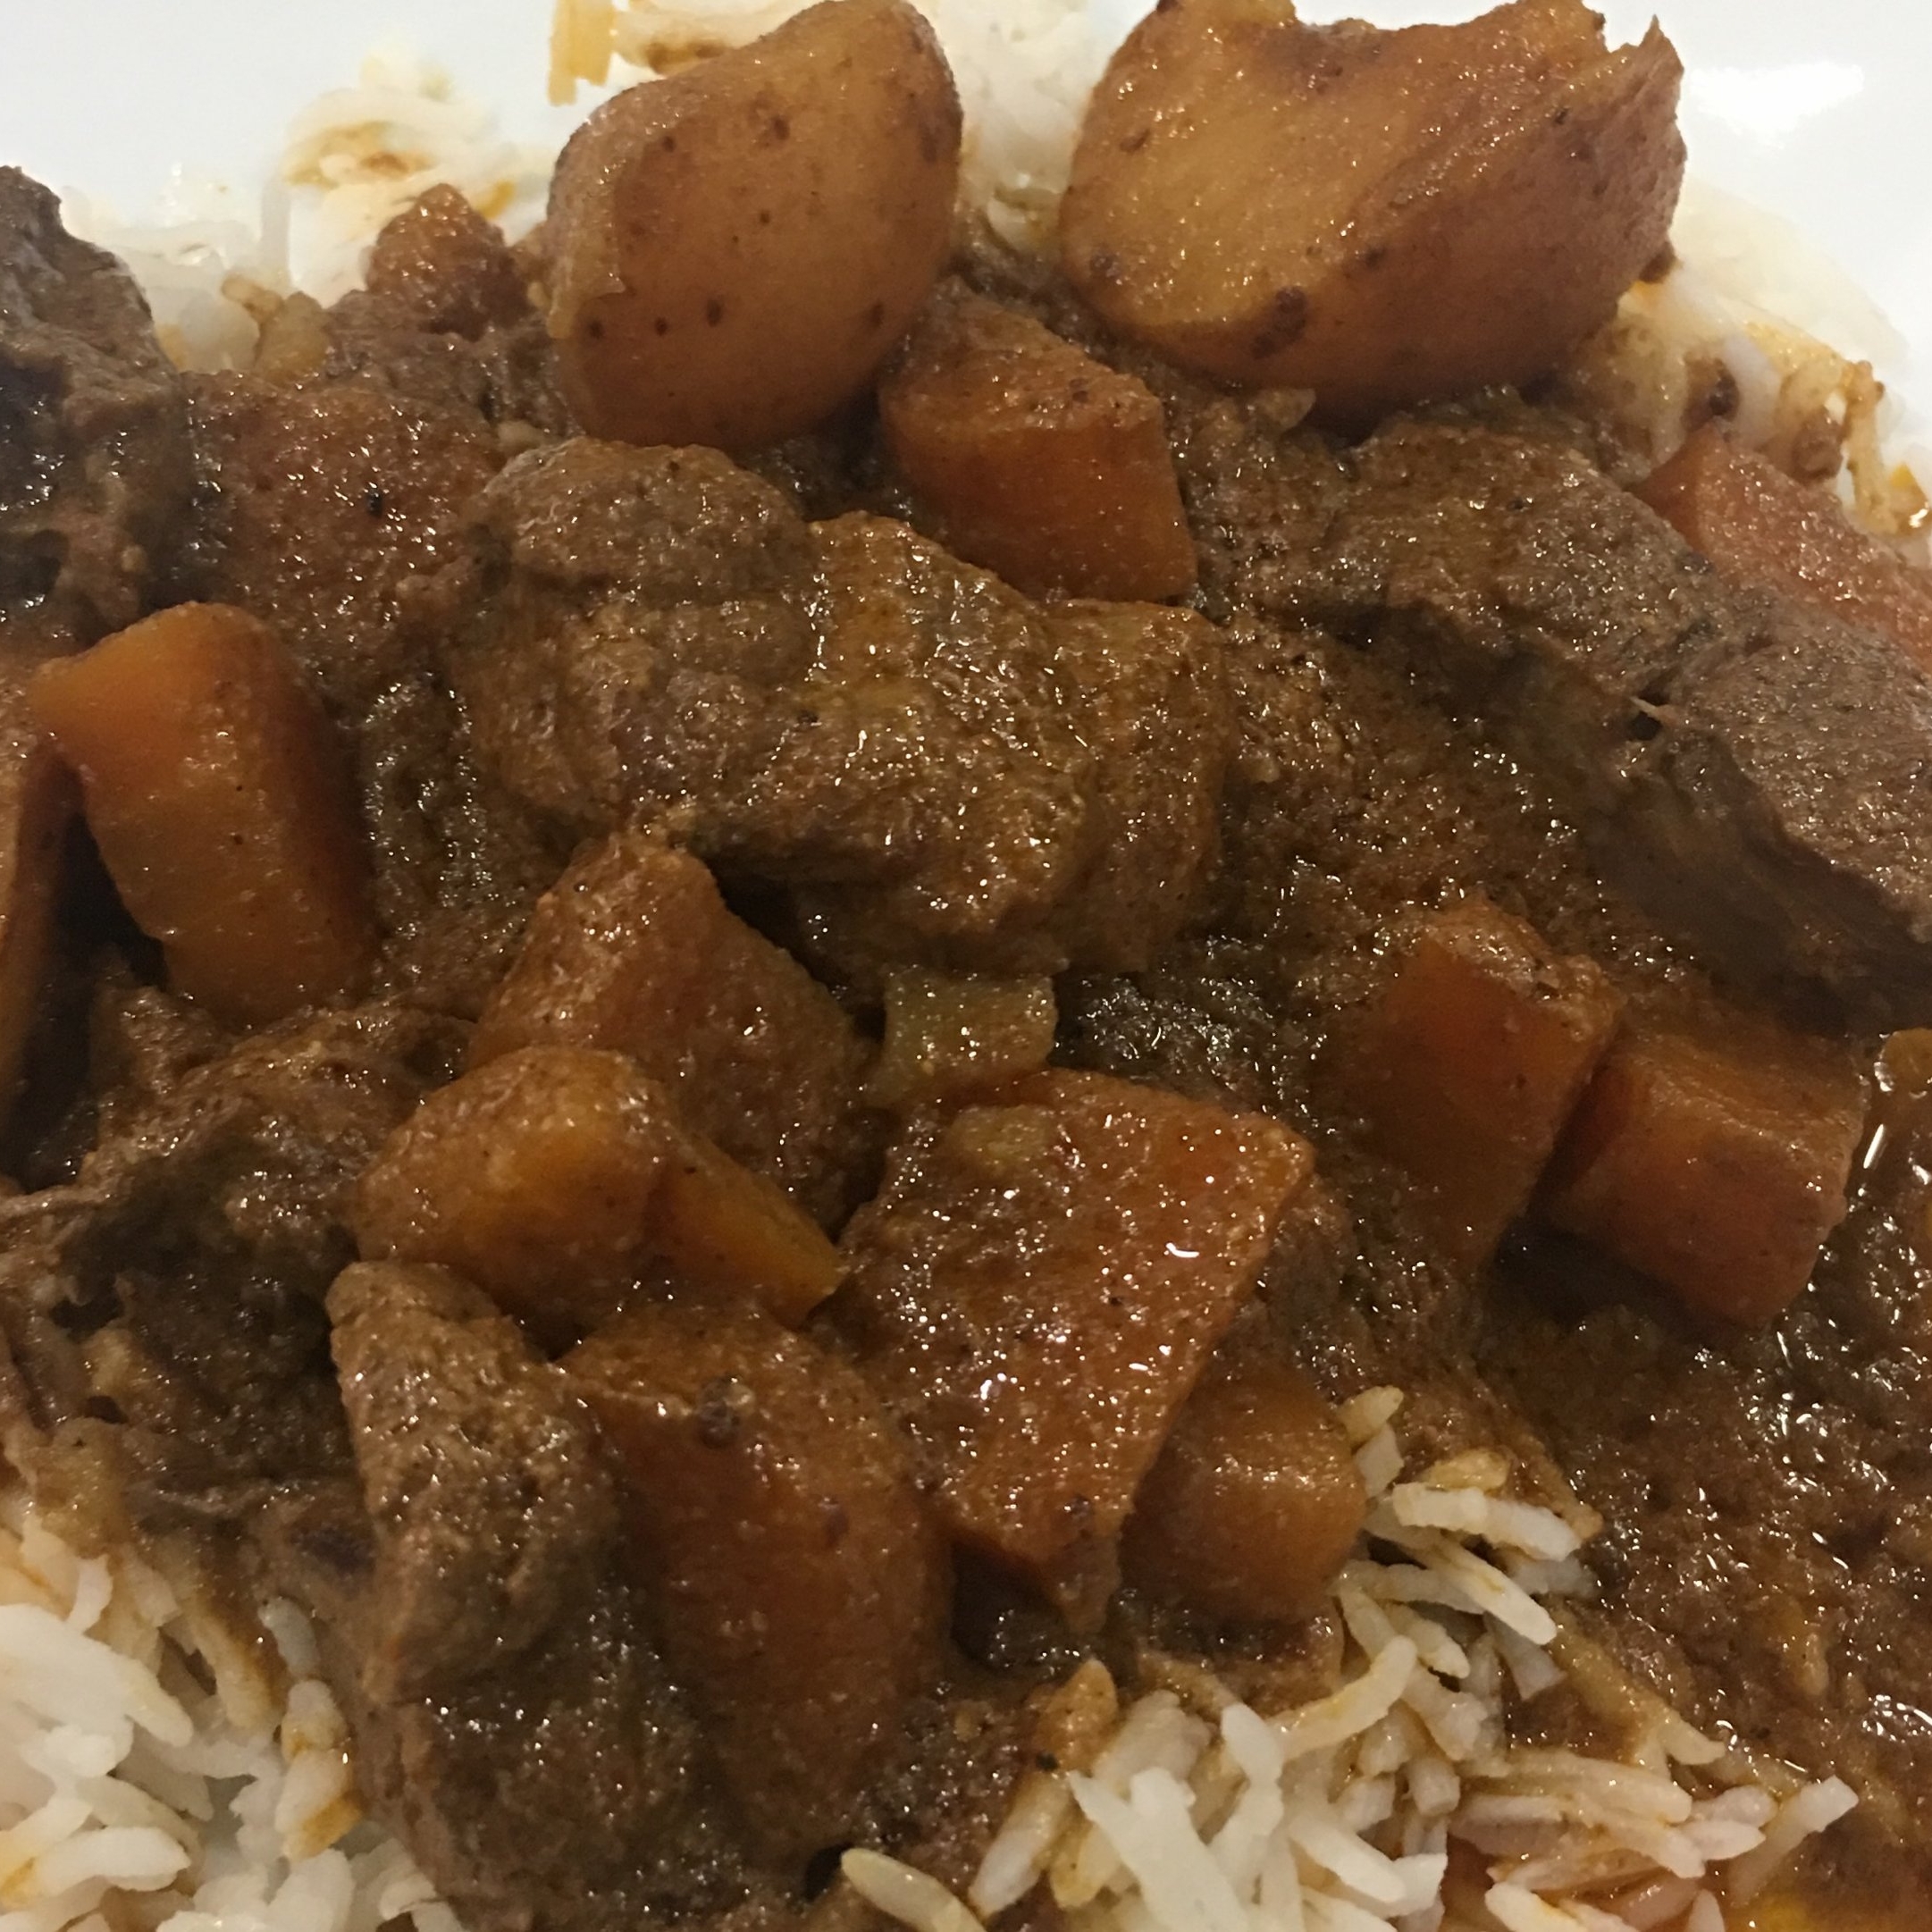
This recipe is inspired by Indian restaurants where this dish is always on the menu. A regional favorite from Goa, India, this is a spicy lamb stew with potatoes. I have added carrots as they were at the end of availability at my farmers' market and they add a nice sweetness to balance the spice. Typically, this would start with puréeing onions and garlic and then adding an extensive variety of spices, which doesn't work at all for me in terms of time. I've found that Penzey's has a delicious vindaloo spice mix that makes my life simpler. I always have tomato paste and coconut milk in my pantry.
I get grass fed lamb from Katerra Exotics. The fat from grass fed lamb is like the mono-unsaturated fat in olive oil. Potatoes are a rich source of vitamin C, B6, magnesium and fiber. Carrots provide vitamins A (from beta-carotene), C, K (phylloquinone), B6, magnesium, biotin, potassium and fiber.
I prepare it all in the Instant Pot, but any pressure cooker will do.
INGREDIENTS
- 1 pound of grass fed lamb stew meat, about 1 1/2 inch pieces
- Four medium red potatoes , 1 inch pieces
- Four medium carrots chopped, half inch pieces
- 1 tablespoon extra virgin olive oil
- 4 tablespoons Penzey’s vindaloo spice
- 2 tablespoons tomato paste
- One Half tablespoon sea salt
- 6 ounces coconut milk
- 6 ounces water
PROCESS
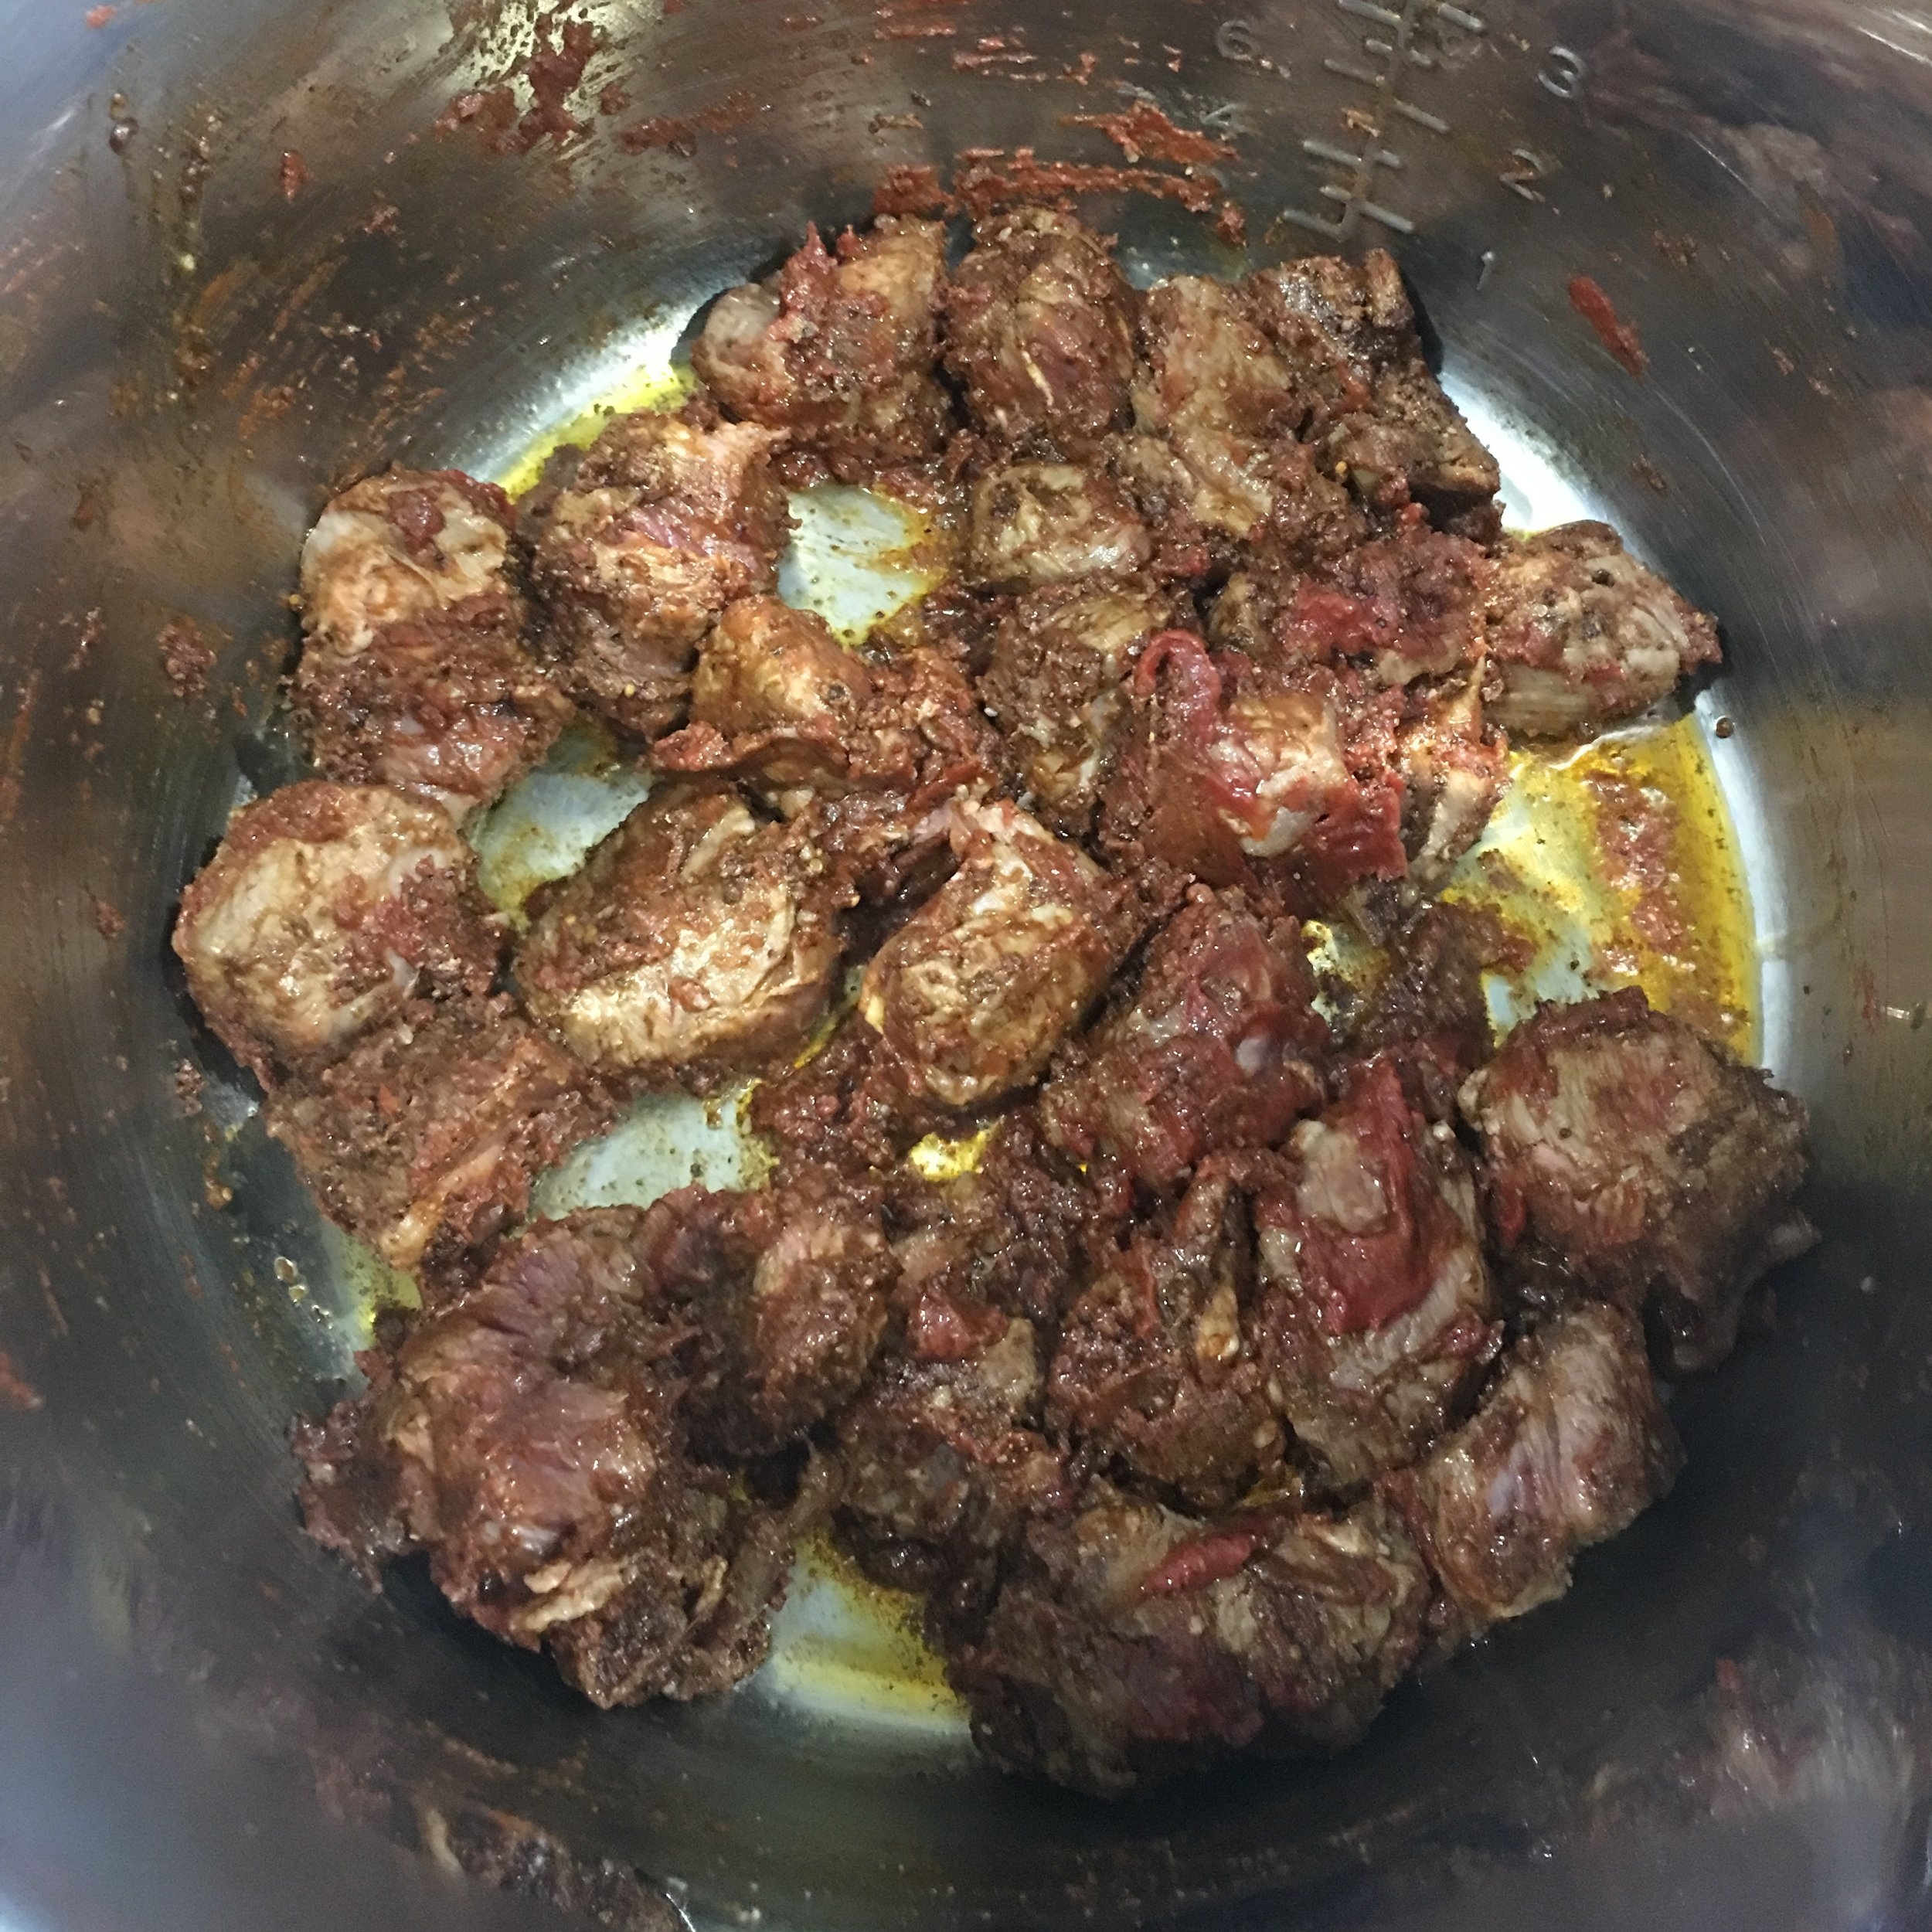
- Sauté lamb in olive oil with spice mix for 1 to 2 minutes.
- Add tomato paste and sauté for 1 to 2 minutes more.
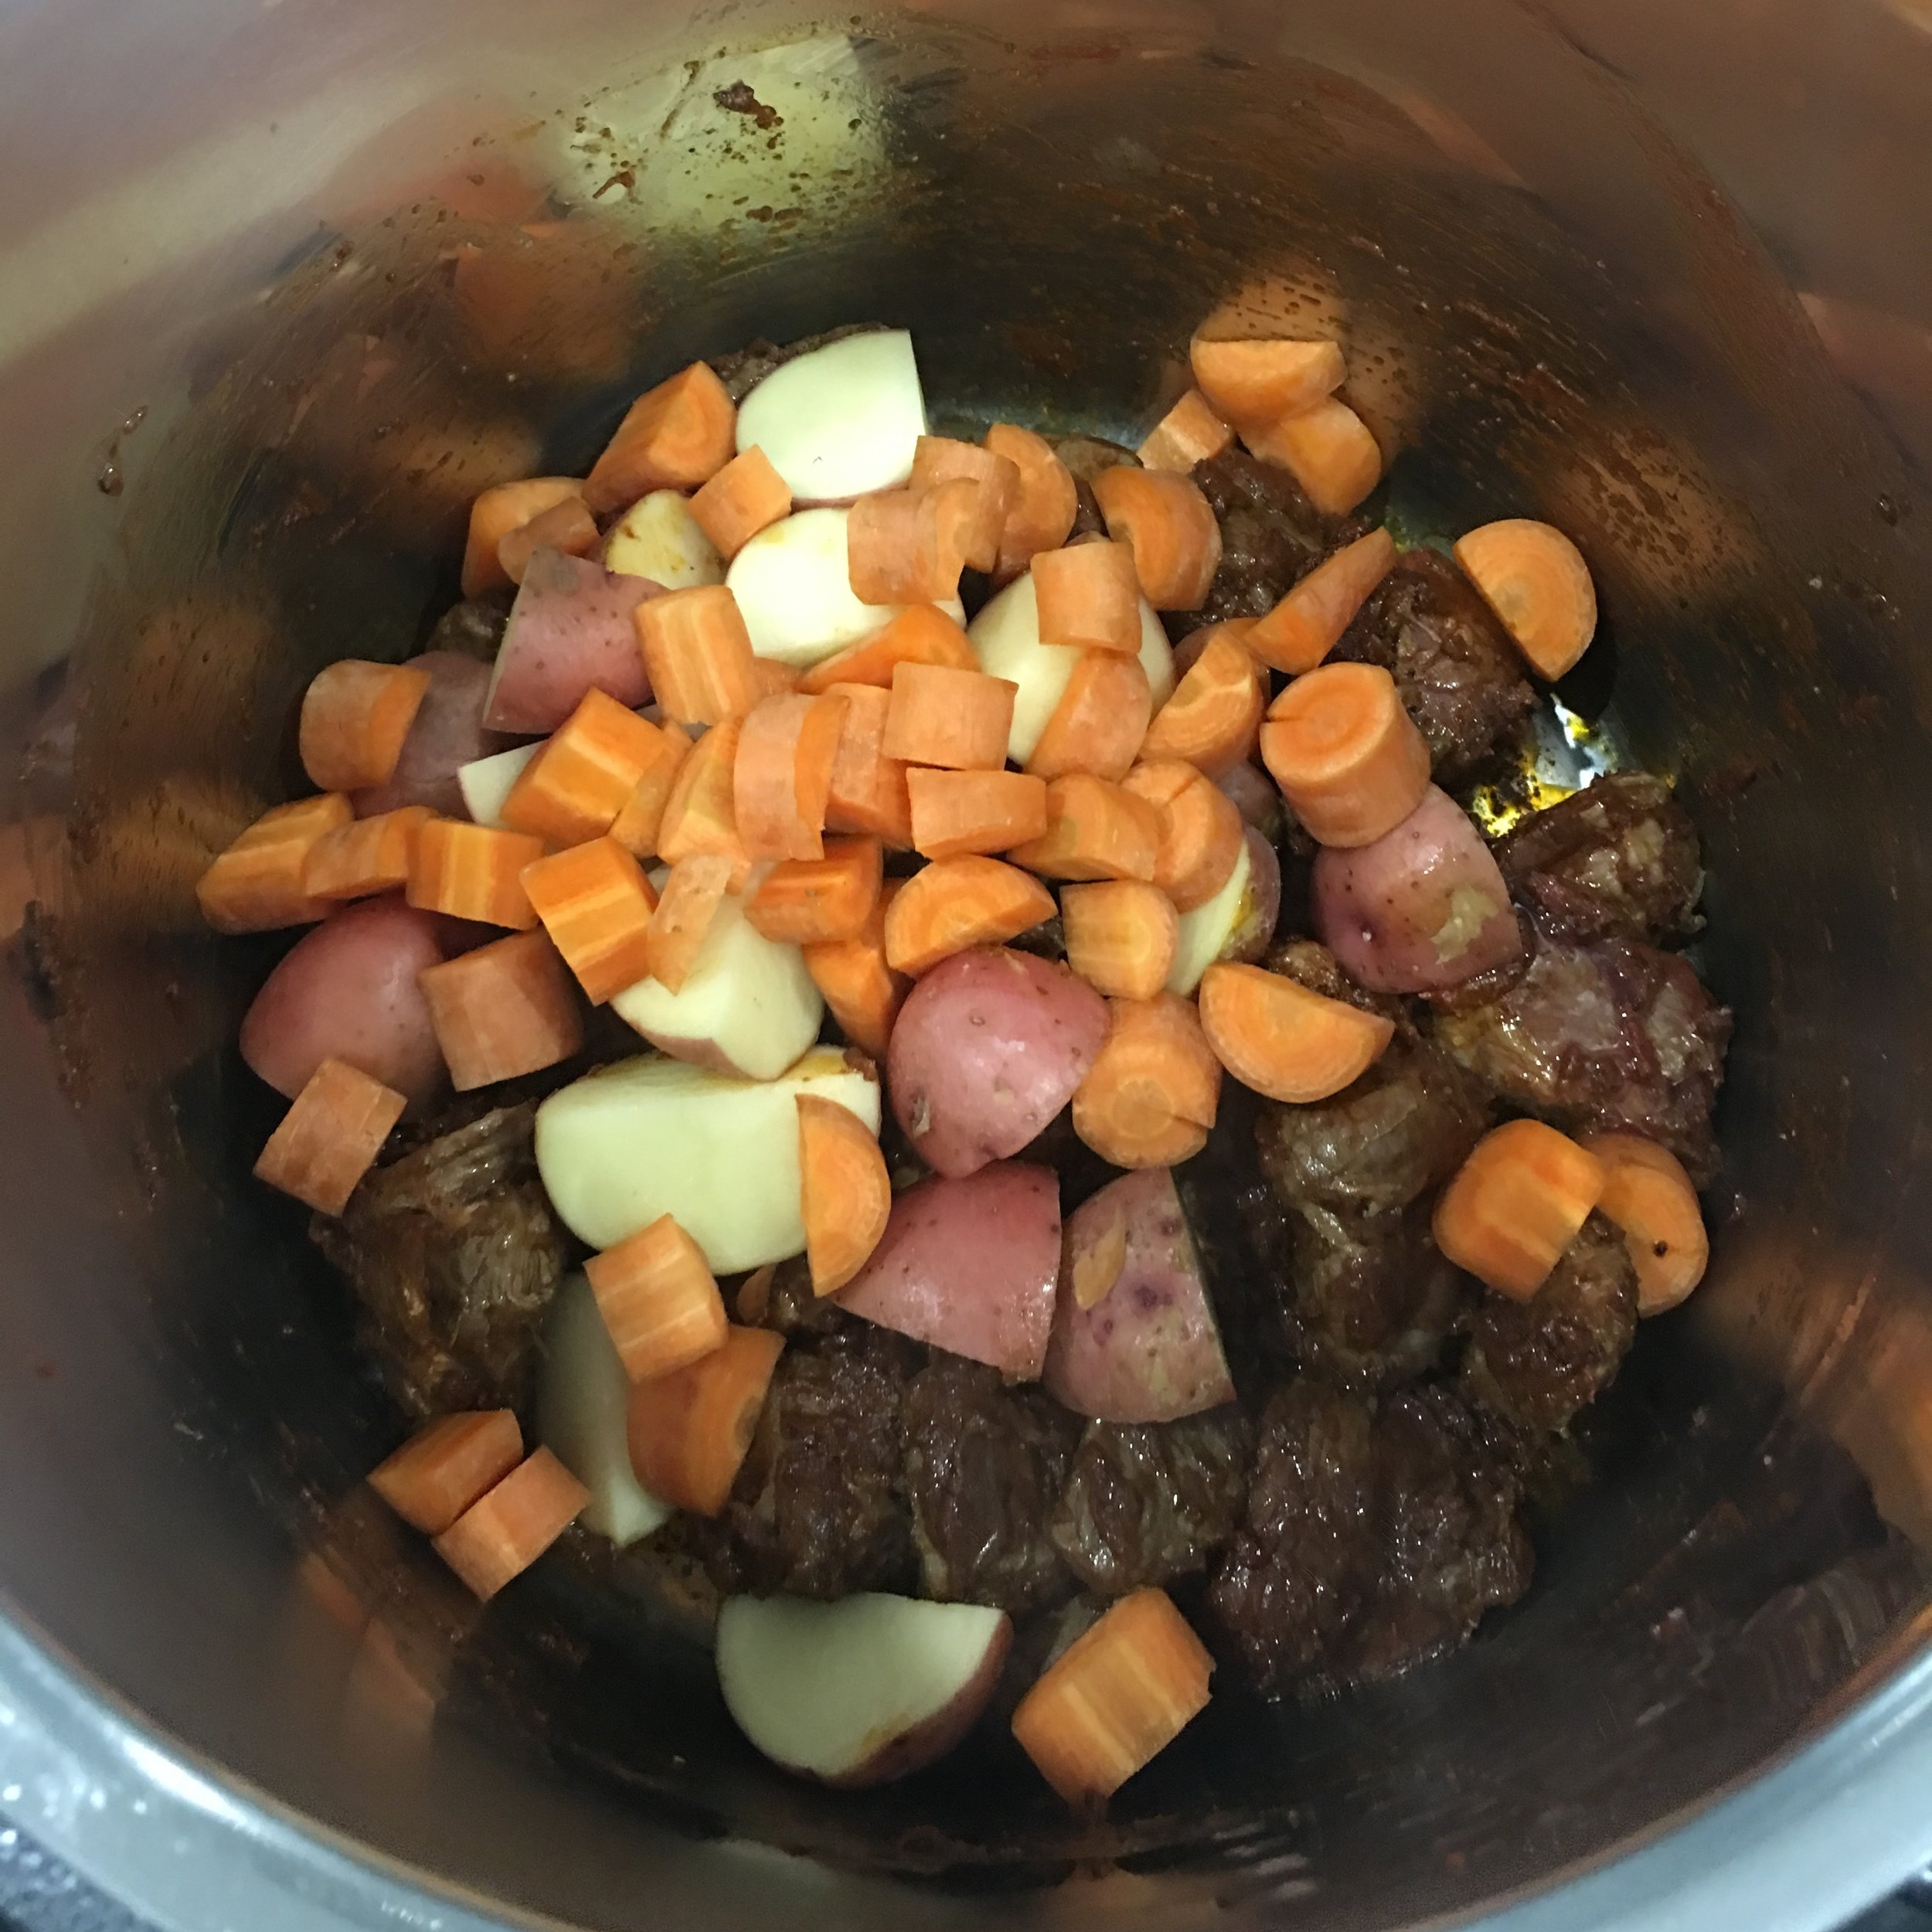
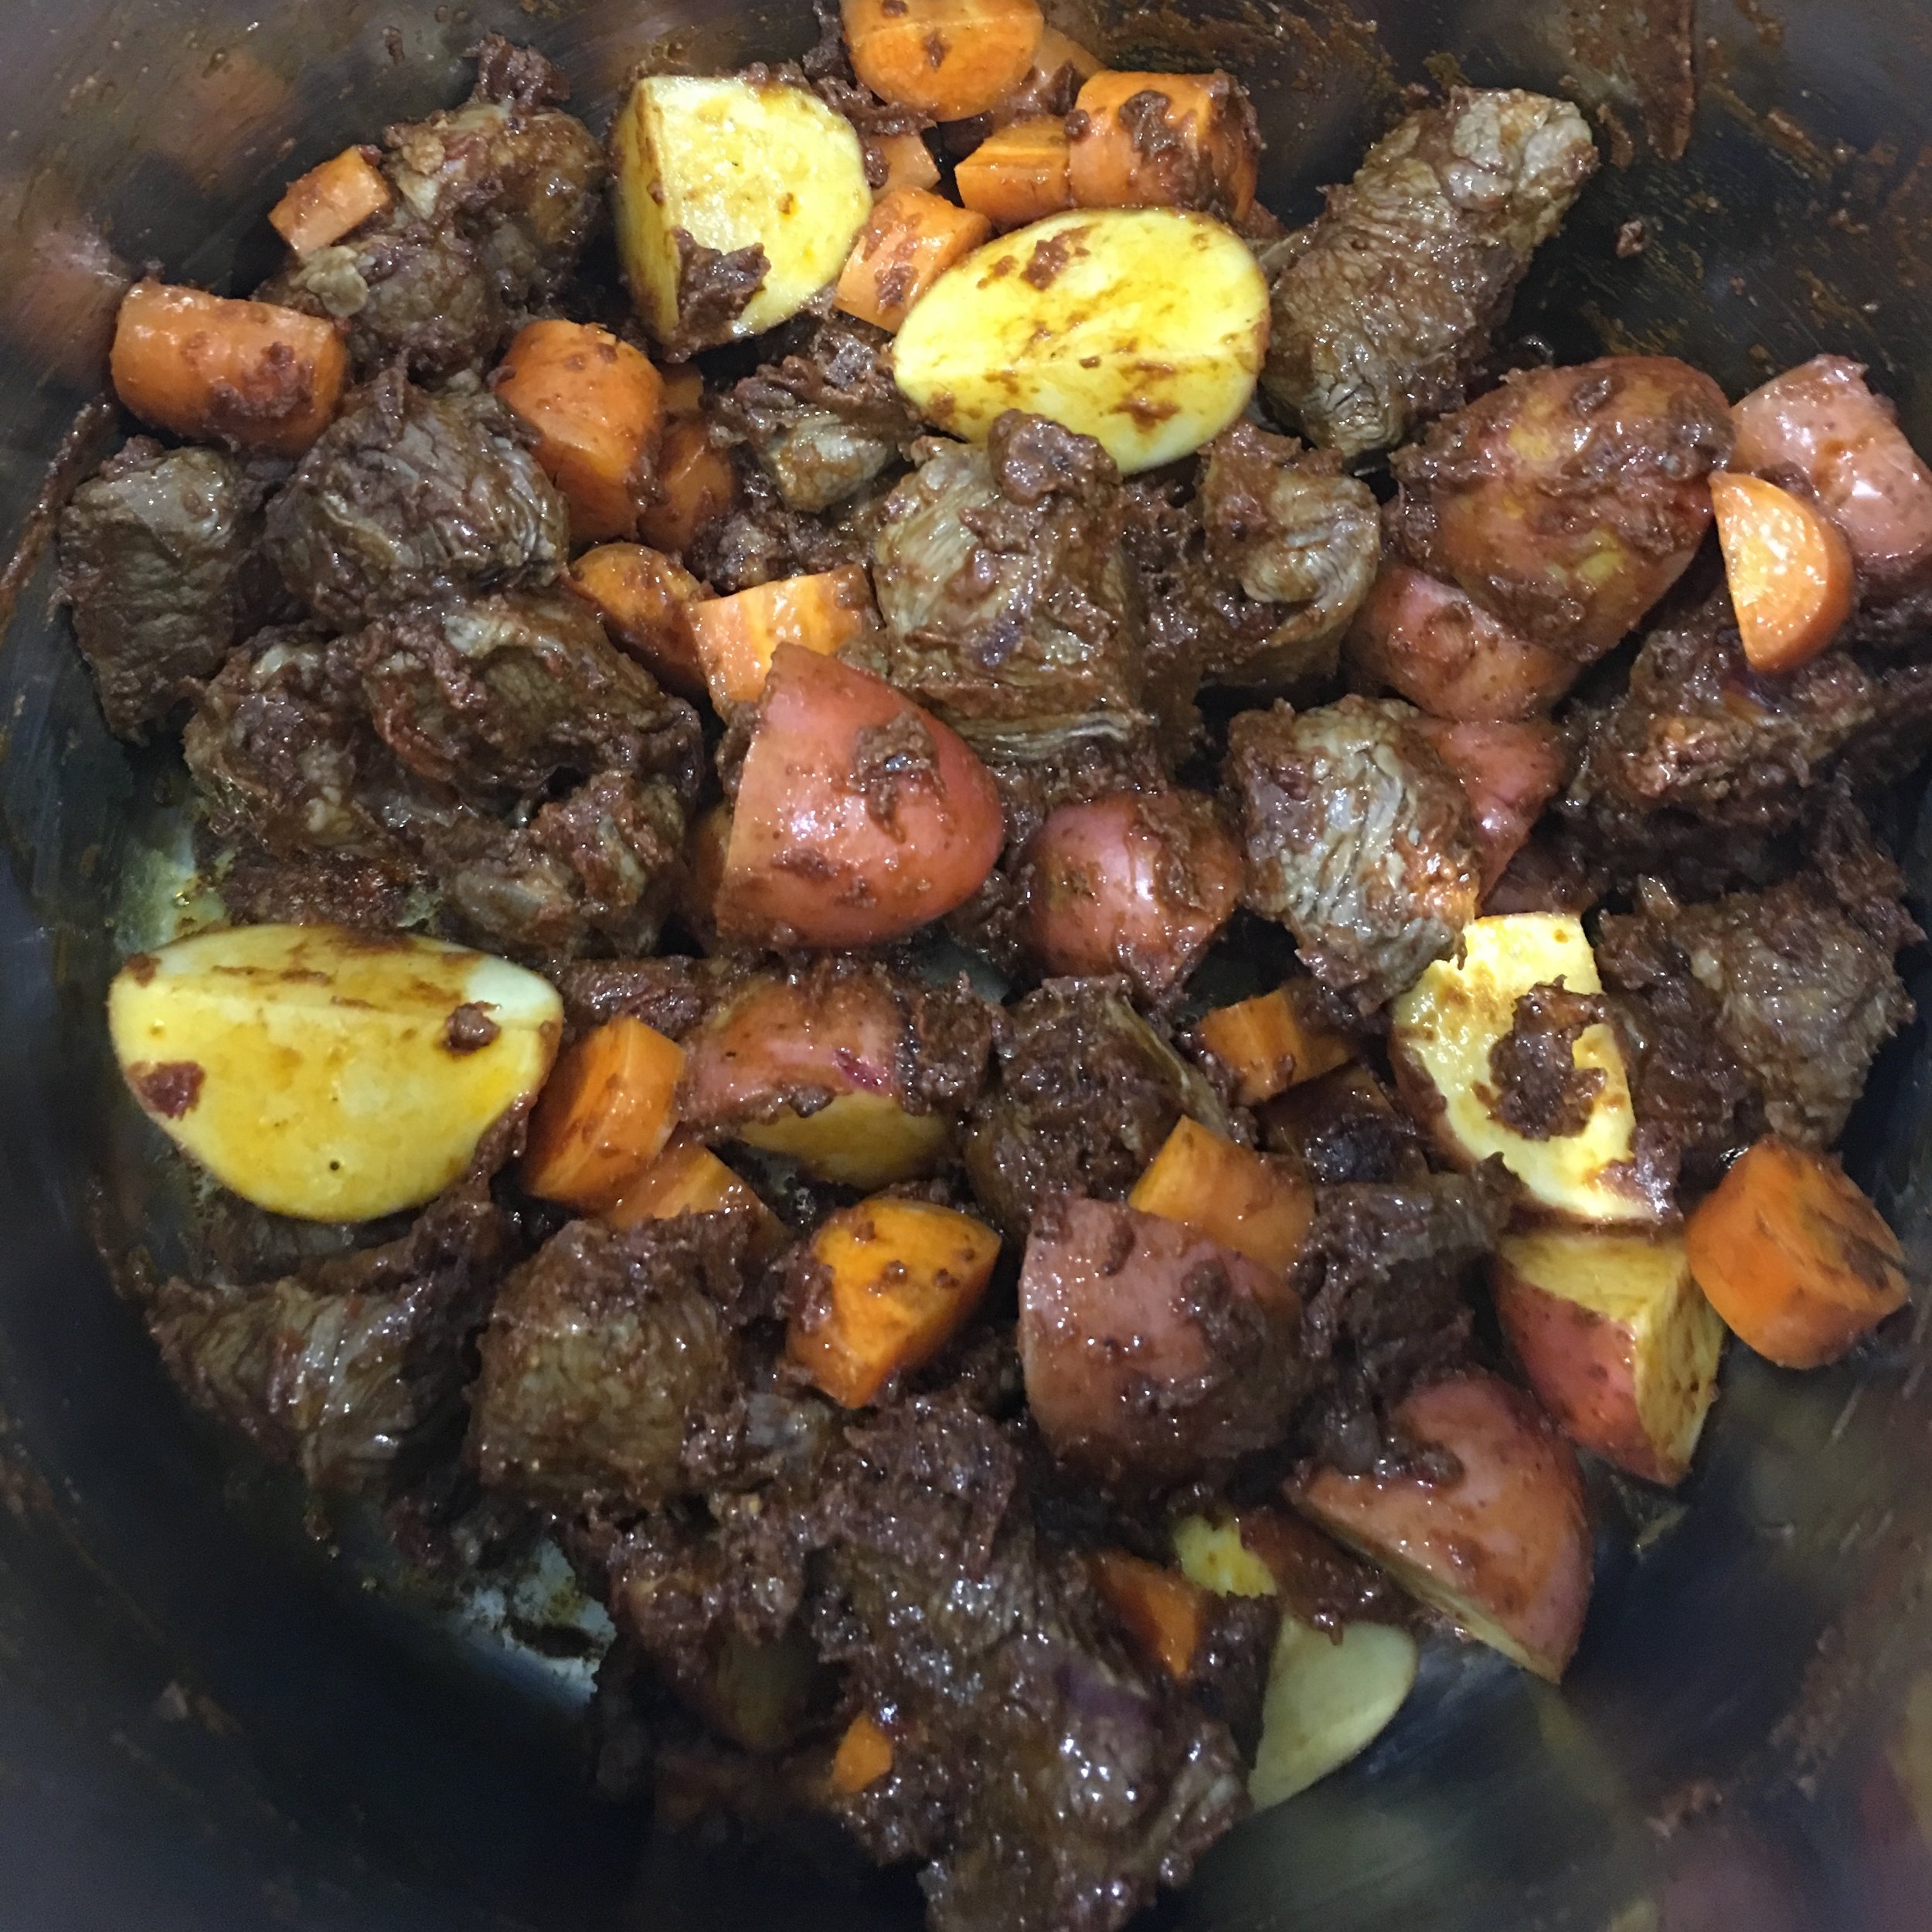
- Add potatoes and carrots and mix well.
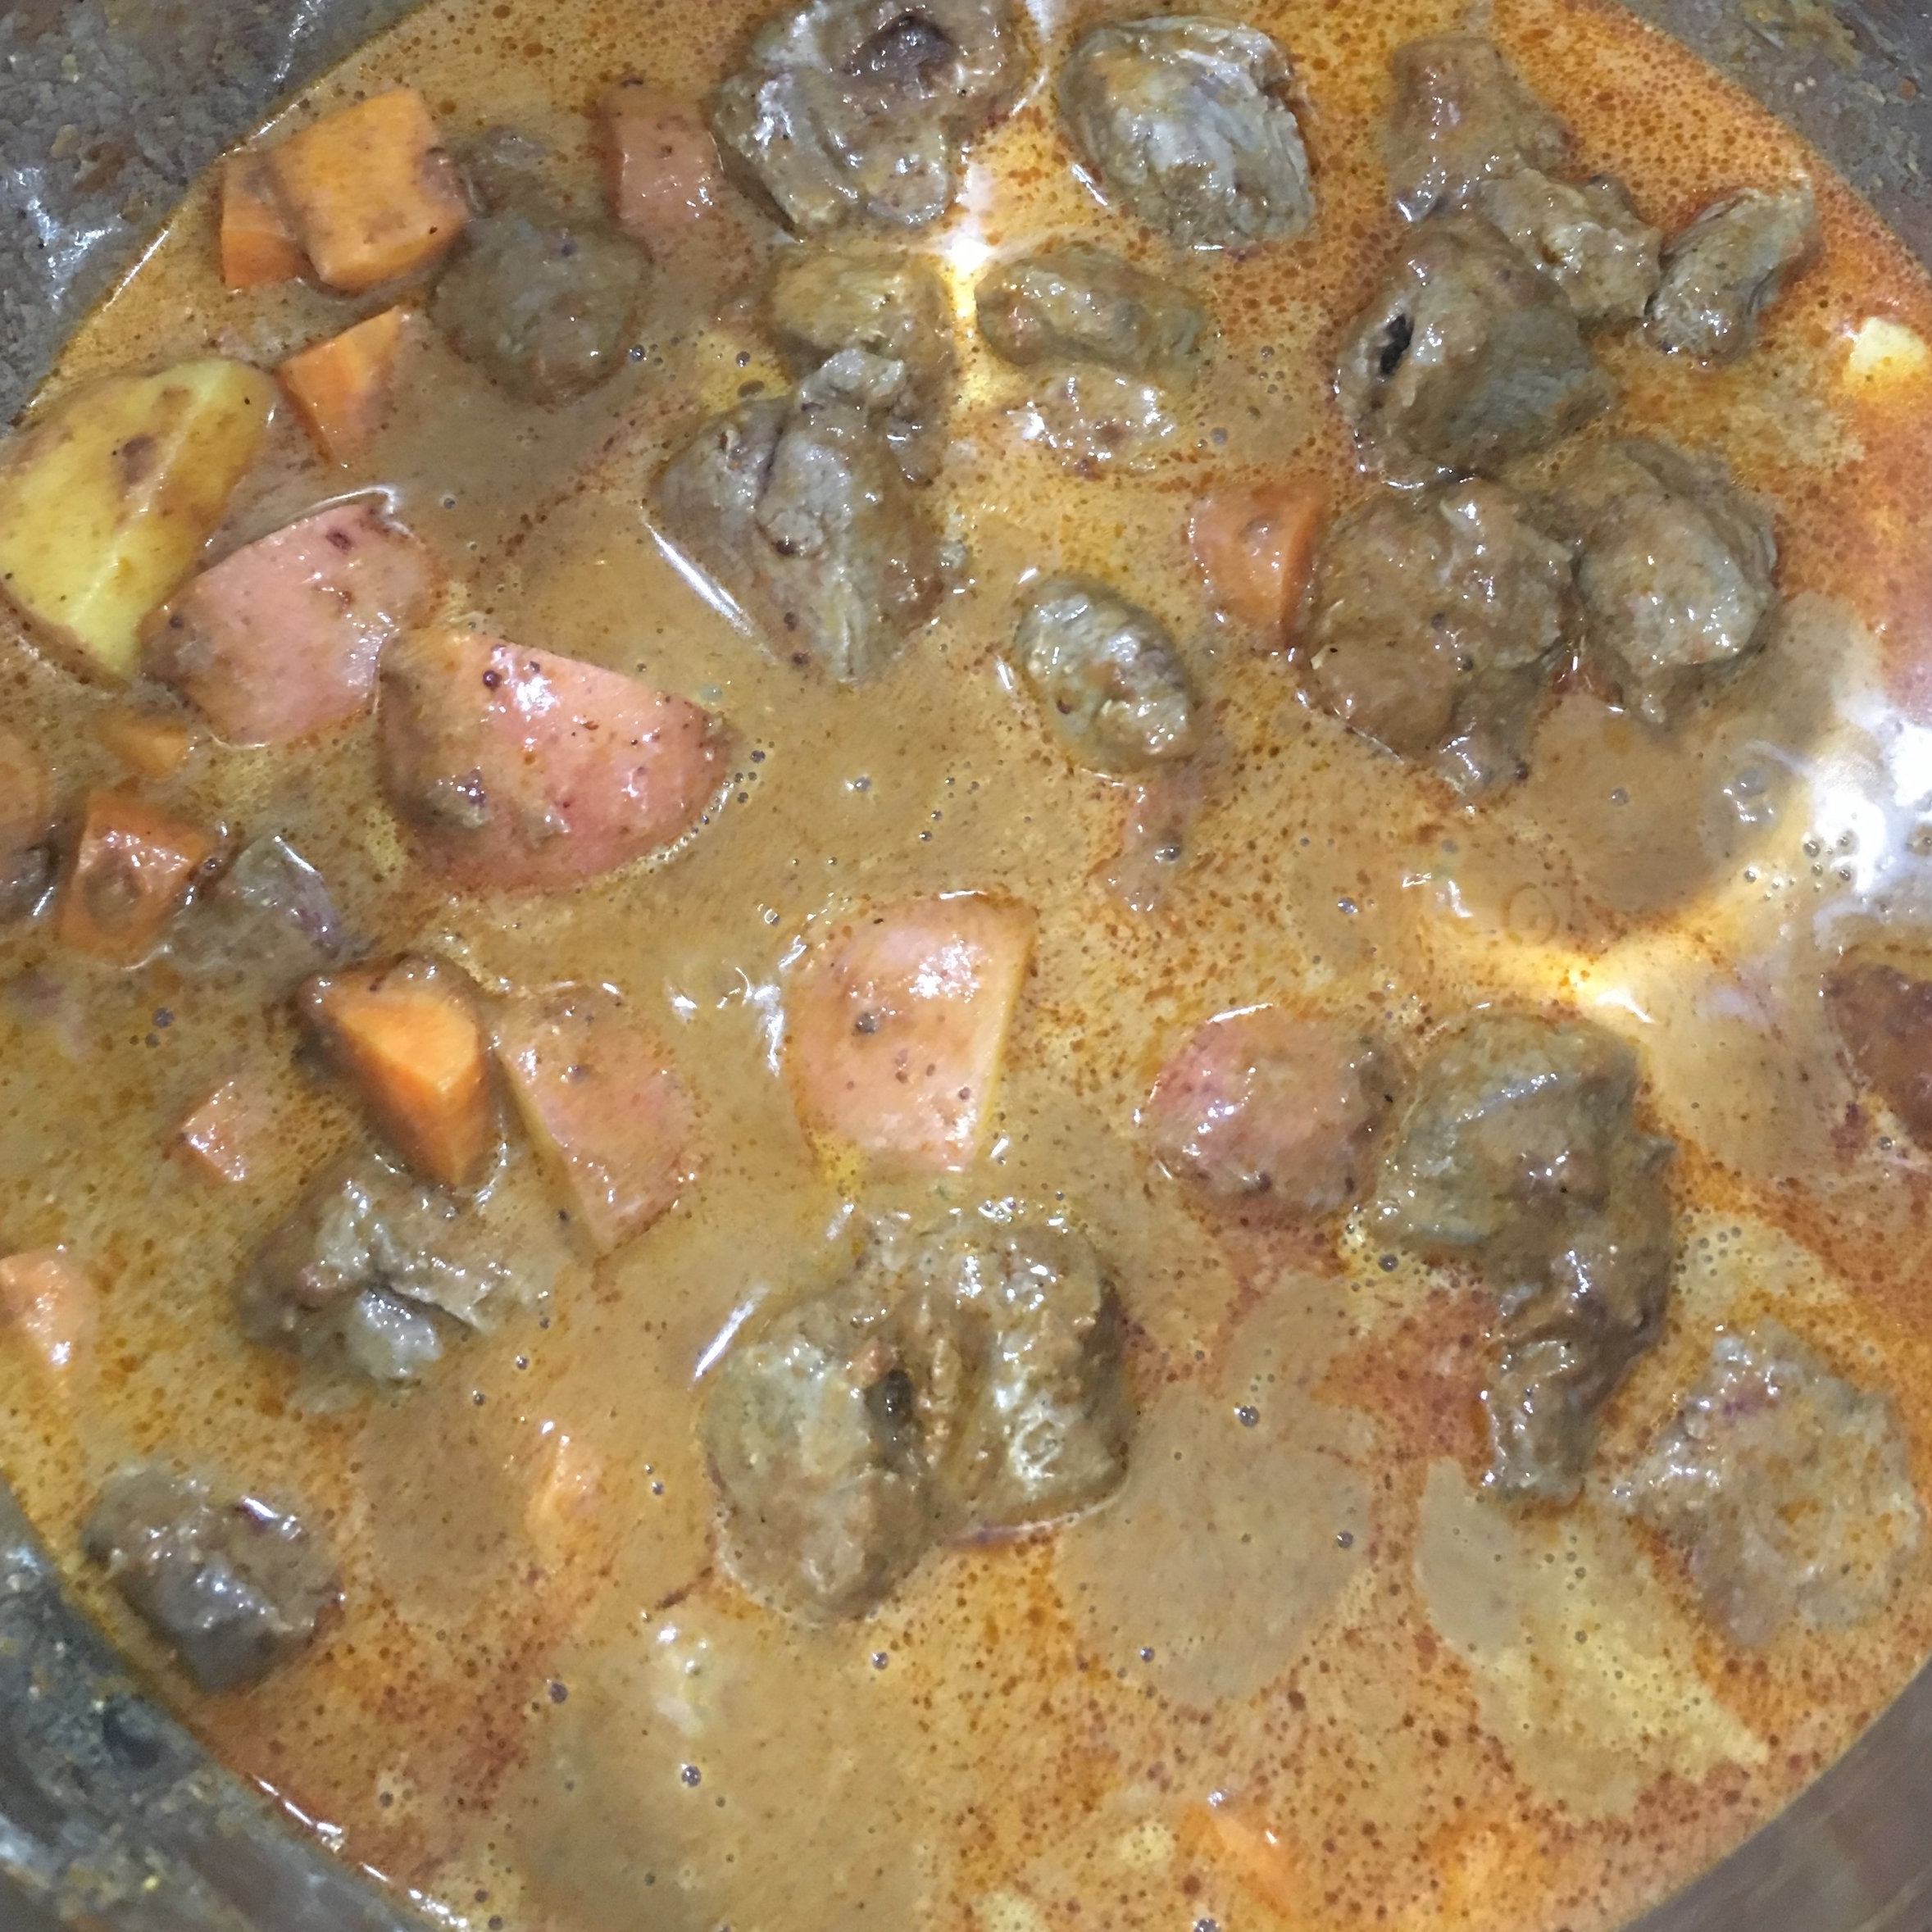
- Add salt, coconut milk and water. Mix well.
- Bring to a simmer.
- Place the lid on the instant pot making sure that the event is closed.
- Cook on high pressure for 20 minutes with natural release (about 10 minutes).

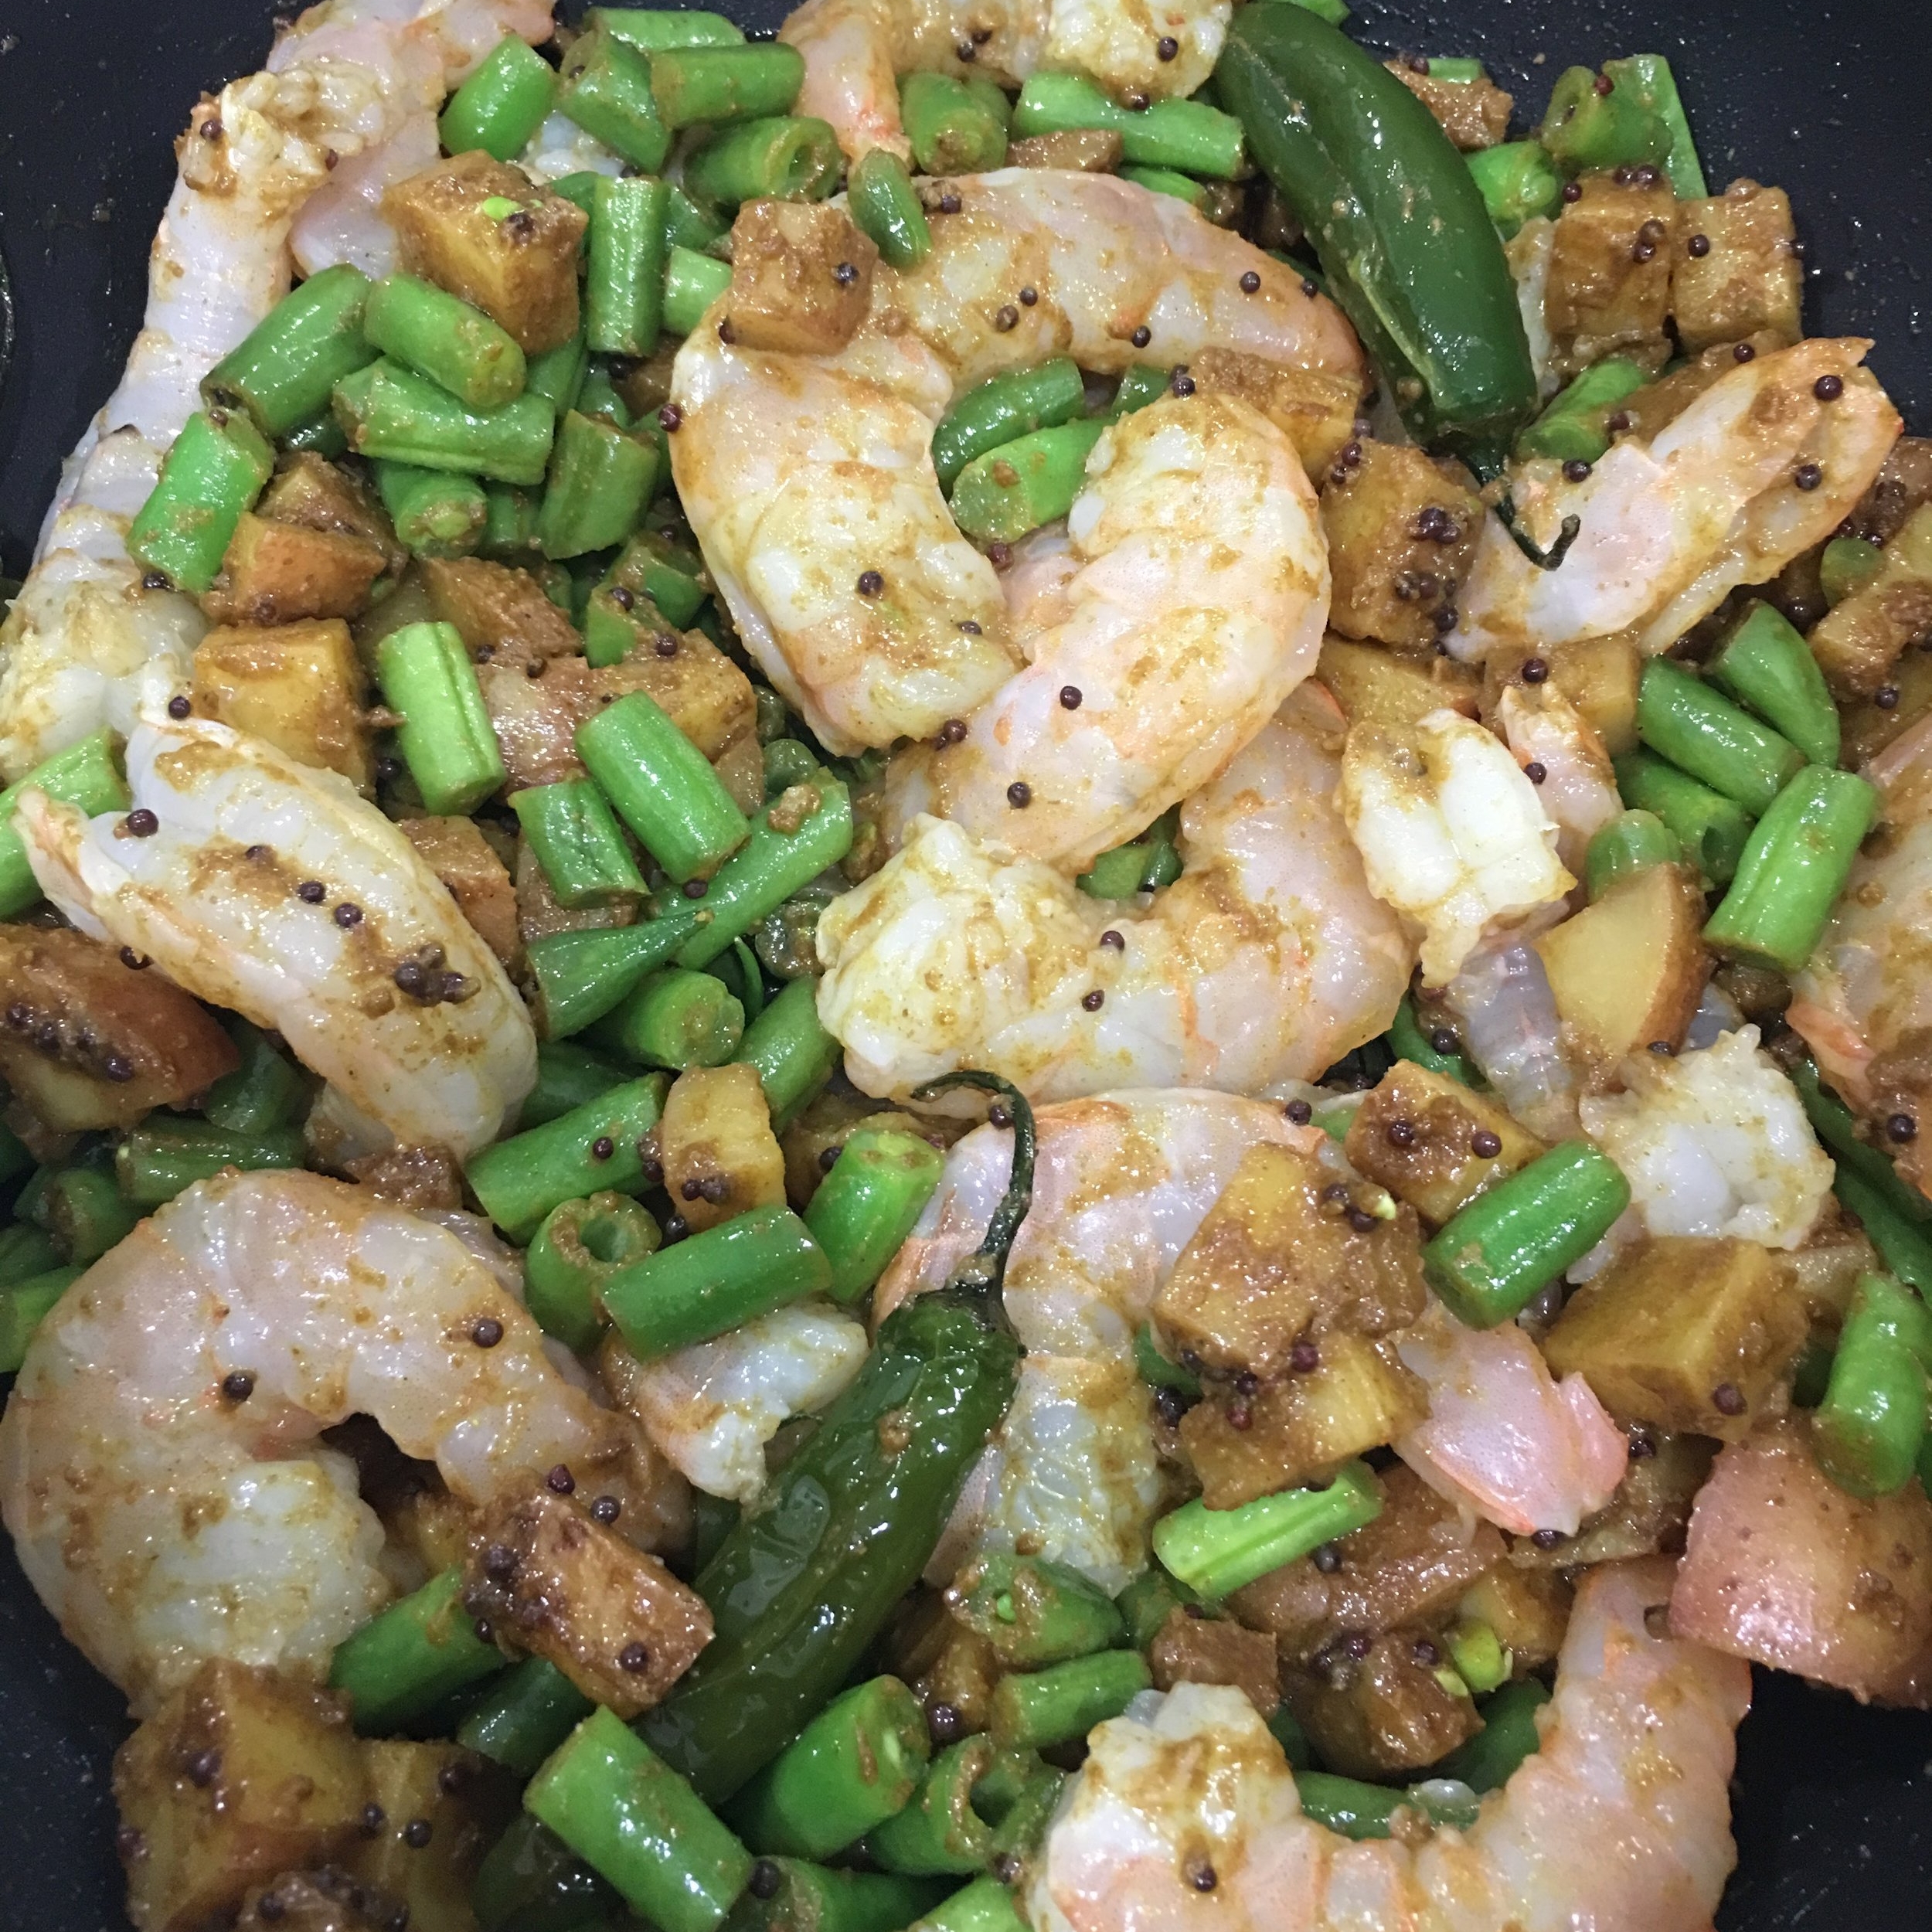
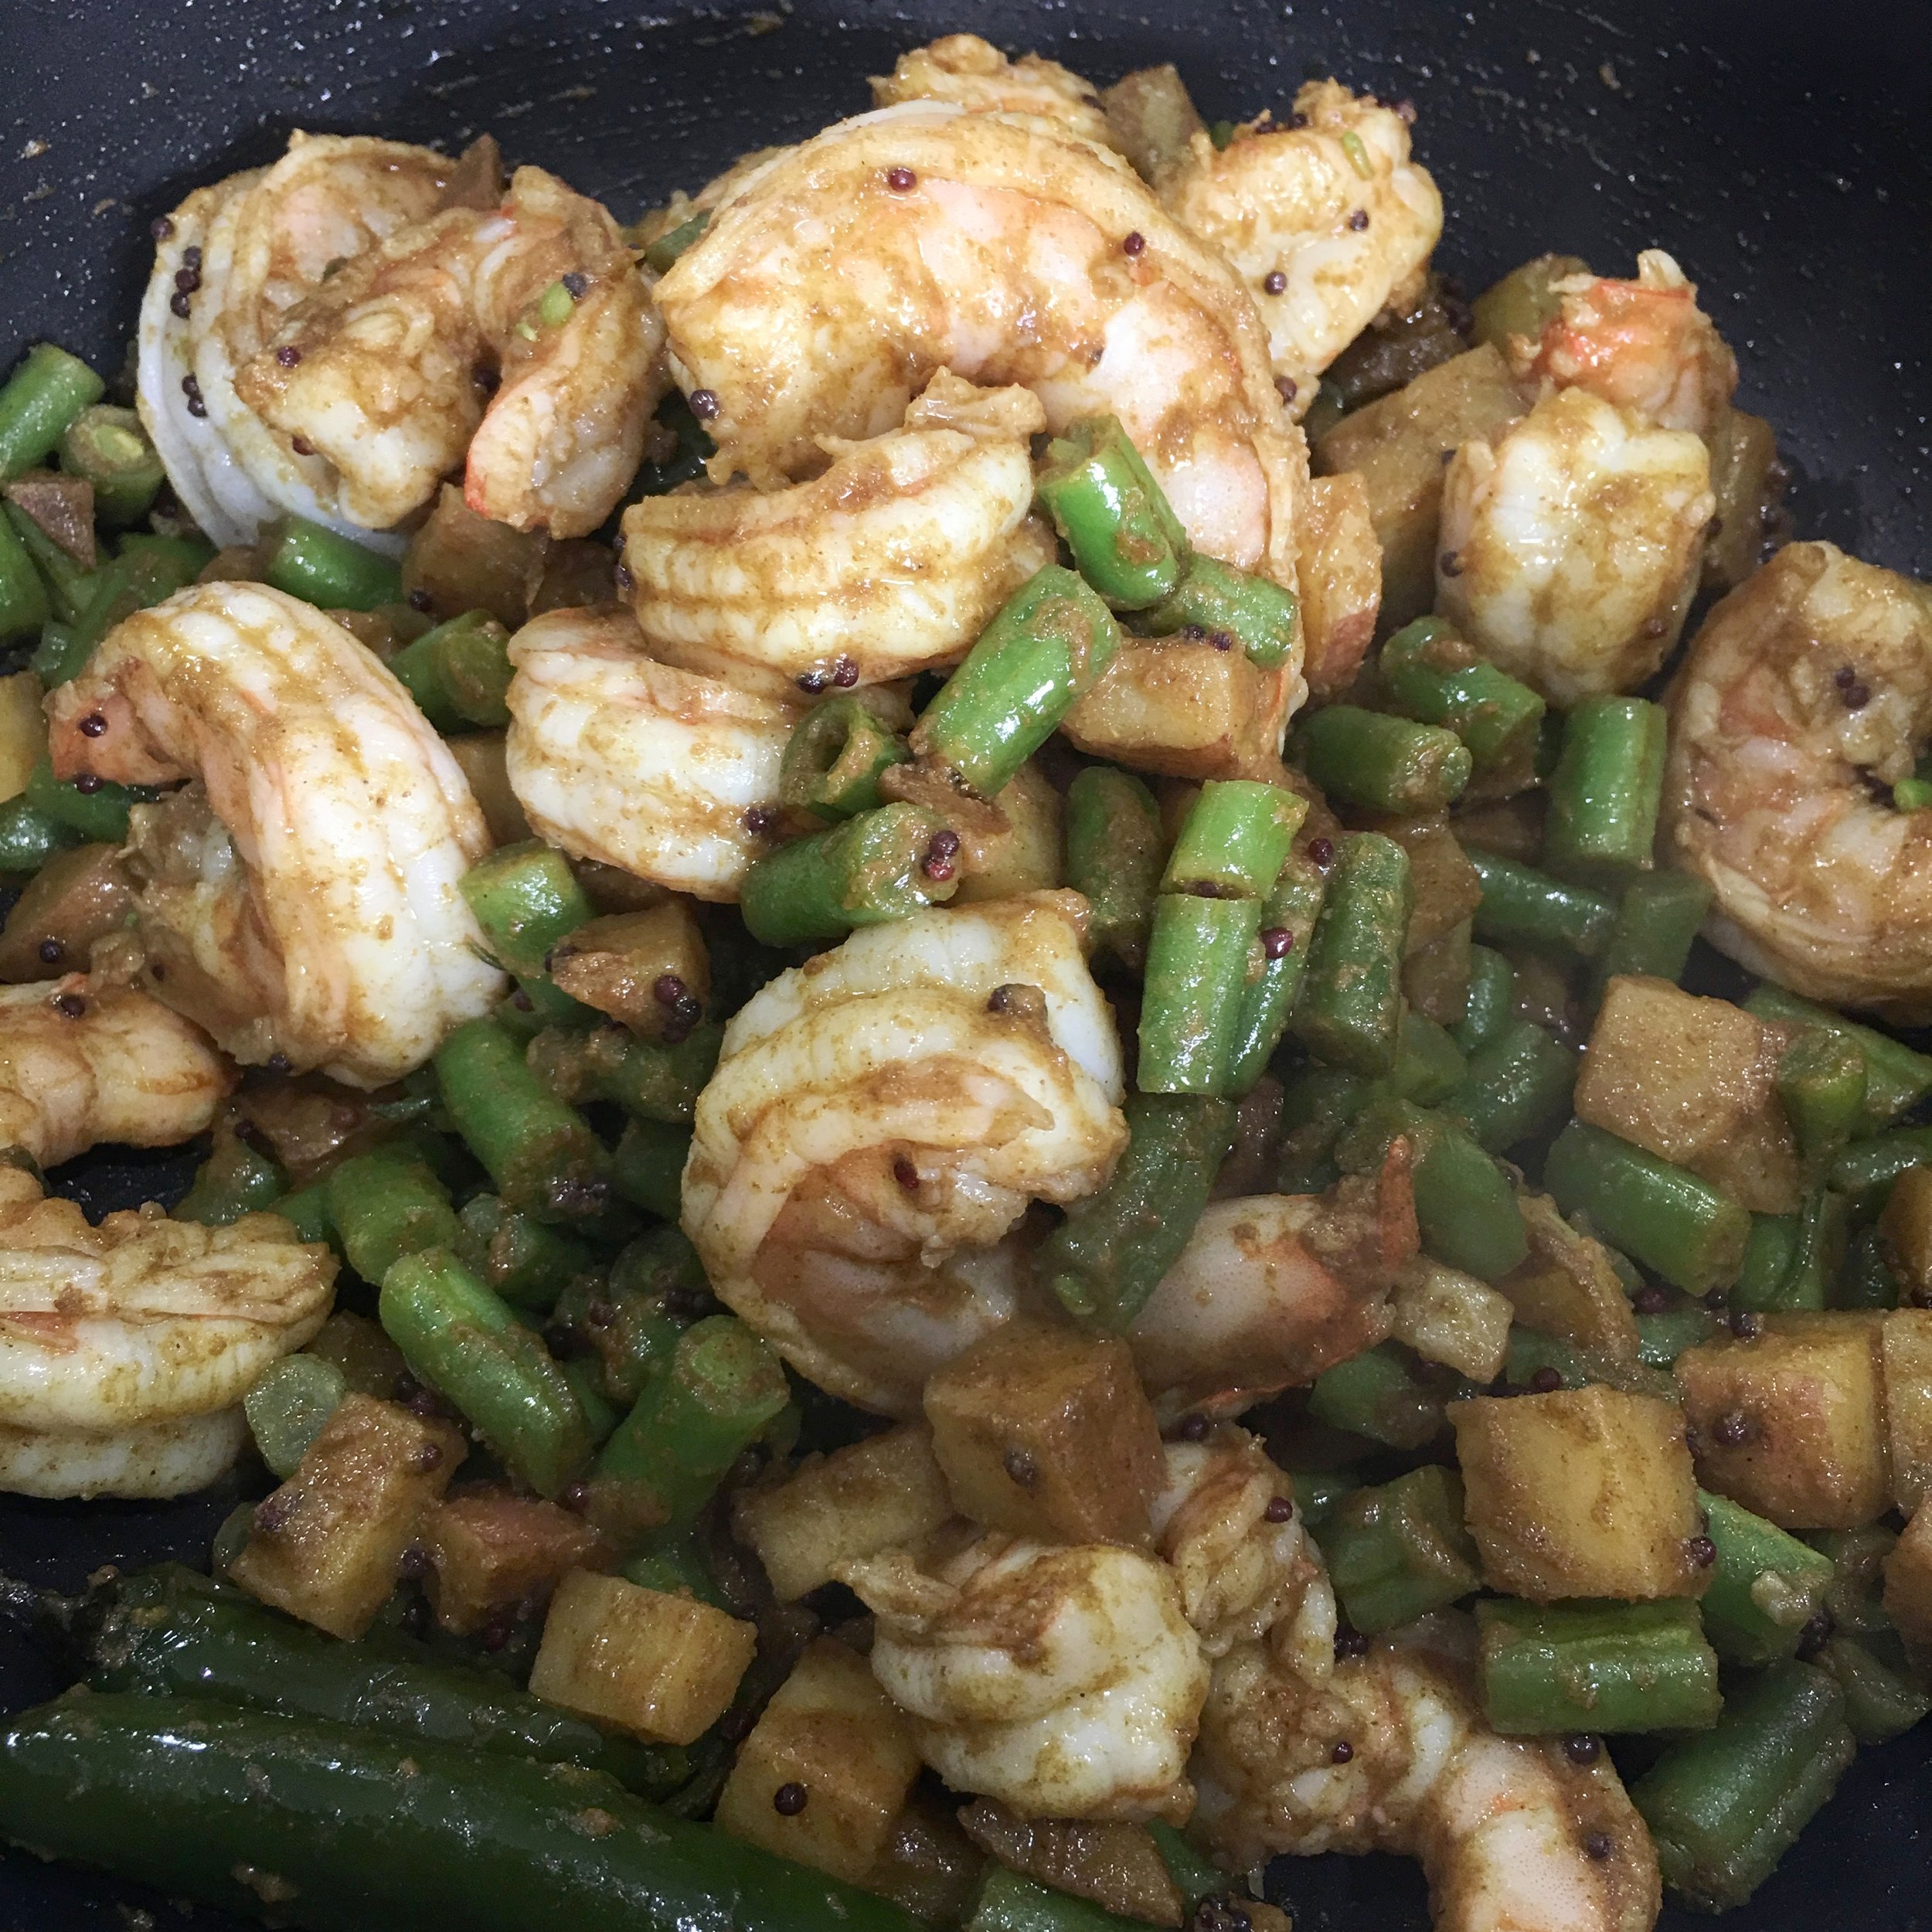
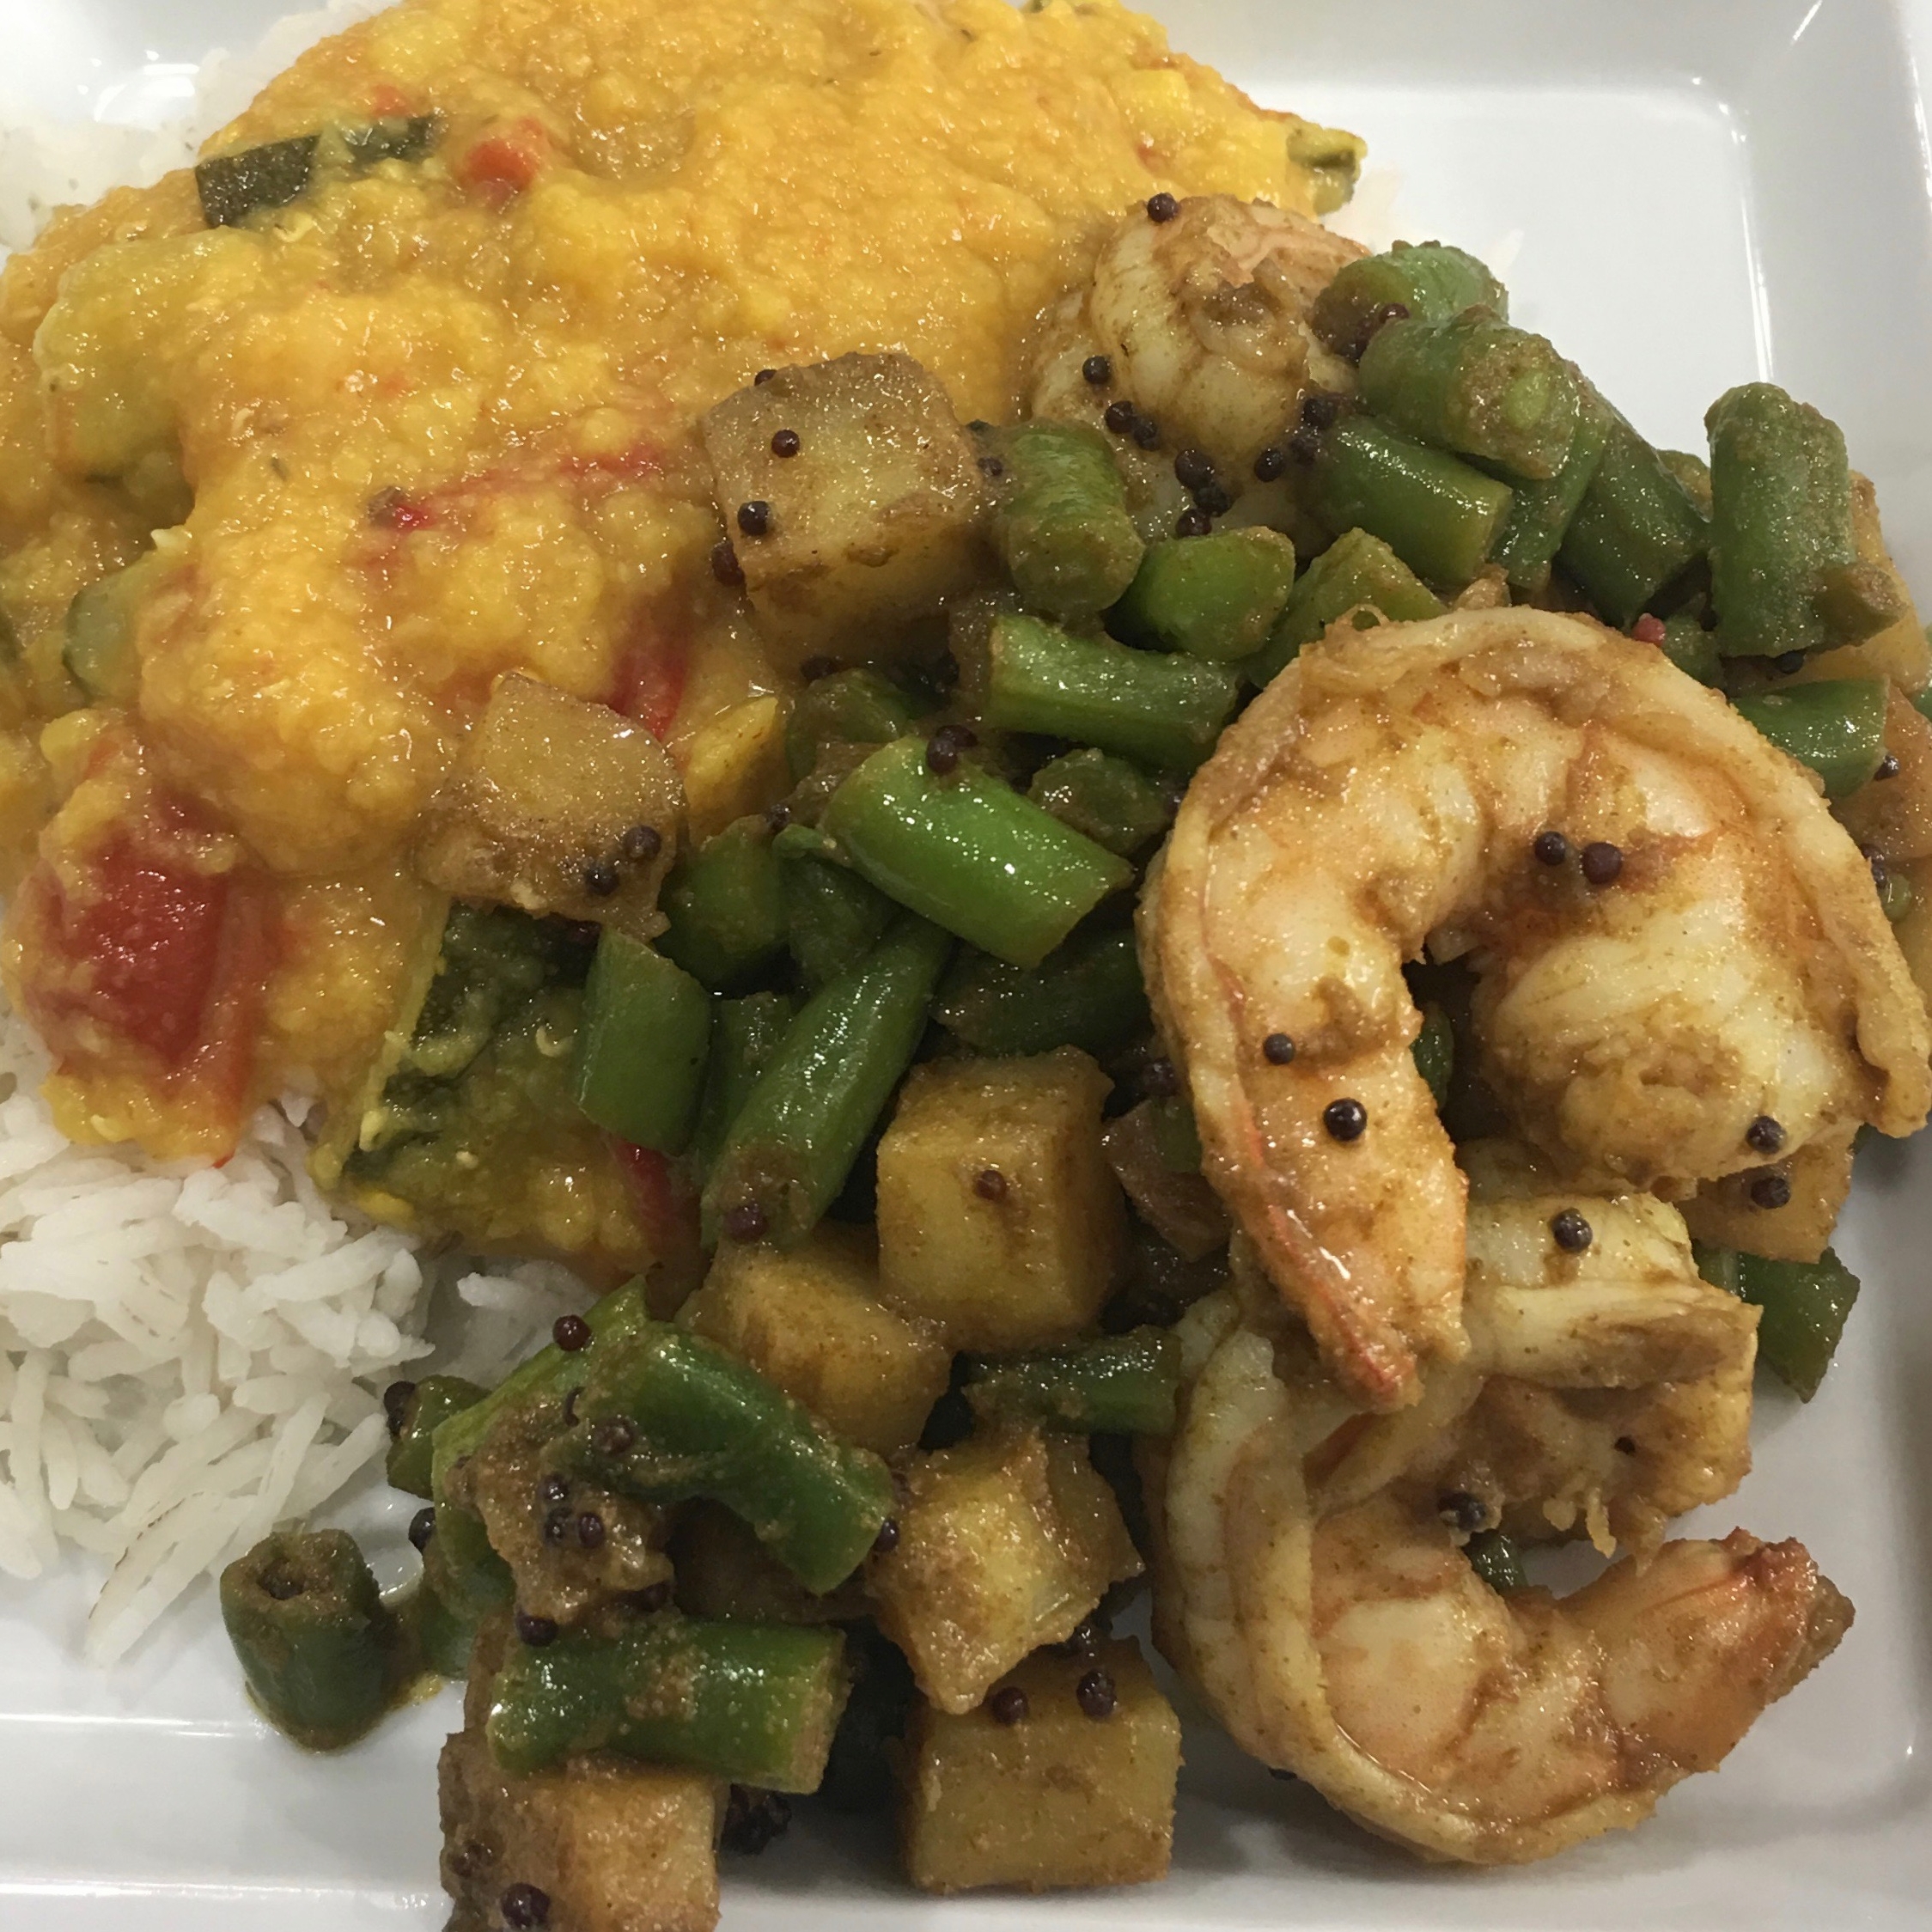
Shown her over basmati rice and Asian Long Beans with Mustard (in recipes)